
Desoldering & Soldering of iPhone X PMU
Duration: 45 minutes
Steps: 7 Steps
Step 1


- Start by securing the upper layer of the motherboard onto the PCB Holder. Don't forget to use some High-temperature Tape to keep those components cozy and secure.
- First up, let's tackle that pesky black adhesive around the PMU. Grab your Hot Air Gun, set it to a toasty 280℃ with an air flow of 3, and gently warm it up. Then, with a specialized knife in hand, carefully slice away the black adhesive around the chip like a pro!
Step 2
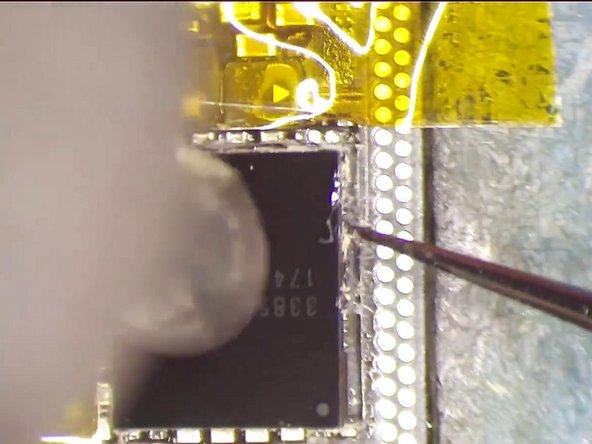

- Tip: Be extra careful when removing the black adhesive, especially since the PMU components are so close. We don’t want any surprises like knocking something off the board!
- Next, grab your Hot Air Gun and heat up the PMU to 330°C with an airflow of 5. While you're heating it, set one lever of the tweezers in place. After about 15 seconds, when the solder starts to melt, quickly pry up the chip with the other lever. Tip: Timing is key here – get that chip at the perfect moment! If you don’t, the bonding pad might get damaged. Keep your eyes on the prize!
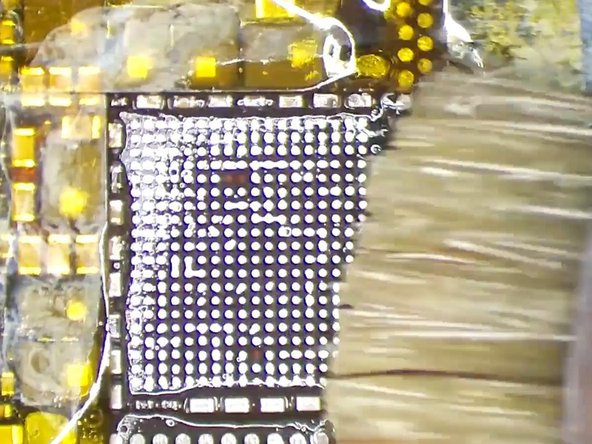
Step 3
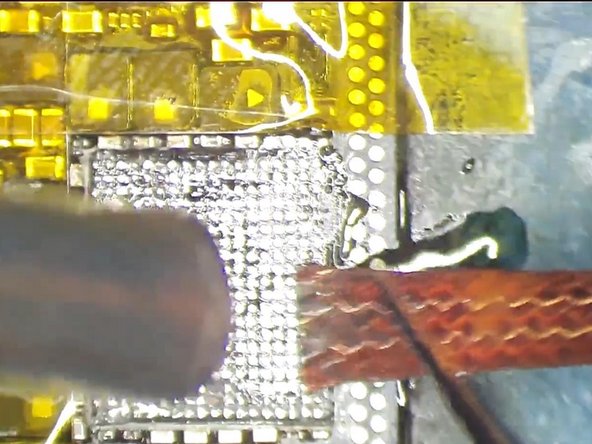

- Alright, let’s give that bonding pad a good scrub! Start by spreading some mid-temperature Solder Paste on it. Grab your Hot Air Gun and heat it up to a cozy 280℃. While that’s happening, take your trusty Soldering Iron set at 360℃ and clean up the bonding pad.
- Keep the cleaning party going by using some rosin-soaked Solder Wick to polish the bonding pad. After that, a quick spritz of PCB Cleaner will do wonders! Just a heads up: if you notice some bonding pads from those empty pins getting a bit loose during the cleaning, don’t sweat it! That’s totally normal. We can just leave them be.
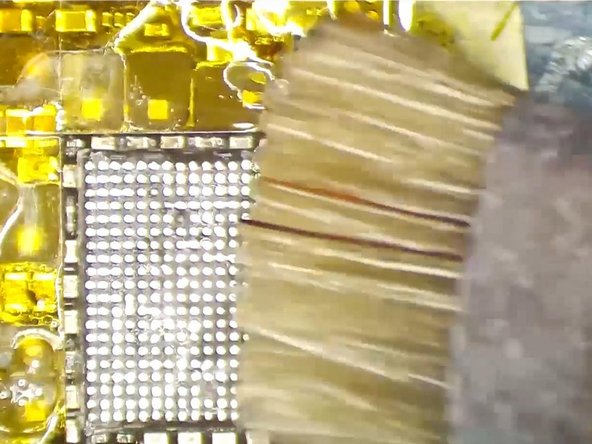
Step 4

- Keep peeling off that black adhesive from around the bonding pad. Heads up: when you pry up the chip, some nearby components might come loose. No worries! Next, let's get those little guys back on by re-soldering. Start by applying some Paste Flux to their bonding pads, then carefully add solder with your Soldering Iron.
- Now, line up the components in their spots. Once they're sitting pretty, use your Hot Air Gun set to 330℃ with airflow at 3 to solder them securely.
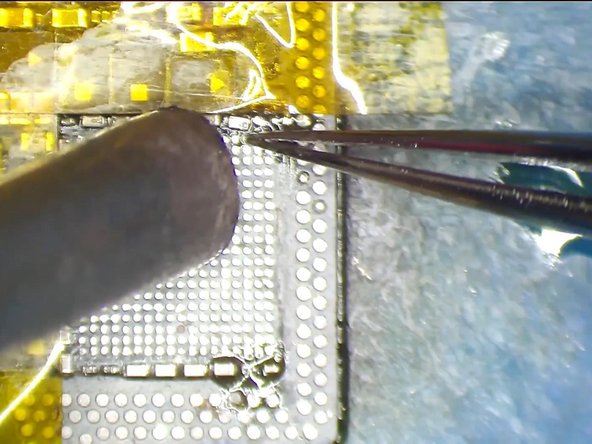
Step 5

- Give that bonding pad a quick once-over before soldering the chip, and finish up with a clean sweep using PCB Cleaner to keep things spotless.
Step 6

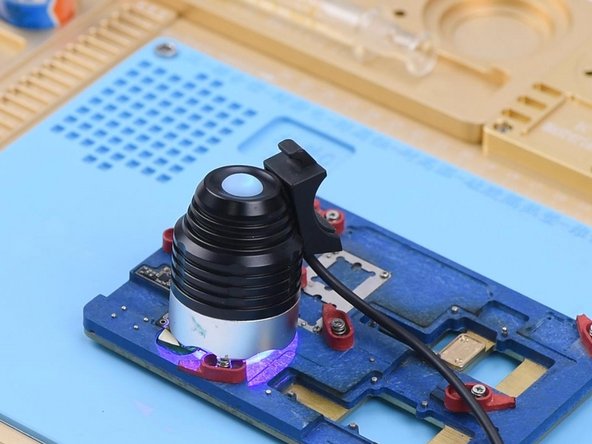
- When you peel off the black adhesive, sometimes the insulation varnish on the PCB decides to come along for the ride. No worries! Grab those tweezers, dip them in UV Curable Solder Mask, and dab it onto the exposed spot. Hit it with the UV Dryer Lamp for 5 minutes to seal the deal.
Step 7

- Ready to wrap things up? Just retrace your steps and put everything back together. Nice work! If you need a hand with those tricky bits, you can always schedule a repair.
-


