Digitac Jazz Ultratab C725 Battery Replacement
Duration: 45 minutes
Steps: 4 Steps
Get ready to breathe new life into your Digitac Jazz Ultratab C725 by replacing its 3.7 V lithium-ion battery. This step-by-step guide will walk you through the process, which requires some soldering skills. If you’re new to soldering, don’t worry – we’ve got you covered. Take a look at our soldering guide to get up to speed. Then, follow along with us as we show you how to remove the old battery and install a new one. If you need help along the way, you can always schedule a repair.
Step 1


Handle those screws with care—just a gentle twist will do the trick! Overdoing it could mess up the threads and make your life harder when it’s time to unscrew them later.
– First up, let’s hunt down those four 3.5 mm Philips head screws! You’ll find two chilling on the top and two more hanging out at the bottom.
– Grab your trusty Phillips #00 screwdriver and twist those four screws out of their cozy little homes.
Tools Used

Step 2


Once you’ve got that screen feeling loose, gently give it a tug towards you. Lift it up carefully to keep those buttons safe and sound!
– Flip your device so the long side without the buttons is facing up. You’ll want to start with a clean slate here.
– Now, grab your plastic opening tool and gently slide it between the silver back plate and the screen. Start at one of the corners and pry the seam open about an inch. Take your time, it’s not a race!
– With the tool in hand, carefully work the screen apart from the back plate. Keep going until you can see the two parts are separated. No rush, just be patient.
– Keep prying around the edges, separating the screen and back plate a bit more as you go. You’ll start to feel it come apart, and that’s when you know you’re getting close.
– If there are any stubborn seams left, don’t stress—just use your plastic opening tool to finish the job and get them apart. If you’re having trouble, remember, you can always schedule a repair.
Step 3
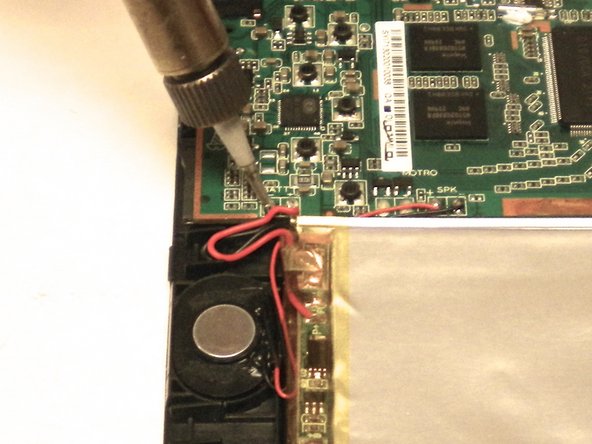

– Grab your trusty soldering iron and get ready to melt that solder holding the battery wires tight to the motherboard.
– Once it’s all melted, give those wires a gentle tug to release them.
Tools Used

Step 4

A busted battery can be a fiery troublemaker—handle it with care and keep it safe from damage!
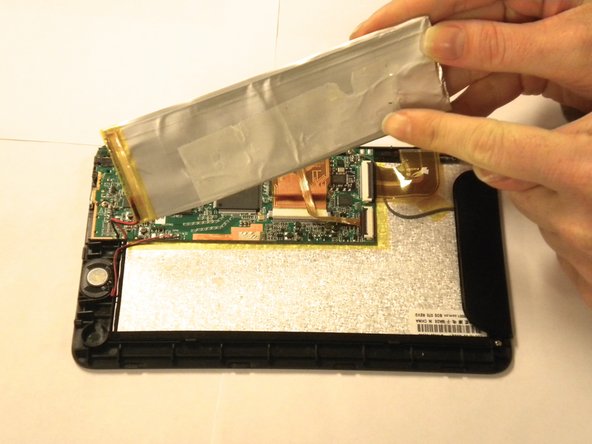
– Gently lift one of the long edges of the battery. You’ve got this!
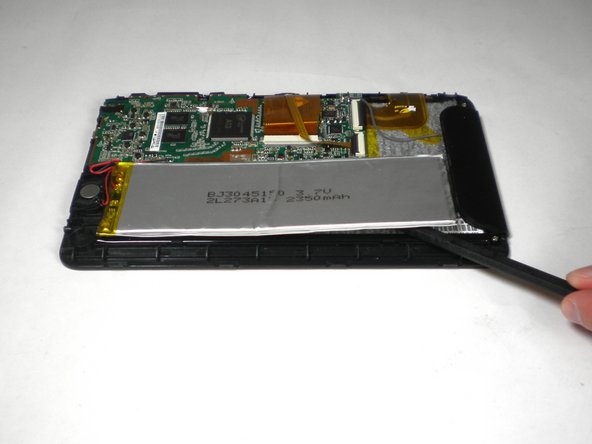
– Using the flat side of the Spudger, slide it underneath the battery with care.
– To loosen that sticky adhesive, give it a little back-and-forth action along the battery.
– Once it’s feeling loose and ready to go, pull the battery out of the device. You’re doing great!
Tools Used

Success!