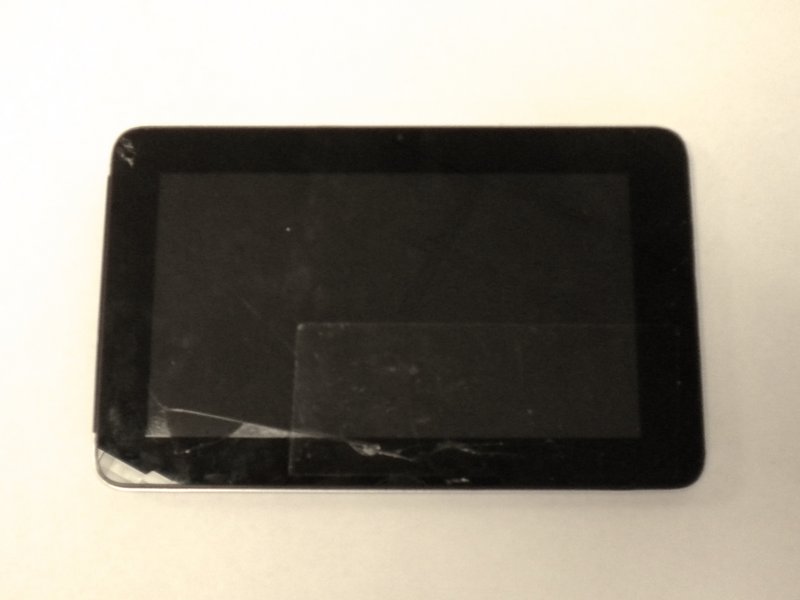
Digitac Jazz Ultratab C725 Motherboard Replacement
Duration: 45 minutes
Steps: 6 Steps
Ready to swap out the motherboard in your Digitac Jazz Ultratab C725? This guide will walk you through the steps. A soldering iron will be your best friend here, and you’ll need to use it a few times. If you’re not yet a soldering pro, don’t worry! Check out this helpful soldering guide before you dive in.
Step 1


Gently unscrew those fasteners—think of it like giving them a little hug! Too much force could lead to thread damage, making it a real hassle to get those screws out later. Keep it light, and you’ll be golden!
– First, let’s get started by locating the four 3.5 mm Phillips head screws that hold the silver back plate and screen together. You’ll find two at the top and two at the bottom – easy peasy!
– Now, grab your trusty Phillips #00 Screwdriver and remove all four screws. Take your time and make sure they’re all out before moving on to the next step.
Tools Used

Step 2


Now that the screen is feeling a bit loose, gently pull it towards you and then lift it off with care. This way, you’ll keep those precious buttons on the other side safe and sound!
– Let’s get started by flipping your device over so the long side without buttons is facing you.
– Now, carefully insert the Plastic Opening Tool between the silver back plate and the screen, about an inch from the corner on either side.
– Gently pry the Plastic Opening Tool until the screen starts to unsnap from the back plate.
– Work your way down the edge of the device, popping out all the snap-in locations where the screen meets the silver back plate.
– When you get to the corners, use the Plastic Opening Tool to carefully unsnap any additional snap-in locations that are holding tight.
Step 3
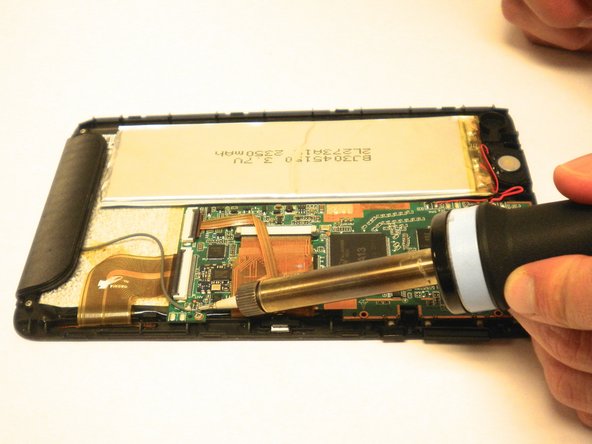

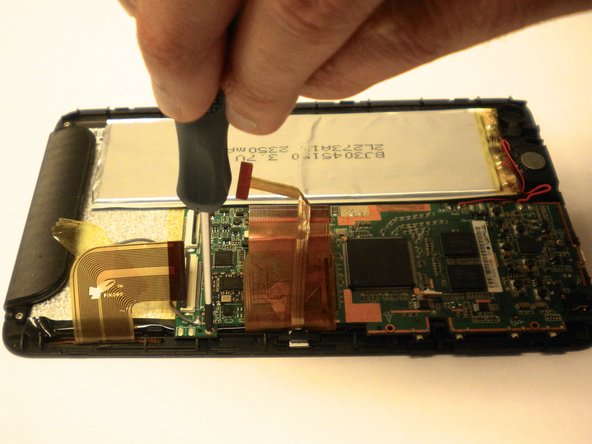
– Grab your trusty soldering iron and let’s get to work! First, you’ll want to melt the solder that’s holding the battery wires to the motherboard. Easy peasy!
– Next up, use that soldering iron to melt the connection for the speaker. You’re on a roll!
– Now, let’s tackle the antenna wire. Melt that connection and you’re almost there!
– Once the solder is nice and melted, gently pull those wires out. You’ve got this!
– Remember, there are two wires for the battery: one black and one red. Keep an eye on them!
– The speaker also has two wires, so look out for the red and black combo there as well.
– Lastly, the antenna wire is the single grey wire. Simple as pie!
Tools Used

Step 4
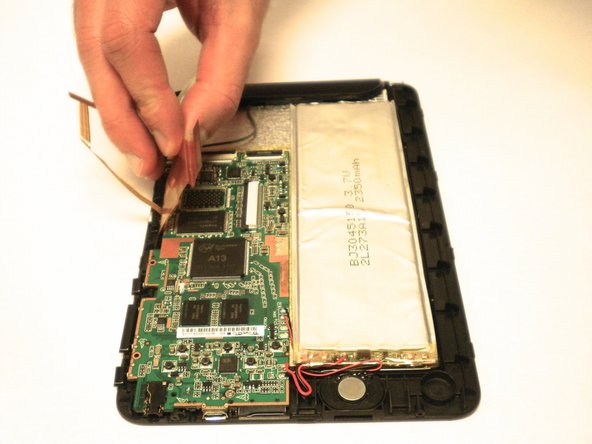
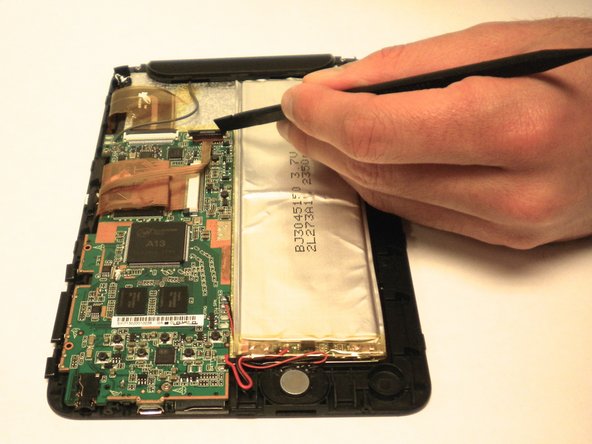

– Start by spotting those 3 sneaky white clips on the motherboard that are keeping the data cables snug.
– Grab your trusty Spudger and give those black clips a gentle nudge until they’re standing proud at a 90-degree angle.
– With the clip lifted, carefully wiggle and pull the data cables out, freeing them from their hold.
– Don’t forget to show some love to all 3 clips; repeat the process and make them pop!
Tools Used

Step 5

When it’s time to unscrew, go easy on those screws! A gentle touch keeps the threads happy and healthy. If they get damaged, you might find yourself in a real pickle trying to get them out later. So, take it slow and steady, and you’ll be golden!
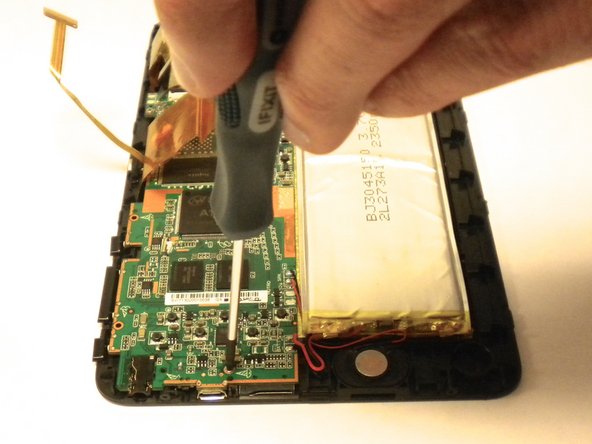
– Let’s get started by locating the two 4.0 mm Phillips head screws that hold the motherboard in place – one is at the top and the other is at the bottom.
– Now, grab your trusty Phillips #00 Screwdriver and remove both screws. Easy does it!
Tools Used
Step 6


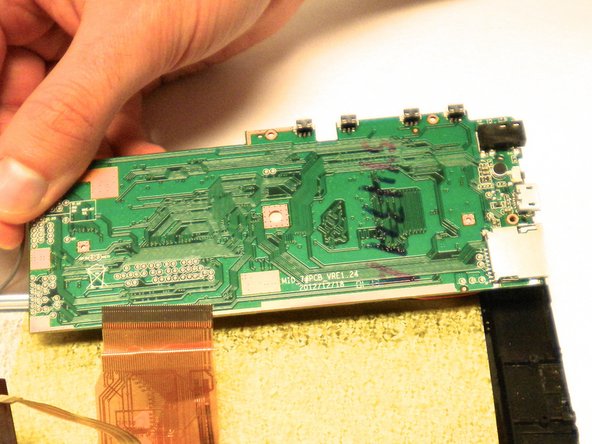
– You’re making great progress! Now that the motherboard is loose, carefully lift it off the tablet. Take your time and be gentle – you’re almost there!
Success!