Digitac Jazz Ultratab C725 Speaker Replacement
Duration: 45 minutes
Steps: 4 Steps
Get ready to dive into the world of repairs! This guide is here to help you swap out the speaker for your Digitac Jazz Ultratab C725. A soldering iron will be your trusty sidekick for this mission, so make sure you’re comfortable with it. If soldering sounds a bit daunting, no worries! Check out our soldering guide to get those skills polished up. Let’s get started!
Step 1


When removing screws, use a gentle touch to avoid stripping the threads. If the threads get damaged, it’ll be a real challenge to get the screws out, so take your time and be patient. If you’re not comfortable with this step, don’t worry, you can always schedule a repair
– First, find the four 3.5 mm Phillips head screws keeping the silver back plate and the screen in place. You’ll find two screws at the top and two more at the bottom. Easy, right?
– Next, grab your Phillips #00 screwdriver and unscrew all four screws. Take your time, and be sure to keep them safe—you’ll need them later.
Tools Used

Step 2


Now that the screen is feeling a bit loose, gently pull it towards you and then lift it off with care. This way, you’ll keep those precious buttons on the other side safe and sound!
– Turn your device so the long side without the buttons is facing you—orientation is key!
– Take your trusty Plastic Opening Tool and slide it between the silver back plate and the screen, about an inch from the corner on either side.
– Wiggle and finesse that tool until the screen pops free from the back plate—gentle but firm, like persuading a stubborn jar lid.
– Keep working your way down the edge, releasing all the spots where the screen locks into the silver back plate—steady progress, you’re on fire!
– Move around the corners, using the Plastic Opening Tool to snap out any additional locked-in spots as needed. You’re almost there!
Step 3
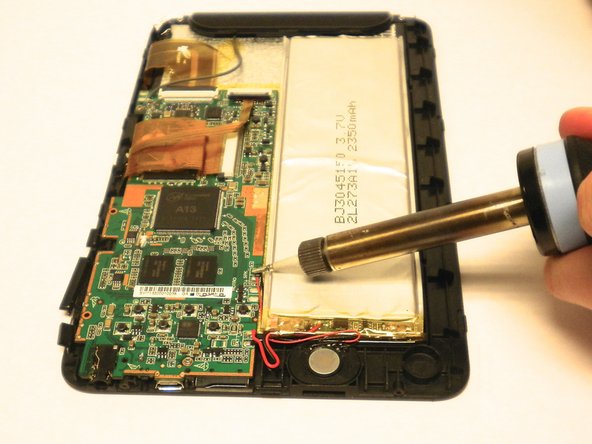

– Grab your soldering iron and get ready to melt that solder connecting the speaker to the motherboard like a pro!
– Once it’s all melted, gently pull those wires out.
Tools Used

Step 4

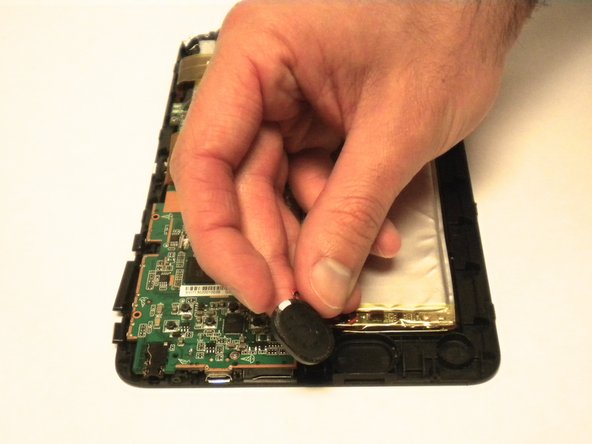

– Slide your trusty plastic opening tool into the gap between the speaker and the bracket that holds it in place.
– Gently pry the speaker free from the bracket, being careful not to damage anything along the way.
Success!


