DigitalRadio 220 Teardown
Duration: 45 minutes
Steps: 5 Steps
Step 1
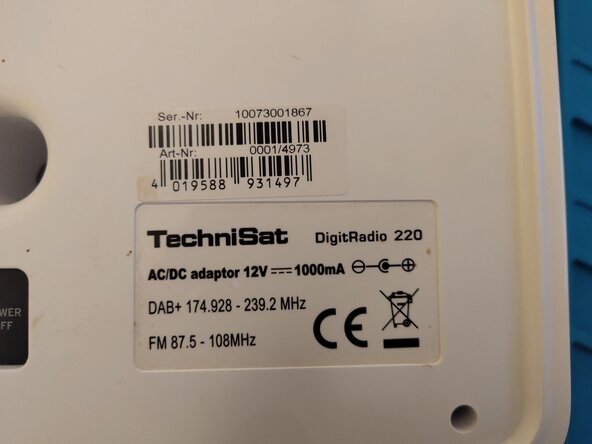
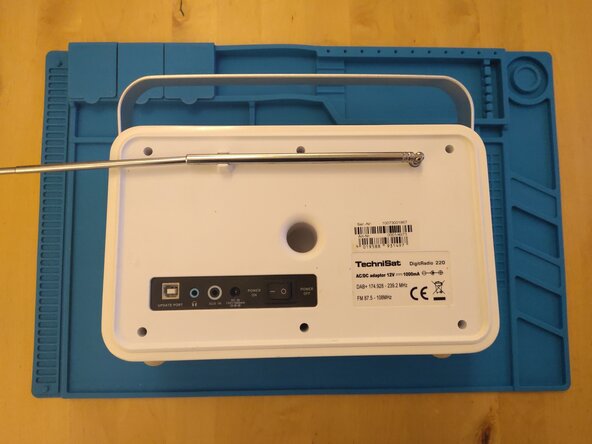

– Snap some awesome pics of your device and its type plate!
Step 2
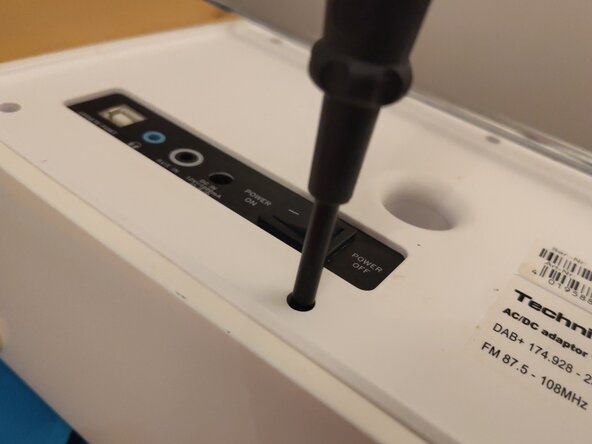
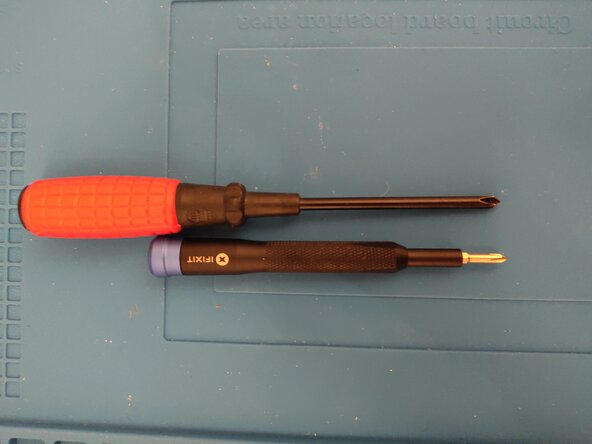

– Unscrew those pesky Phillips screws—PH0 or PH1, depending on what you’ve got. Because of the screw hole’s depth and size, your typical iFixit bits won’t cut it. Grab a screwdriver with a longer shaft to reach those stubborn screws. If you need help, you can always schedule a repair.
Step 3


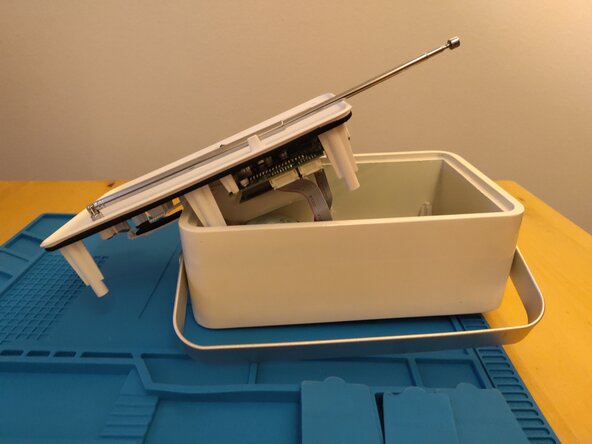
– To pop open the cover, just give the antenna a gentle tug, like you’re opening a little surprise – check out the first picture for a quick guide.
– For the ribbon connectors, simply pry them downwards with a soft touch – it’s easier than you think!
Step 4

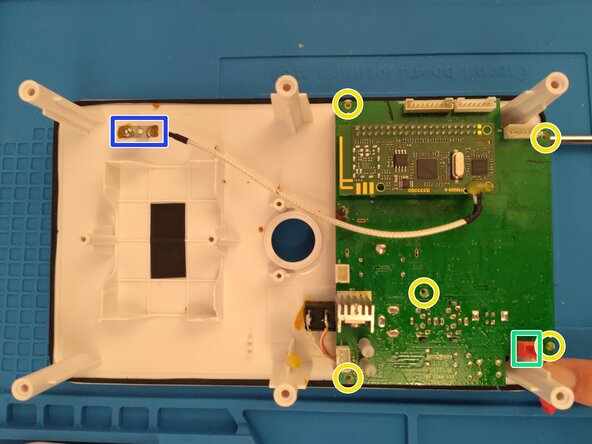
– Start by removing the battery holder using a PH0 or PH1 screwdriver, then gently disconnect the ribbon cable to free it up.
– Detach the PH0 or PH1 attachment piece that holds parts in place—it’s a small but important step.
– Unscrew the PH0 or PH1 screws securing the main board, keeping track of where each screw belongs.
– Carefully unplug the red ribbon cable connector—gentle is the name of the game here.
– Finally, disconnect the antenna connection or handle it with care to avoid damage. If you need help, you can always schedule a repair.
Step 5

– Power up with a 5000 mAh rechargeable battery, 7.4 V, and 37 Wh – the energy boost your device deserves!
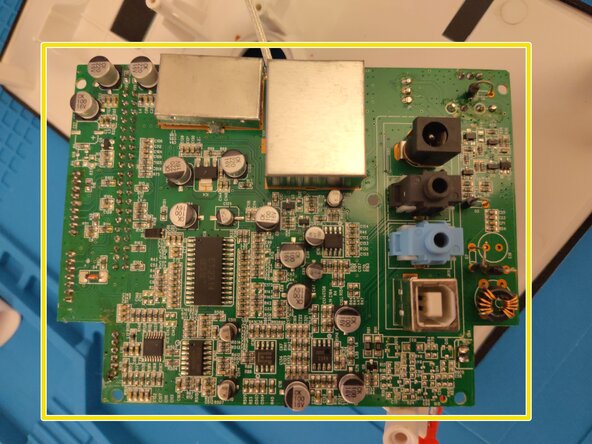
– Get your mainboard back into action, making sure it’s snug and ready to go.
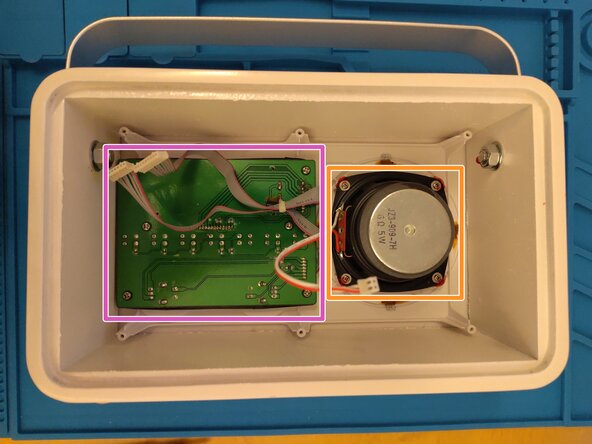
– Reconnect the radio receiver board and DAB/UKW telescopic antenna – this will keep the signals flowing strong.
– Switch it on! Don’t forget to plug in the main switch – it’s the key to everything turning on.
– Fix that circuit board and the 2-line 2.8 inch LCD display. Make sure they’re lined up and ready to light up.
– Lastly, reattach the loudspeaker (6 Ohm 5 W) – because what’s a device without sound?
Success!