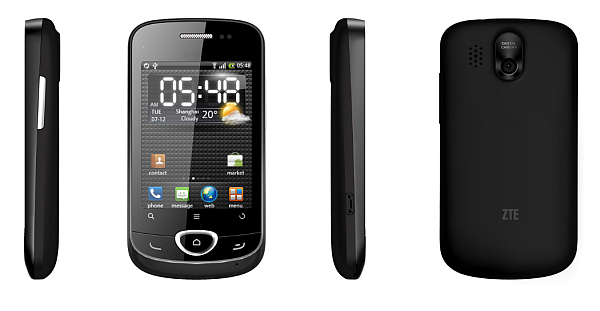
Disassembling ZTE Racer II Phone: Step-by-Step Guide
Duration: 45 minutes
Steps: 6 Steps
Step 1

– Gently wiggle the back cover off the phone, like you’re peeling a banana – just with a bit more care!
Step 2

– First things first! Let’s get that battery, SIM card, and MicroSD out of there! It’s a breeze!
– Now, locate the four tiny screws hugging the edge of the case. They’re those little Phillips heads—time to show them who’s boss!
Step 3

– Grab your trusty flathead screwdriver and gently wiggle that black plastic away. It’s snugly held in place by some clips, but with a little finesse, it should pop right off without a fuss.
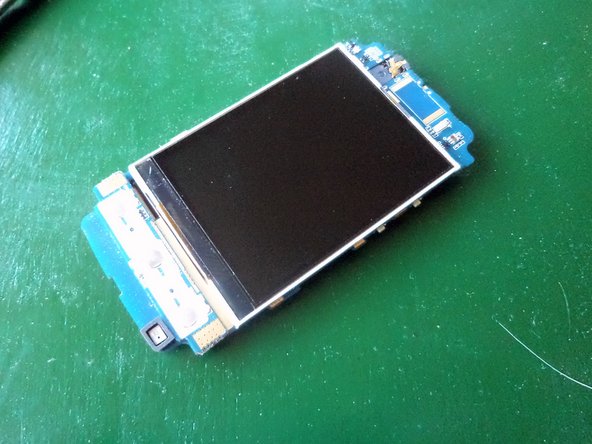
Step 4

– Let’s get that ribbon cable unplugged! Gently lift the small tab, then give the cable a little wiggle to free it from the main board. You got this!
Step 5
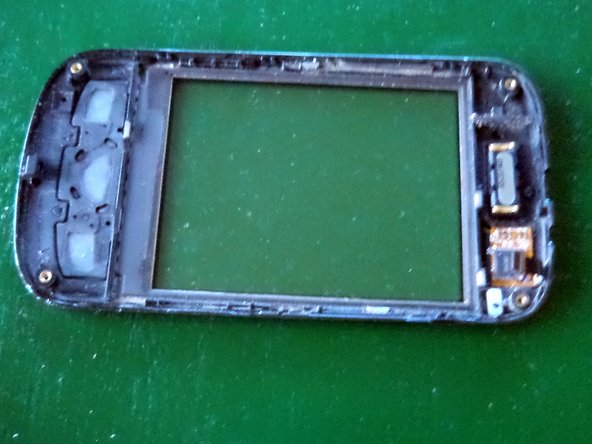

– Grab your trusty flathead screwdriver and gently pry the front plastic away from the circuit board. Just like the back piece, there are clips around the edge that keep it snug, but with a little finesse, it should pop off without much hassle.
Step 6

– And that’s all there is to it! Taking this phone apart is a breeze.
Success!