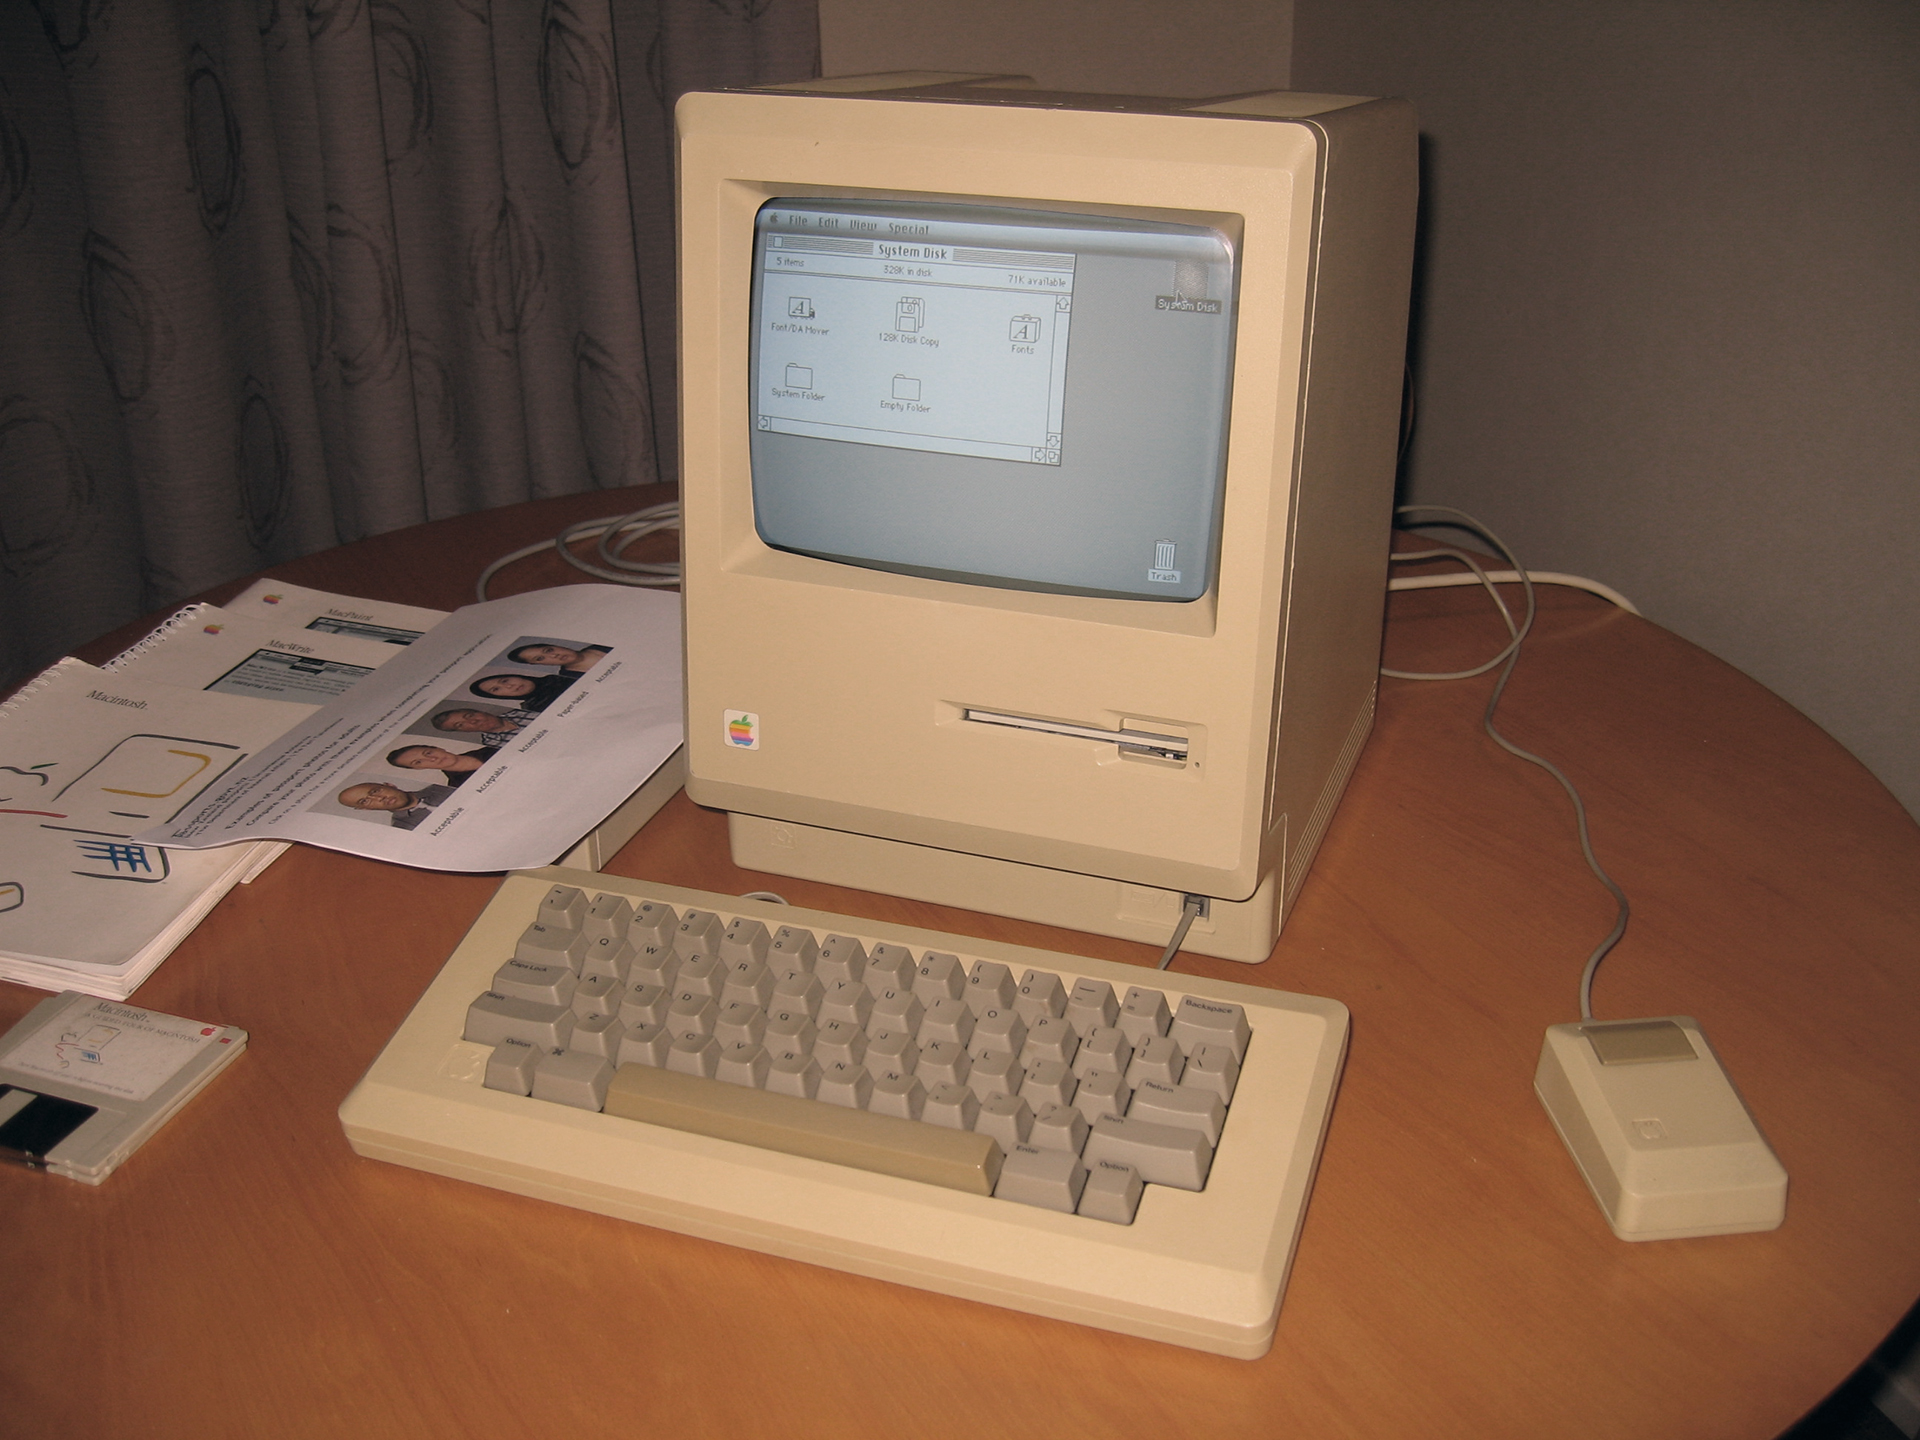
DIY Apple Classic Mac Speaker Replacement Guide
Duration: 45 minutes
Steps: 7 Steps
Ready to tackle that pesky speaker issue? This guide will walk you through the steps to remove and replace your computer’s speaker if it’s not performing to your expectations. If you need help, you can always schedule a repair.
Step 1


– Grab your trusty #2 Phillips head screwdriver and carefully take out those six screws that are 19 mm long. You’ve got this!
Step 2


The latch is slightly off-center but lines up nicely with the middle of the speaker underneath.
– Gently push in the catch with a plastic opening tool to release it. You’ve got this!
Step 3
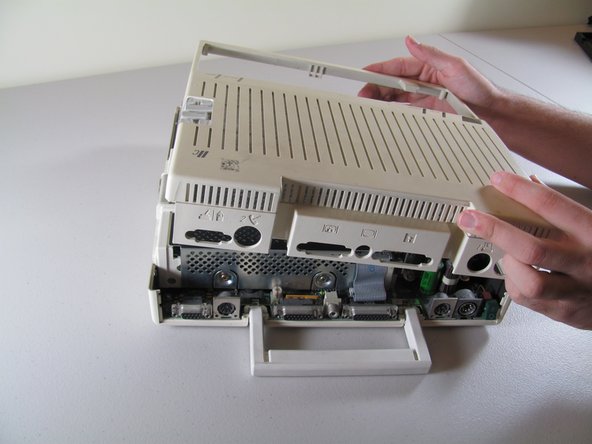

– Gently slide the case toward the ports at the back, grip under the catch, and pull up while moving toward the ports to remove. If you need help, you can always schedule a repair.
Step 4


– Gently pull the handle straight up to detach it.
Step 5
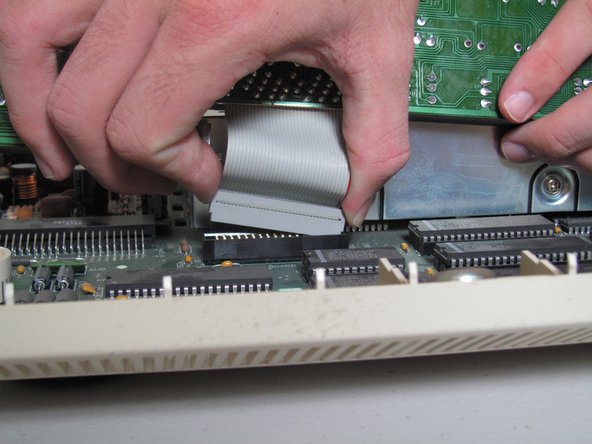

Take it easy when you’re pulling out that ribbon—no need to go all Hulk on it! Gently coax it out to prevent any tears. And remember, yanking on the keyboard to pull the ribbon is a no-go; that could lead to some serious damage.
– Gently lift the keyboard while carefully disconnecting the ribbon cable by pulling it straight up. A little side-to-side wiggling might help loosen it up!

Step 7

Using high wattage devices to heat the glue can cause damage to chips or the circuit board. Be cautious and avoid burning things!
A fun and easy way to soften the glue is by using a hair dryer on a low setting. If you need help, you can always schedule a repair.
– Warm up that glue a bit to make it nice and loose, then gently wiggle the speaker out. Grab your trusty screwdriver and scrape away any leftover glue like a pro!