DIY Apple Lisa Classic Mac Disassembly Guide: Step-by-Step Tutorial
Duration: 45 minutes
Steps: 15 Steps
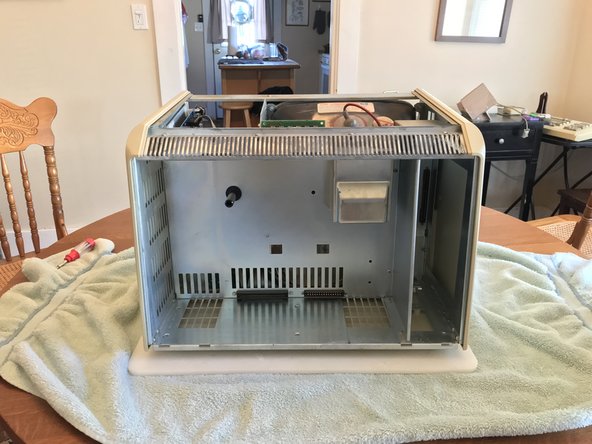
Step 1

– Set the Lisa down on a solid and reliable surface, ready for some repair magic!
Step 2


– Press the two tabs underneath to pop off the panel.
Step 3

– Unscrew the thumbscrew located beneath the drive cage, and voilà—the cage will slide right out! While you’re at it, gently disconnect the drive wires as you pull the cage free. You’re doing great!
Step 4

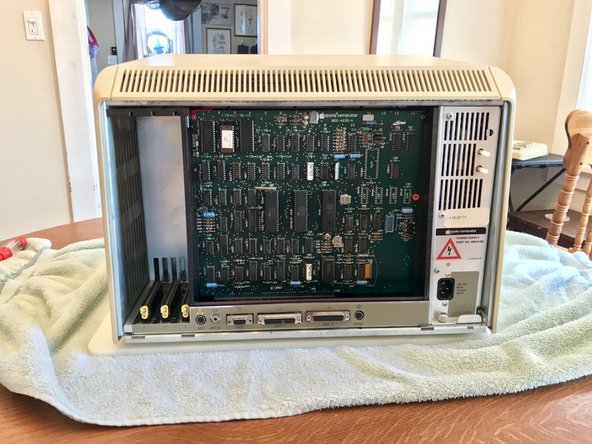
– Give those thumbscrews a little twist on the back to pop the panel loose. Then, gently lift the panel up and away to set it free!
Step 5
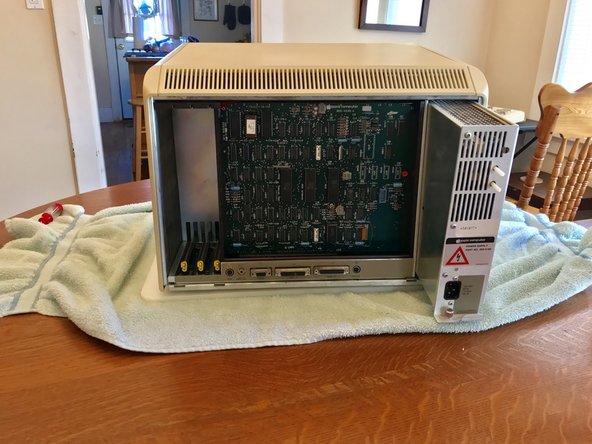
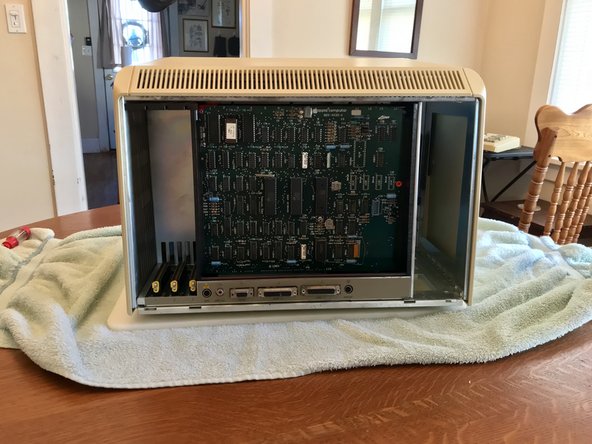

– Loosen the thumbscrew on the power supply. Gently pull out the power supply.
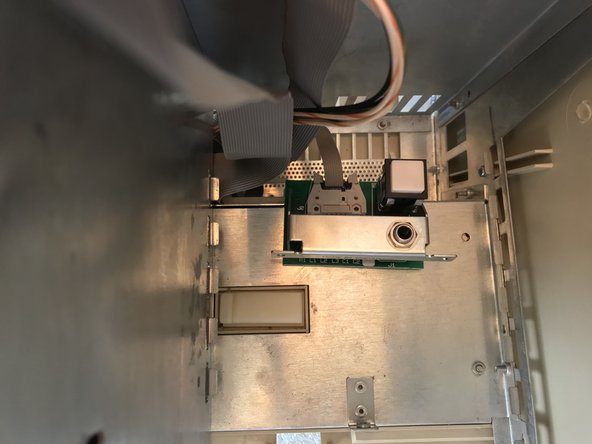
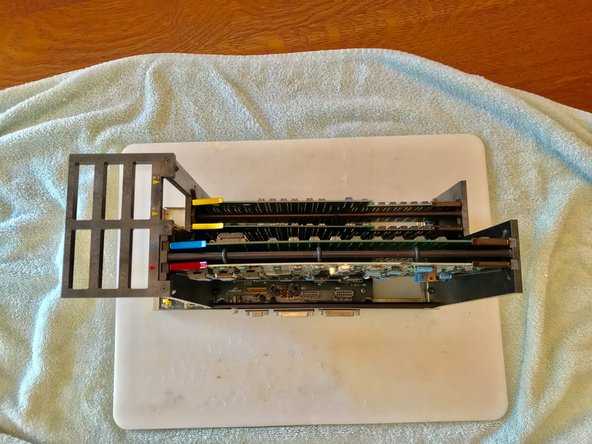
Step 6

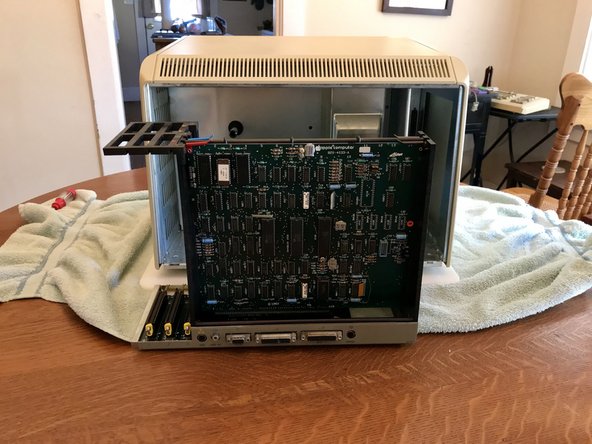
– Find the spot shown, grab the card cage, and gently pull it out. If you need help, you can always schedule a repair.
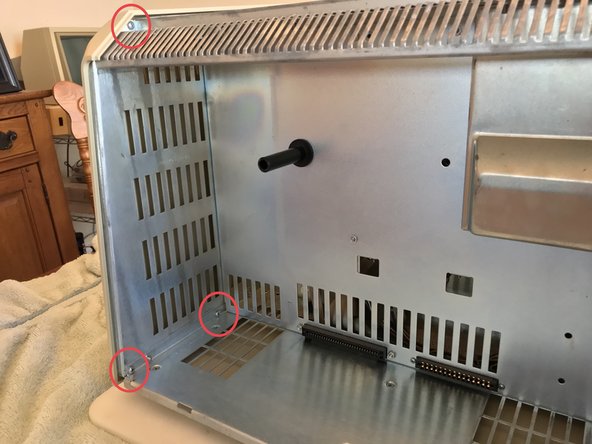
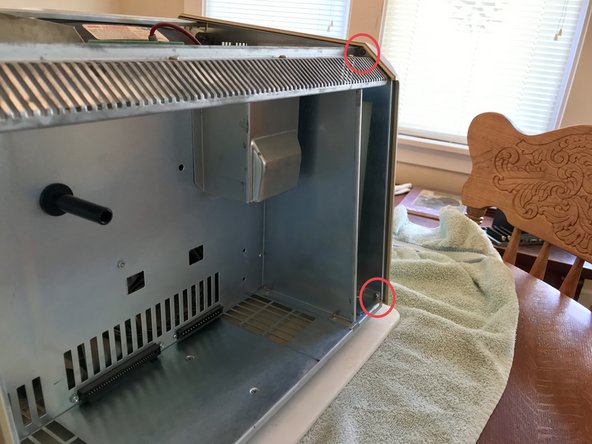
Step 7

– Remove the two Philips screws located at the top of the card cage area. You’re doing great!

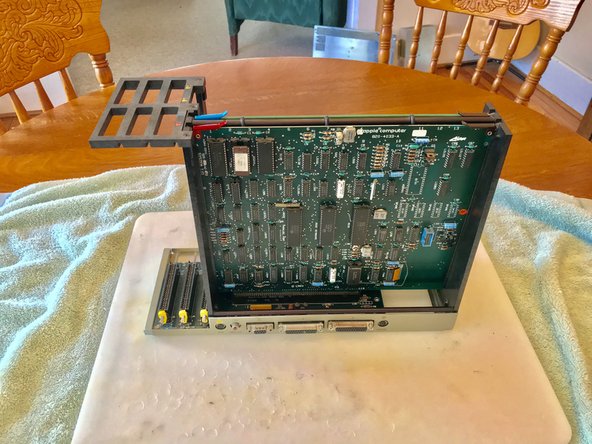
Step 9

– Take out all the screws you see.
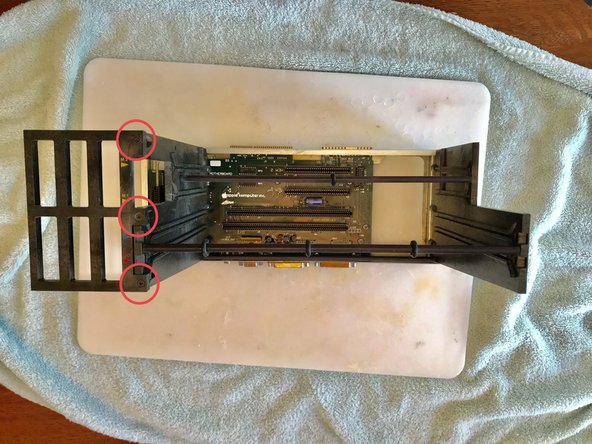
Step 10

– Time to unscrew those little guys! Go ahead and take out all the screws you see.
Step 11

– Unscrew all the screws you see here. Let’s get those little guys out of the way!
Step 12

– Go ahead and take out all the screws you see!
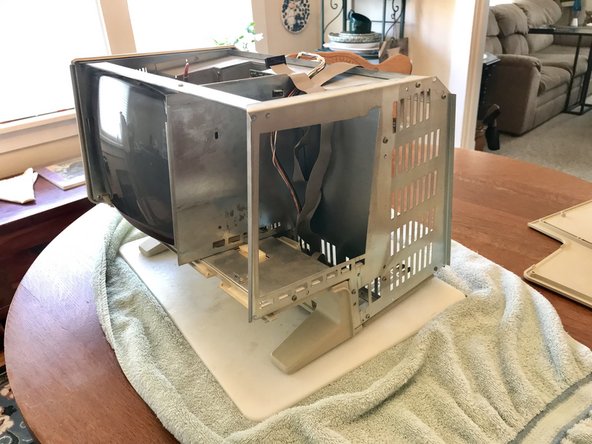
Step 13

– I’m not a certified CRT technician, so I won’t walk you through removing it, but here’s a photo of the inside. If you need help, you can always schedule a repair.
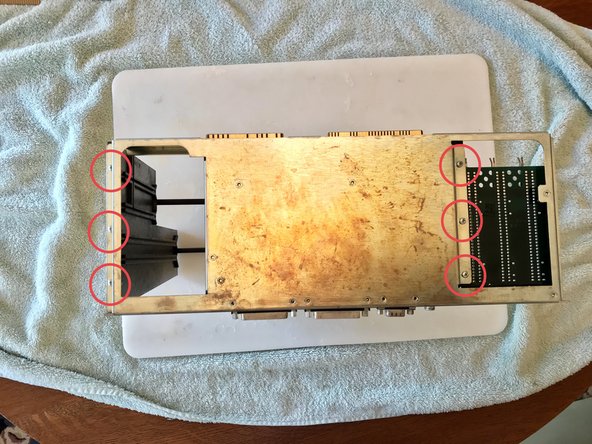
Step 14

– Gently lift those tabs to pop the cards out like a champ!
Step 15

– Pop out all the screws you see.


