DIY Asus A52F-XE2 Lower Case Replacement Guide
Duration: 45 minutes
Steps: 4 Steps
Hey there! Just a friendly reminder to take your time and double-check your work. If you run into any bumps along the way, don’t hesitate to reach out for help. You can always schedule a repair if you need a hand!
Pop off the lower casing of the ASUS A52F XE2 to unveil the inner workings. It’s like peeling back the layers of a delicious tech onion!


Step 2


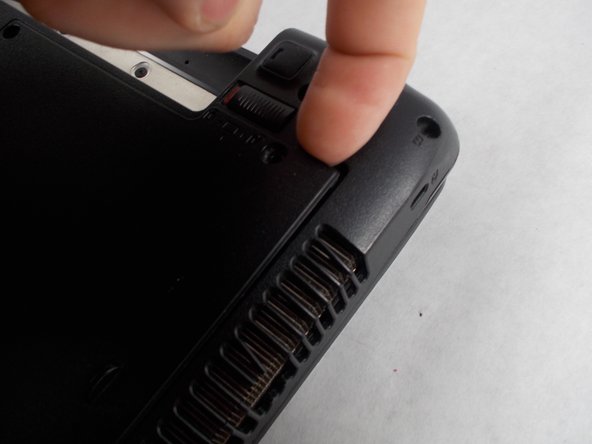
– Press the left button to the side with a gentle nudge.
– With your other hand, slide the battery away from you, and it should pop right off.
Step 3


– Let’s kick things off by unscrewing those five Phillips #0 screws from the back panel. You’ve got this!
– Now, grab your finger or a trusty plastic spudger and gently start prying up the back panel. Take your time and be careful!
Tools Used

Step 4


– Gently slide off the back panel and remove it with care.
