DIY Asus Padfone 2 Screen Replacement Guide: Step-by-Step Tutorial
Duration: 45 minutes
Steps: 8 Steps
Step 1
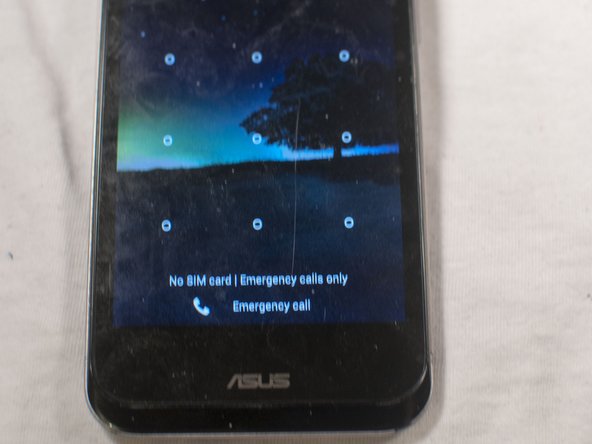
Let’s hear it for the power button! Give it a firm press and hold, and together we’ll conquer this repair adventure!
Step 2
– Grab your trusty plastic opening tool and gently work it into the seam to pop off the back cover of your phone. You’re doing great!
Step 3
– Peel off that pesky warning sticker hiding the battery plug and connecting cord. We know it’s a bummer, but it’s time to let it go!
– Now, hunt for the widest gap on either side of the battery. With your trusty plastic opening tool, gently coax the battery out. You got this!
– Using tweezers, disconnect the battery connecting cord. Take your time and be steady—you’re doing great!
Step 4
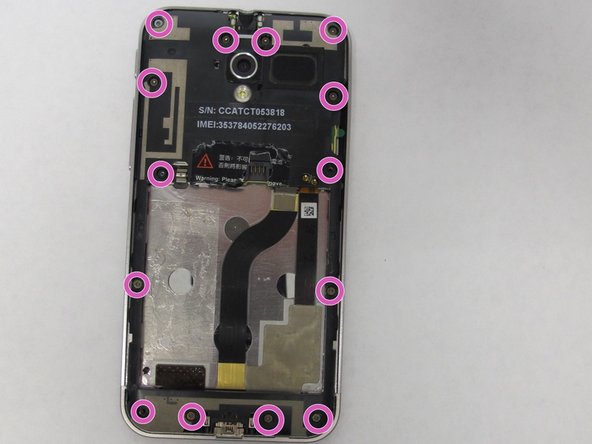
Beware, the screws near the Audio socket are the shortest of the bunch! Don’t use those long guys when putting it back together or your display might get a little cranky. 😁 Just investigate those tiny screws and all will be well in the world of tech repairs!
A magnetic pad is your new best friend for keeping those tiny screws in check!
– Grab your trusty T5 Torx screwdriver and take out those 14 screws holding the internal back plate in place.
– With the screws out, gently lift off the plate—you’re making progress!
Tools Used
Step 5
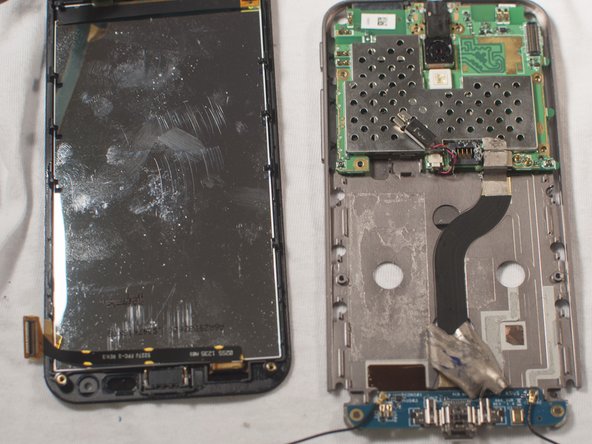
– Alright, let’s get to work! Once you’ve popped off the back cover, it’s time to disconnect these 4 important cables:
– 1. Multitouch cord. Simple and straightforward!
– 2. Display cable. There’s quite a bit of heat-dispensing tape here, so take your time. Gently peel it off and pull the cable towards the bottom of the phone.
– 3. Bottom board connector. It’s cozy under that heat-dispensing tape; carefully peel it off, pop it up just like you did with the multitouch cord. Remember, you only need to disconnect it from the main board—no need to remove the entire cord.
– 4. Antenna connectors. Just lift them up and out of the way, making sure everything stays tidy!
Step 6
– Gently slide your trusty plastic opening tool along the edge of the screen. Before you dive in, double-check that all cords are unplugged and free from any sneaky spots. Now, carefully lift the screen away from the metal frame like a pro!
Step 7
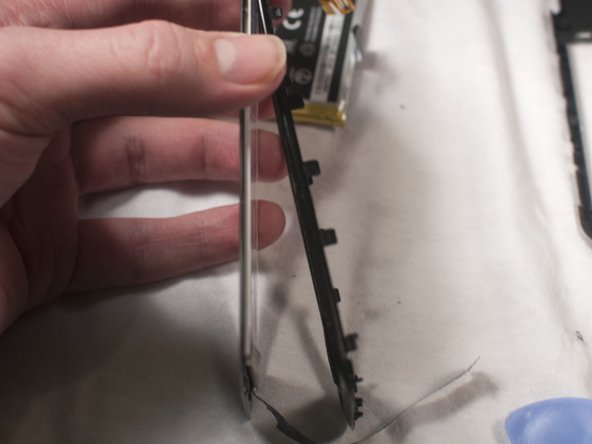
– Grab that plastic opening tool and gently pop the screen out from its frame like a pro!
Step 8
– To put your device back together, just retrace your steps in reverse order.
– Cancel: I didn’t finish this guide.
– If you’re stuck or need a hand, you can always schedule a repair.
Success!


