DIY Canon EOS 40D LCD Screen Replacement Tutorial
Canon EOS 40D LCD Replacement Tutorial
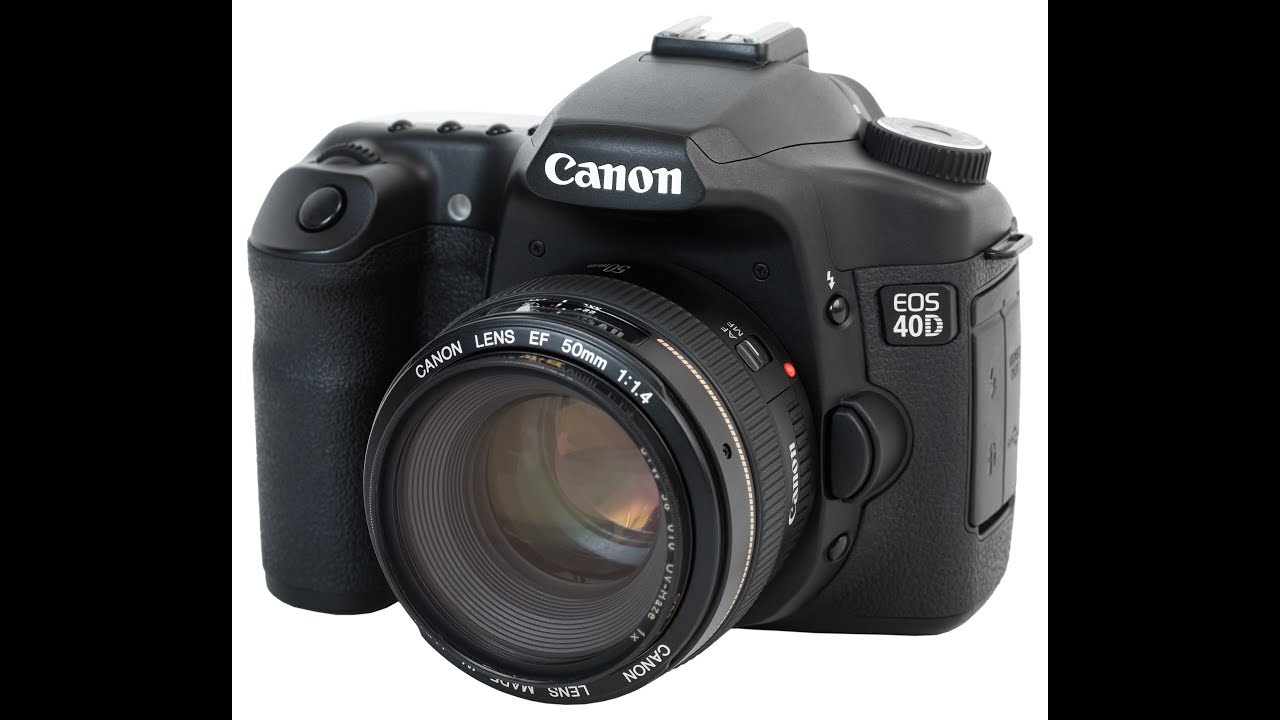
Is your Canon EOS 40D’s LCD screen cracked or damaged? Don’t worry, we’ve got you covered. In this tutorial, we’ll guide you through the process of replacing the LCD screen on your Canon EOS 40D. Please note that this is a complex process and requires some technical expertise. If you’re not comfortable with DIY repairs, we recommend scheduling a repair with Salvation Repair, where our expert technicians will be happy to help.

Step 1: Remove the Battery Compartment Cover
Locate the battery compartment cover on the bottom of the camera, below the shutter button. Find the marked arrow on the battery compartment cover labeled “BATT. OPEN”. Slide the lever following the arrow’s direction and lift at the same time to release the latch.
Step 2: Remove the Battery and Rubber Eyepiece
Release the lever and allow the battery compartment cover to completely open. Remove the battery and the rubber eyepiece by sliding it upwards.
Step 3: Remove the Screws and Side Cover
Remove the three 5.0 mm Phillips #000 screws and the two 3.0 mm Phillips #000 screws on the bottom of the camera. Use a plastic opening tool or your hands to remove the side cover.

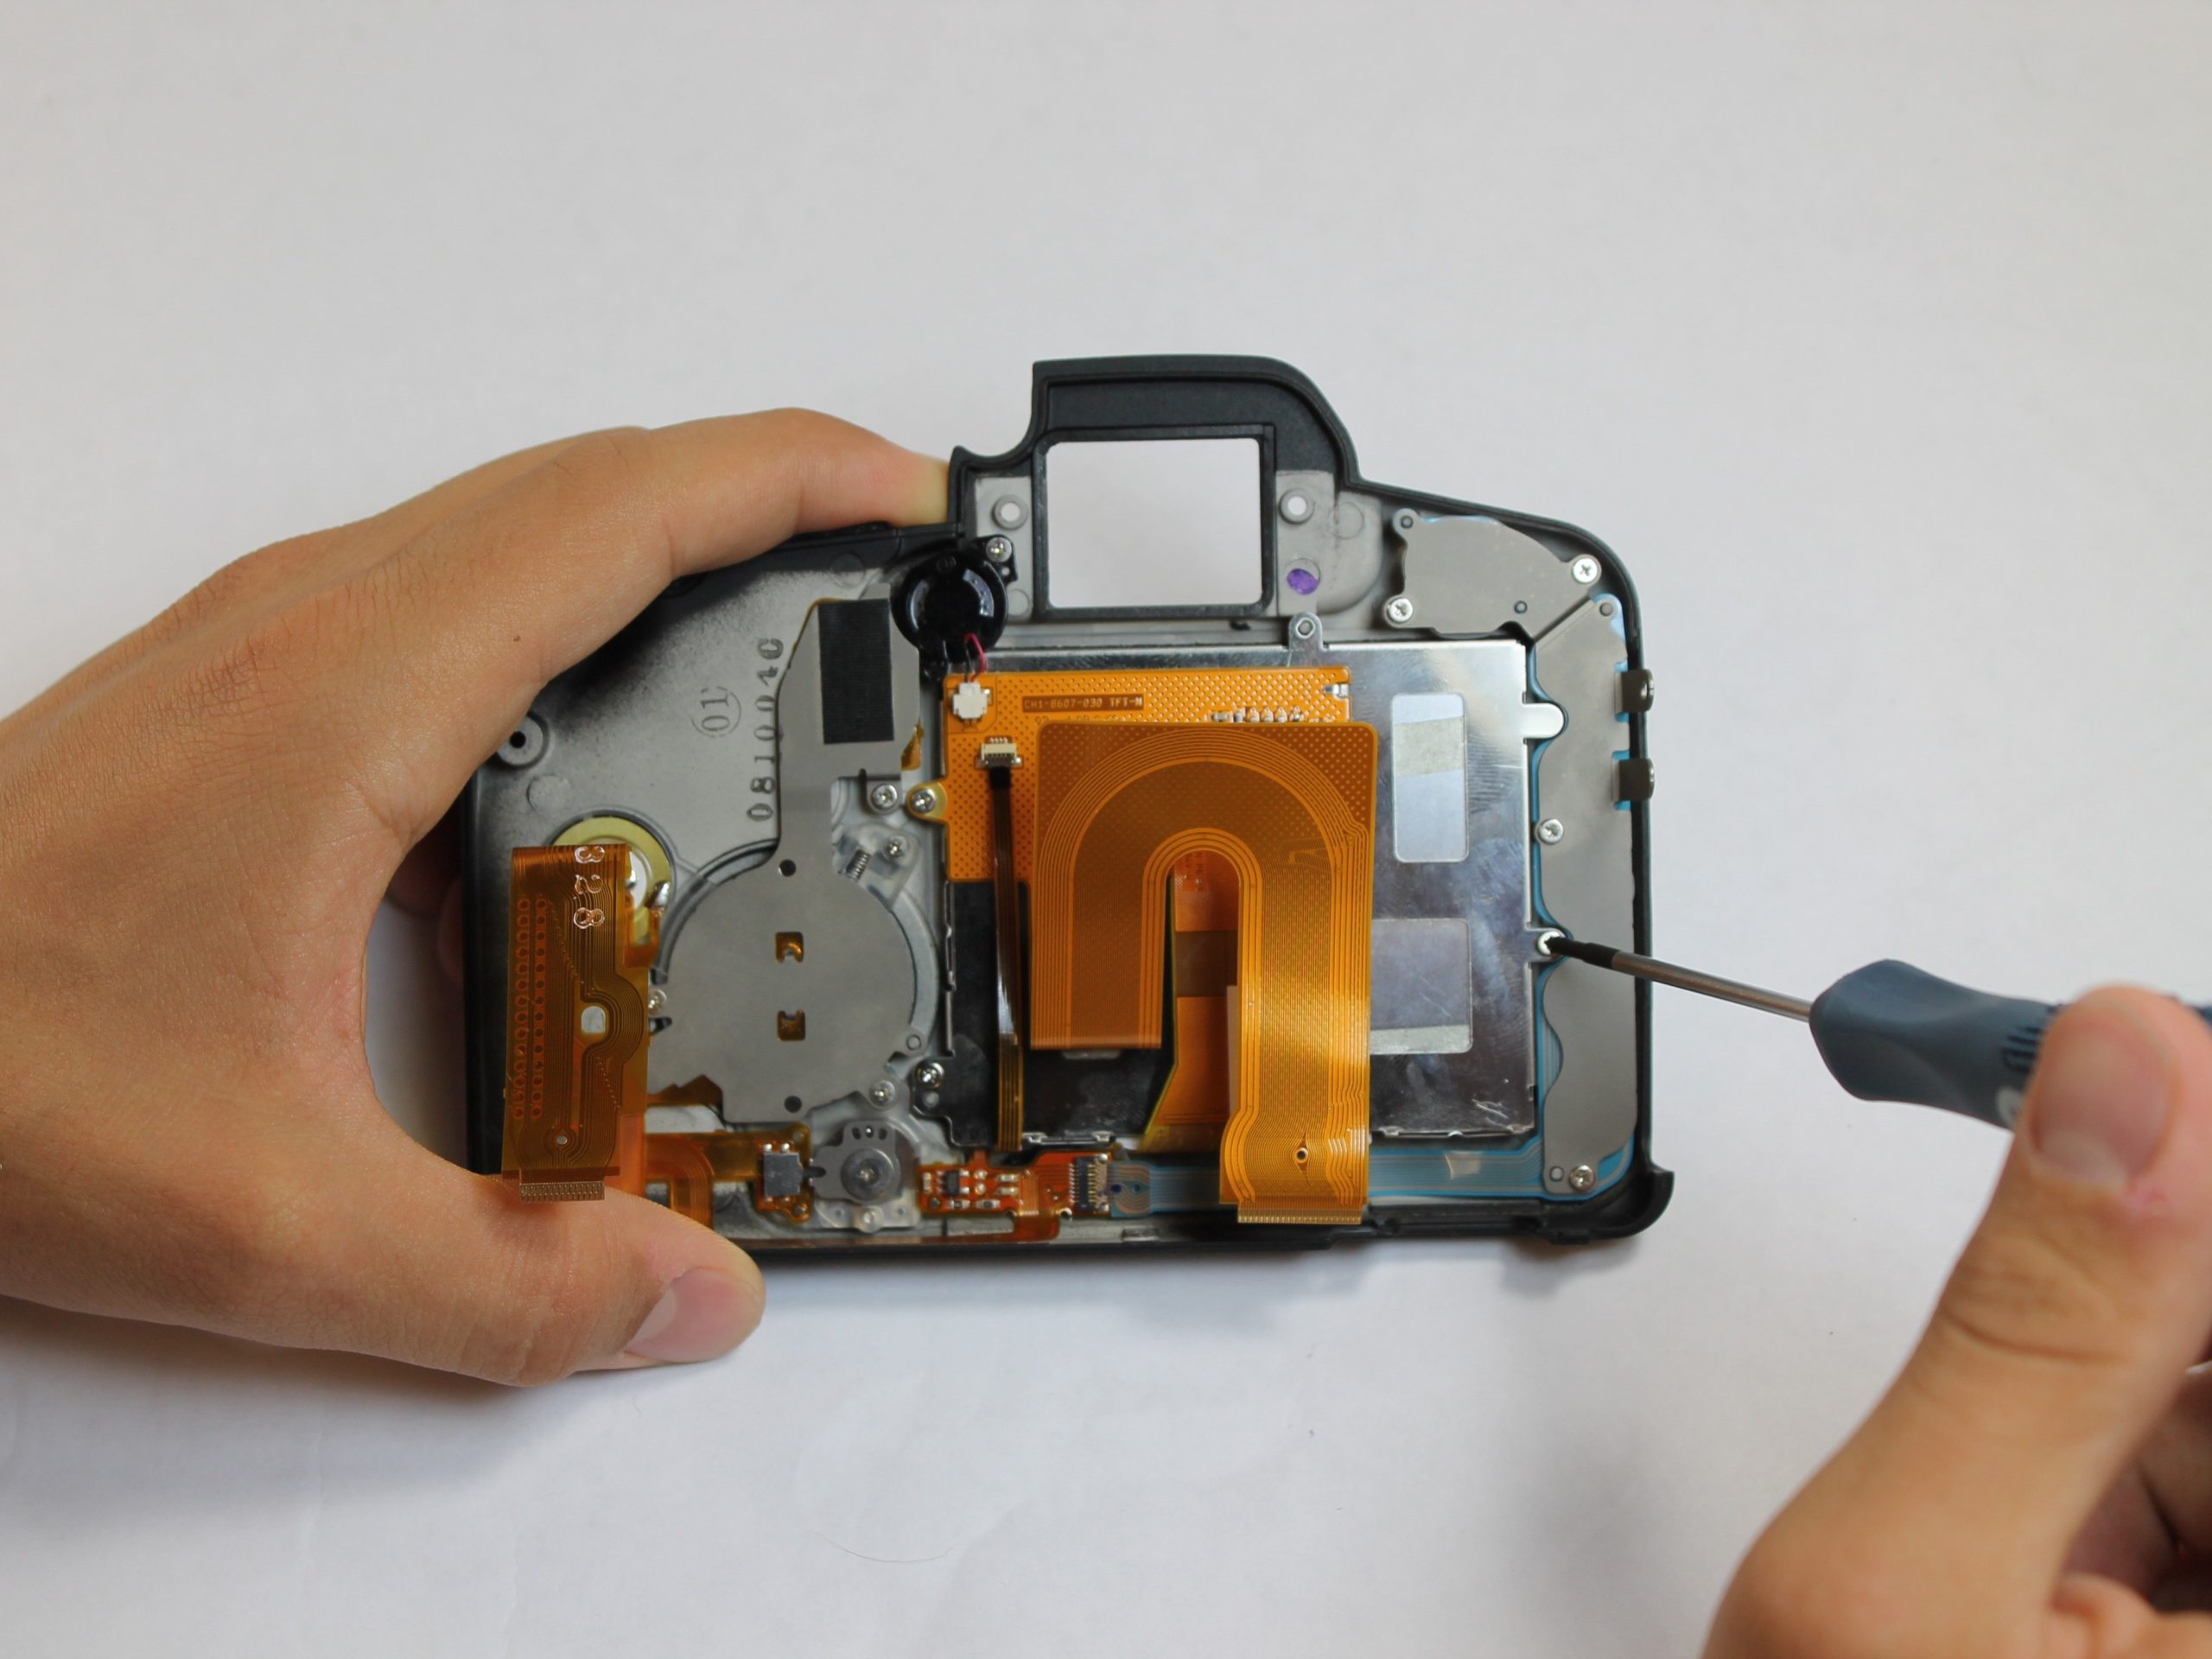
Step 4: Disconnect the ZIF Connector and Ribbon Cable
Use a plastic opening tool to gently start prying the rear case up from the rest of the camera. Use the tip of a spudger to disconnect the ZIF connector on the left side of the camera. Disconnect the ribbon cable securing the rear case to the motherboard.

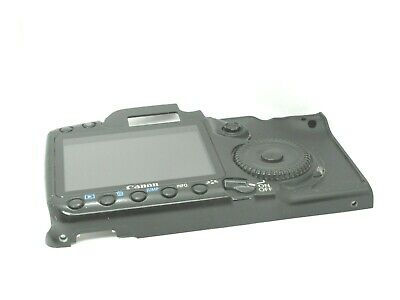
Step 5: Remove the Rear Case and LCD Screws
Separate the rear case from the camera. Remove the five 5.0 mm Phillips #000 screws securing the LCD to the rear case.

Step 6: Remove the LCD Panel and Frame
Lift the LCD free of the rear case. Remove the yellow tape covering the LCD ZIF connector. Use a plastic opening tool to lift up the black retaining flap. Pull the LCD ribbon cable out of the connector. Use a pair of tweezers to disconnect the cable connector.

Step 7: Reassemble the Camera
Reattach the LCD panel and frame. Reconnect the LCD ribbon cable and ZIF connector. Reattach the rear case and side cover. Replace the screws and battery compartment cover. Finally, reattach the rubber eyepiece.

That’s it! You’ve successfully replaced the LCD screen on your Canon EOS 40D. If you’re not comfortable with this process or if you encounter any issues, please don’t hesitate to contact