DIY Fixhub Portable Power Station UI Board Replacement Guide
Duration: 45 minutes
Steps: 25 Steps
Hey there, superstar! Just a quick heads-up: make sure you’re in a cozy workspace and have all your tools ready before diving in. We want to keep things smooth and hassle-free. And remember, if you hit a snag, don’t hesitate to schedule a repair!
Get ready to tackle the replacement of the UI Board (often called the ‘daughterboard’ or ‘UI PCBA’) in your FixHub Portable Power Station with this handy guide. Let’s dive in and make this repair happen together! If you need help, you can always schedule a repair.
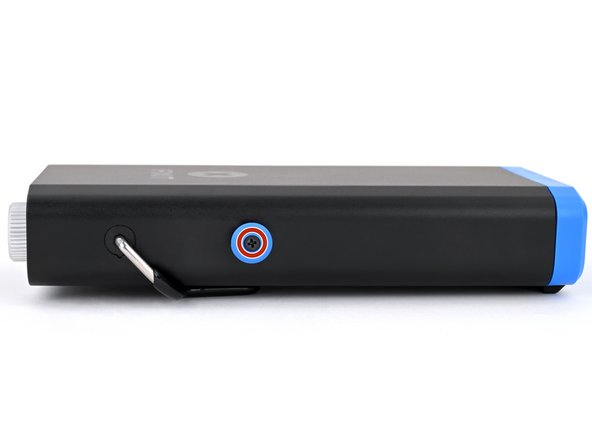
Step 1


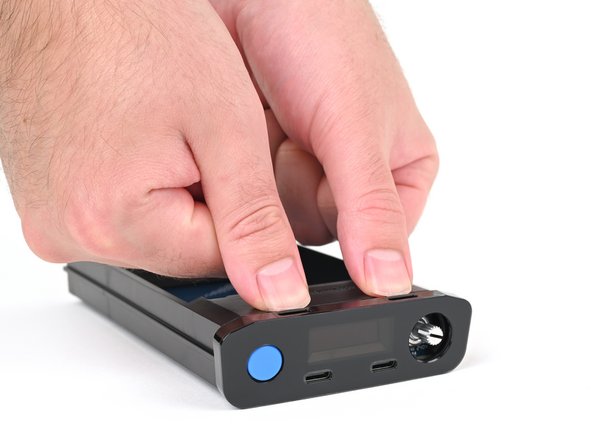
– Give that blue action button a solid press and hold it down for five seconds to power down your trusty power station.
– Time to fold up the kickstand!
Step 2
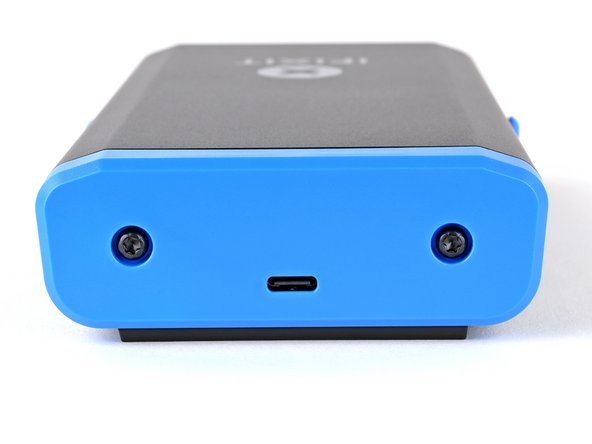

As you dive into this repair adventure, remember to keep an eye on each screw and pop it back in its original spot. You’ve got this!
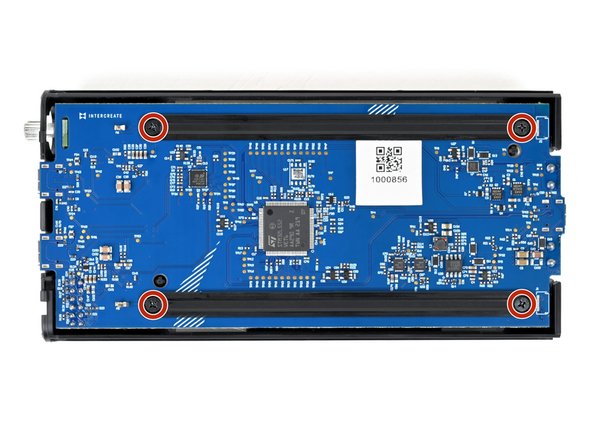
– Grab your trusty T10 Torx screwdriver and let’s get to work! Unscrew those two 8 mm-long screws that are holding the rear cover in place. You’ve got this!
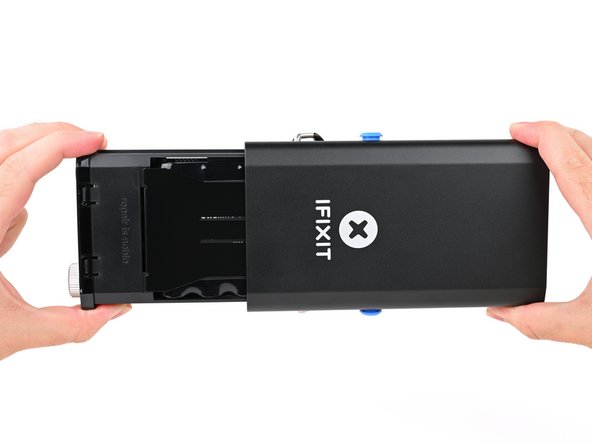
Step 3
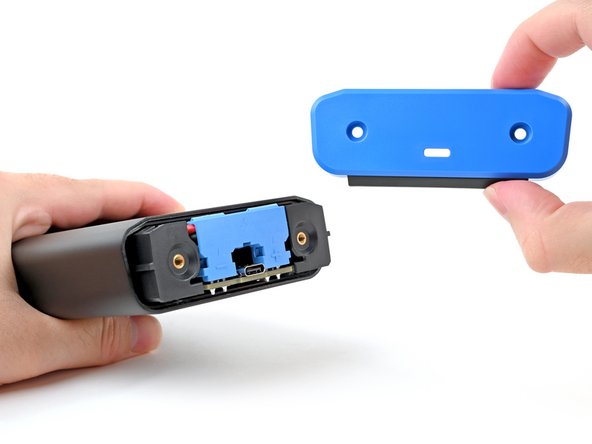

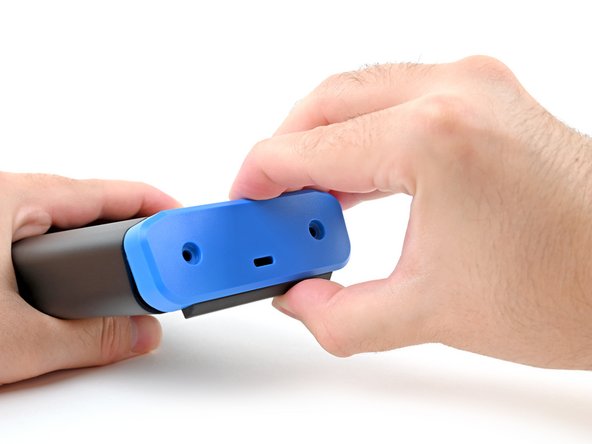
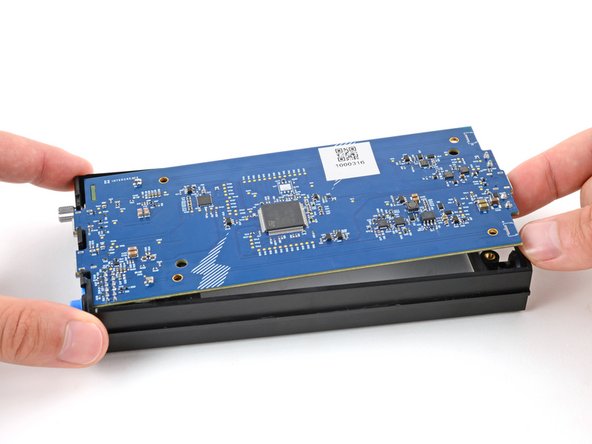
– Take hold of the rear cover and gently pull the bottom edge towards yourself.
– Carefully remove the rear cover.
– When putting it back together, start by hooking in the top edge of the rear cover first, then press the bottom edge down into place.
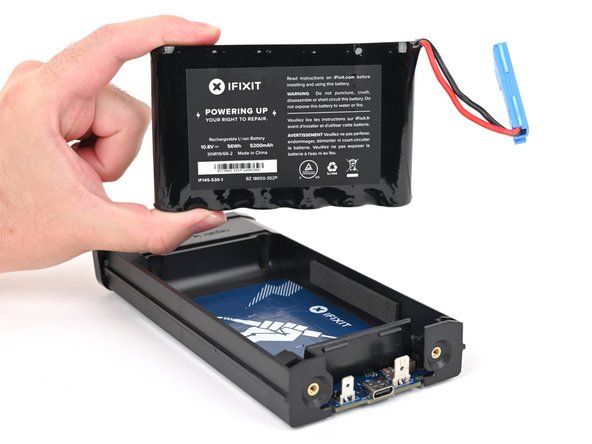
Step 4

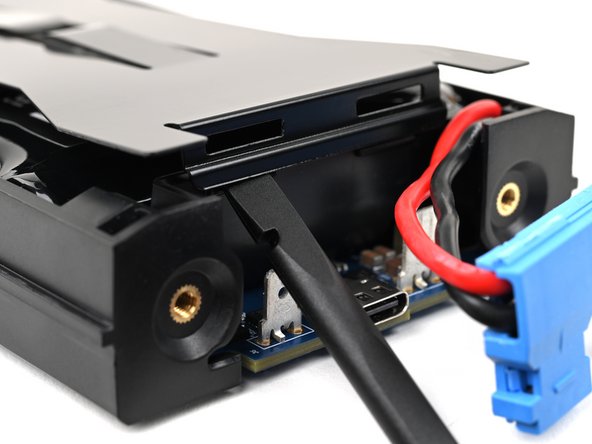
To keep things safe and sound, steer clear of metal tools when disconnecting the battery. Let’s keep the sparks to a minimum!
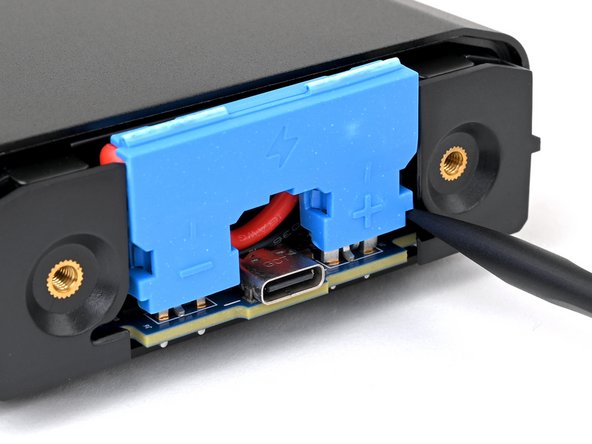
– Slide the flat end of your trusty spudger into one of the slots beside the battery connector. These slots were made for this very moment!
– Gently use the spudger to start lifting the connector up. You’ve got this!
Tools Used

Step 5


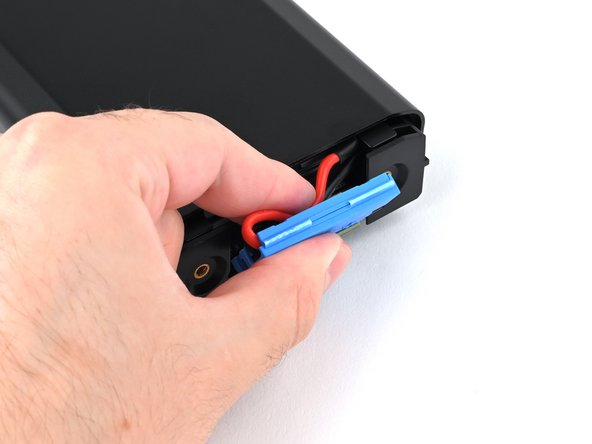
– Keep the momentum going! Gently pry up on the battery connector from alternating sides, just like you’re ‘walking’ it off those two plugs. Go at it until you can easily grab it with your fingers. You got this!
Step 6


Hey there! Just a friendly reminder: don’t go wrestling with that connector; those metal edges can be a little sharp! If it’s not budging, keep gently prying with your spudger until it’s loose enough to disconnect without any hassle.
– Hold onto the battery connector by its sides and gently pull it straight up to detach it. You’ve got this!
Tools Used
Step 7

– As you put everything back together, here’s how to get that battery all snug and connected:
Step 8

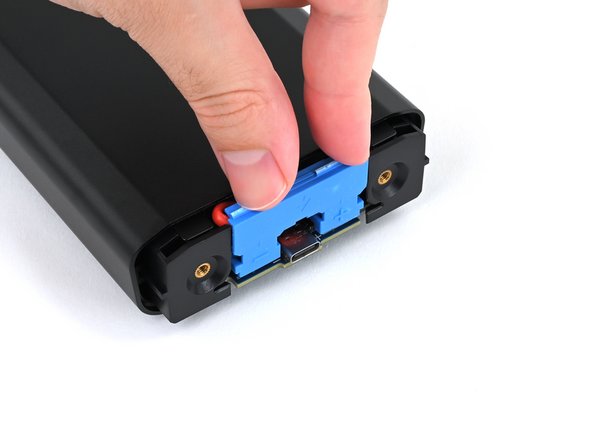
– Gently press your fingers into the screw holes on the rear cover and give the chassis a little nudge to pop it out of the enclosure.
Step 9

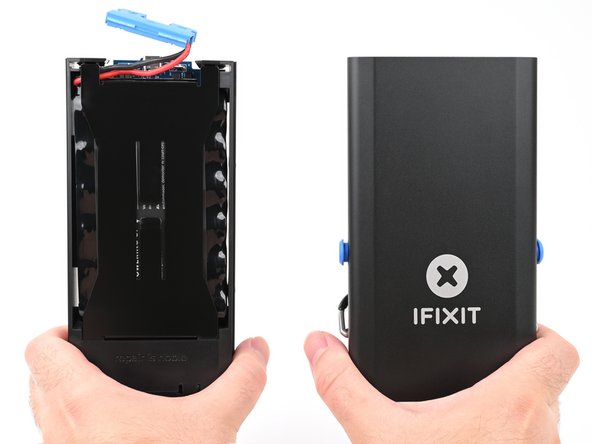
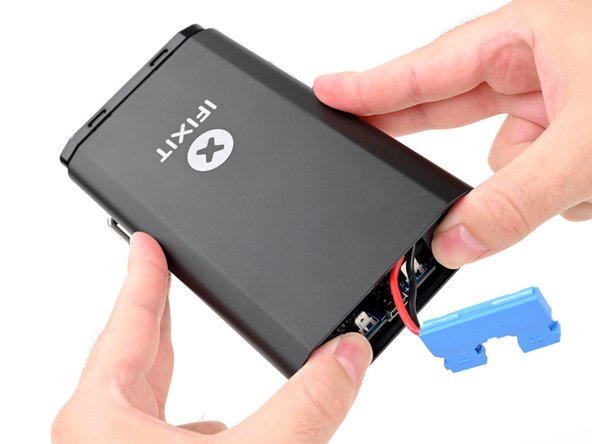
– Gently slide the chassis all the way out of the enclosure, but keep an eye on that battery connector—let’s not let it get caught on anything!
– When it’s time to put everything back together:

Step 11


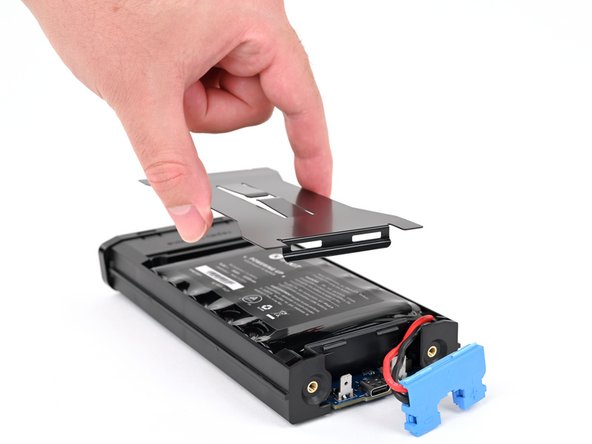
– Time to pop off that metal battery cover! Let’s get to the good stuff.
– And remember, as you piece everything back together:


Step 13
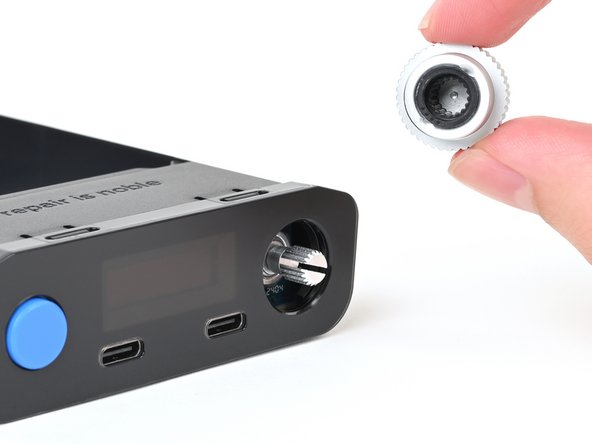

– Gently tug the silver selector knob straight out from the front panel to set it free!
Step 14

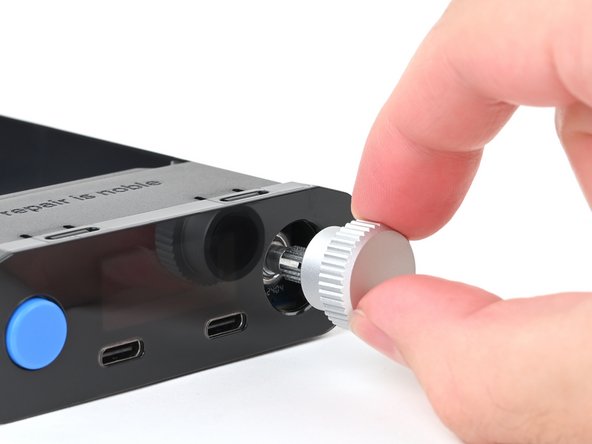
– Give those two locking tabs a gentle press with your fingers to release the front panel from its cozy spot.
– While keeping the tabs pressed down, slide the front panel away from the chassis and take it off.
– When it’s time to put everything back together:
Step 15

– Let’s turn your power station upside down for a moment.
– Grab your trusty Phillips screwdriver and take out those four 6 mm-long screws that are holding the two main board supports in place.
– Time to say goodbye to the main board supports; remove them with care.
– When you put it all back together, just remember to position the beveled sides of the main board support screw holes facing up. You’ve got this!
Step 16


– Gently nudge the main board upwards near the USB‑C port with your finger, just enough to get a good grip on the edges of the board.
Step 17

– First things first, use one hand to give that chassis a good, steady hug.
– With your other hand, grasp the main board right in the middle like you’re about to lift a prize.
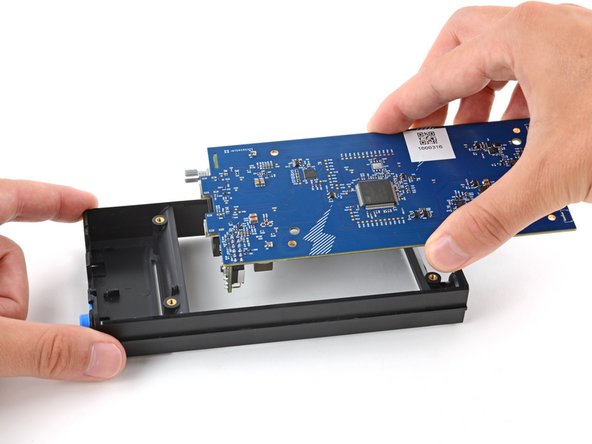
– Now, gently raise the board straight up and away from the display, making sure to guide the selector knob through its little cutout like a pro.
Step 18

The long pins on the main board snugly connect to the UI board, keeping everything secure and in check.
– With one hand, gently keep a hold of the main board.
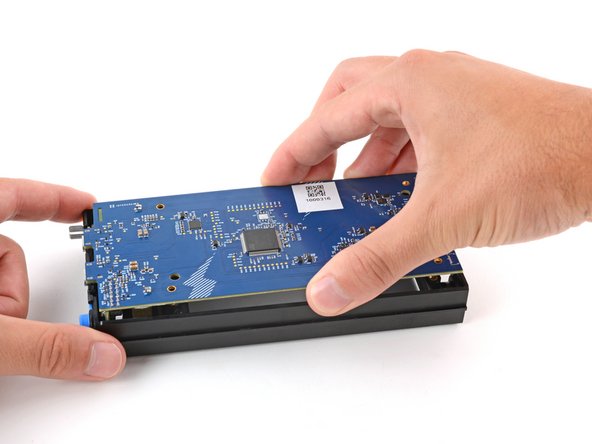
– With your other hand, take a firm grip on the edges of the UI board and pull it straight out from the main board to disconnect it. You’ve got this!
– When putting it all back together:
Step 19

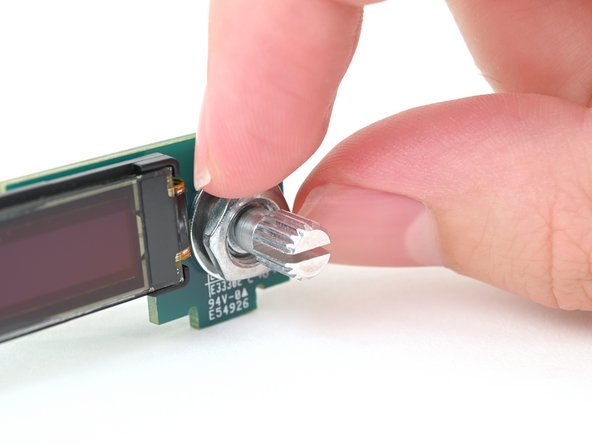
– Grab your trusty fingers, a pair of small pliers, or a 10 mm wrench, and let’s get that thin nut holding the selector knob nice and loose!
Step 20

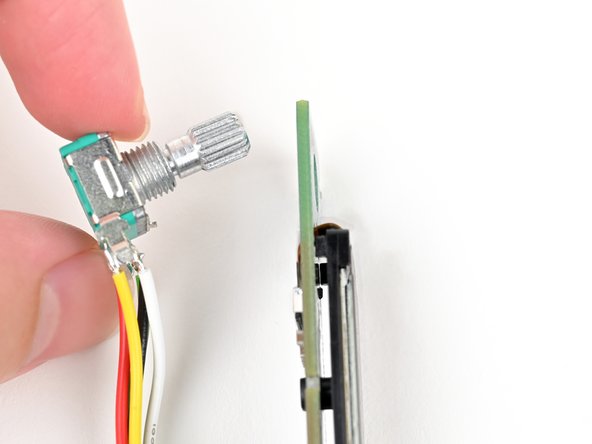
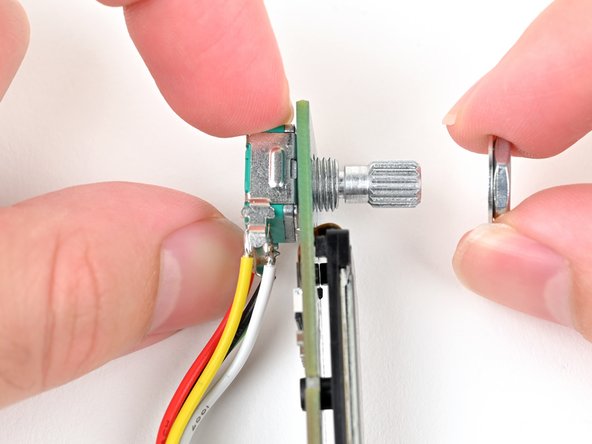
– Gently slide off the nut and its trusty washer from the front of the knob and set them aside.
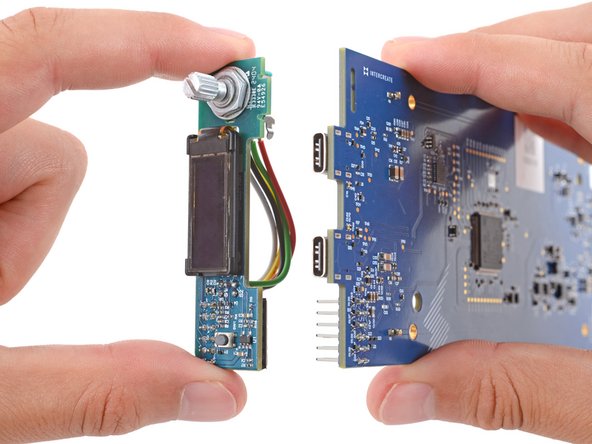
– Carefully pull the knob out of its snug little spot to release it from the UI board.
– Keep a hold of the knob and its cables, moving them out of the way as needed while you work on the UI board.

Step 22

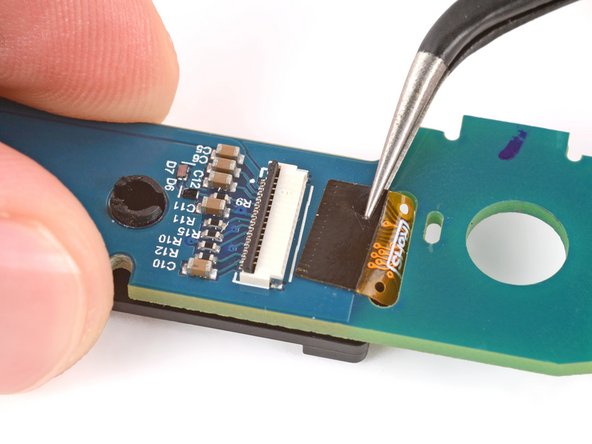
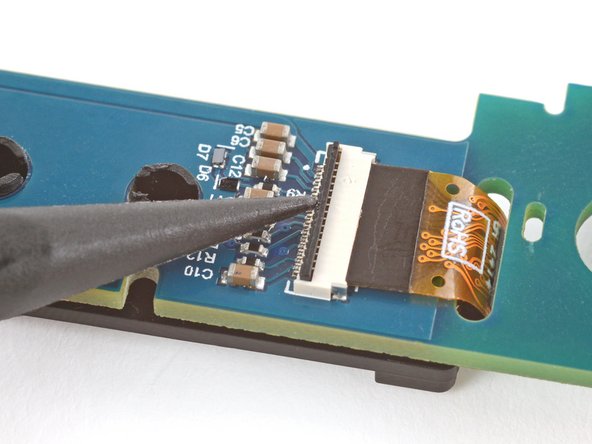
– Grab those angled tweezers and give the display cable a gentle tug to pull it straight out of the socket, like you’re delicately plucking a flower.
– When it’s time to put everything back together, use your finger to carefully guide the cable back into the socket. It’s like tucking in a little one for bedtime!
Tools Used

Step 23

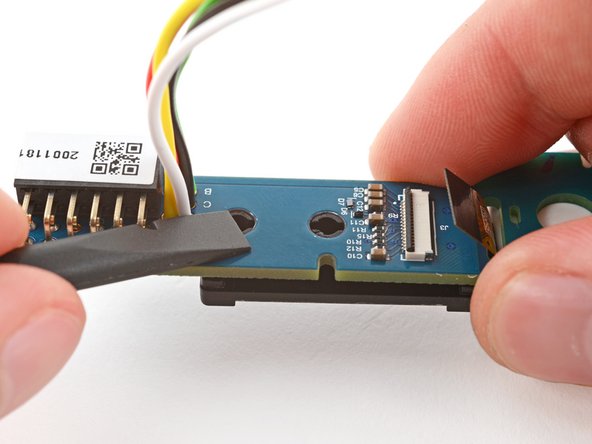
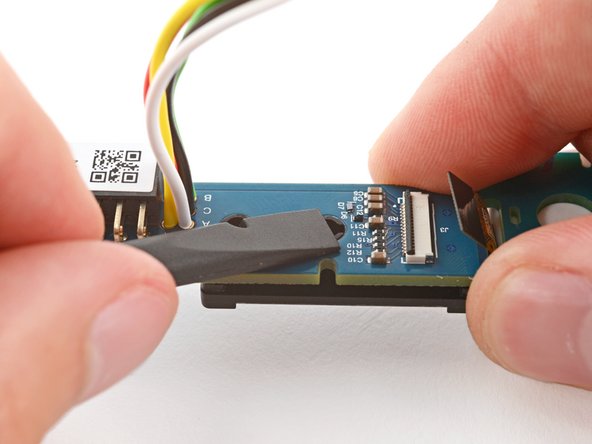
Watch out for those tiny surface-mounted components on the board! Treat them with care, and they’ll be your best friends during this repair adventure.
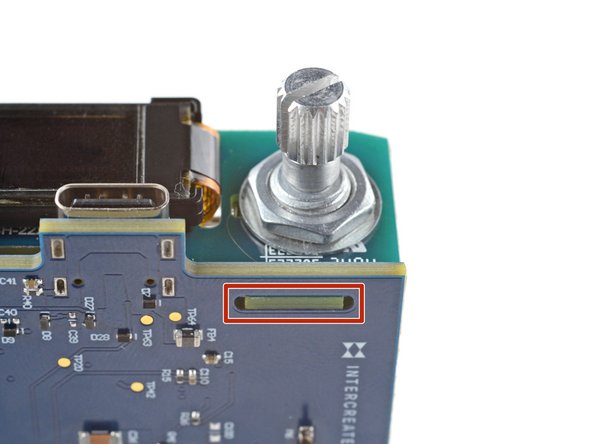
– Lift the UI board just a tad above your workspace and use the flat edge of a spudger to gently nudge those two display pegs through their cozy little cutouts on the board.
– When putting everything back together, simply press the pegs into their designated holes on the UI board until you hear that satisfying click!
Tools Used
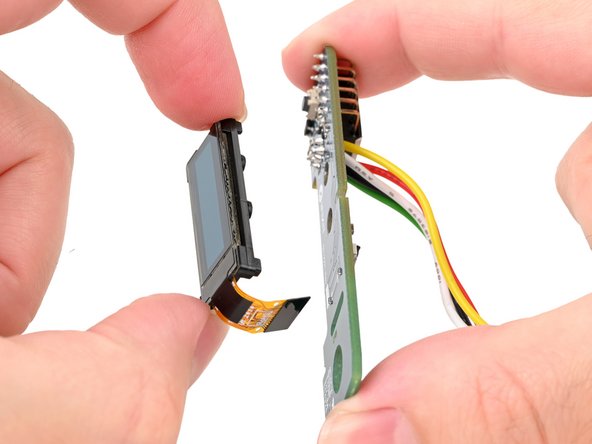

Step 25

– And there you have it, you’re all set with just the UI board left!