DIY Galaxy Tab S 10.5 Speakers Replacement Guide
Duration: 45 minutes
Steps: 9 Steps
Get ready to dive into this guide where we’ll walk you through the process of swapping out both speakers in your Samsung Galaxy Tab S 10.5, step by step. It’s easier than you think, and soon enough, you’ll be jamming to your favorite tunes again! If you find yourself in a pickle, remember, you can always schedule a repair.
Step 1


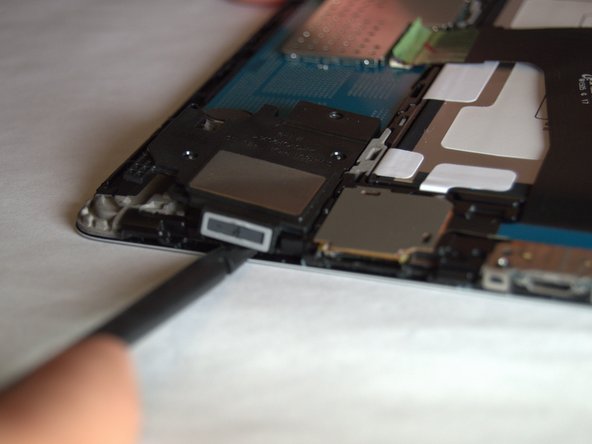
– Slide the plastic opening tool into the SD card slot or charge port.
– Work it gently upward until you see a gap between the tablet and back cover.
Step 2

If it’s your first time, getting the back cover off the tablet might feel like a mini battle. But don’t worry, you’ve got this!
The clips are spaced about 5 cm apart. As you work your way around the device, you’ll hear a satisfying pop when each clip lets go.
– Gently glide that trusty plastic opening tool all around the edge of your device, like you’re giving it a little friendly massage!
Step 3

Handle the internal components of the tablet with care, like they’re precious gems!
– Carefully pop off the back cover after you’ve successfully disconnected all the links. You’ve got this!
Step 4

– Alright, let’s start with the right speaker—grab your Phillips #000 screwdriver and take out those 10 mm screws like a pro.
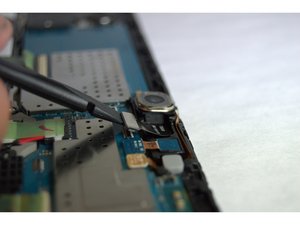
– Next, grab your trusty spudger and gently nudge that speaker out of its cozy spot. It’s been there a while, so show it some kindness!
– Now, slide the spudger under the amplifier and carefully lift it up. There’s some sticky adhesive holding it down, but you’ve got this!
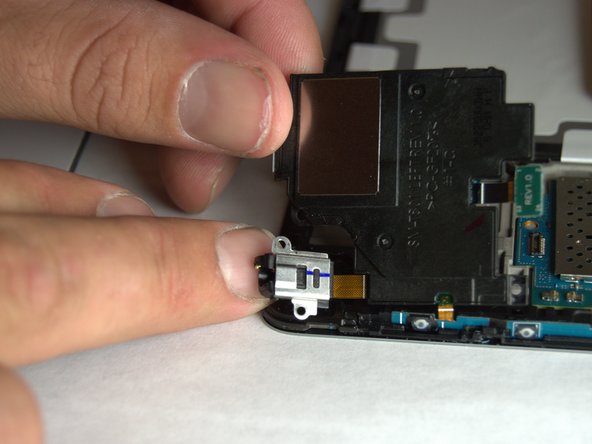
Step 5
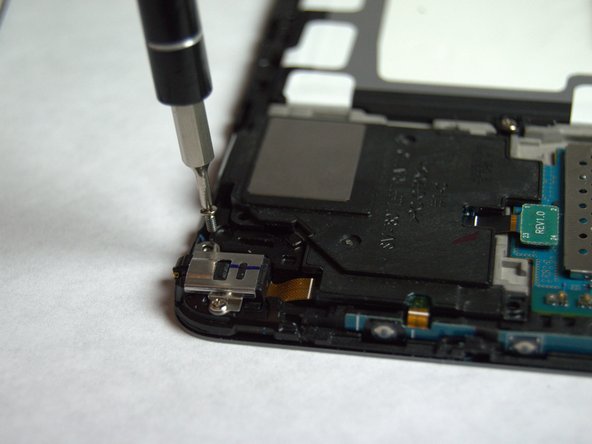
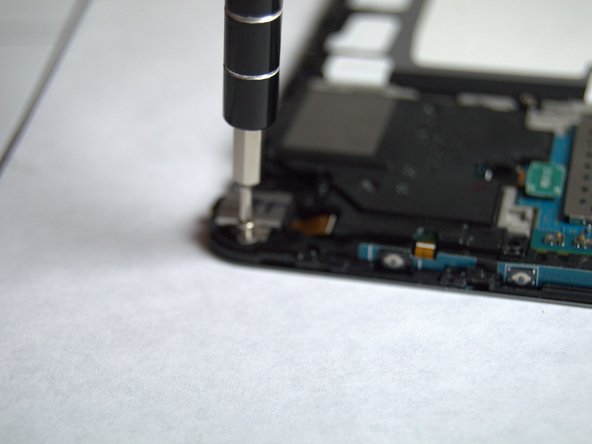

– Take out the two 10mm Phillips #000 screws that keep the left speaker in place. You’re doing great!


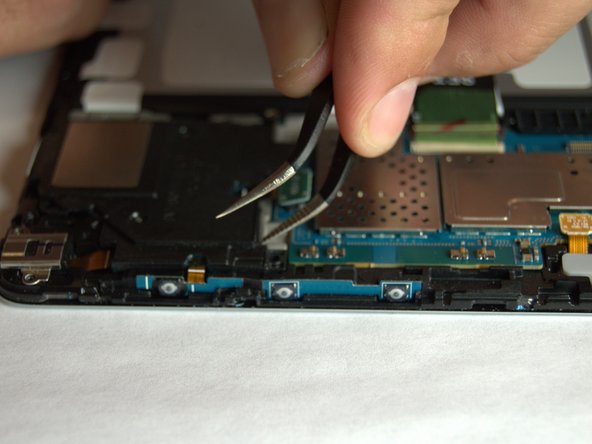

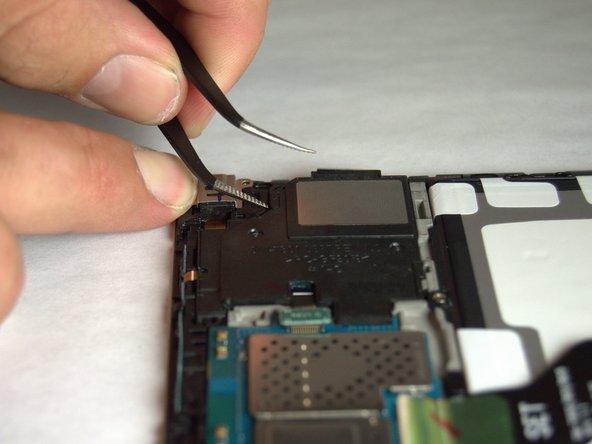
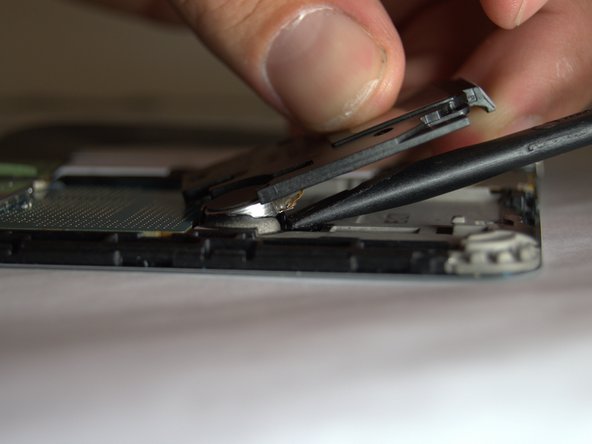
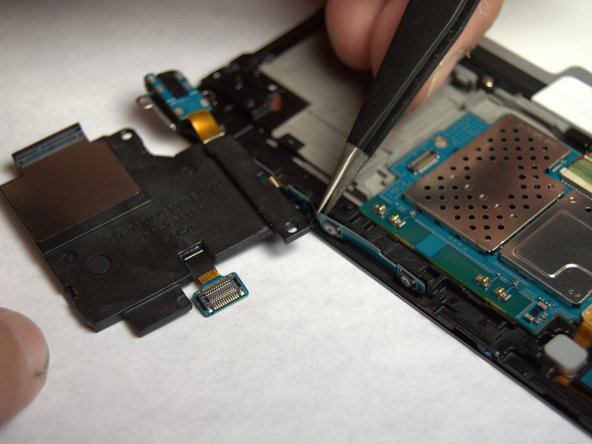
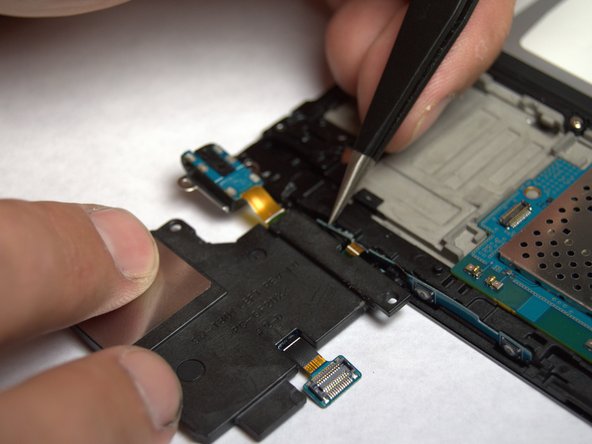
Step 8

– Gently lift the speaker out and set it aside for now while we tackle the remaining connections. You’re doing great!

Success!