DIY Google Pixel 3 Back Cover Adhesive Replacement Guide
Duration: 45 minutes
Steps: 11 Steps
This repair guide is brought to you by the awesome folks at Salvation Repair and hasn’t received a nod from Google. But hey, we’ve got your back!
This repair guide was crafted by the folks at iFixit and hasn’t been given Google’s thumbs up. Get the scoop on our repair guides here. Follow this step-by-step to get the back cover adhesive on your Pixel 3 just right after a repair. Before starting, make sure you’ve already taken off your Pixel’s back cover and set it aside. You can find detailed instructions for that here. If you need help, you can always schedule a repair.
Step 1


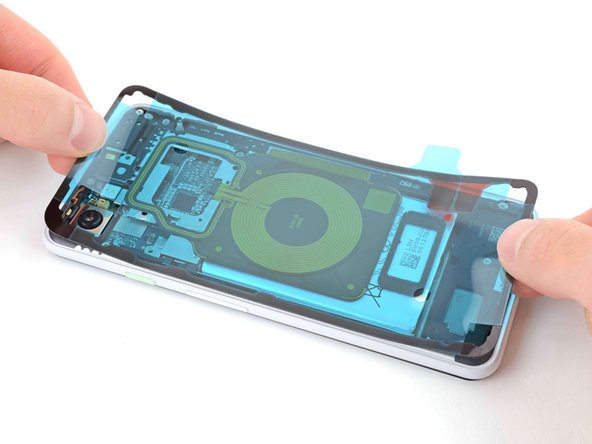
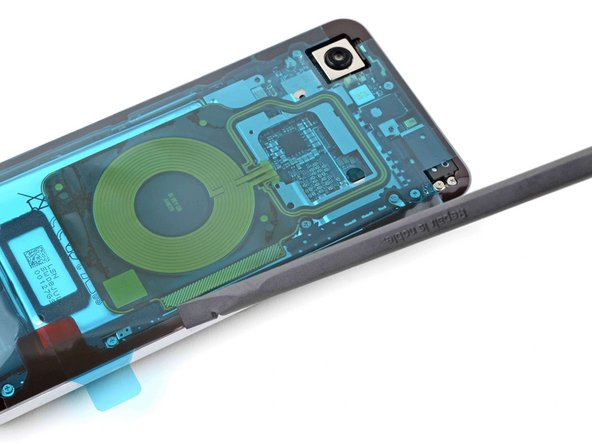
– Get ready to ditch that old adhesive – use a pick to scrape it away from the frame, and don’t be afraid to get a little aggressive.
– Now it’s time to bring in the big guns: grab a spudger and gently scrape away any remaining adhesive that’s clinging on for dear life.
– For a fresh start, clean the area under the old adhesive with 90% or greater isopropyl alcohol – this will get the surface ready for the new adhesive. And if you need help along the way, you can always schedule a repair
Tools Used

Step 2


Metal tools and that sticky stuff? Not a good mix! They’ll make your back cover sad.
Isopropyl alcohol and the camera bracket? They’re not friends! It’ll make the adhesive and foam all messed up. If you need help, you can always schedule a repair
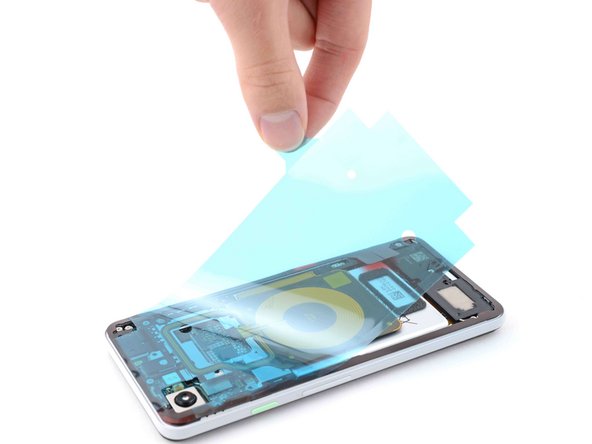
– Go ahead and give that back cover adhesive another round of love—just like you did with the front!
Step 3

– Now it’s time to get up close and personal with your replacement adhesive – carefully peel away the clear plastic lining to reveal the frame side, and you’ll be one step closer to a successful repair. If you need help, you can always schedule a repair
Step 4

Heads up! The adhesive in this step is super sticky, so make sure you get it right the first time. If it’s misaligned, you might end up with a seal that’s not quite right. Take your time and get it just so. If you need help, you can always schedule a repair
– Gently place the adhesive on the frame, like laying a cozy blanket on your favorite chair.
– Use the rear camera and corners as your trusty guides to ensure the adhesive is perfectly aligned. You’ve got this!

Step 6

– Carefully peel off the blue outer plastic layer on the back cover side of the adhesive. Take your time and go slow—this part can be a little tricky, but you’ve got this!
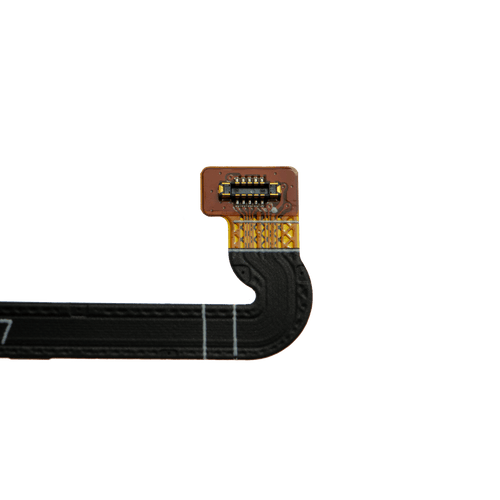
Step 7


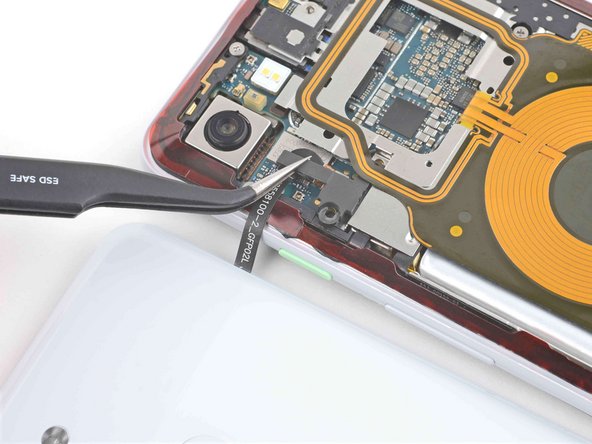
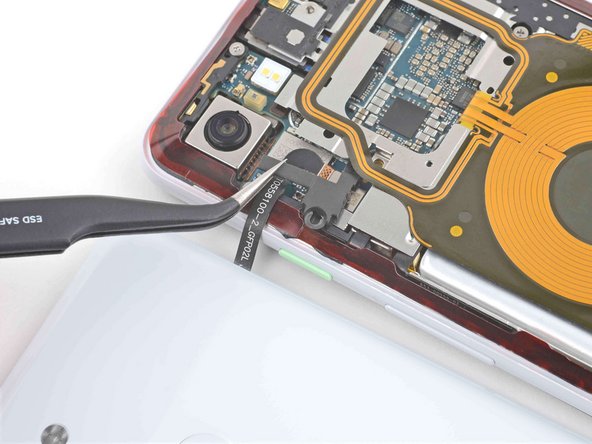
– Get those tweezers or your fingers ready to gently place the fingerprint sensor cable over its cozy spot on the motherboard.
– Next, take the flat end of a spudger or your finger and give that connector a good, firm press into the motherboard to make sure it’s nice and secure.

Step 8

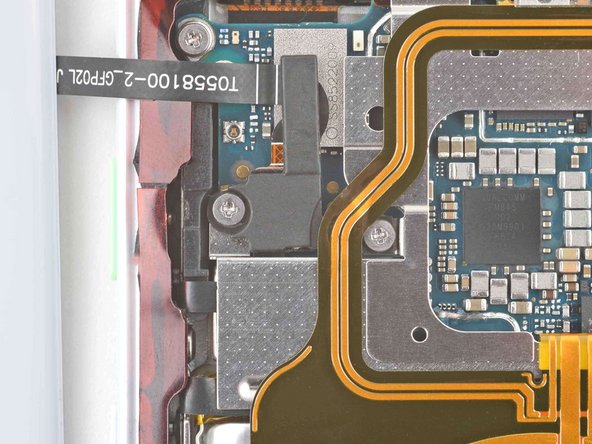
– Grab those tweezers or just your trusty fingers and gently set the bracket right over the fingerprint sensor cable. You’ve got this!
Tools Used
Step 9

– Grab your trusty Phillips PH00 screwdriver and use it to secure the bracket to the frame with the two 4.1mm screws. If you need help, you can always schedule a repair
Step 10

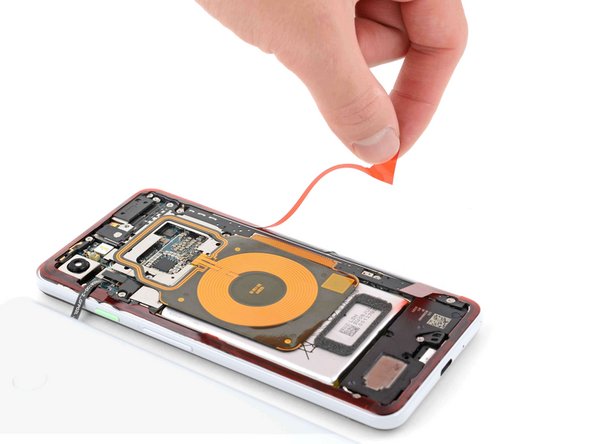
– Gently peel back the vibrant red plastic layer to reveal the adhesive on the back cover. It’s like unwrapping a gift, so take your time and enjoy the process!
Step 11


To ensure that the adhesive sticks like a charm, warm up the edges of the back cover and then flip the phone face-down under a hefty stack of books for 30 minutes. You’ll be amazed at the results!
– Time to put the back cover back in place – gently lower it onto the frame.
– Now, press down on all the edges to make sure it’s securely attached to the frame. If you need help, you can always schedule a repair