DIY Google Pixel 3 Back Cover Replacement Guide
Duration: 45 minutes
Steps: 11 Steps
Hey, this repair guide was put together by the awesome folks at Salvation Repair. It’s not official Google stuff, but it’s got your back! If you need a helping hand, you can always schedule a repair.
Yo! This repair guide is brought to you by the Salvation Repair crew, not Google. We’re here to help you rock that Pixel 3 repair! This guide’s going to show you how to swap out the glass back cover. You’ll be diving deep into the Pixel’s internals. Make sure you’ve got some double-sided tape (like Tesa tape) handy, because you’ll need it to stick down some parts. Need a hand? No worries, you can always schedule a repair with us.
Step 1

– Warm up your iOpener and give it a cozy spot on the bottom of your phone for about a minute. Let’s get that heat working its magic!
Tools Used

Step 2


– First, attach a suction cup to the heated bottom edge of the back cover – this is where the magic starts.
– Now, use some steady force to lift that suction cup and create a gap – you’re making great progress!
– Next, take an opening pick and carefully insert it into the gap you just created. If you need help, you can always schedule a repair
Hey there! It’s crucial not to mix up the screen side with the back cover side, you don’t want to mess up a perfectly good phone now, do you? Also, hold up with those metal tools – they’re a no-go for opening that fancy glass back cover. If you’re having trouble, add some heat with a hair dryer or heat gun. If you need help, you can always schedule a repair!
If your back cover is looking rough, like a cracked-out shell, try sticking a layer of clear packing tape over it. This will help our trusty suction cup get a good grip! 😉
Depending on how long your phone’s been around, you might need to give it a little extra oomph. If you’re struggling, throw some more heat at it and try again. You got this! 💪
Step 3

Be careful when slipping an opening pick above the power button – don’t push it in too far, or you might accidentally damage the fingerprint sensor cable. If you need help, you can always schedule a repair
Step 4


– Alrighty, gang! Slice the adhesive along the bottom edge of your gadget and around the right corner. Afterwards, scope out our handy website if you need some backup: schedule a repair
Step 5


That adhesive can be a bit sticky! No worries, just wiggle that pick back and forth like you’re sawing through butter. It’ll help loosen things up.
– Now it’s time to get this repair started. Heat the right edge with an iOpener and use an opening pick to carefully slice through the adhesive. If you need help, you can always schedule a repair
Tools Used
Step 6


Hey, when you’re carefully slicing above the power button, just be sure to keep that pick from going too deep, or you might give the fingerprint sensor a little too much love.
– Now it’s time to heat and slice your way around the rest of the phone’s perimeter. Don’t forget to leave a pick in each edge – this will stop the adhesive from sealing back up. If you need help, you can always schedule a repair
Step 7


Hold up, mate! Don’t even think about taking off that back cover – it’s still all connected to your device via the fingerprint sensor cable. If you need help, you can always schedule a repair.
– Now that you’ve made your way around the phone’s perimeter, gently pry up the left edge of the back cover – you’re making great progress!
– Next, flip the back cover along its long edge, and balance it so the fingerprint sensor cable has some breathing room. If you need help, you can always schedule a repair
Step 8

– Let’s kick things off by unscrewing those two 4.1 mm Phillips screws that are holding the fingerprint connector bracket in place. You’ve got this!
– Keep your eyes peeled and stay organized throughout this repair. Make sure to remember where each screw goes; they’ll want to return to their original homes!
– When you’re putting everything back together, just a friendly reminder: don’t overdo it with the tightening! We want to keep that display safe and sound.
Step 9


– Time to get that fingerprint connector bracket out from under the NFC coil – use the point of a spudger to gently slide it out.
– Now, carefully remove the fingerprint connector bracket. If you need help, you can always schedule a repair
Tools Used

Step 10


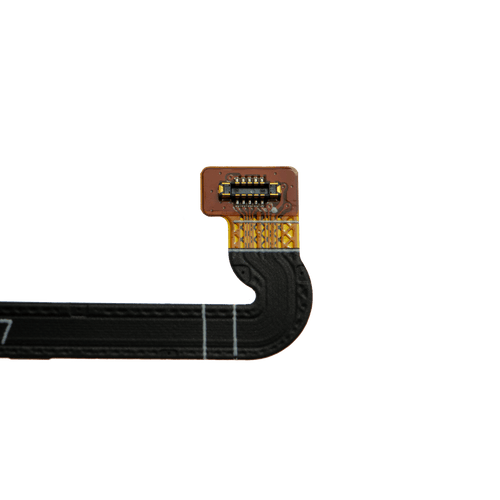
When unplugging connectors like these, just take a moment to watch out for those tiny surface-mounted components hanging out near the socket. They can be a bit picky, so keep them happy!
– Use your trusty spudger to carefully pry up and disconnect the fingerprint connector from its socket – it’s like freeing a tiny captive!
– To reattach press connectors like this one, line it up just right and gently press down on one side until you hear that satisfying click. Then, repeat the process on the other side. Remember, no pressing down on the middle, or you might end up with bent pins and a world of trouble. If you need help, you can always schedule a repair
Tools Used
Step 11


– Time to pop off that back cover!
– Before slapping on a shiny new back cover, let’s make sure your phone frame is squeaky clean. Grab an opening tool and gently scrape away any sticky residue, then give the surface a good wipe with high concentration isopropyl alcohol.
– If you’re sticking with the original back cover, make sure to clean off any old adhesive and apply some fresh back cover adhesive for a snug fit.
– Installing a replacement back cover? Awesome! Just make sure to do a side-by-side comparison with the original part. Don’t forget to transfer any small bits (like the flash diffuser) over to your new cover.
– Follow this guide for a pro-level application of that new back cover adhesive. You’ve got this!
Tools Used