DIY Google Pixel 8 Screen Replacement Guide: Step-by-Step Tutorial
Duration: 45 minutes
Steps: 21 Steps
Get ready to unleash your inner repair hero with this fun, friendly, and easy-to-follow guide from the brilliant minds at Salvation Repair! Trust us, you’re totally capable of taking on this challenge. We’ve got your back every step of the way.
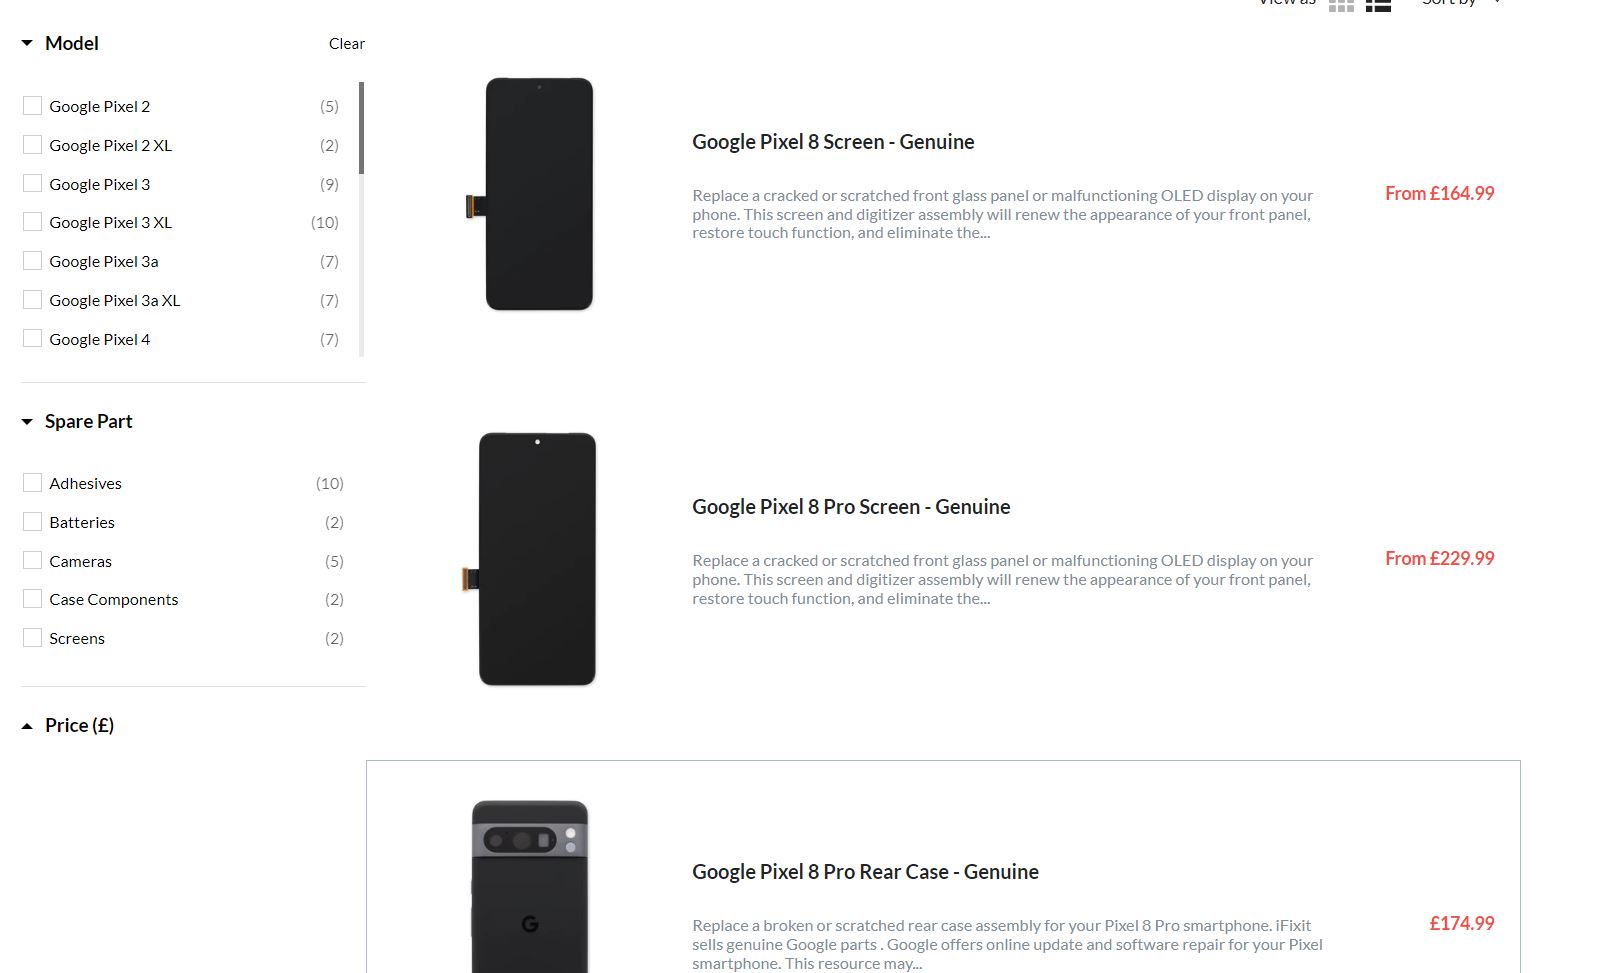
Hey there! So, we’ve got this awesome guide for ya from our pals at iFixit. It’s all about swapping out that busted screen on your Google Pixel 8. But hey, don’t sweat it – even if you don’t have the same model, you can still rock this guide. Just give a miss to the steps about the 5G mmWave antenna. And guess what? You’ll need this lil’ thing called screen adhesive to get the job done. So, give it a shot and show that phone who’s boss! If you’re feeling a bit overwhelmed, no worries – you can always schedule a repair with us. We’re here to help!
Step 1


Make sure to let your Pixel’s battery run down to under 25% before diving into this repair. A full lithium-ion battery can be a bit temperamental and could ignite if mishandled. Stay safe out there!
Simultaneously press the power button and the volume up button to open the shutdown menu like a pro!
– First things first, unplug all those pesky cables from your phone. Give it some space!
– Now, let’s make sure your phone is completely powered down. A little break never hurt anyone, right?
Step 2


Get ready to use those trusty opening picks to gently pry the screen away from the frame. Just a heads up—if you push them in too deep, you could accidentally cause some damage to your device. So, take a moment to mark your pick to keep everything safe and sound.
As an alternative, you can stick a coin to the pick about 3 mm from the tip with tape. It’s a nifty little trick!
– Grab your ruler and measure out a cool 3 mm from the tip, then give your opening pick a stylish mark with a permanent marker. You’re on your way to a successful repair!
Step 3

The screen is held tight to the frame by some trusty adhesive and clips. A little heat does wonders, softening the adhesive and making the separation a breeze!
You can also use a hair dryer, heat gun, or hot plate. Just remember to keep it cool—too much heat can lead to a sad screen or battery.
– Let’s get this repair started! Heat an iOpener and place it on the bottom edge of the screen for about two minutes. This will help loosen the adhesive, making the next steps a breeze.
Tools Used


Step 4


The next three steps are all about the Anti-Clamp, an awesome tool we’ve created to make opening gadgets a breeze. If you’re not using it, feel free to skip ahead a few steps for an alternative way to get the job done.
– Give that blue handle a gentle pull back to release the Anti-Clamp’s arms. You got this!
– Now, place your phone screen-side up on a flat surface. Make sure it sits snugly between the Anti-Clamp’s arms, letting the bottom edge dangle a bit. Just like a comfy hammock!
– Slide those arms right over the left edge of your phone. This way, you’ll have a clear shot at the bottom edge.
– Next up, position the suction cups as close to the center of the bottom edge as you can. Aim for perfection!
– Finally, squeeze those cups together to create a strong suction. You’re almost there!
Step 5


– Give that handle a gentle tug forward to lock those arms in place!
– Now, twist that handle clockwise for a full 360 degrees, or until you see those suction cups starting to stretch out. You’ve got this!
– As those cups stretch, keep an eye on their alignment. If they start to slip around, no worries! Just pop off the Anti-Clamp and use some tape to help those cups stick.
Step 6


Keep that opening pick no deeper than 3 mm—your device’s spring contacts will thank you for it!
– Take a minute to let the magic happen – wait for a gap to form between the screen and frame.
– Time to get picky! Insert an opening pick into the gap and get ready to move on to the next step.
– Now it’s time to set things free. Pull the blue handle backwards to unlock the arms, then use the pull tabs on the suction cups to remove the Anti-Clamp.
– Whoa, skip ahead! Jump over the next two steps and get back to it when you’re ready.


Step 8


Need a little more space? Just crank up the heat and try again! It’ll work, we believe in you! If you’re still struggling, you can always schedule a repair.
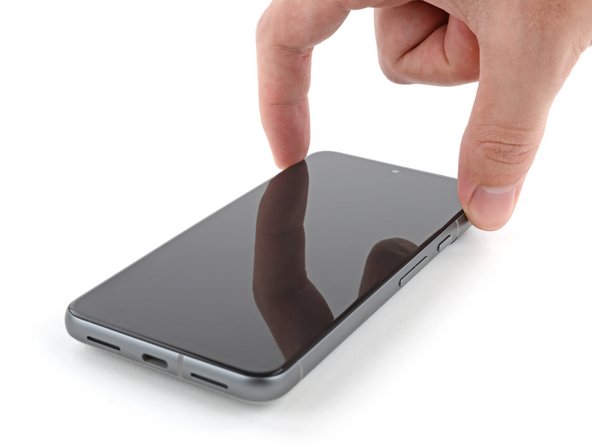
– Get a grip on that suction handle and pull up with some serious strength – you got this! Keep going until you see a gap start to form between the screen and the frame.
– Now it’s time to bring in the opening pick – carefully slide it into the gap you just created.
Tools Used
Step 9


– Keep your eyes peeled for the screen cable, it’s hanging out a bit less than halfway up the left edge of your phone. Tread carefully here, we wouldn’t want any cable mishaps!
– Around the edges of the phone, you’ll find a bunch of spring contacts just waiting for some gentle handling. Be cautious in these areas to steer clear of accidentally bending them. You’ve got this!
Step 10


– Now it’s time to get this repair started – slide the opening pick along the bottom edge to loosen the adhesive that’s holding everything together.
– Leave that pick right where it is, in the bottom right corner, so the adhesive doesn’t try to sneak back into place.
Step 11

You could also grab a hair dryer, heat gun, or hot plate to help out—but just a heads up: too much heat can be a screen or battery’s worst enemy!
– Time to get this repair started! Apply a heated iOpener to the right edge of the screen for about two minutes to loosen things up.
Tools Used
Step 12


– Slide a second opening pick right under the bottom right corner of the screen to get things started.
– Now, gently glide that pick all the way to the top right corner to gently loosen the adhesive that’s holding down the right edge of the screen.
– Keep that pick securely in place at the top right corner to make sure the adhesive doesn’t seal up again on you.
Step 13


– Pop in a third opening pick right under the bottom edge of that screen.
– Now, glide that new pick over to the bottom left corner.
– Keep that pick snugly in the bottom left corner to stop the adhesive from playing tricks and resealing.
Step 14

Alternatively, feel free to bring out a trusty hair dryer, heat gun, or hot plate—but remember, too much heat could put a serious dent in your screen and/or battery. Keep it cool and take your time!
– Warm up that left edge of the screen with your trusty iOpener for a solid two minutes.
Tools Used
Step 15


– Time to get this screen loose! Insert a fourth opening pick under the bottom left corner of the screen to start separating it from the rest of the device.
– Now, gently slide the new pick all the way to the top left corner. This will help break the adhesive that’s holding the screen’s left edge in place.
– Leave that pick right where it is, at the top left corner, to keep the adhesive from resealing itself. You’re making great progress!
Step 16

If you’re feeling extra sassy, you can also heat things up with a hair dryer, heat gun, or hot plate. Just remember, don’t get too spicy—those screens and batteries really don’t like extreme heat.
– Warm up an iOpener and give it a cozy two-minute hug at the top edge of your screen. It’s like a spa day for your device!
Tools Used
Step 17


– Grab a fifth opening pick and gently slide it under the top edge of the screen, right near the left corner. You’re doing great!
– Now, glide that opening pick over to the top right corner. This will help loosen the adhesive keeping the screen’s top edge snug. You’re almost there!
Step 18

Watch out for that screen cable! Give it some love and avoid unnecessary strain. You’ve got this!
If the screen feels stuck, don’t worry! Just go back around the perimeter with an opening pick to gently separate any remaining adhesive and you’ll be back on track.
Step 19


– Grab your trusty opening pick and gently lift the top edge of that screen cable cover like a pro.
– Once it’s up, go ahead and take off the cover. You’re doing great!
Step 20


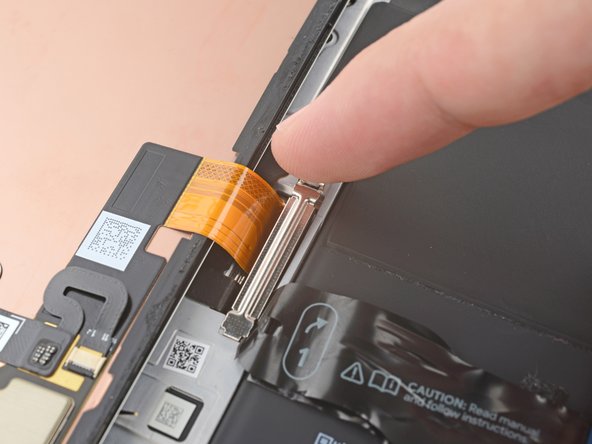
– Slide the tip of a spudger into the upper left corner of the screen’s press connector and give it a little twist. It’s like giving it a gentle wake-up nudge!
– Carefully lift up and disconnect the cable. Be gentle—this isn’t a game of tug-of-war!
– Time to say goodbye to the screen—lift it off and set it aside!
– When it’s time to reconnect that press connector, line it up with its socket, and give one side a soft press until it clicks. After that, follow up with the other side. Just remember: no pressing in the middle! We want to keep those pins straight and happy; misalignment can lead to some serious mischief!
Tools Used

Step 21

– Grab those handy pull tabs and peel off the liners hiding the front camera cutout, the rear camera pad, the back of the screen, and the perimeter adhesive like a pro!
– Time to reconnect the screen cable and pop that cover back on. You’ve got this!
– Now’s a great moment to give your phone a quick test drive before sealing it up. Just power it on temporarily and check if everything’s working smoothly. Once you’ve done that, don’t forget to power it down again!
– Press the screen firmly into the frame. You should hear those clips give a satisfying ‘pop’ as they lock into place. Awesome!
– Make sure to press around the edges of the screen to really secure it with that fresh adhesive. You’re almost there!
– Follow this guide to get that fingerprint sensor calibrated just right!
Success!