
DIY Google Pixel 9 Pro Fold Screen Replacement Guide: How to Replace Your Outer Screen in 32 Easy Steps
Duration: 45 minutes
Steps: 32 Steps
Yo, DIY repair fans! This step-by-step guide came straight from our home cookin’ at Salvation Repair, so you know it’s the real deal. Check out more repair wisdom on our website if you’re so inclined! schedule a repair if you’re feeling stuck, ’cause we’re always here to help!
Get ready to tackle your repair journey! This guide will walk you through replacing the outer screen on your Pixel 9 Pro Fold with ease. It’s all laid out step-by-step, so you can feel confident and empowered. Need a little extra help? No worries! Just schedule a repair if you hit any snags along the way!
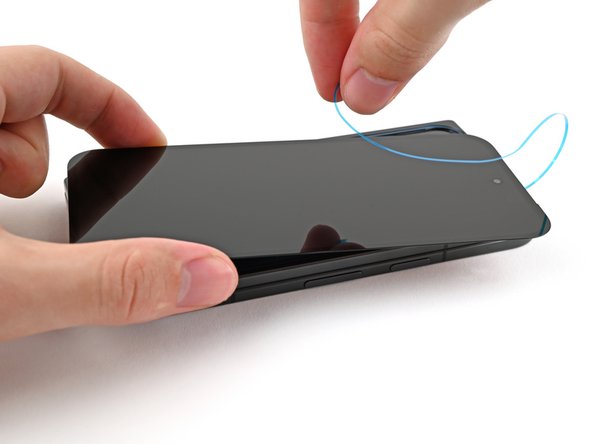
Step 2

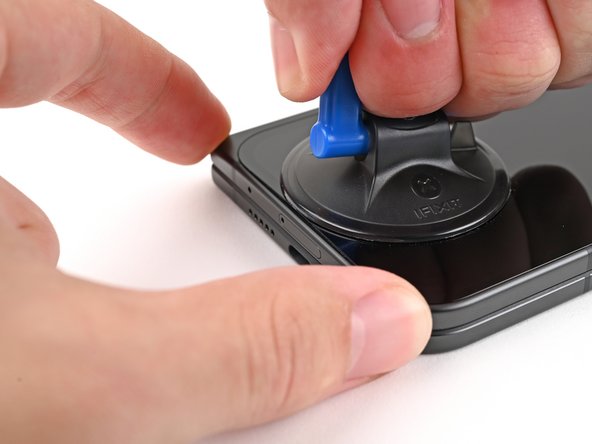
If your screen is looking like a spider web, slapping on some clear packing tape can give that suction cup a fighting chance to stick. Got some heavy-duty tape? That can work instead of the suction cup too! And if you find yourself in a sticky situation, a little superglue on the suction cup can help it bond with the screen. You’ve got this!
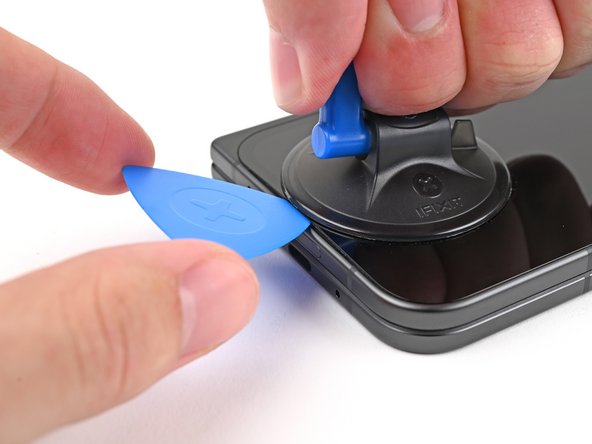
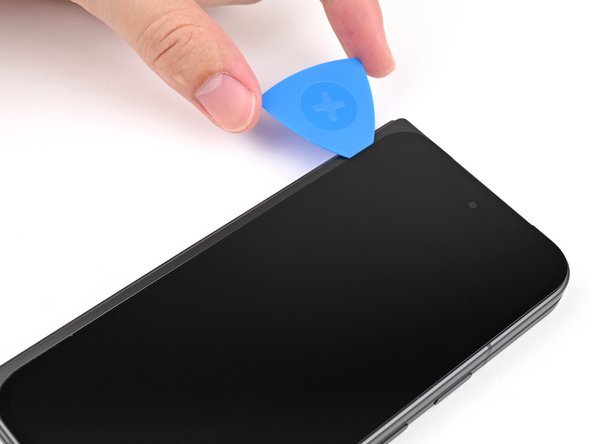
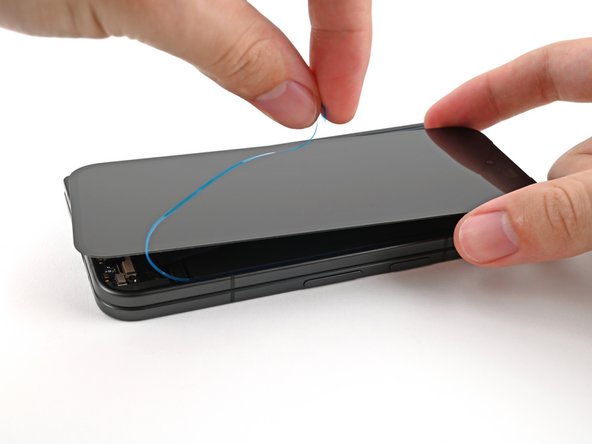
– Stick a suction cup onto the screen near the center of the bottom edge.
– Give the suction cup a good, steady pull to open up a gap between the screen and the frame.
– Slide an opening pick into that gap.
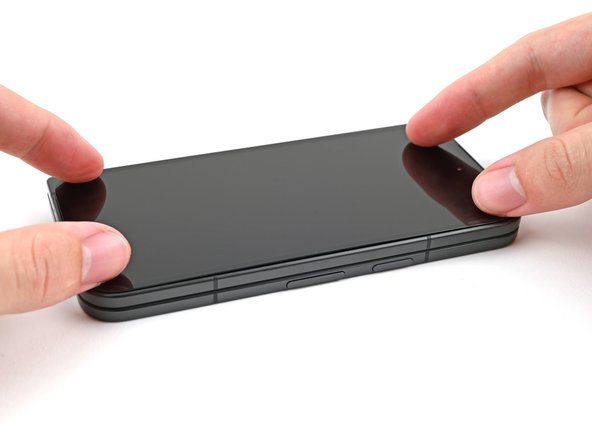
Step 3
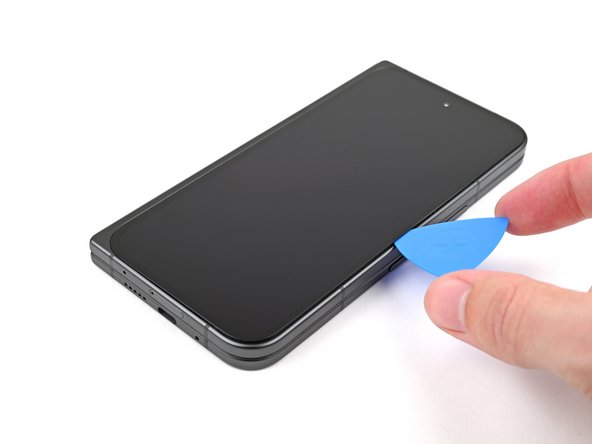

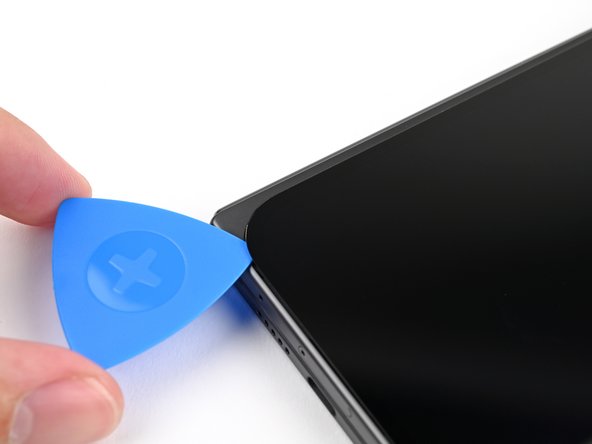
As you tackle the next four steps, remember to keep that opening pick at a chill 3 mm depth to avoid any accidental run-ins with the delicate inner parts. You’ve got this!
To help visualize the length, mark your opening pick 3mm from the tip. If you need help, you can always schedule a repair!
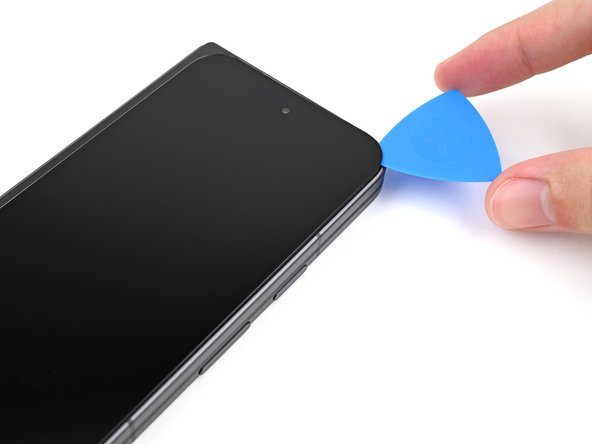
– Let’s loosen things up! Gently slide the opening pick around the bottom right corner and up the right edge of the screen. You’ll be separating the adhesive with this cool move.
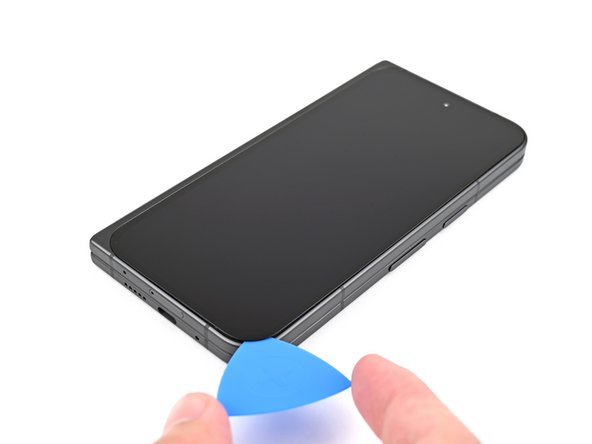
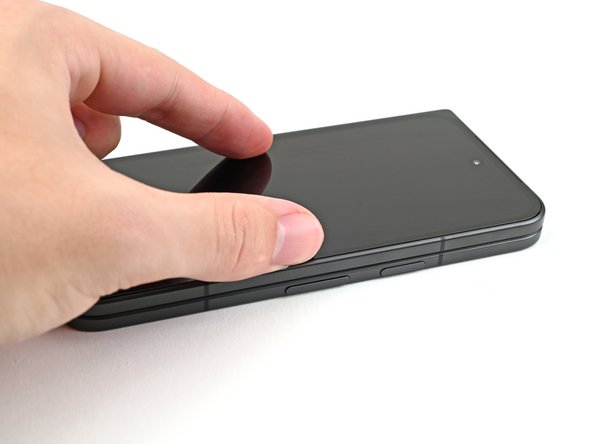
Step 4

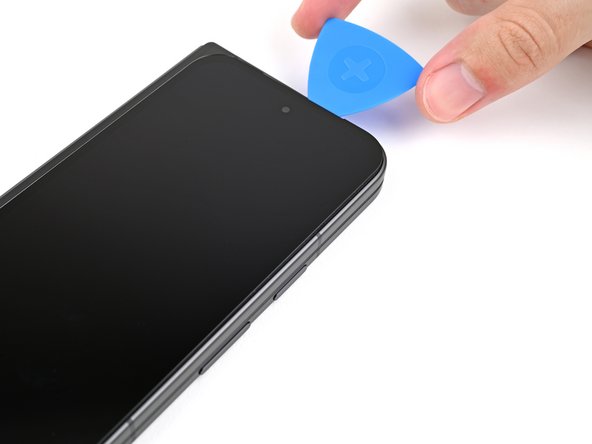
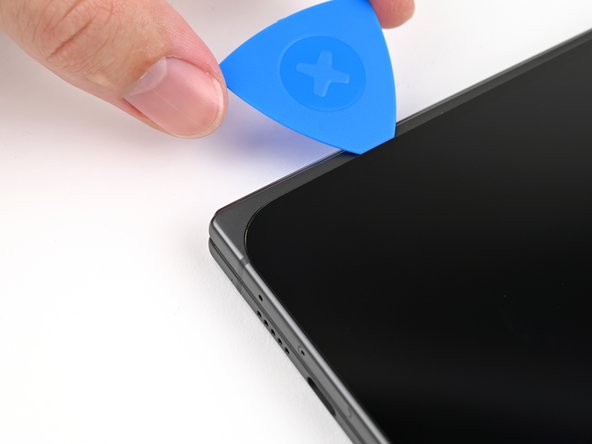
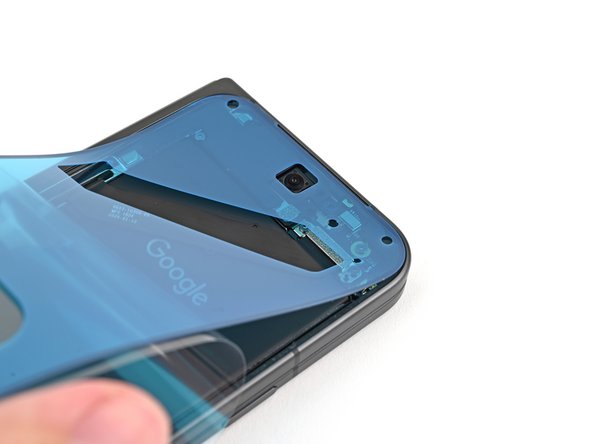
– Gently glide the pick around the top right corner, pausing just shy of the front camera. Easy does it!
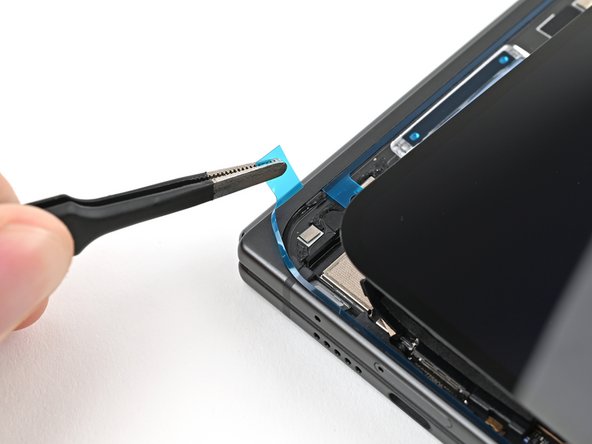
Step 5
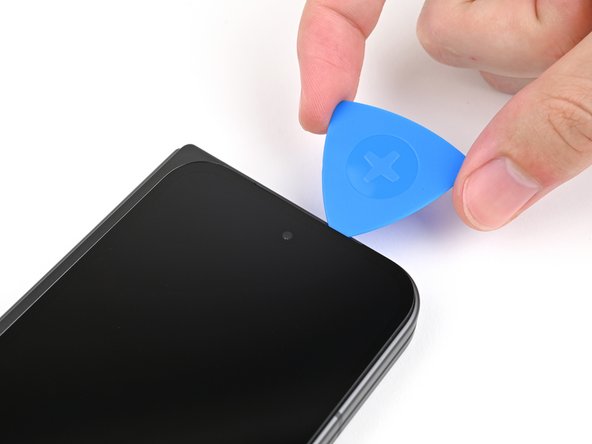

– Gently pull the opening pick until just the tip is peeking under the screen.
– Slide the pick along the top edge of the screen, cruising past the front camera.
– Push the pick back to its full depth before moving on. You’ve got this!
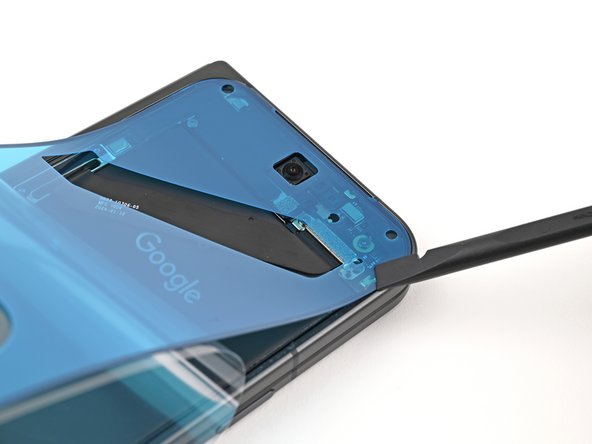
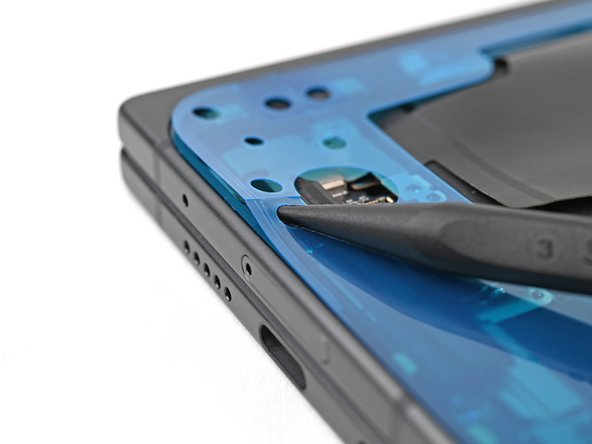
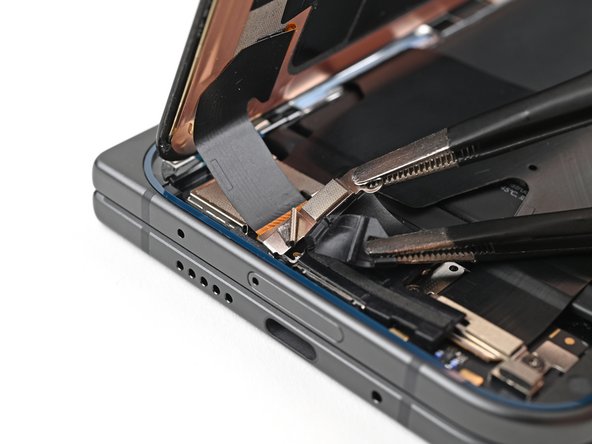
Step 6


Whoa there, partner! Keep your distance from that cable show. We don’t want any prying eyes or slippery hands damaging the goods!
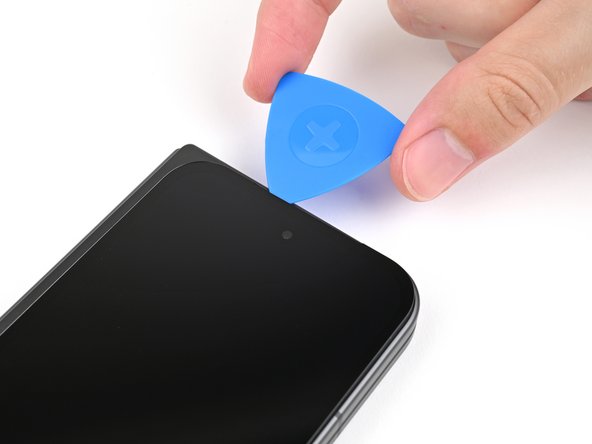
– Gently slide the opening pick around the top left corner, and when you reach about two-thirds down the left edge of the screen, take a little break!
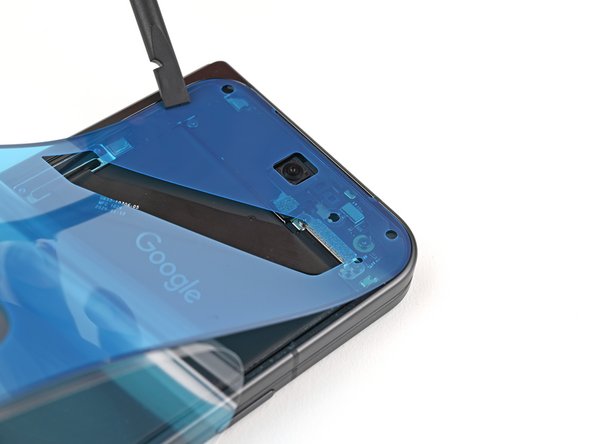
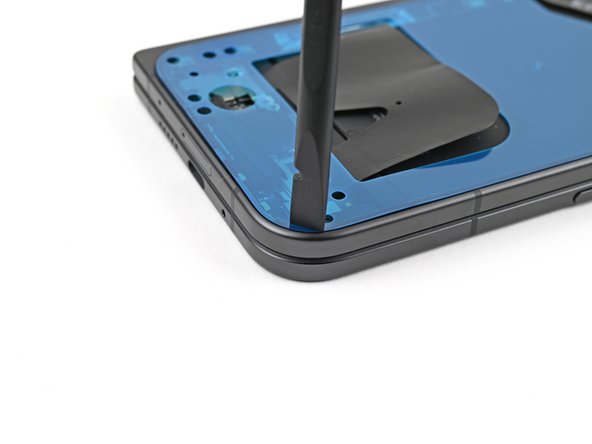
Step 7

– Gently slide the opening pick in about 2 mm deep and give it a little twist around the bottom left corner to break free any stubborn adhesive still holding on.
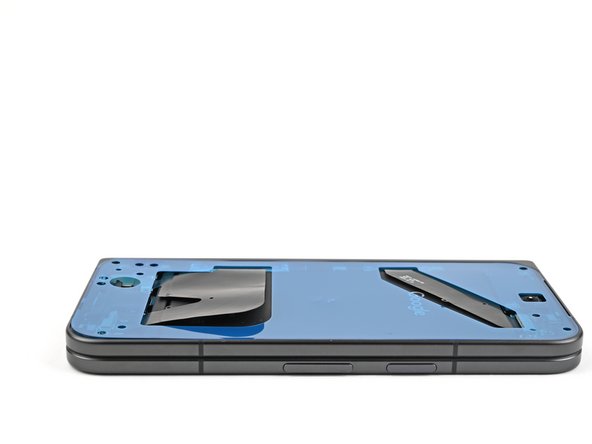
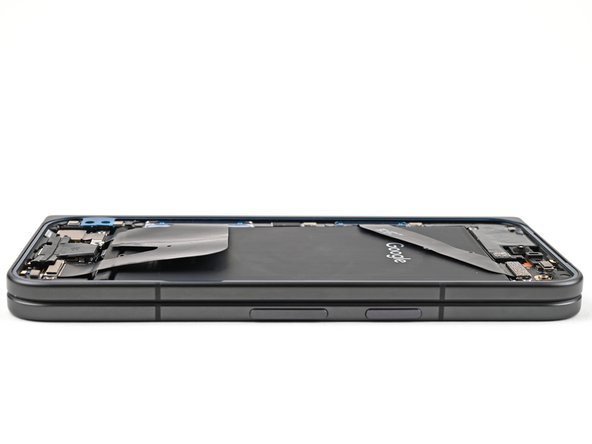
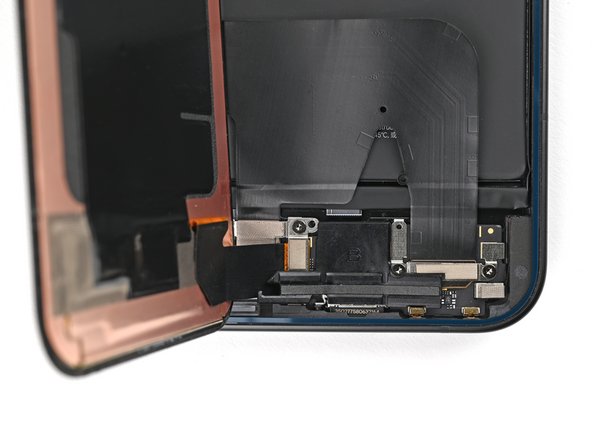
Step 8

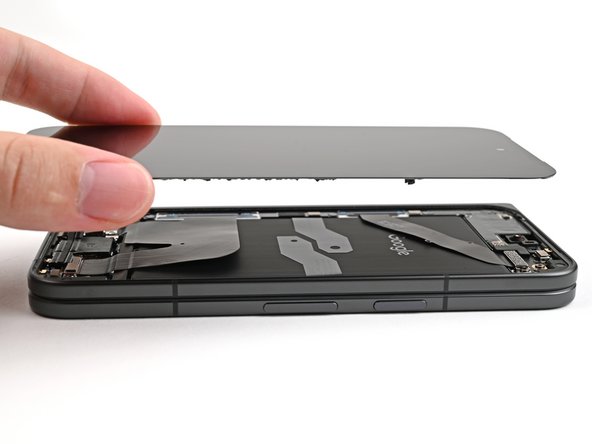
Hold up! The screen’s still hooked up, so don’t pull it all the way out just yet. We’ll get it out safely in a minute.
At this stage, your screen should be happily detached from the frame. If it’s still holding on a bit too tightly around the edges, grab an opening pick and gently coax apart any stubborn adhesive that’s lingering.
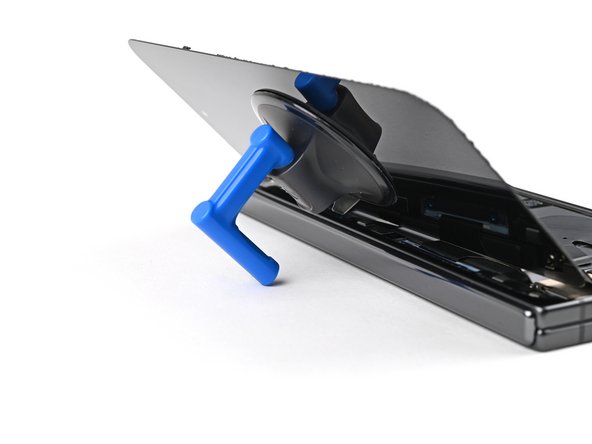
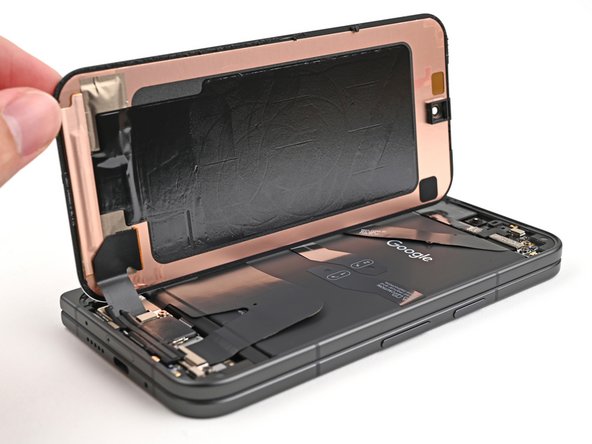
– Gently lift the right edge of the screen and swing it over to the left, just like you’re opening a book to your favorite chapter.
– Support the screen with your trusty suction handle or a clean, sturdy object to keep it propped up while you work your magic.
Tools Used

Step 9
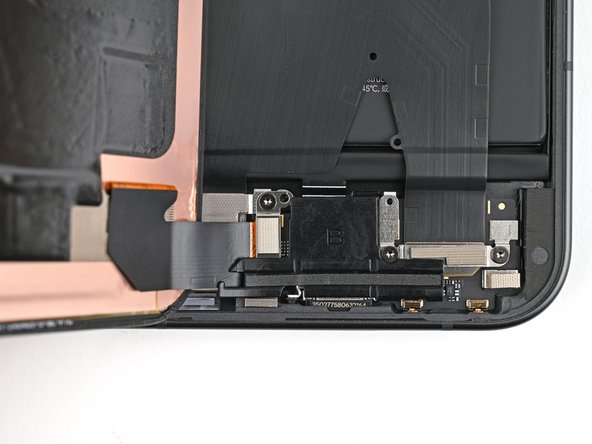

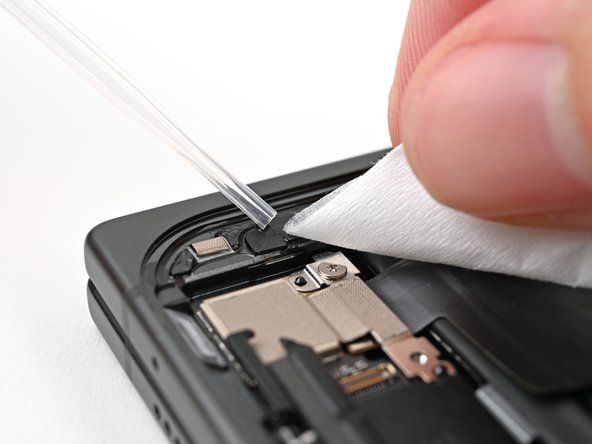
As you dive into this repair, remember to keep a close eye on each screw—you’ll want them to find their way back home just where they belong!
The Pixel 9 Pro Fold may use Torx Plus screws, but don’t worry! Standard Torx bits are your friends here. Opt for the same size or even one size larger (T3 or T4 Torx bits with 3IP Torx Plus screws) and apply a steady, downward pressure to keep those screws from getting slippery!
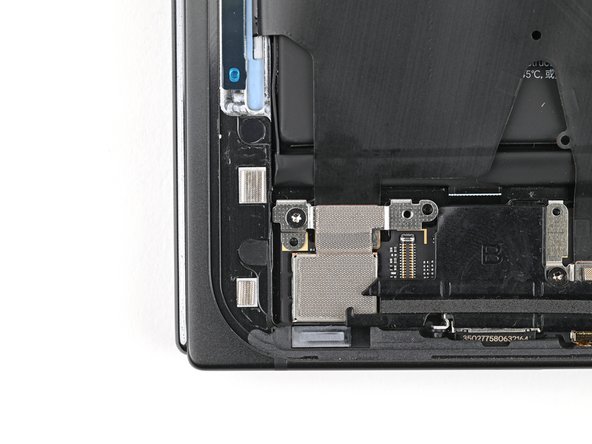
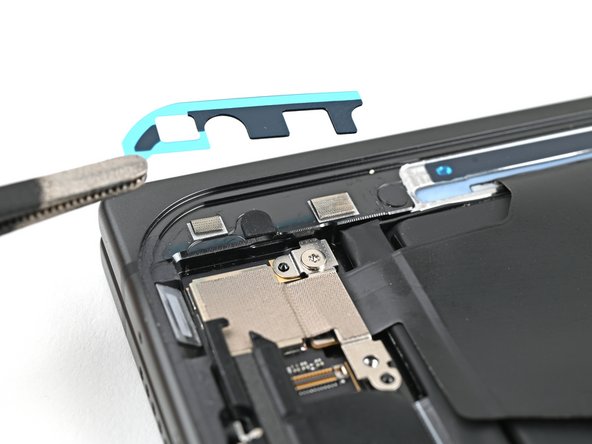
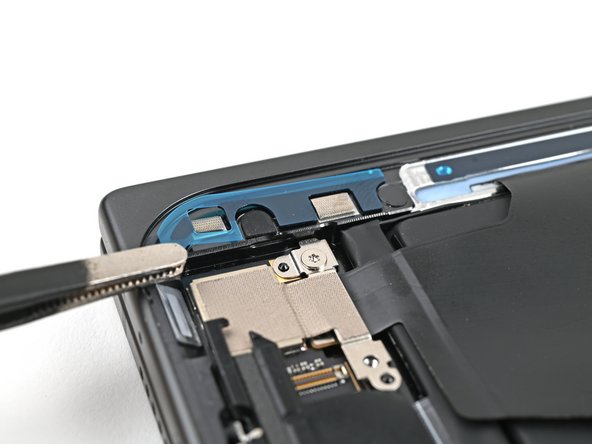
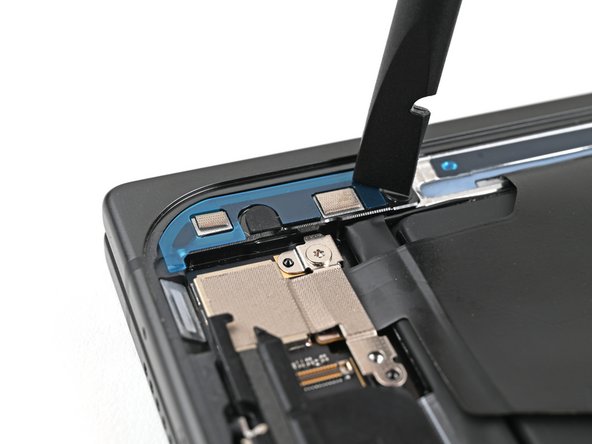
– Grab your Torx Plus 3IP driver and unscrew the 2.2 mm-long screw holding the display cable bracket in place. Easy does it!


Step 13

– You made it through disassembly like a pro! Now, let’s guide you on putting it all back together.


Step 19

Take it slow with the adhesive—precision is key here! A steady hand now saves a headache later. If you need help, you can always schedule a repair.
– Gently peel off the top section of the new adhesive strip from its protective liner, and remember to keep it neatly folded for easy handling.


Step 22


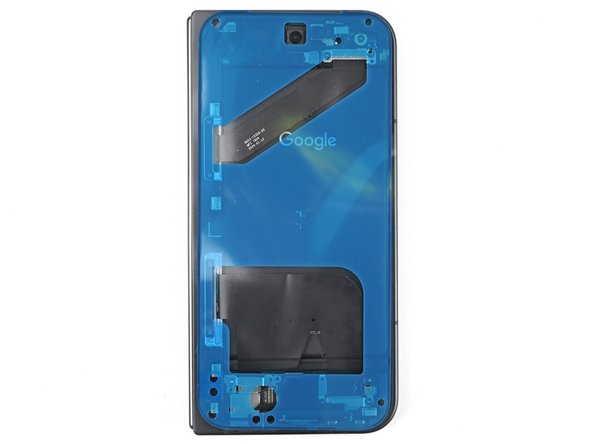
– Alright, peel off the rest of that clear liner and gently lay down the adhesive all around the edge of your phone. We’re almost there!


Step 25

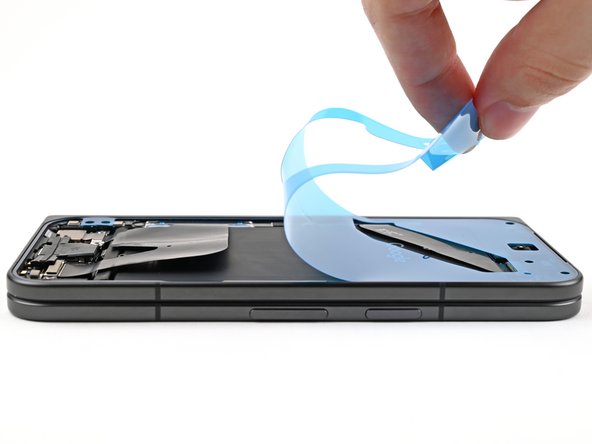
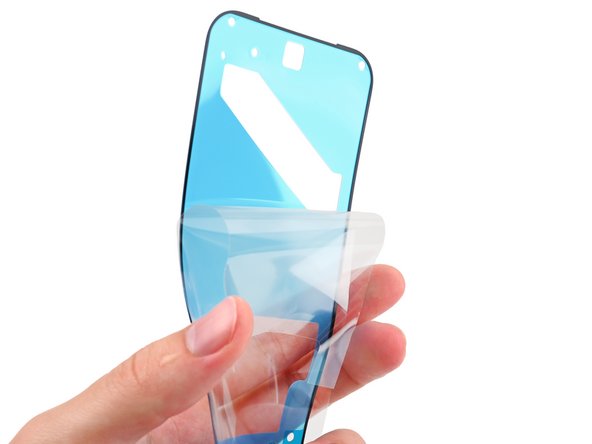
– Alrighty, time to reveal the undercover secrets! Tada – lift the tab to discover the blue liner, then gently peel it back to a reveal the secondary surprise!
Tools Used


Step 28

– Grab your trusty Torx Plus 3IP driver and get ready to secure that display cable bracket with a 2.2 mm-long screw. You’ve got this!


Step 30

– While keeping a firm grip on the screen, gently peel away the secondary liner to reveal the sticky goodness underneath.
Tools Used

Step 32

If you’re feeling adventurous, grab a hair dryer or heat gun and give those edges of the back cover a gentle warm-up. This little trick can help to strengthen the bond and make everything stick together even better!
– Way to go on finishing your screen repair!
– Want to check if everything’s working smoothly? Give the built-in Pixel Diagnostic tool a whirl by clicking here.
– Got some old tech lying around? Make sure to drop it off at an R2 or e-Stewards certified recycler.
– Things didn’t go as smoothly as you’d hoped? No worries! Try some basic troubleshooting, or feel free to reach out to our Salvation Repair community for a helping hand.
– If you didn’t quite finish this guide, that’s okay! Just hit cancel.
– You’re not alone in this journey!
Success!