DIY Google Pixel 9 Pro Front Facing Camera Replacement Guide
Duration: 45 minutes
Steps: 25 Steps
Hey there! While this awesome repair guide was crafted by the awesome iFixit team, it’s not an official Google guide. Check out more details here. If you need help, you can always schedule a repair!
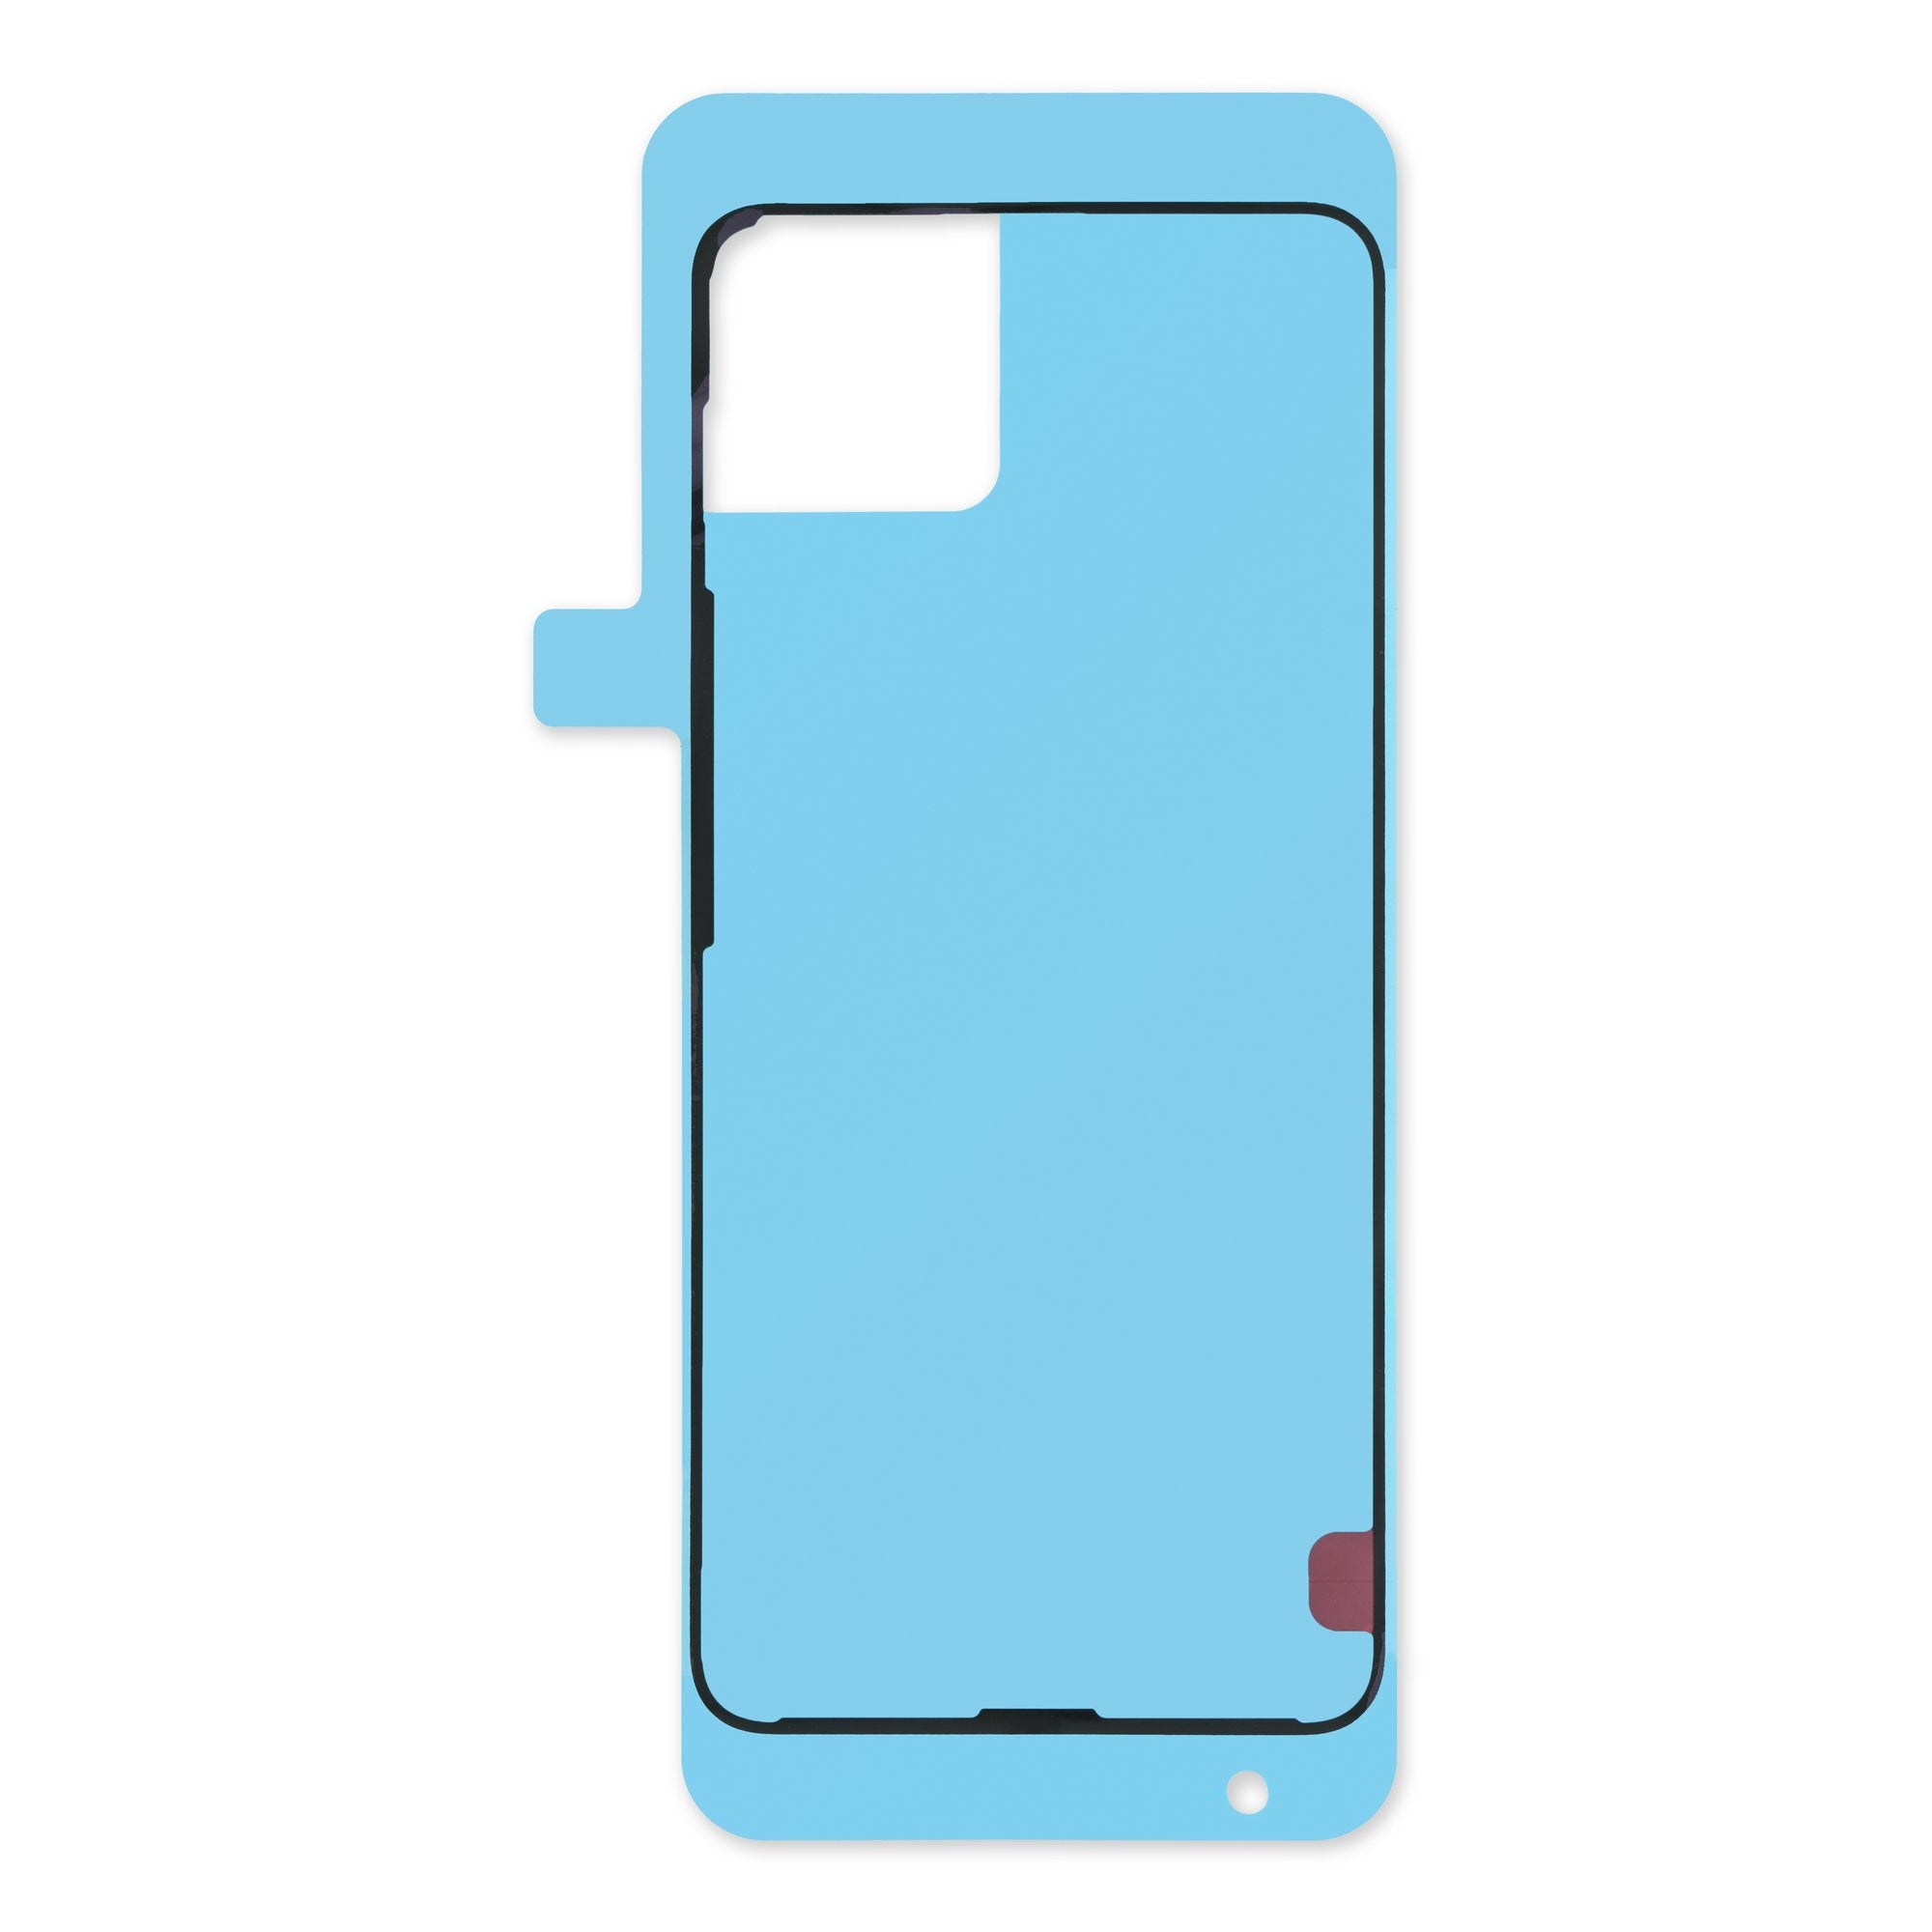
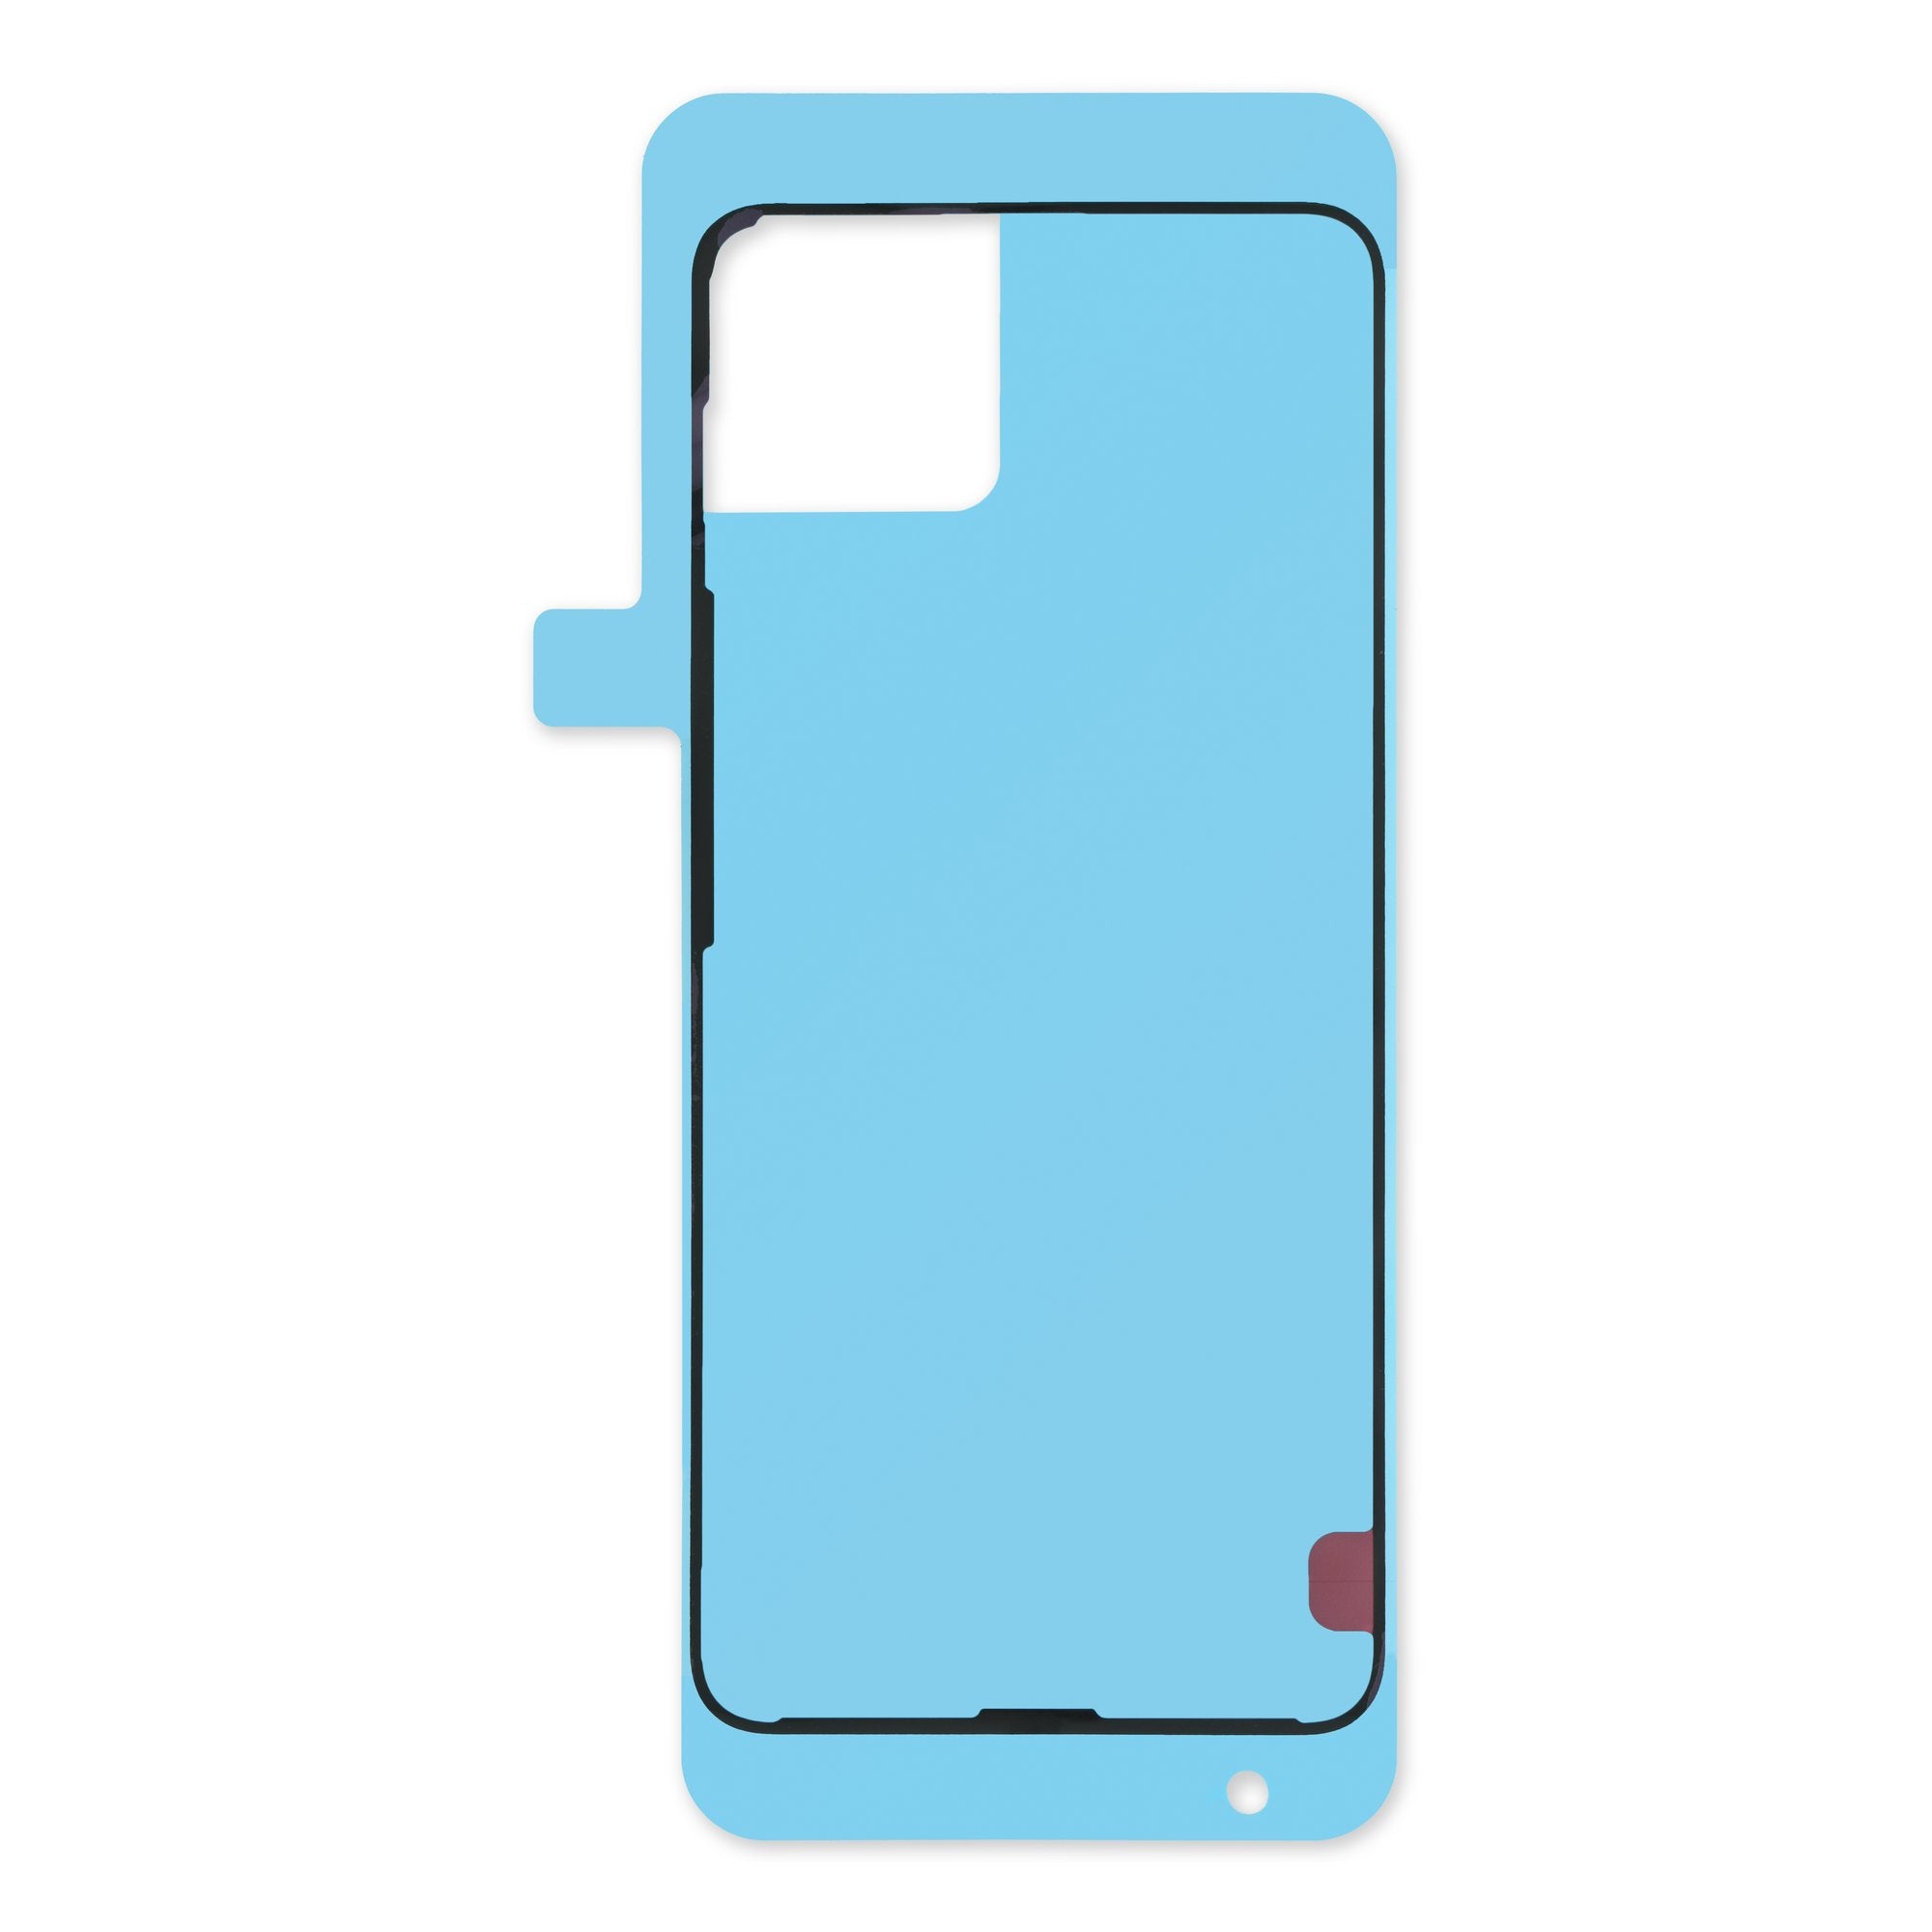
Welcome to your go-to guide for sprucing up your Google Pixel 9 Pro! If your front-facing selfie camera is looking a bit fuzzy or has totally waved goodbye, it’s time for a swap. Grab your shiny new front camera and some rear cover adhesives, and let’s dive into this repair journey. Just a heads up: any fix might chat with your phone’s water resistance abilities. So, how well you stick on that rear cover adhesive will determine how well you keep the splashes at bay. Ready? Let’s make that camera pop again!
Step 1
– Disconnect all cables and make sure your phone is powered off completely, like it’s taking a cozy nap.
Step 2
When you’re separating the adhesive, keep your tool under 3mm deep to avoid any accidental internal damage. You’re doing great!
Grab your opening pick and measure out 3 mm from the tip—then give it a little mark with a permanent marker to help guide you. If you prefer a creative hack, you can stick a coin onto the pick at the same 3 mm mark. You’ve got this!
Step 3
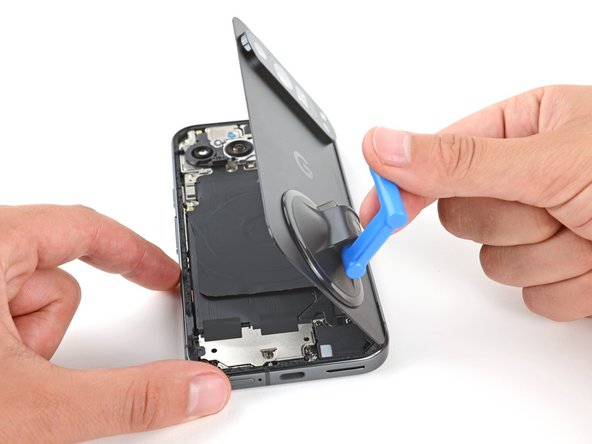
– Grab a suction handle and give it a cozy spot on the bottom edge of the rear cover, snugging it up close to the edge as best as you can.
Tools Used
Step 4
– Give that suction handle a confident lift to pop open the rear cover just enough for us to sneak a peek inside.
– Wiggle the tip of an opening pick into that tiny gap you’ve created.
Tools Used
Step 5
Just a friendly tip: keep that opening pick no deeper than 3 mm, okay?
– Gently glide your opening tool along the bottom edge to break free the adhesive holding it in place.
Step 6
– Let’s get this party started! Slide your opening pick up the left edge and along the top edge to separate the adhesive. You got this!
Step 7
– Gently glide your pick down the right side to break free the last stubborn bits of adhesive.
Step 8
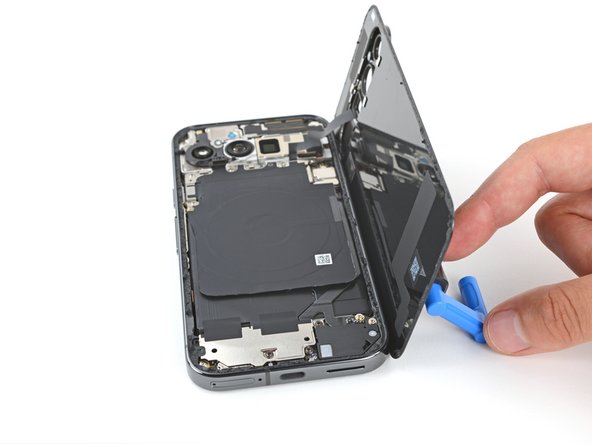
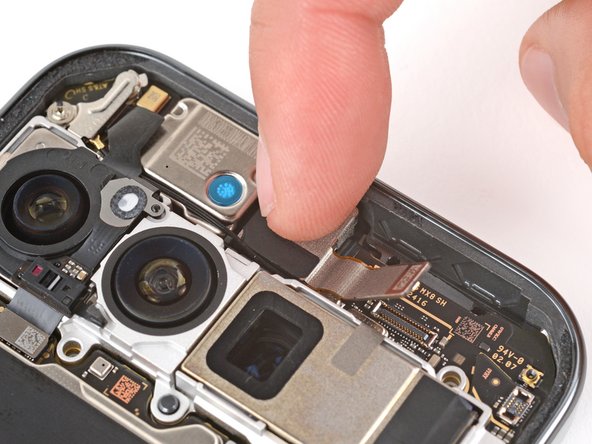
Hold your horses! Don’t go yanking the rear cover off just yet. There’s a sneaky ribbon cable hanging out on the right edge connecting it to the phone.
If you’re hitting a snag, give the edges a once over for any lingering glue and use your pick to pry ’em apart.
– Grab that suction handle and gently lift the left edge of the rear cover. Now, swing it over to the right side, just like you’re opening a delightful book!
– Support the rear cover with your trusty suction handle so you can peek at the ribbon cable hanging out near the top right corner.
Tools Used
Step 9
Keep track of those little screws – you don’t want to mix them up! Make sure they go back where they came from.
This Pixel 9 Pro uses Torx Plus screws, but regular Torx bits will also work. Just make sure to keep the pressure going downwards to prevent stripping.
This screw’s not magnetic, so you might need a little help from tweezers to get it out.
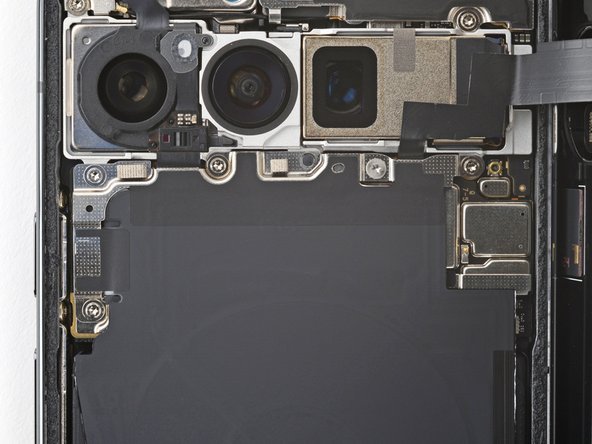
– Grab that Torx Plus 3IP screwdriver and let’s get those five screws out that are holding the wireless charging assembly in place:
– You’ll need to tackle four screws that are 5.4 mm long
– And don’t forget about the one little 1.5 mm long screw
Step 10
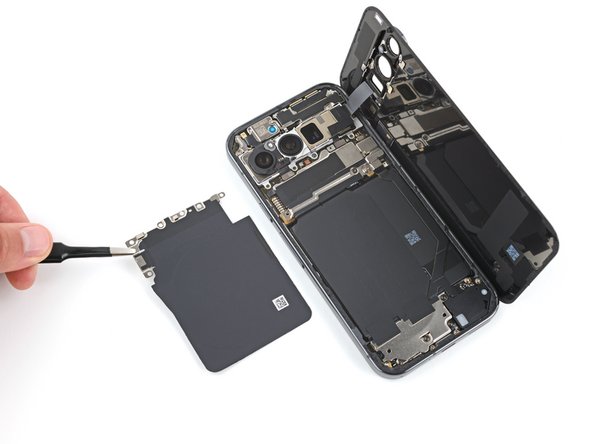
Take extra care not to mess up the spring contacts hiding beneath the top left corner of the wireless charging assembly.
– Gently use your trusty tweezers or your fingers to lift out the wireless charging assembly. You’re doing great!
Step 11
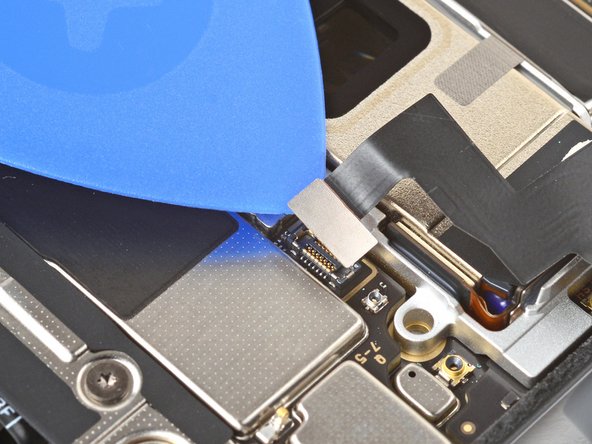
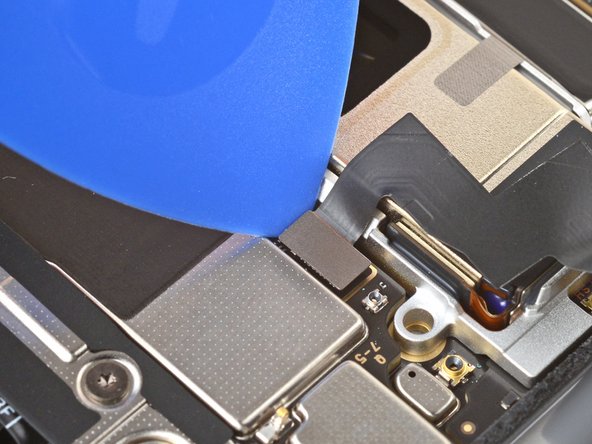
– Slip the tip of your opening pick under the left edge of the rear cover press connector and pry straight up to pop it off.
Step 12
– Let’s get that back cover off! Carefully remove the rear cover.
– When you’re putting things back together, make sure to follow these steps to get that cover back on nice and tight. We’ll walk you through reapplying the adhesive and installing your rear cover.
Step 13
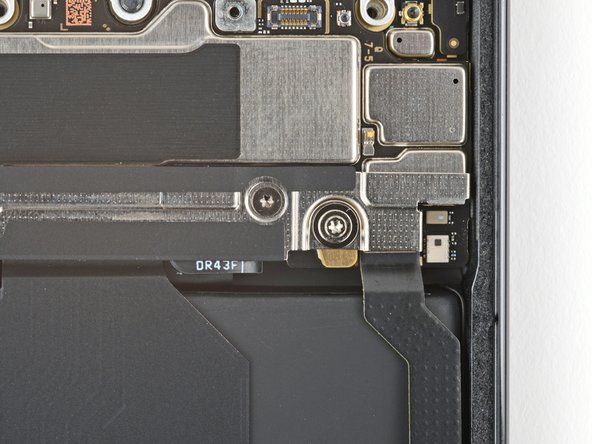
– Grab your trusty Torx Plus 3IP screwdriver and let’s get those two screws holding the cable cover out of the way:
– One screw that’s 2.3 mm long and ready to be unscrewed.
– And don’t forget the 5.4 mm long screw that’s also waiting for its turn!
Step 14
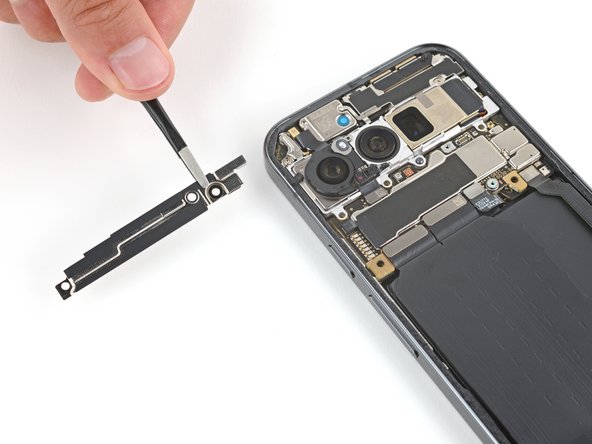
– Grab your trusty tweezers or just use your fingers to gently pop off that cable cover. You’ve got this!
Step 16
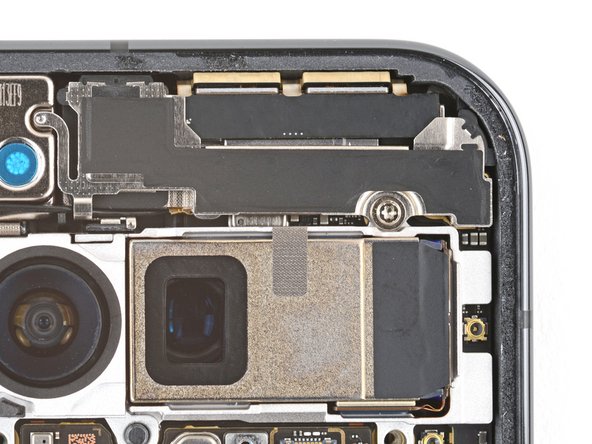
– Grab your trusty Torx Plus 3IP screwdriver and give that 5.4 mm‑long screw securing the mmWave antenna cover a little twist. It’ll be like a little dance!
Step 18
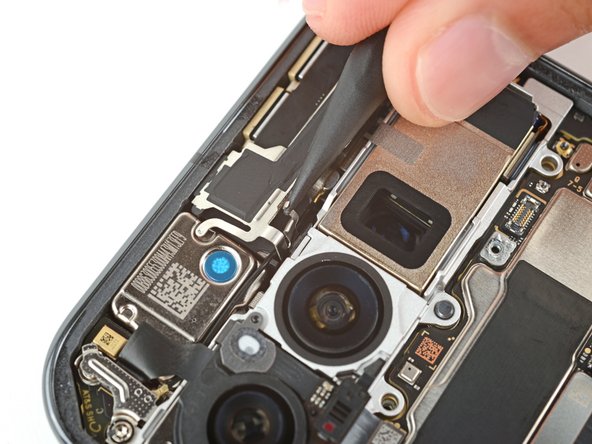
– With a gentle tug, pull the right edge of the cover down towards the bottom of the phone and pop that cover off like a champ!
– When it’s time to put things back together, slide the two tabs at the top corners into their cozy little recesses in the frame, then push the cover down to snap it back into place.
Step 19
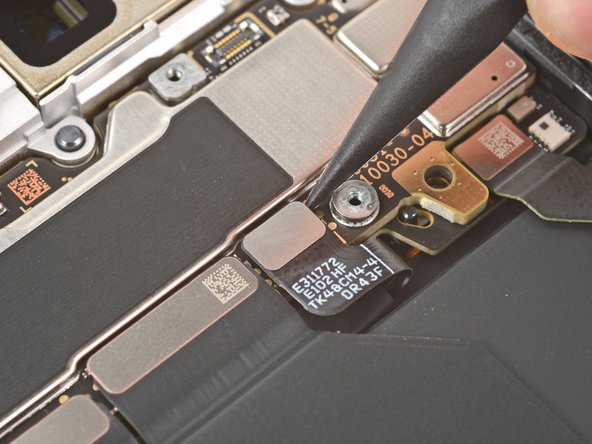
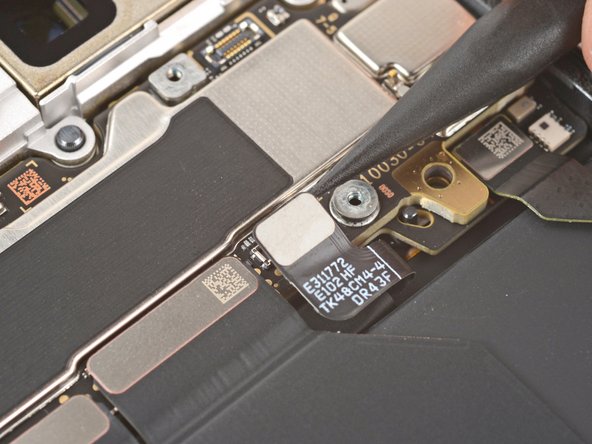
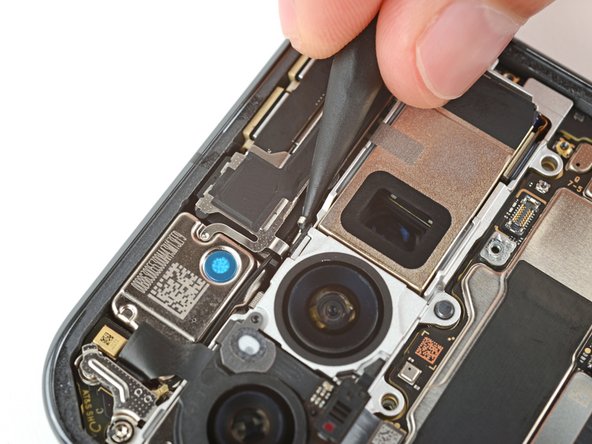
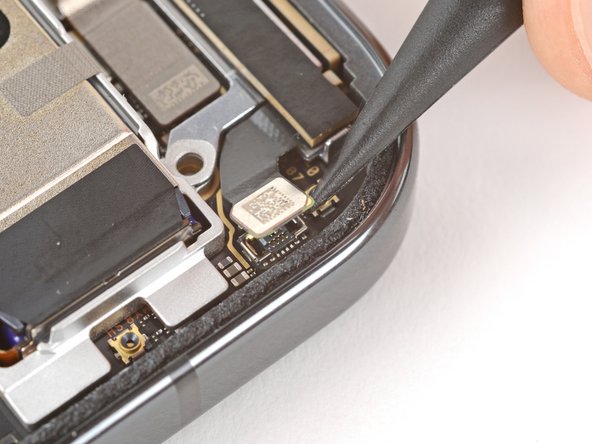
– Use the point of a spudger to gently pry up and disconnect the mmWave antenna press connector from the top right corner of the logic board. It’s like giving the connector a little high five!
Tools Used
Step 21
Hey there! Just a friendly reminder to keep your hands away from the cameras during this step. If you happen to brush against them, no worries! Just give them a gentle wipe with a clean microfiber or lint-free cloth.
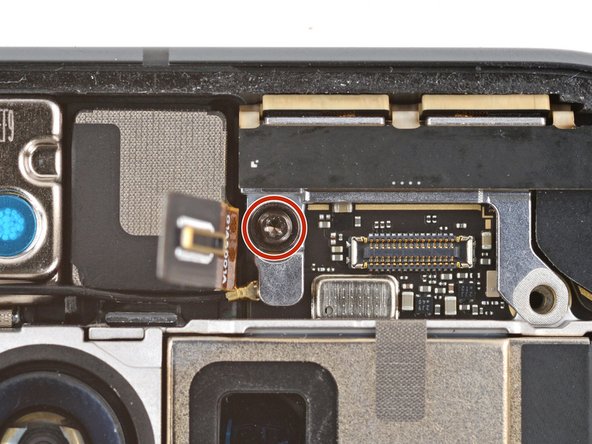
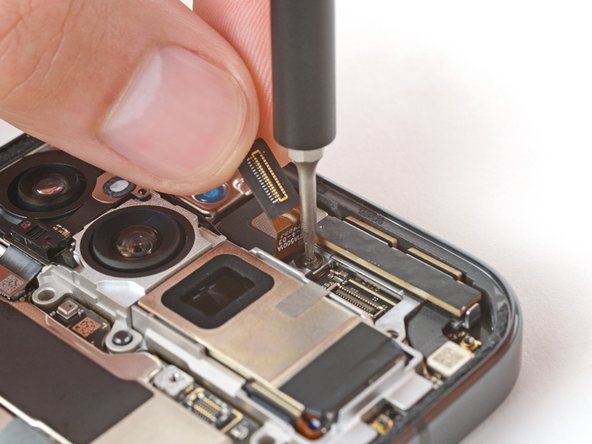
– Gently move the front-facing camera cable aside to get a clear shot at the mmWave antenna screw.
– Grab your trusty Torx Plus 3IP screwdriver and unscrew that 4.3 mm-long screw holding the mmWave antenna in place.
Step 22
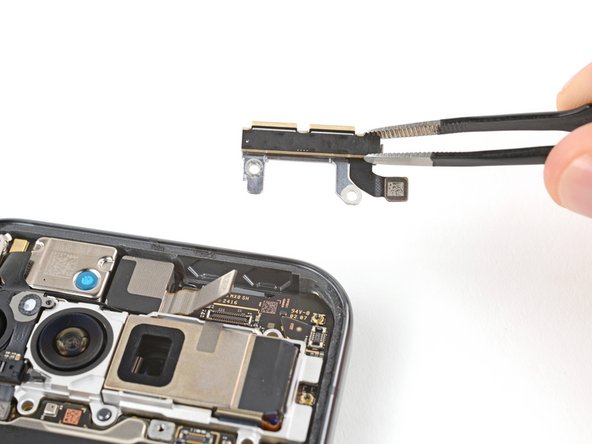
– Grab your trusty tweezers or use those nimble fingers to gently lift off the mmWave antenna. It’s easier than it sounds!
– When you’re putting everything back together, just remember: the mmWave antenna has to snugly fit under the front-facing camera cable. Easy peasy!
Step 23
A little bit of light adhesive is all it takes to keep that front-facing camera snug as a bug in a rug!
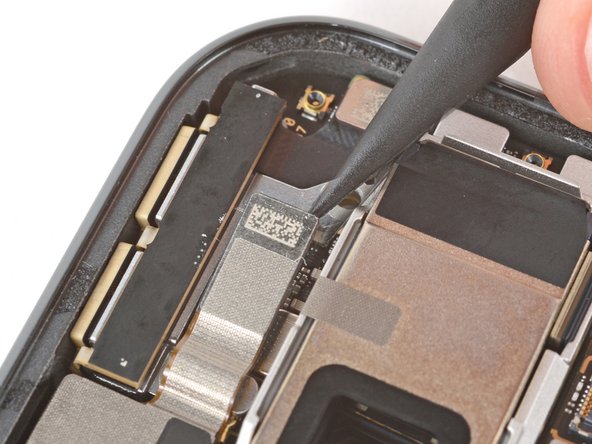
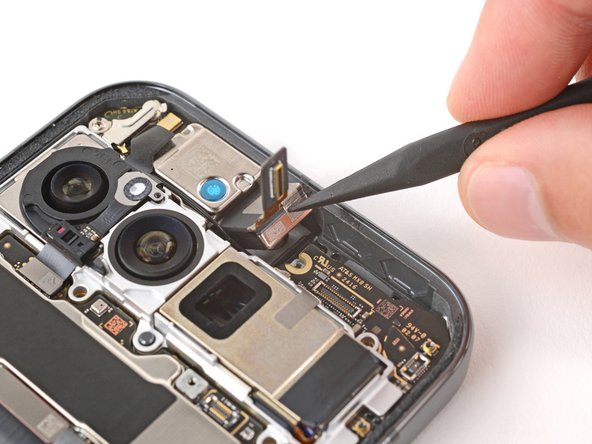
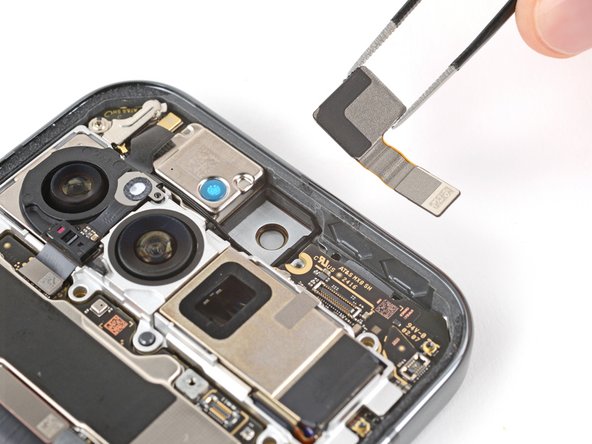
– Grab your trusty spudger and gently nudge the right edge of the front-facing camera to peel back that adhesive like a pro.
– Now, with a bit of finesse, use your tweezers or fingers to lift out the camera. You’re doing great!
Tools Used
Step 24
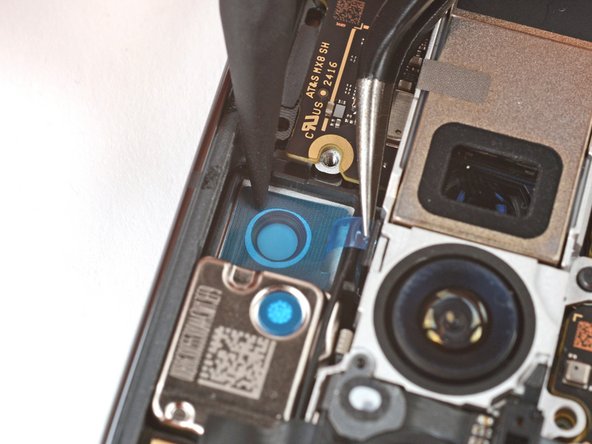
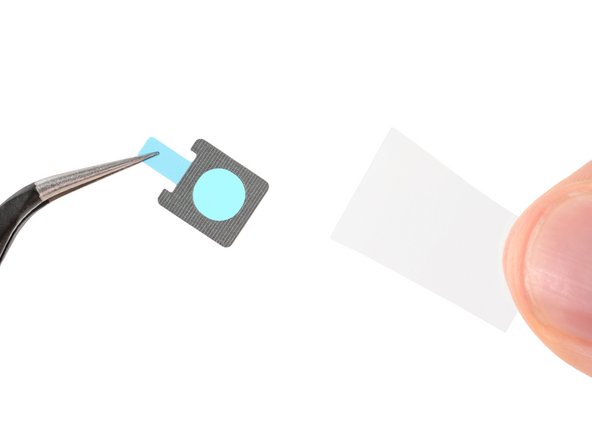
– Grab your tweezers and gently peel away the old front-facing camera adhesive from the frame. You’ve got this!
– Next up, let’s ditch that larger clear liner from the front-facing camera adhesive.
– Now, with those trusty tweezers, carefully pop the adhesive into the front-facing camera recess. Precision is key!
– Time to bring in the spudger! Use it to press the adhesive into place, making sure it sticks securely to the frame.
– Finally, peel off the remaining blue liner from the adhesive and voilà, you’re all set!
Tools Used
Step 25
– Time to put your device back together! Just retrace your steps, starting from this point.
– Want to check how everything’s working? Give the built-in Pixel Diagnostic tool a whirl by clicking here.
– Remember to recycle your e-waste like a pro! Find an R2 or e-Stewards certified recycler.
– If things didn’t go quite as planned, no worries! Try some basic troubleshooting or reach out to our Answers community for a little extra help.
– Oops, didn’t finish this guide? No problem, just hit cancel.
–
Success!


