DIY Google Pixel 9 Pro Rear Cover Replacement: Step-by-Step Guide
Duration: 45 minutes
Steps: 12 Steps
This repair guide is a fun and friendly way to help you tackle your device repair! It was carefully crafted for your ease, but if you ever need some extra guidance, our pros are here to help. Just shoot us a message: Schedule a repair today and let us get your tech back to tip-top shape in no time!
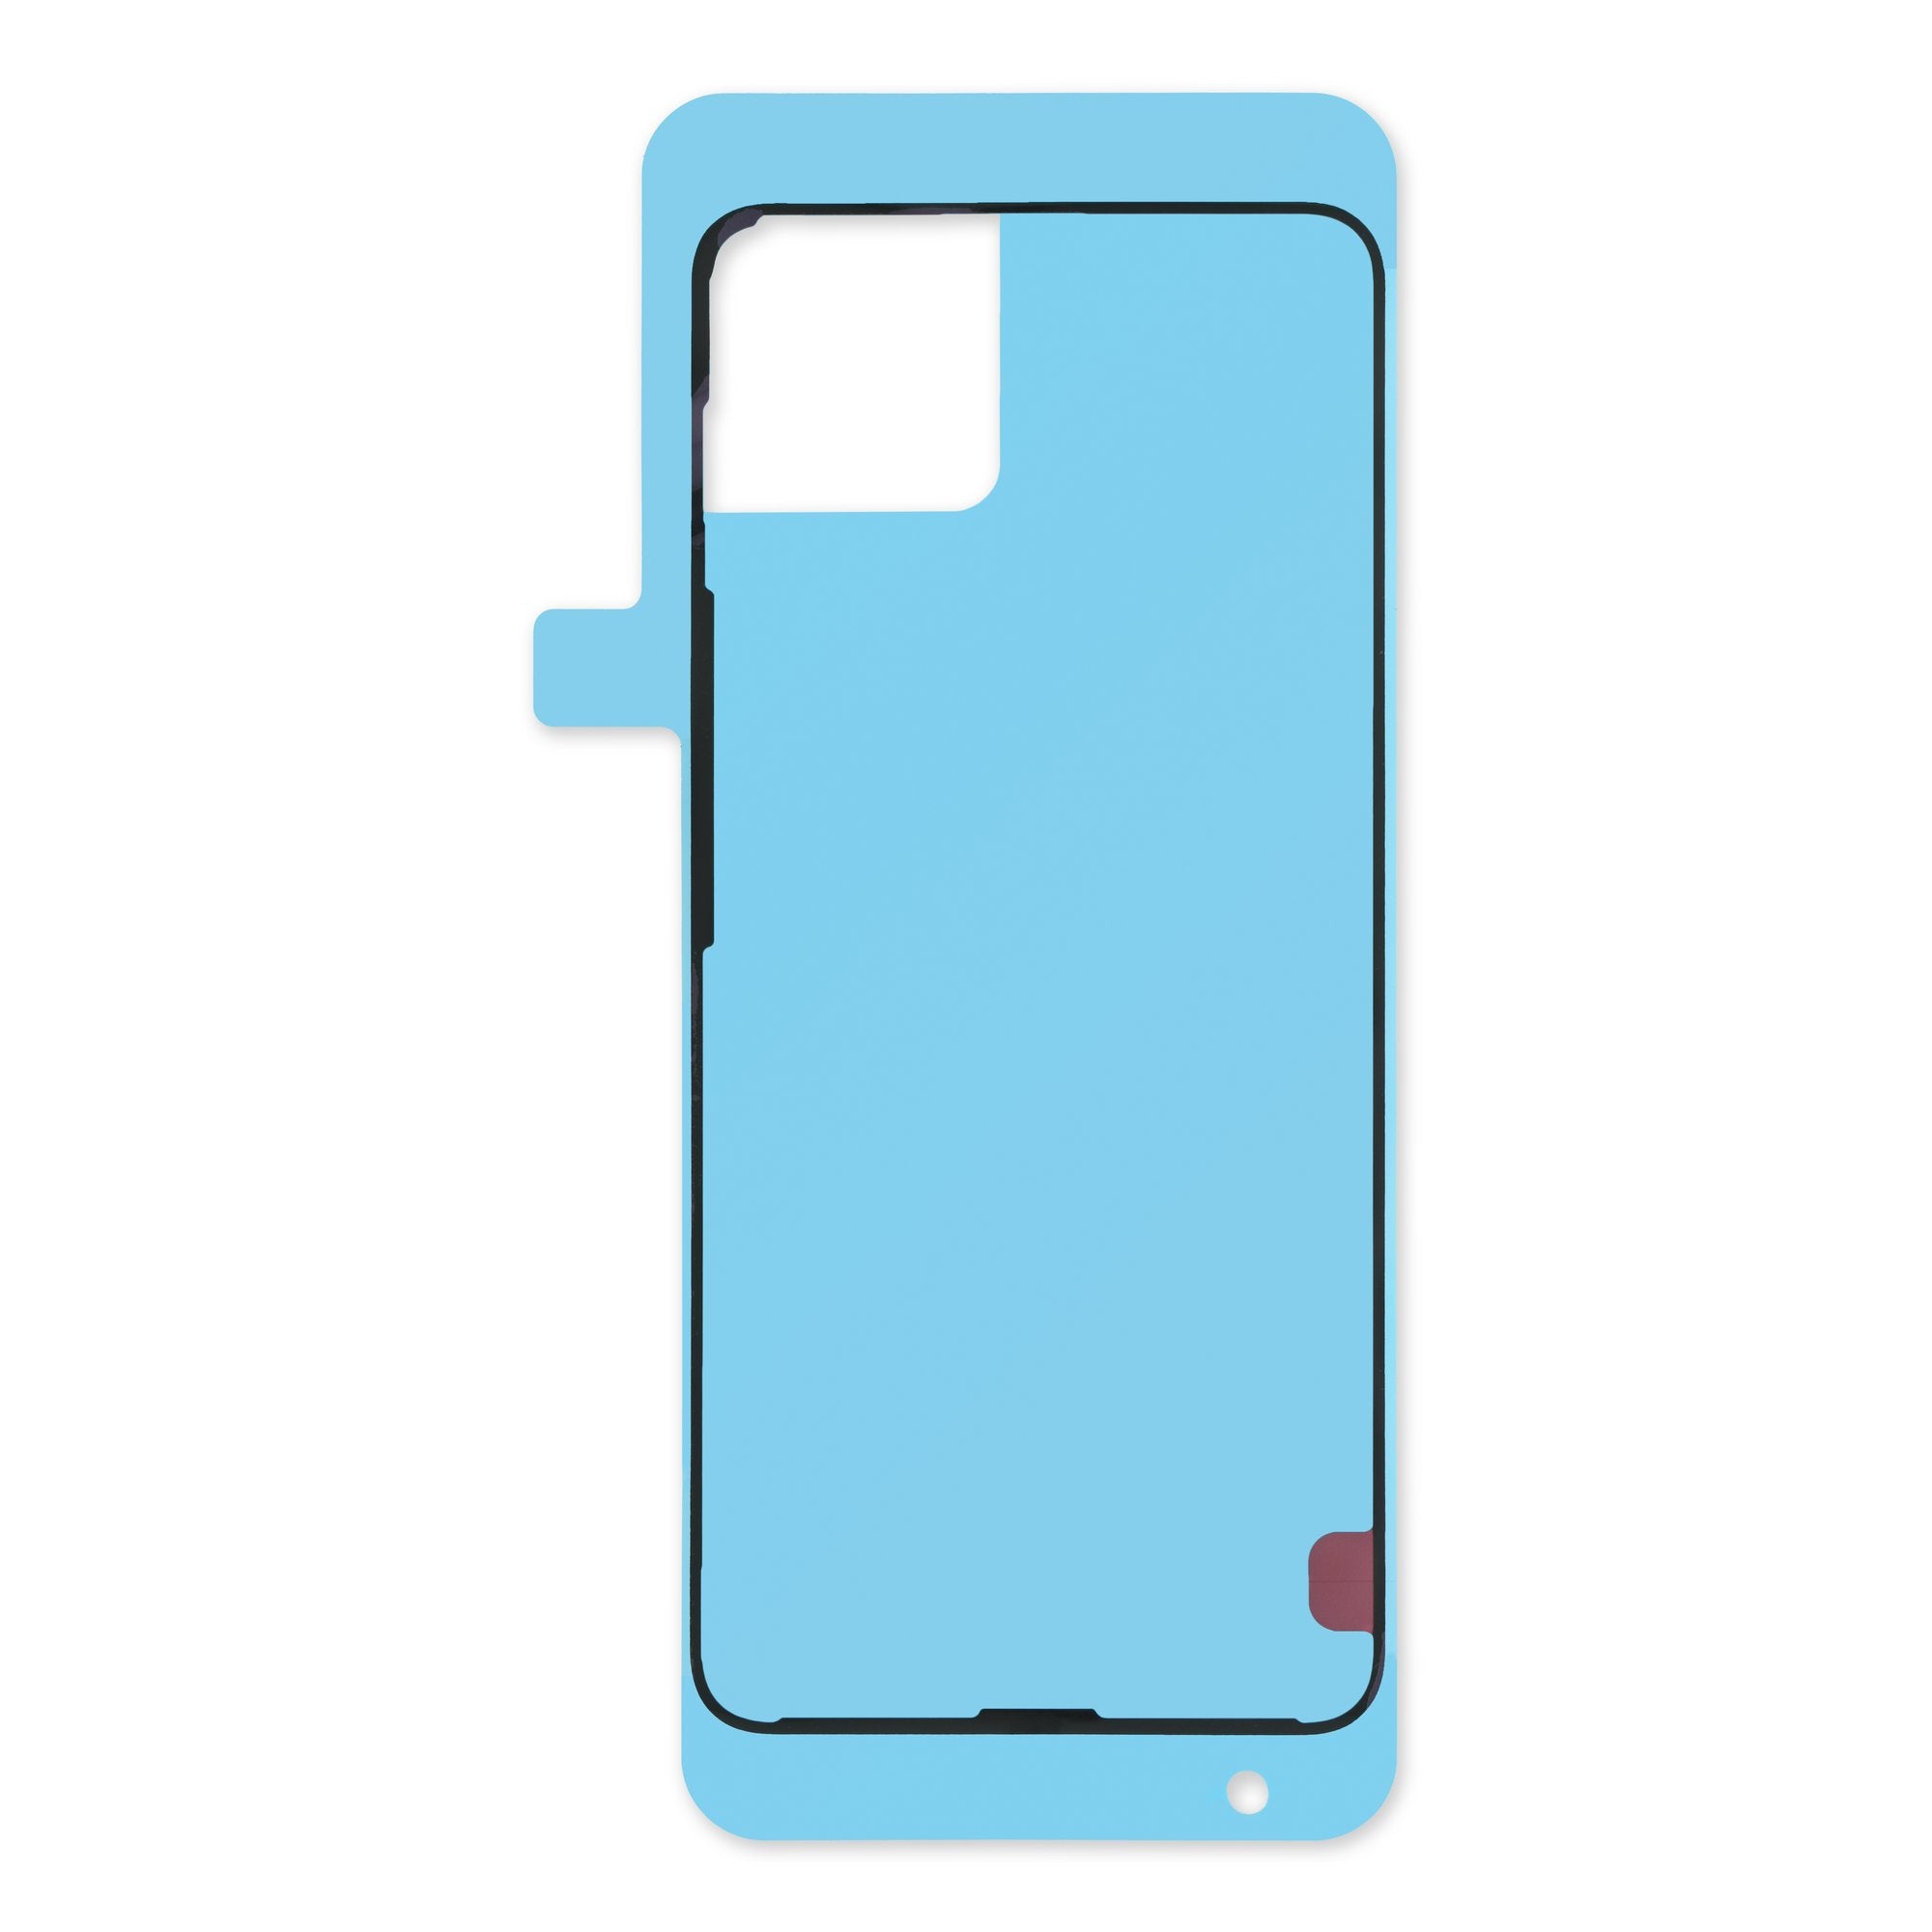
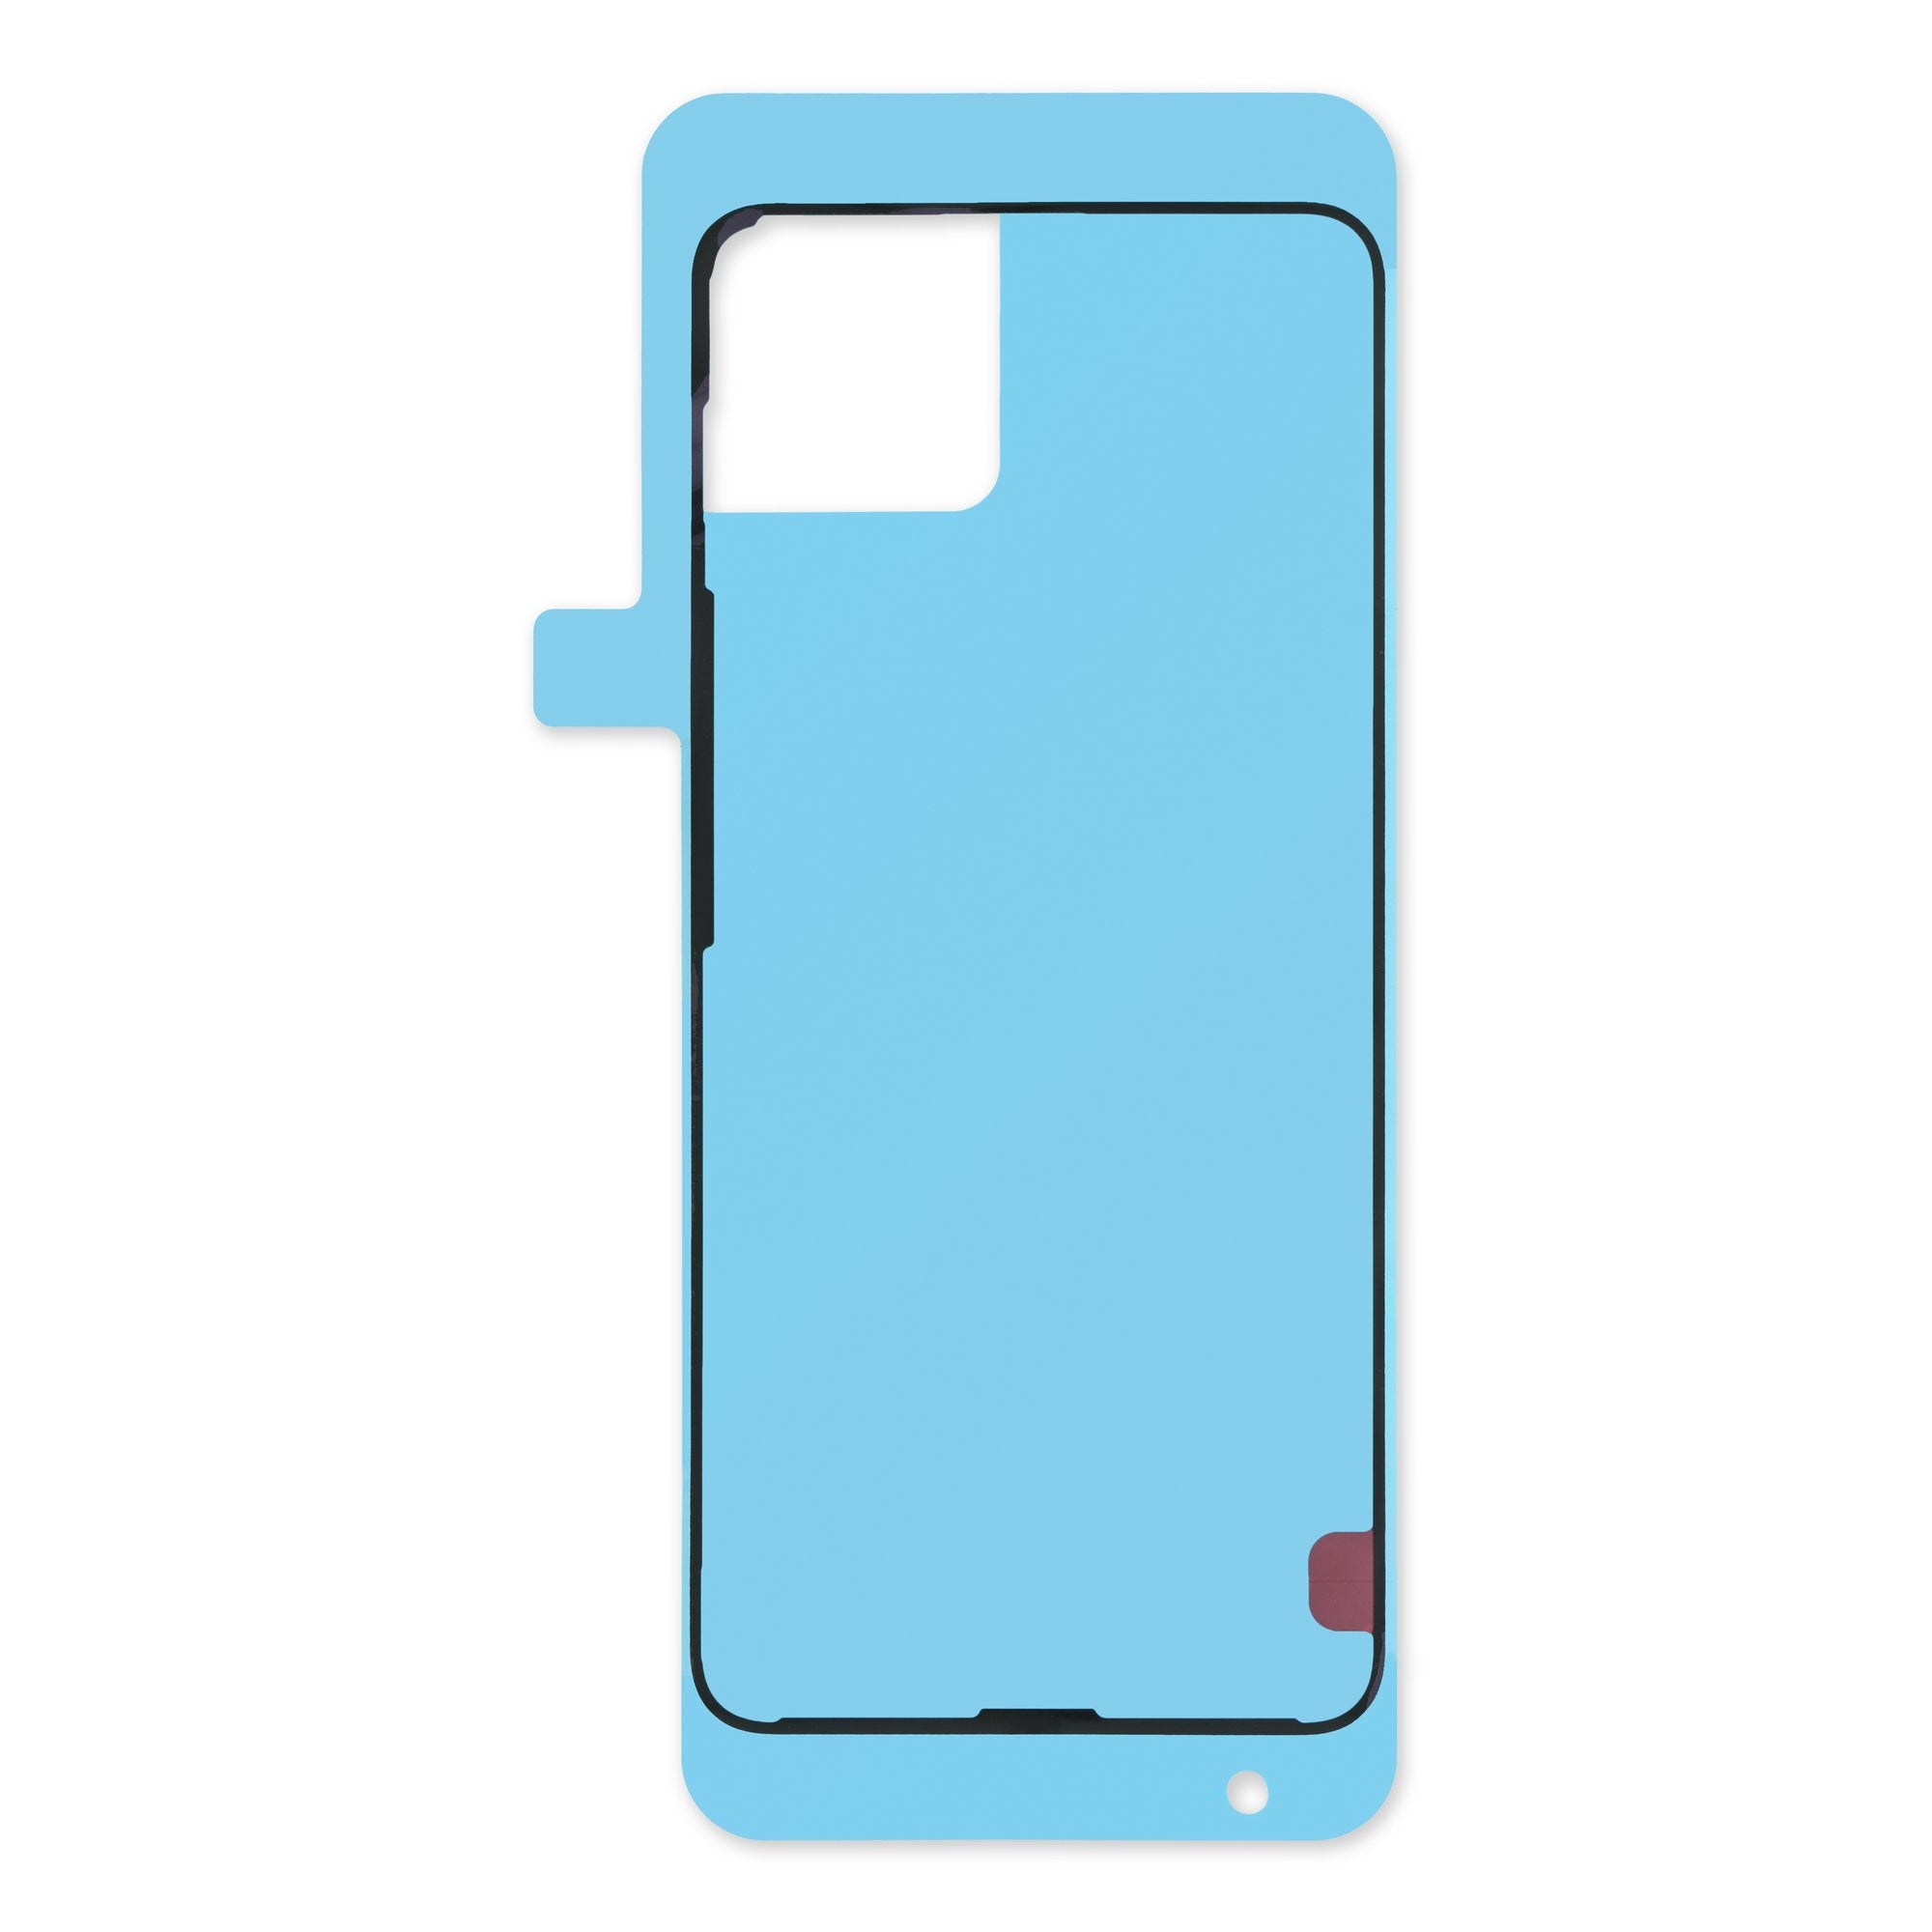
Welcome to your guide for swapping out that pesky broken or cracked rear cover on your Pixel 9 Pro! It’s crafted by the savvy folks at Salvation Repair. Just a heads up, every repair has the potential to mess with your phone’s water resistance. So, if you want to keep your device safe from splashes, make sure to reapply that rear cover adhesive like a pro! And remember, if you ever find yourself in a bind, you can always schedule a repair for assistance.
Step 1
– First things first, unplug all cables and give your phone a proper power down. It’s like giving it a little tech-break.
Step 2
When peeling away the adhesive, be sure to keep your tool no deeper than 3 mm under the rear cover. We want to keep those internal components safe and sound!
Grab your trusty opening pick and measure out 3 mm from the tip. Give it a little mark with a permanent marker to keep track. If you’re feeling crafty, you can also stick a coin to the pick, ensuring it’s 3 mm from the end. You’re doing great—let’s keep it rolling!
Step 3
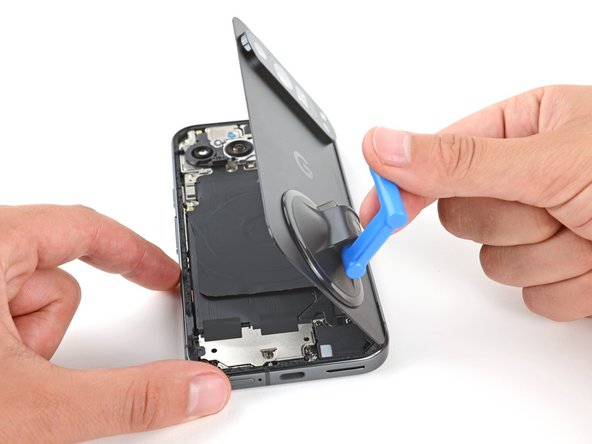
– Get ready to rock this repair! First, attach a suction handle to the bottom edge of the rear cover. Get it as close to the edge as you can, like you’re hugging it tight.
Tools Used
Step 4
– Give that suction handle a nice, strong tug to pop a little gap under the rear cover. You’ve got this!
– Now, slide the tip of your trusty opening pick into that gap and let the magic begin!
Tools Used
Step 5
Hey, watch out! Don’t go poking that opening pick too deep. Keep it under 3mm, cool?
– Gently slide your opening tool along the bottom edge to break free the adhesive holding it in place.
Step 7
– Gently glide your pick along the right edge to break free the last bit of adhesive holding things together.
Step 8
Hold your horses on yanking off the rear cover just yet! There’s a sneaky ribbon cable hugging the right edge that keeps it connected to the phone.
Having a bit of a struggle? Take a look around the edges for any leftover adhesive and grab your trusty opening pick to help you break free!
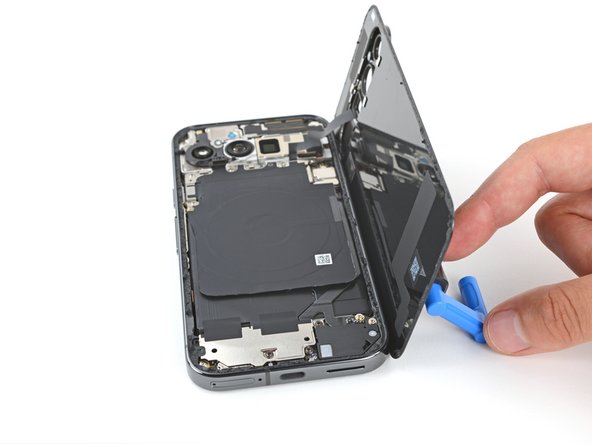
– Grab that trusty suction handle and give the left side of the rear cover a little lift. Swing it open like you’re flipping the pages of an exciting book!
– Now, prop the rear cover up with the suction handle to peek at the ribbon cable hanging out in the top right corner. You’ve got this!
Tools Used
Step 9
During this repair, remember to keep track of each screw and make sure it goes back where it came from.
Although the Pixel 9 Pro uses Torx Plus screws, standard Torx bits work just fine. Apply steady, downward force to avoid stripping.
This screw is non-magnetic, so tweezers might come in handy for removing it.
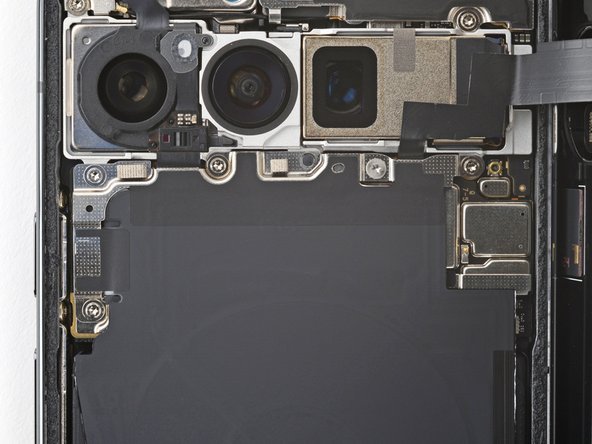
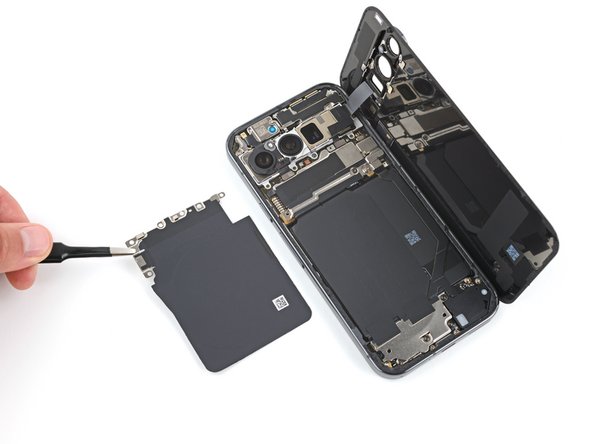
– Grab your trusty Torx Plus 3IP screwdriver and let’s get those screws out! We need to remove five screws that are holding the wireless charging assembly in place:
– Four cheerful 5.4 mm-long screws waiting to be freed
– One tiny but mighty 1.5 mm-long screw that wants to escape too
Step 10
Handle with care! The spring contacts lurking beneath the top left edge of the wireless charging assembly are a bit delicate, so watch your step and keep those safe while you work your magic.
– Alright, time to give that wireless charging assembly the boot! Use tweezers or your fingers to gently remove it. You got this!
Step 11
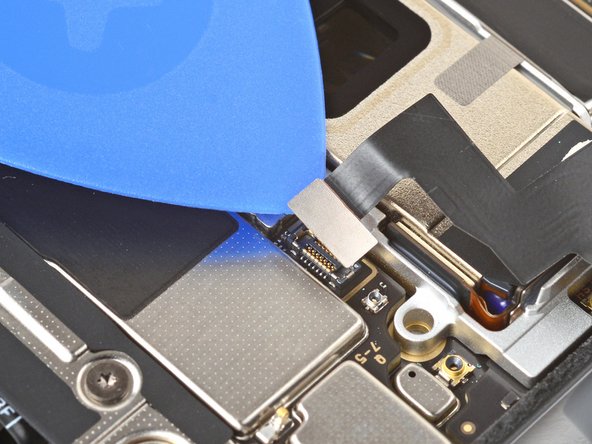
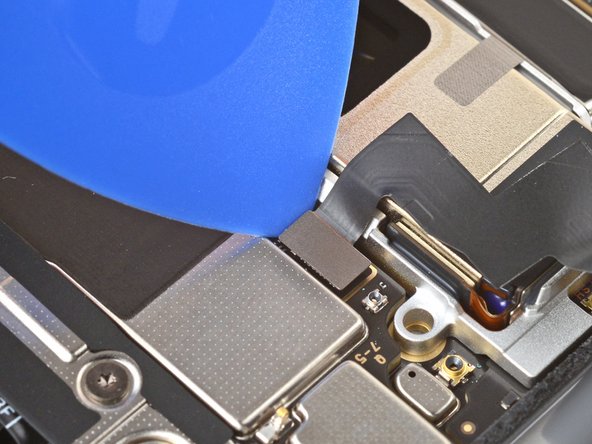
– Slide the tip of your trusty opening pick under the left edge of the rear cover press connector and gently pry it straight up to disconnect. You’ve got this!
Step 12
– First things first, let’s pop off that rear cover! It’s like peeling back the layers of a mystery.
– When you’re putting everything back together, just follow this guide for applying fresh adhesive and snugging that rear cover back in place. You’ve got this!
Success!
