DIY Google Pixel 9 Pro XL Battery Replacement Guide
Duration: 45 minutes
Steps: 41 Steps
This guide has been crafted by the talented folks at Salvation Repair. While we love what we do, it’s worth noting that this guide isn’t officially backed by any big tech companies. Want to explore more? Check out our amazing collection of guides!
To tackle this step, make sure to secure your phone to your workspace. If clamps aren’t handy, consider asking a buddy to help hold it steady.
Hey there, savvy repair enthusiast! This guide is crafted by the team at Salvation Repair, and it’s all about helping you tackle the battery removal or replacement for your Google Pixel 9 Pro XL. Remember, lithium-ion batteries can only take so much, so if your device isn’t holding a charge or is playing hide-and-seek with power, it might be time for a fresh battery. If your battery looks a little puffy, handle it with care! You’ll be clamping your phone down to keep it steady—if clamps aren’t your thing, grab a buddy to help out. Don’t forget, you’ll need some replacement rear cover adhesive to wrap things up nicely. Just a heads up: any repair could impact your phone’s water resistance, so how well you apply that adhesive will determine how splash-friendly your phone remains. If you feel like you could use a hand, don’t hesitate to schedule a repair!
Step 1
– Hey there, tech enthusiast! Let’s make some magic happen together. First things first, unplug all those cables from your device, and get ready to embark on an epic repair adventure!
Step 2
When you’re peeling away the adhesive, remember to keep your tool less than 3 mm under the rear cover. We want to keep those internal components safe and sound!
Grab your trusty opening pick, and measure out a cool 3 mm from the tip. Use a permanent marker to make a little mark on it. If you’re feeling crafty, why not attach a coin to your pick at that same 3 mm spot? It’s a nifty way to keep things precise!
– Alright, so that sweet adhesive is holding the back cover snug against the frame. It’s like a little hug, keeping things cozy.
Step 3
– Get ready to rock! Grab your trusty suction handle and attach it to the bottom edge of the rear cover. Make sure to stick it close to the edge for maximum grip.
Tools Used
Step 4
– Give that suction handle a hearty yank to lift the rear cover and create a bit of space underneath.
– Slide the tip of the opening pick into this gap.
Tools Used
Step 5
Hey there! Remember to be careful with that opening pick, don’t go deeper than 3mm, okay? We want to keep everything nice and safe inside your device.
– Gently glide your opening tool along the bottom edge to break the adhesive keeping things snug. You’re almost there!
Step 6
– Alright, let’s get this party started! Slide your trusty opening pick along the left side and then up the top edge, gently separating the adhesive. We’re gonna rock this repair!
Step 7
– Gently glide your pick down the right edge to peel away that stubborn adhesive. You’ve got this!
Step 8
Hold your horses on yanking off that rear cover! There’s a sneaky ribbon cable on the right edge that’s still making friends with your phone, so let’s keep it connected for now.
If you’re stuck, check around the edges for any leftover adhesive and use your opening pick to clear it.
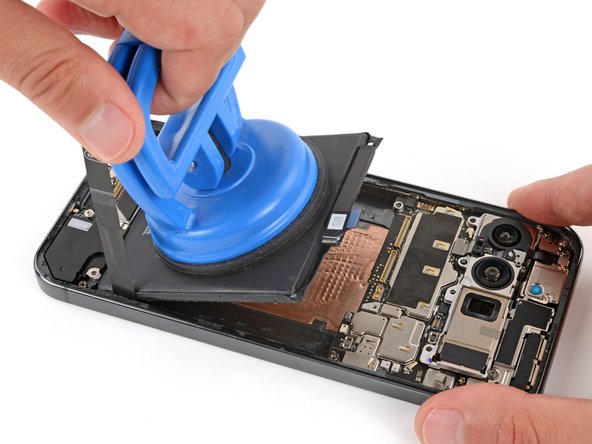
– Grab that suction handle and gently lift the left edge of the rear cover, swinging it over to the right like you’re flipping the pages of a book. Easy peasy!
– Now, keep that rear cover propped up with the suction handle so you can peek at the ribbon cable tucked away in the top right corner. You’ve got this!
Tools Used
Step 9
– Grab your trusty Torx Plus 3IP screwdriver and gently unscrew those two 5.2 mm-long screws holding the cable cover in place. You’ve got this!
Step 10
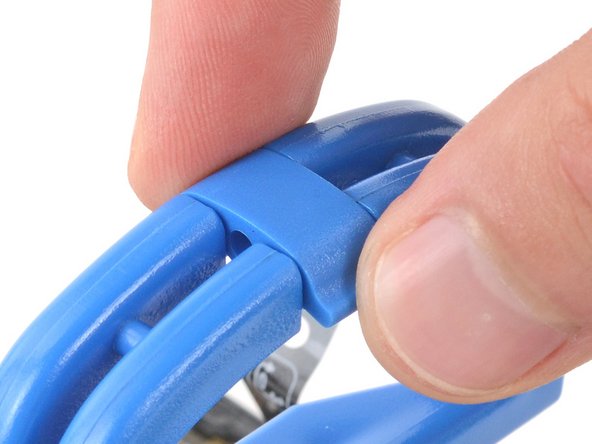
– Grab those tweezers or just use your fingers to gently lift off the cable cover. You’ve got this!
Step 12
– Let’s pop off that rear cover, shall we? It’s like opening a present, but way cooler!
– When you’re putting things back together, just follow this guide to stick on some fresh adhesive and snugly fit your back cover into place. You’ve got this!
Step 13
Feel free to peel off the tape if you like, just remember to hold onto it for when it’s time to put everything back together!
– Grab your trusty spudger and use it along with your fingers to lift that piece of tape near the left edge of your phone. Just peel it up enough to get to the bracket and those sneaky screws underneath.
Tools Used
Step 14
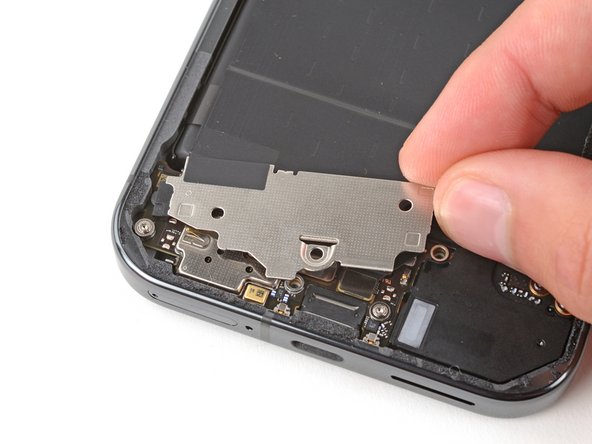
– Grab your Torx Plus 3IP screwdriver and unscrew the two 5.2 mm screws holding the wireless charging cable cover in place.
Step 15
– Alright, time to go on a small treasure hunt! Gently pry open that bad boy and uncover what’s hiding inside. Don’t worry, you’ve got this!
Step 16
– Grab your trusty opening pick and gently nudge it under the wireless charging press-connector. Give it a little lift to disconnect it like a pro!
Step 18
– Grab your trusty Torx Plus 3IP screwdriver and get ready to tackle those two 2.2 mm-long screws holding the wireless charging assembly in place. You’ve got this!
Step 19
– Alright, time to take that wireless charging assembly for a spin! Let’s gently remove it.
Step 21
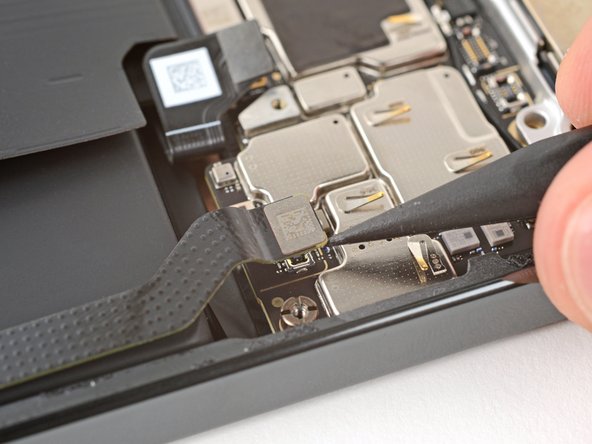
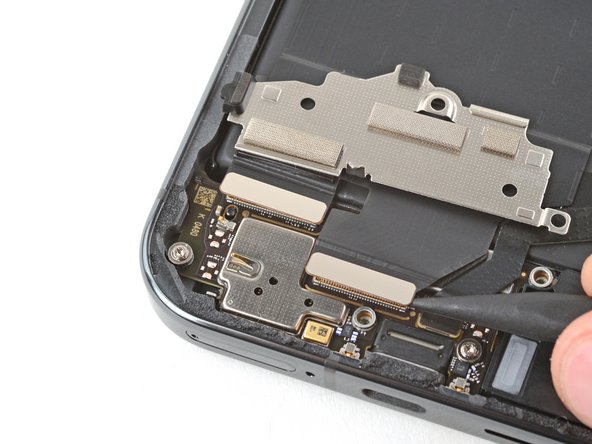
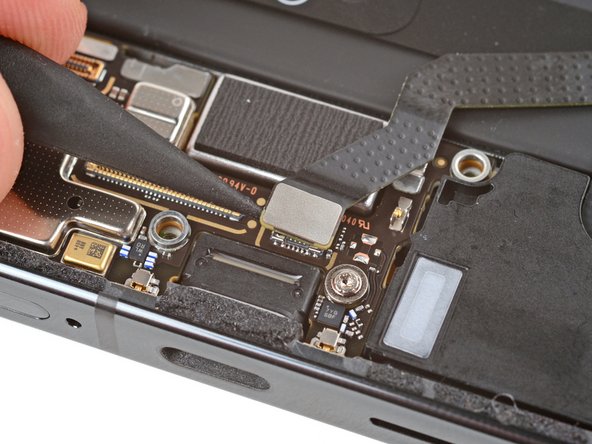
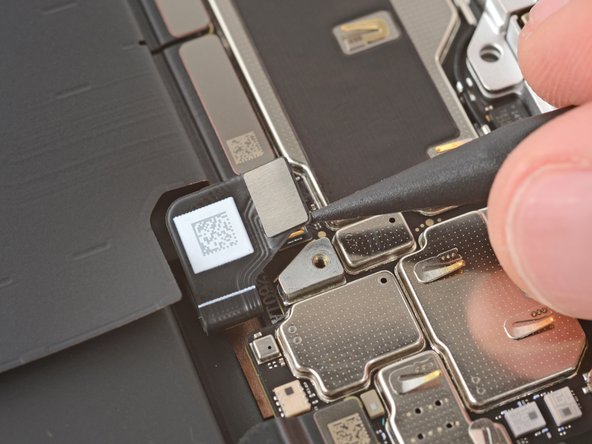
– Grab your trusty spudger and gently work it to lift up and detach the three press connectors chillin’ along the bottom edge of the logic board. You’ll find two bigger connectors hanging out near the middle and a smaller buddy tucked away in the bottom right corner. Let’s get them all disconnected with ease!
Tools Used
Step 22
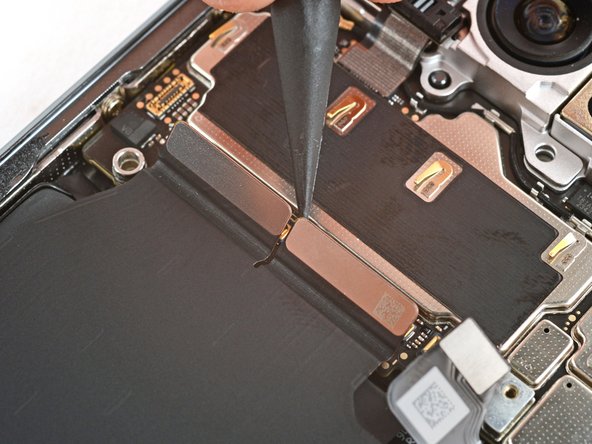
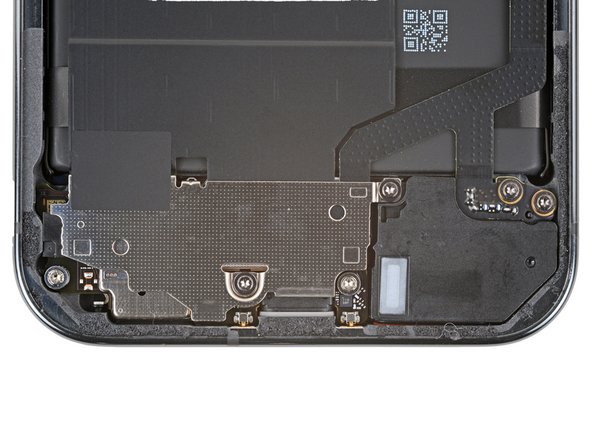
– Alright, champ, let’s get those screws out! You’ll need a Torx Plus 3IP screwdriver to unscrew those two little guys holding down the charging board cover. They’re just 4.2 mm long, so don’t worry, it’s a breeze!
Step 23
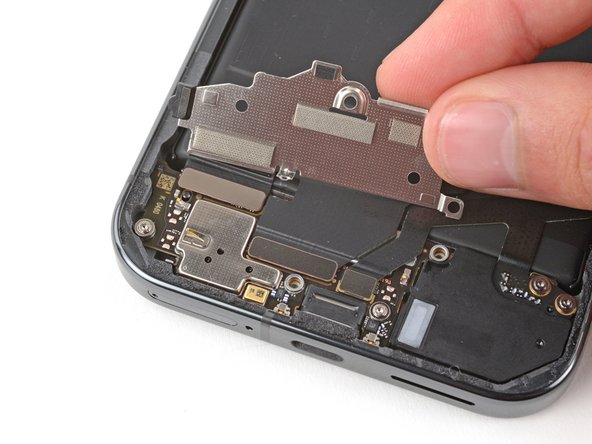
Hold up there, champ! Don’t go yanking that cover off just yet. There’s a little tape keeping it friendly with the interconnect cable. We’ll get it out together, just chill for a sec.
– Gently grab the right edge of the charging board cover and pull it up towards the top of your phone to release the left side from its cozy spot.
– Now, swing that cover away from the charging board to reveal those hidden press connectors waiting for you!
Step 24
Hey there, these little components on the charging board are super delicate. Just be careful and you’ll be golden.
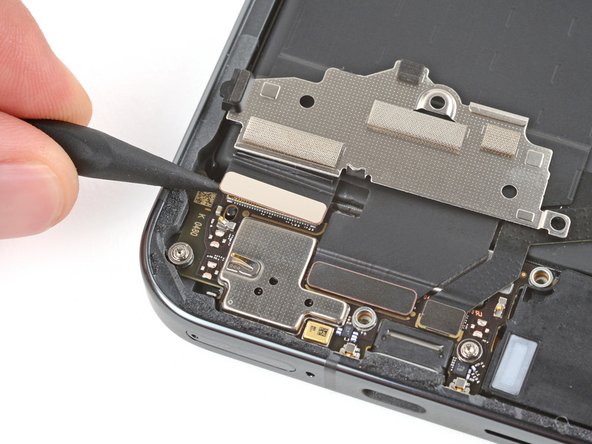
– Grab your trusty spudger and gently pry up those two larger press connectors hanging out at the top edge of the charging board. Disconnecting them is the name of the game!
Tools Used
Step 25
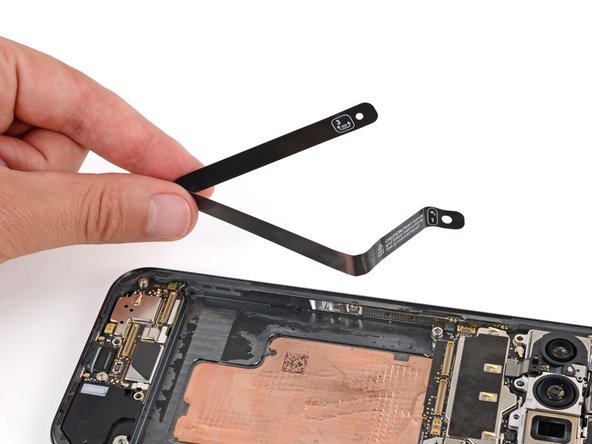
– Take out the left interconnect cable with care.
Step 26
Those tiny components on the charging board are delicate! Treat them with care, like a tiny, important friend. You got this!
– Grab your trusty spudger and gently pry up to disconnect that last pesky press connector on the right side of the charging board. You’re almost there!
Tools Used
Step 27
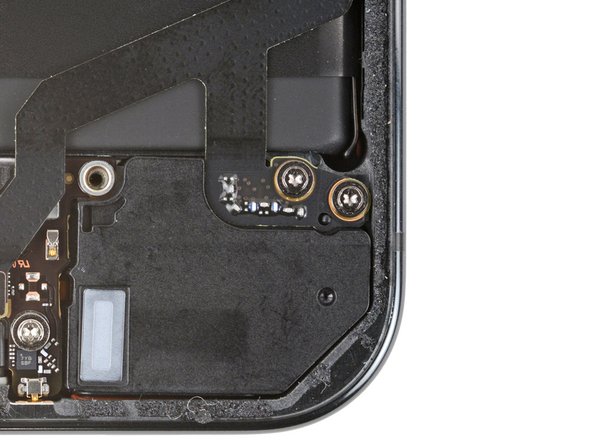
– Let’s get those screws out! Use a Torx Plus 3IP screwdriver to remove the two 4.2 mm-long screws holding down the bottom of the right interconnect cable. It’s like releasing a little robot from its cage!
Step 28
– Alright, let’s disconnect that right interconnect cable. It’s just like untangling a pair of headphones – smooth and easy!
Step 29
No finger stalls? No worries! Rubber gloves make a great substitute.
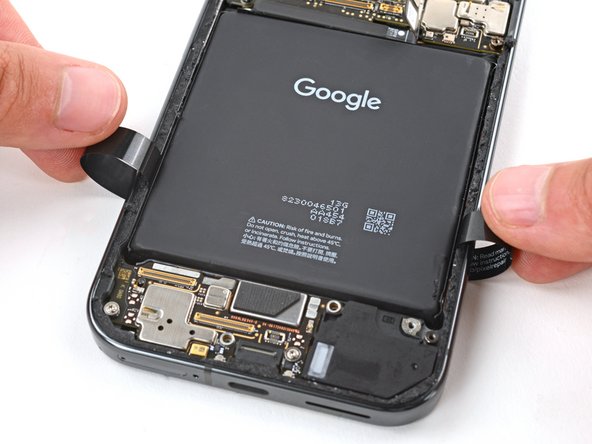
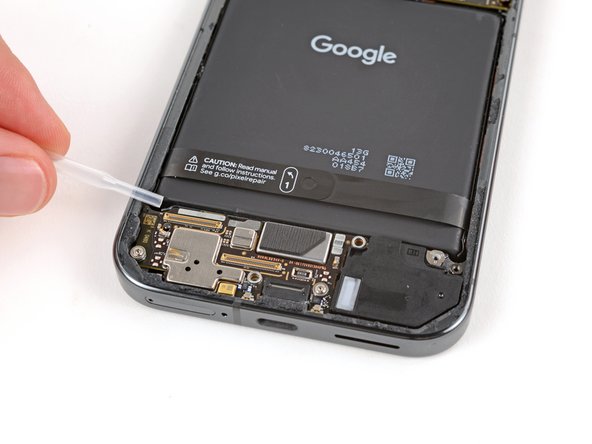
– Gently lift those plastic tabs at the bottom edge of the battery with your fingers.
– Tuck the tabs underneath the phone or tape them out of the way to keep them from bending when we warm up the battery in the next step.
– Slip on some finger stalls to get a great grip on those battery pull tabs for the upcoming steps.
Tools Used
Step 30
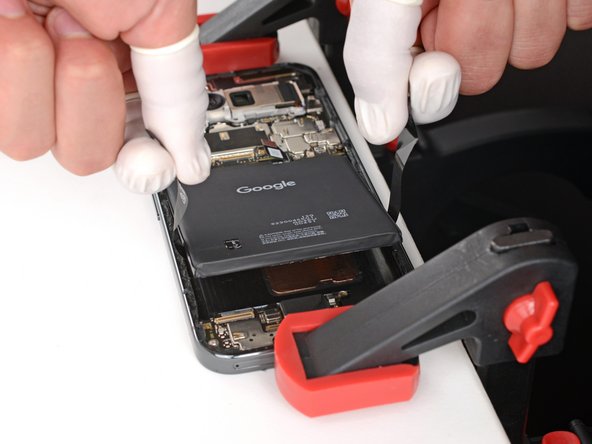
Before diving into the battery removal adventure, take a moment to check out the next three steps. Those pull tabs work like magic, especially right after you’ve warmed up the battery, so it’s super important to know the game plan before you get started!
In a pinch? Try using a heat mat set to 70°C (158°F) with your phone resting screen side down for about 10 minutes. It’s like giving your device a nice warm hug!
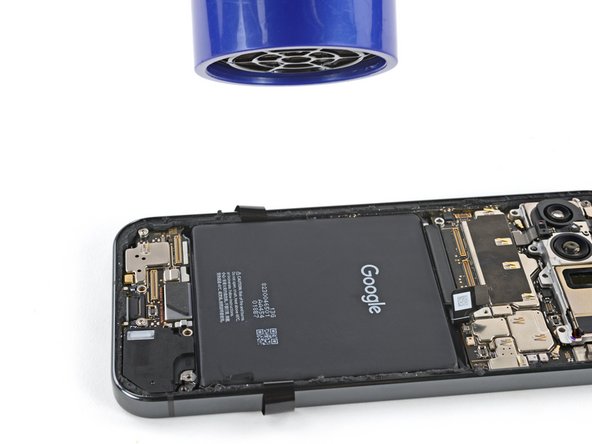
– The battery is stuck on there pretty good with some tough adhesive. A little heat will help loosen it up, making your mission to separate them a breeze.
– Grab a hair dryer and set it to High heat and Low speed. Give the battery a warm hug for about three minutes, keeping the dryer about three inches away. Try to spread the warmth evenly across the battery to really get that adhesive to relax.
Tools Used
Step 31
Before securing your phone, check under it for any sneaky surprises! Only grab hold of that phone by the raised lip of the frame, and remember to treat those internal components like they’re delicate little butterflies.
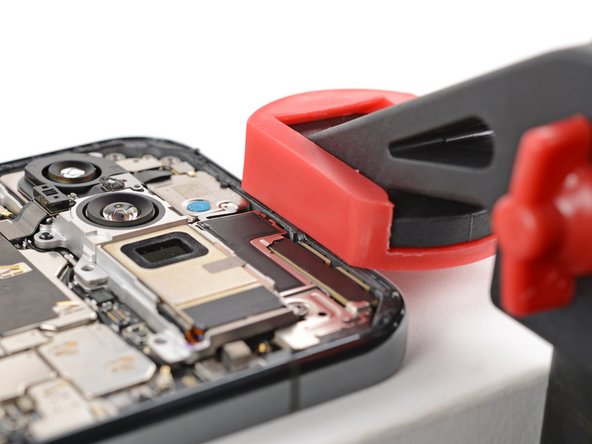
When using clamps, go for those with cozy plastic or rubber pads, or just take your time to avoid giving your device any unwanted scuffs!
Hey there! Since those battery pull tabs call for a two-handed job, you’ll want to use your expert skills to secure your phone to your tabletop workstation. And don’t forget, ESD safety is our best buddy when fixing gadgets! If you need help, you can always schedule a repair.
– Vamos a alinear las varillas de extracción para que estén a la vista y accesibles.
– ¡Uso pinzas F-C o C-C para asegurar el teléfono a la superficie de trabajo! Por lo menos, necesitarás dos pinzas, una para el borde superior y otra para el inferior.
– ¡No te preocupes si no tienes pinzas, ¡puedes usar a tu mejor amigo para sosteniendo el teléfono firmemente en su lugar!
Step 32
If you’re having trouble separating that battery, don’t worry! Just give it some more love and attention. Apply a bit more heat, and if it’s still not budging, you can do it! Remember, if you ever need a hand, you can always schedule a repair
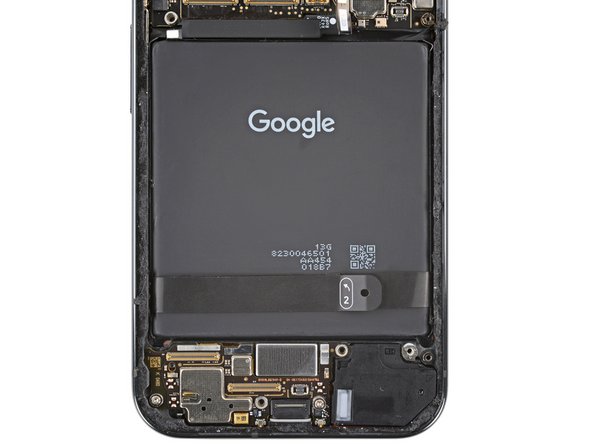
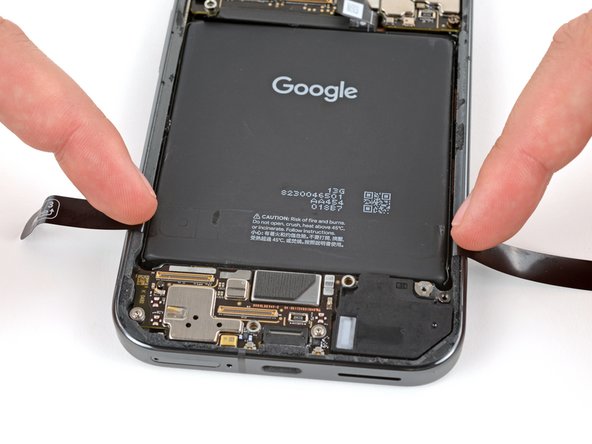
– Lift the battery by grabbing the pull tabs and maintain a steady upward force until the battery pops away from the frame.
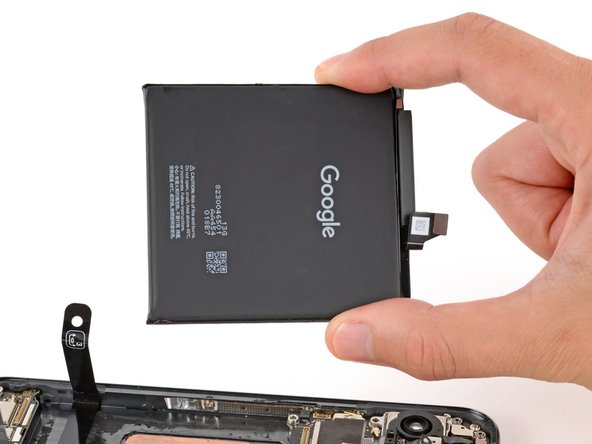
– Time to say goodbye to the battery!
– If you managed to free the battery, awesome job! Jump ahead seven steps for how to put everything back together.
– Oh no, if the pull tab snapped or slipped from under the battery, no worries! Check out the next step for a different method to remove the battery.
Step 33
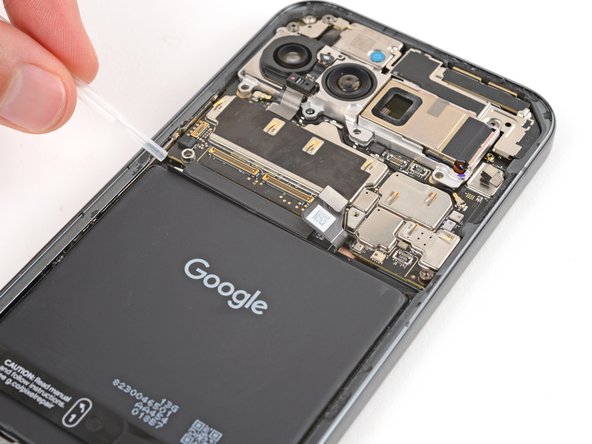
For the next couple of steps, remember to follow the isopropyl alcohol instructions closely – too much and you might end up with a screen disaster!
– Drop two or three specks of that nifty isopropyl alcohol (make sure it’s over 90% strength) right on the top corners of the battery. You’ve got this!
Tools Used
Step 34
– Time to get your hands a little messy! Add two or three drops of isopropyl alcohol (make sure it’s over 90%) to the bottom corners of that stubborn battery. Don’t worry, it’s just a little liquid magic!
– Now, kick back for a minute and let the alcohol do its thing. It’ll soften that adhesive and make pulling the battery out as easy as pie!
Tools Used
Step 35
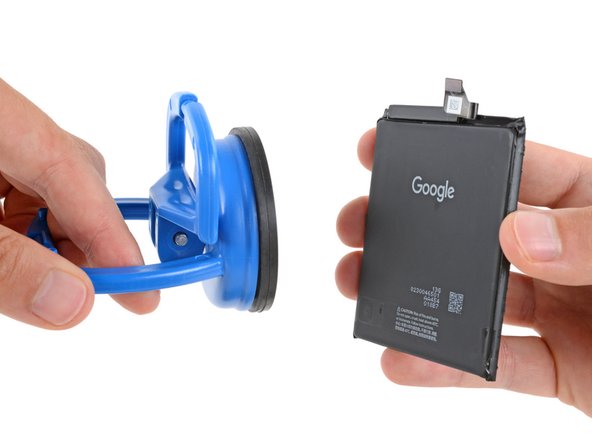
A heavy-duty superhero suction cup can be your best friend for battery removal! But don’t worry if you only have a smaller suction handle. You can still rock this repair by placing it on the bottom edge of the battery and jump ahead two steps.
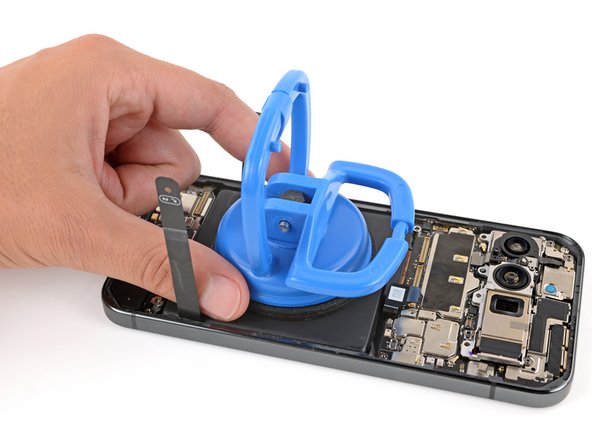
– Give the handle on that big suction cup a gentle pull down to pop it open!
– Now, use your fingers to carefully fold those plastic battery tabs all the way out of the battery’s way.
– Next up, position the suction cup right in the center of the battery like a pro!
Tools Used
Step 36
– With a gentle touch, press down on that suction cup and pull the handle up to secure it in place.
– Now, flip that plastic clip on top of the suction cup over the handle and snap it shut to keep everything nice and snug.
Step 37
If the battery is stubborn after a minute, try a little trick! Give the corners of the battery a gentle massage with two or three drops of alcohol. Then, try again. You might need to repeat this a couple of times with the alcohol and some steady pressure to get that battery out. It’s all about persistence!
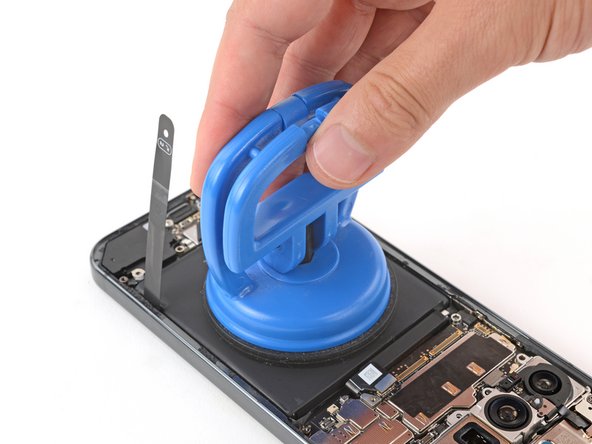
– Hang tough and hold your phone steady to the work surface with one mitt, alrighty?
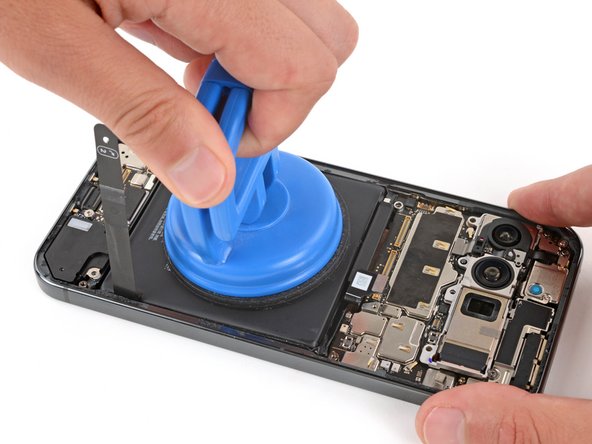
– Now, take your other paw and give that suction cup a hearty yank towards the bottom of your phone. Keep the pressure on and let those adhesive vibes do their thing.
Step 38
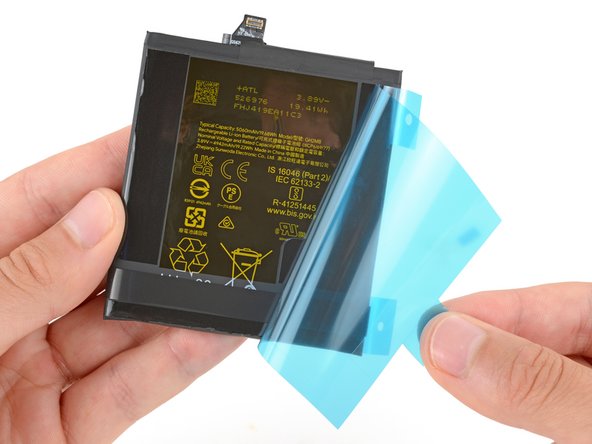
Don’t even think about using a bent or broken battery—it’s a recipe for disaster! Swap it out for a shiny new one instead.
– Gently pop the battery out from its cozy home and detach the suction cup. You’re halfway there!
– If the cheerful battery pull tab decided to stick around, go ahead and give it a gentle tug to free it from its spot.
Step 39
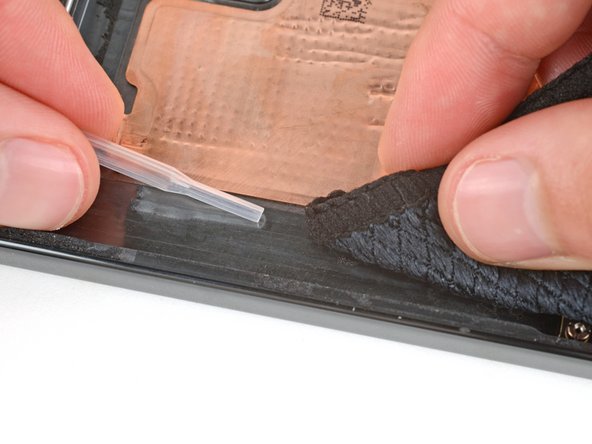
– Let’s get this sticky situation sorted! Grab your trusty spudger and gently scrape away any old battery adhesive stuck to the frame.
– Once you’ve banished that old goo, give the frame a good cleaning with some isopropyl alcohol (90% or higher) and a microfiber cloth. Let it dry completely before popping in the new battery.
– If you’re feeling stuck, you can always schedule a repair.
Tools Used
Step 40
Step 41
Make sure to disconnect the battery before you dive back into reassembly! Safety first, my friend!
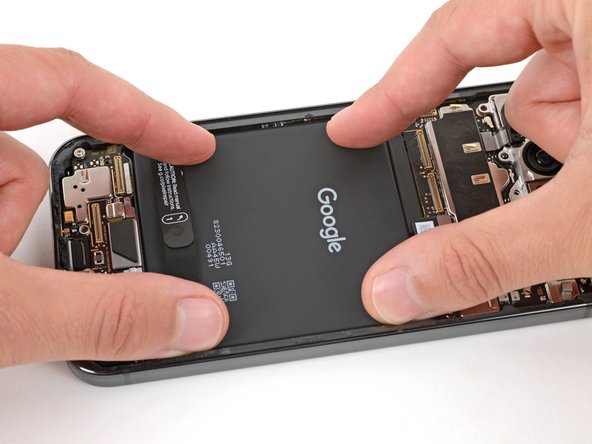
– Ready to put your device back together? Just retrace your steps and start from here!
– Want your new battery to be at its best? Give it a little calibration love after you finish this guide.
– Feeling curious? Run a diagnostics test with the built-in Pixel Diagnostic tool by clicking here.
– When it’s time to say goodbye to e-waste, make sure to take it to an R2 or e-Stewards certified recycler.
– If things didn’t go as smoothly as planned, no worries! Give some basic troubleshooting a shot or reach out to our Answers community for a helping hand.
– Changed your mind? No problem! Just hit cancel.
–
Success!


