DIY Google Pixel Fold Top Speaker Replacement Guide
Duration: 45 minutes
Steps: 29 Steps
Heads up! This guide is put together by the awesome folks at Salvation Repair, and it’s not officially backed by anyone else. For more info on our repair guides, just click here.
Ready to tackle some speaker drama? Dive into this guide to swap out the top speaker on your Google Pixel Fold! While this guide hasn’t received the official thumbs-up from the big tech giants, it’s packed with all the know-how you’ll need. If you run into any tricky spots, remember, you can always schedule a repair for that extra boost. Let’s get started!


Step 3


Keep your pick at a safe distance! Pushing it in too deep might lead you to a surprise party with damaged screens and internal parts. Let’s avoid that little shindig.
When you’re getting ready to remove that screen, just slide your opening pick in as far as the edge goes. You’ve got this!
Step 4


Cracked screen? No problem! Cover that bad boy with some clear packing tape to give the suction cup a better grip. If that doesn’t work, try some super strong tape instead of the suction cup. If you’re still having trouble, you can always superglue the suction cup to the screen, but we don’t recommend it.
Depending on how old your phone is, this part might be a little trickier. If you’re struggling, just apply more heat to the edge and try again. No worries, you got this!
– Grab a suction cup and place it snugly on the screen, aiming for the center of the bottom edge.
– Give that suction cup a good pull with steady strength to open up a little space between the screen and the frame.
– Slide an opening pick into that newly created gap.
Step 5


– Gently glide the opening pick along the bottom edge to break free that pesky adhesive!
– Keep the opening pick snug in the bottom right corner while you move on to the next step.

Step 7


– Give that opening pick a little twirl around the bottom right corner to break free the adhesive. You’ve got this!
Step 8


– Pop in a fresh opening pick at the bottom right corner, like you’re giving your device a little tickle.
– Gently glide that pick up towards the top right corner to break free the adhesive, making it feel like a smooth dance!
– Keep that opening pick snug in the top right corner as you continue your adventure!

Step 10


– Alright, let’s get this party started! Take your opening pick and give that top right corner a little twirl. This will help loosen the adhesive holding things together. You’ve got this!
Step 11


– Grab a fresh opening pick and gently tuck it into the top right corner.
– Now, slide that pick over to the top left corner to break free the adhesive holding everything together.
Step 12

– Ready, set, let’s defrost that corner with the magical iOpener, and we’ll be on our way to saving the day with this phone!
Tools Used
Step 13


The sharp corner is super delicate! Make sure to apply lots of heat and take it easy around this area while you work your magic.
– Keep your pick as close to flat against the screen as you can.
– Swing that opening pick around the top left corner to break the adhesive hold.
Step 14


– Alrighty, let’s get that pick in there, top left corner! Don’t forget where you put your phone, it’s going on a little adventure now. Gently glide that pick down to the bottom left. Almost there, you rockstar!
Step 15


Hey, that corner is super sensitive! Use a ton of heat to loosen things up, and be super gentle around the corner, okay? You’ll be a pro in no time!


Step 18


– Slide an opening pick underneath the right edge of the screen, right near that top right corner. You’ve got this!
– Gently push the opening pick under the screen as far as you can without losing your grip. Keep it steady!
Step 19


Take it easy during this step – the screen is a bit sensitive, and we don’t want any mishaps! Go slow and feel free to add a little more heat if you need it. You’ve got this!
If the adhesive isn’t giving way just yet, crank up the heat a bit more or try that trusty pick from a new angle!
– Gently wiggle the opening pick back and forth to break free that stubborn adhesive.
Step 20


Hold your horses! The screen is still connected to the phone with a cable, so let’s keep it in place for now.
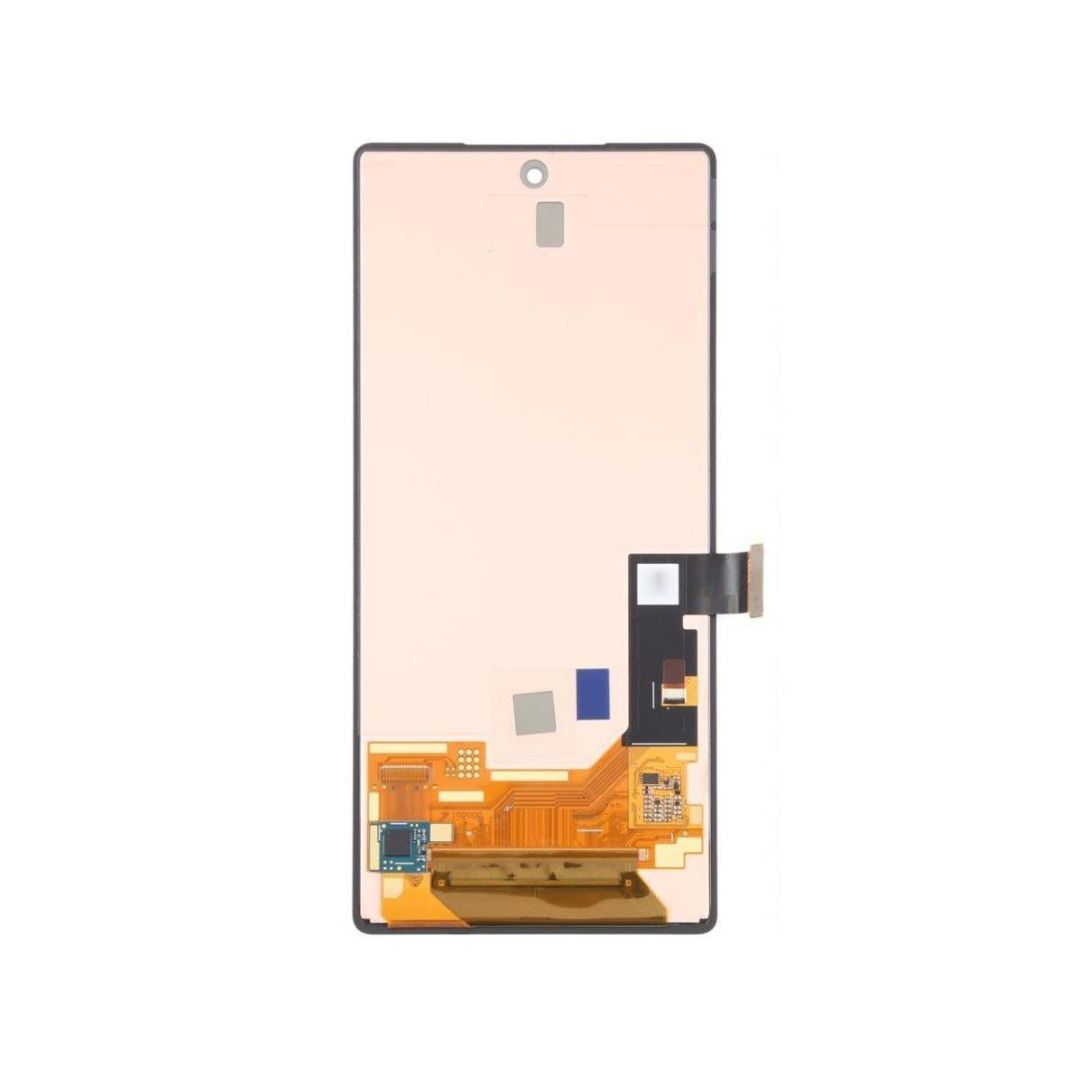
Okay, great! Now the screen should be free from the frame. If you still feel some resistance around the edges, go ahead and use an opening pick to gently separate any remaining adhesive.
Step 21

Keep track of each screw during this repair and remember exactly where it came from. No screw left behind!
Even though the Pixel Fold uses Torx Plus screws, you can still use standard Torx bits. Just use the same size or one size larger (T3 Torx or T4 bits with 3IP Torx Plus screws) and apply steady, downward pressure to avoid stripping. You got this!
– Grab your trusty Torx Plus 3IP screwdriver and let’s get to work! Carefully unscrew those five tiny 2.5 mm-long screws holding down the bottom bracket. You’re making great progress!
Step 22


– Rock on, repair hero! Gently unclip that bottom bracket with tweezers or your trusty fingers and get ready to bring it back to life!
– Before you secure that bottom bracket again, make sure you’ve got it aligned in those two little pegs – you’re getting the hang of this, don’t worry!
Tools Used

Step 23


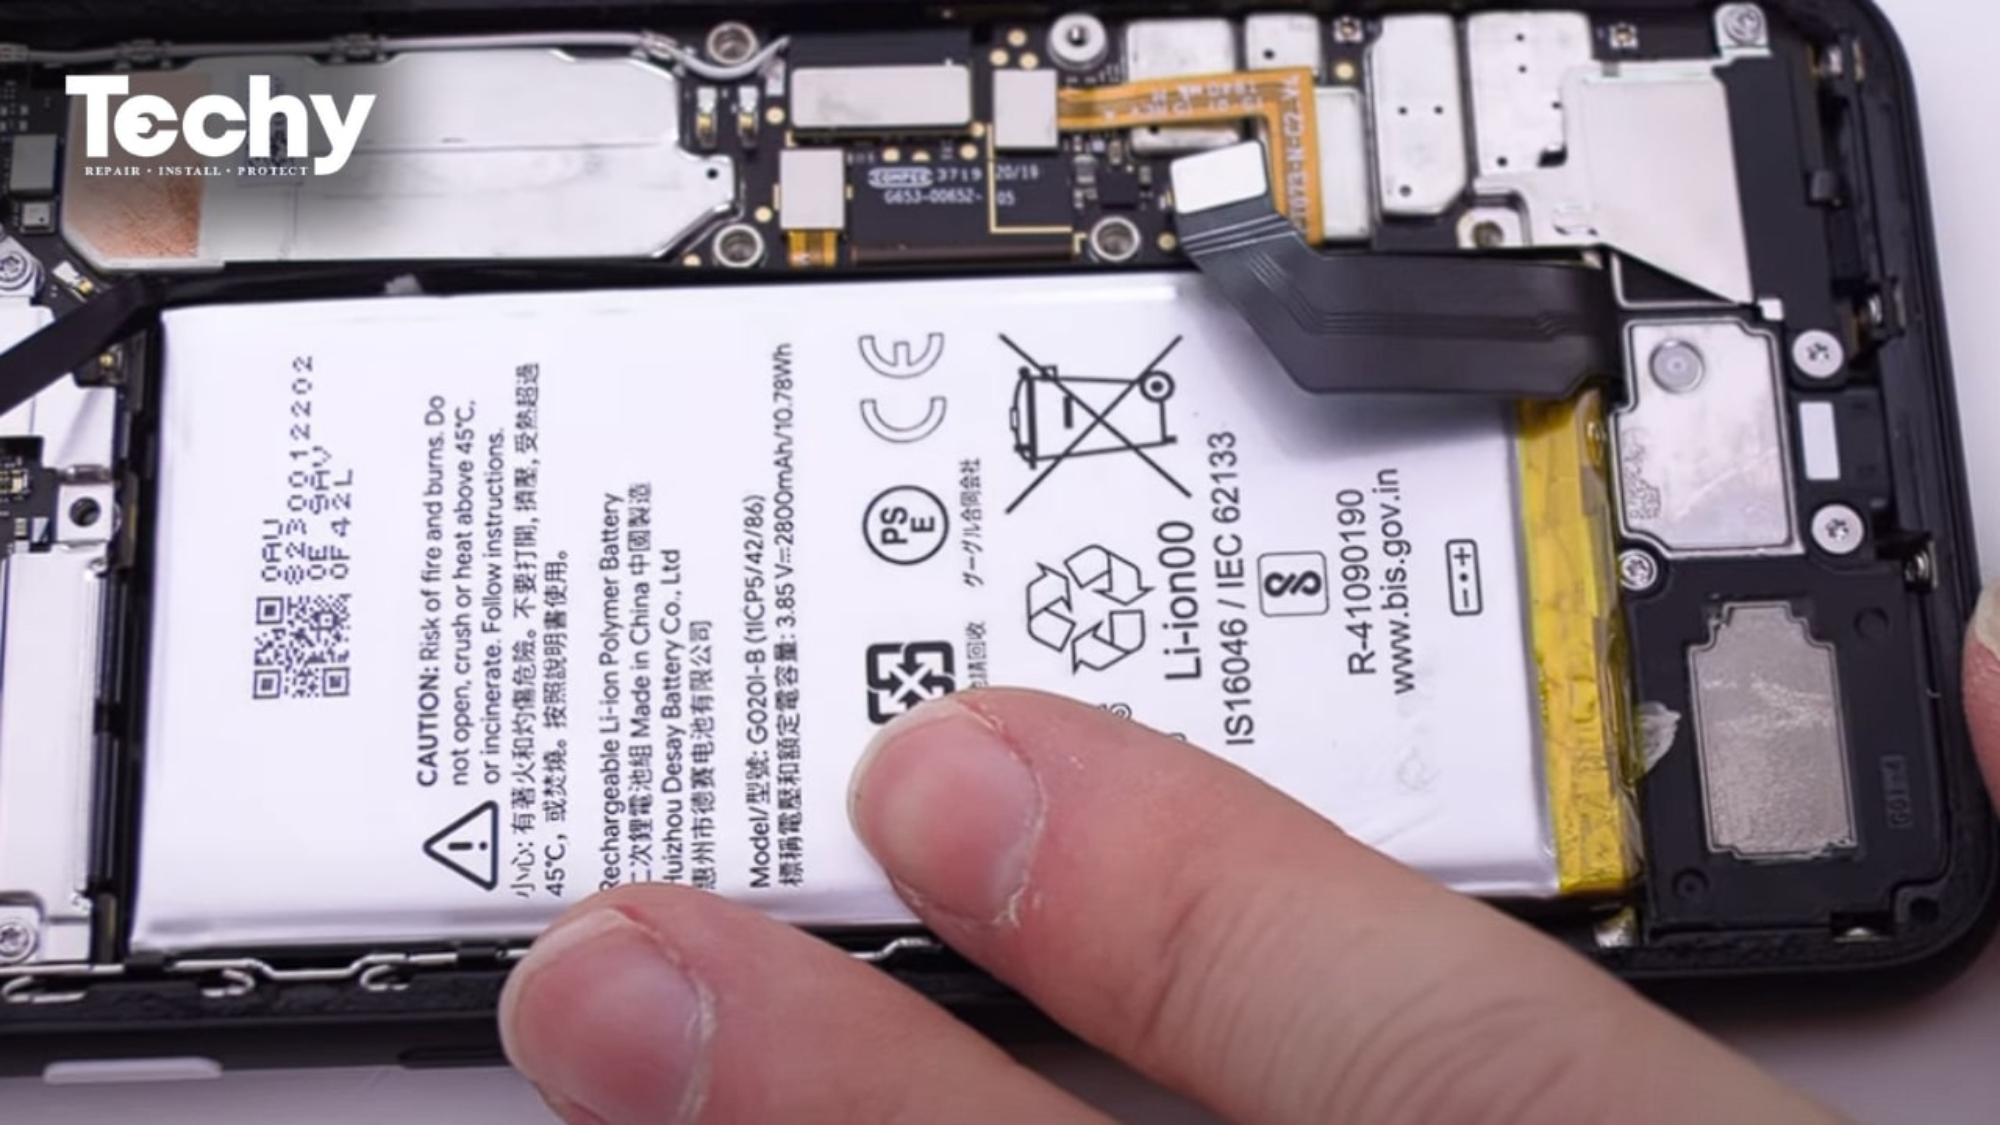
– Grab that trusty spudger and gently slide the flat end underneath the flip battery press connector to lift it up and disconnect it. Take your time—no rush!
– When it’s time to reattach those press connectors, give it a little love! Line it up carefully, press down gently on one side until you hear that satisfying click, and then do the same for the other side. Remember, avoid the middle—nobody likes being pushed there! If it feels off, just check your alignment to keep those pins happy and unbent.
Tools Used

Step 24


Hey, keep your trusty spudger in the right place! If you go wandering, you might bump into some important parts on the logic board. And we don’t want any accidents, right?
– Take the spudger and slide it gently under the short edge of the screen press connector near the bottom of your phone.
– Carefully pry upward to disconnect the screen press connector.
Tools Used

Step 26


If your top right adhesive is feeling good and sticky, it’s ready for a second round! Reuse that buddy.