DIY Guide for Google Pixel Watch Battery Replacement: Step-by-Step Tutorial
Duration: 45 minutes
Steps: 22 Steps
For your own safety, make sure to drain that battery down to under 25% before diving in to disassemble your device!
Ready to give your Google Pixel Watch a fresh start with a new battery? Awesome! Before you dive in, make sure to drain that battery below 25%—it’s a smart move to keep things safe and sound during the repair. If you notice any swelling, be extra careful! When you’re putting everything back together, don’t forget to grab some replacement adhesive to seal the screen back on. Just a heads up: while you’ll be working hard to keep that water intact, your device will lose its IP (Ingress Protection) rating. Oh, and just so you know, this guide is based on the GBZ4S LTE model. If you have the non-LTE version, no worries—you can still follow along, but there might be a few visual differences. If you need help, you can always schedule a repair.
Step 1


Before diving into repairs, make sure your watch is powered down and off the charger.
– Press the band release button and slide the watch band away from the watch while pulling it over the button.
– Do the same for the other watch band.
Step 2

You can use a hair dryer, heat gun, or hot plate to help with the repair, but remember to keep an eye on the temperature! Overheating can be a real bummer for your watch, as both the screen and the internal battery are sensitive to heat. So, let’s keep it cool and get this done right!


Step 3


Step 4

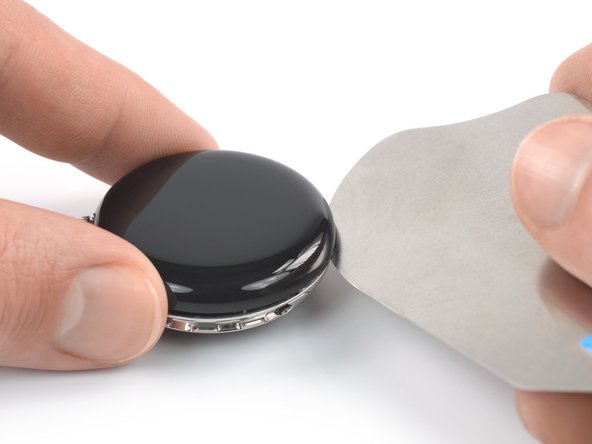
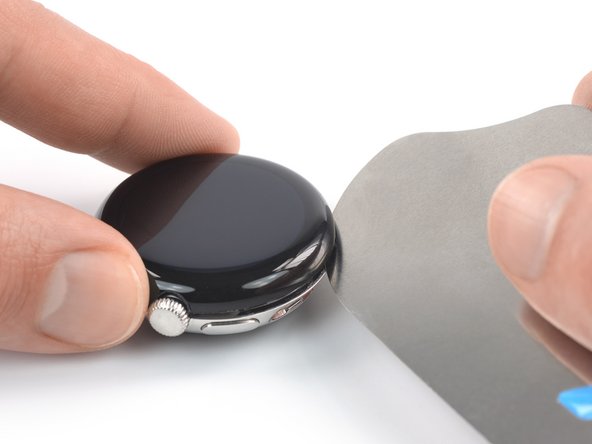
Step 5

Hold your horses! Don’t go yanking off the screen just yet—it’s still hanging on by a fragile little cable connecting it to the watch assembly.
– Slide the iFlex under the screen, just to the right of the speaker grille, and get ready for some action!
– Give that iFlex a little twist to help pry the screen up. You’ve got this!
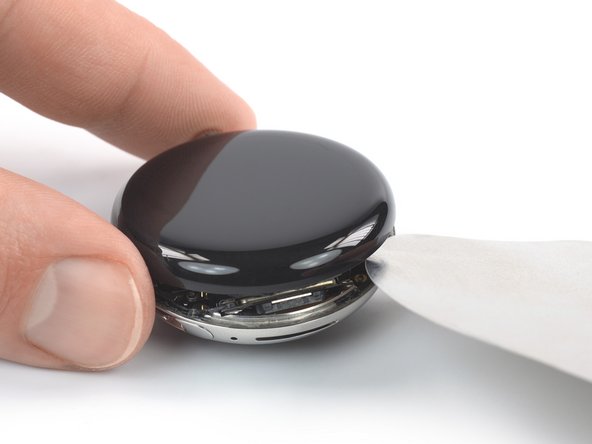
Step 6
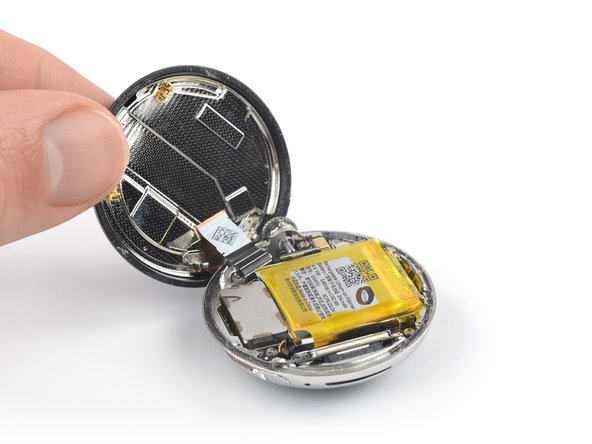


– Gently swing the screen open until it’s standing tall and proud.
– Now’s a perfect time to power up your device and give everything a quick test before you seal it up. Just remember to turn it off completely before diving back into the work!
Step 7

As you dive into this repair, keep tabs on each screw and make sure it finds its way back to its original home.
– Grab your trusty Torx T2 screwdriver and pop out that 2.1mm screw holding the speaker bracket in place. It’s time to work some magic!


Step 9


When reconnecting press connectors like this one, line it up carefully and press down on one edge until it clicks, then do the same on the other edge. Avoid pressing in the center to keep things safe. Misaligned connectors can bend pins, and trust me, nobody wants that kind of hassle.
– Grab your trusty spudger and gently pop up the vibration motor’s press connector—easy does it!
Tools Used


Step 11

– Grab your trusty Torx T2 screwdriver and unscrew the two little guards keeping the vibration motor in place:
– One screw that’s 1.8 mm long
– Another screw measuring 2.8 mm long

Step 13


– Time to bid farewell to the vibration motor! Gently remove it from its cozy spot.
Step 14

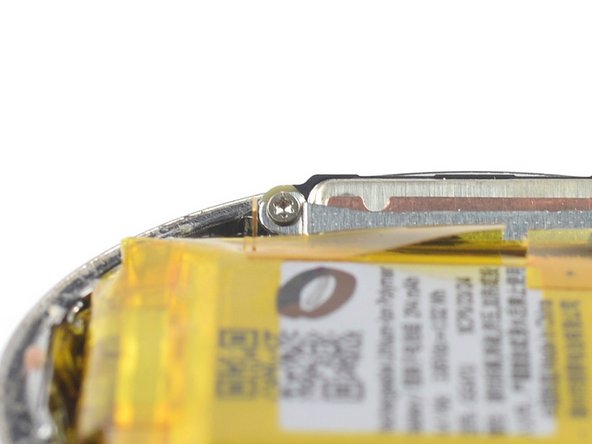
– Grab your Torx T2 screwdriver and unscrew the two 3mm-long screws holding the battery bracket in place. It’s a quick job, just take your time and make sure you keep those tiny screws safe!


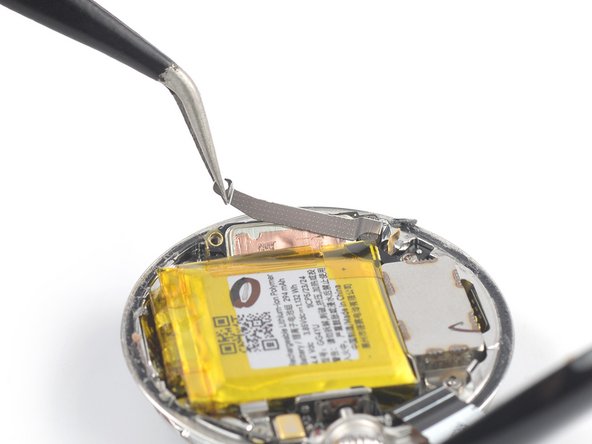
Step 17

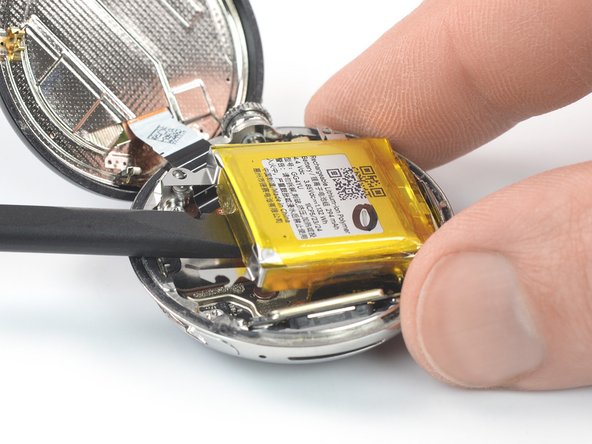
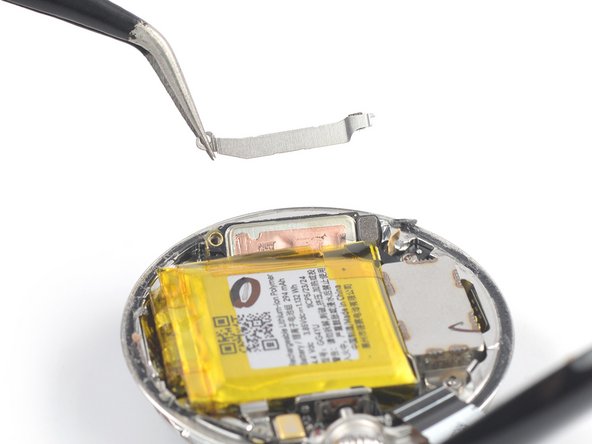
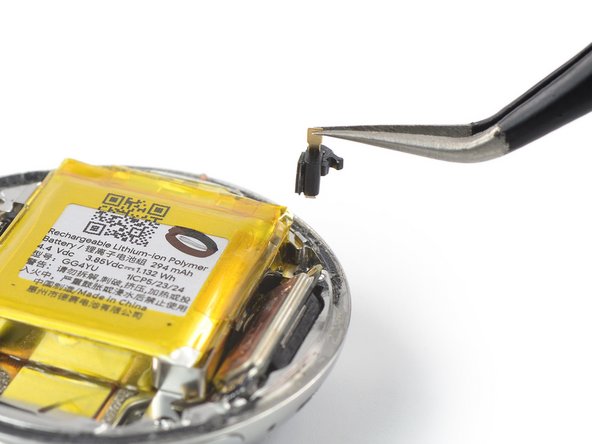
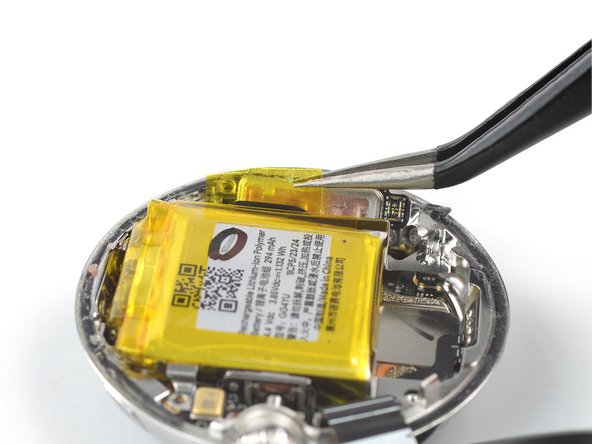
Hey, hold up! Don’t yank that battery out just yet—it’s still got a delicate cable attached to the watch assembly.
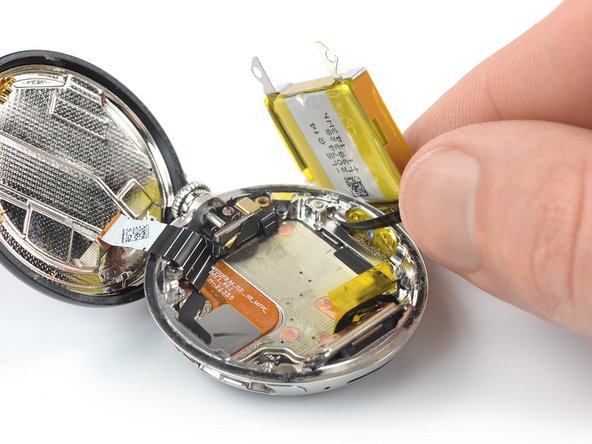


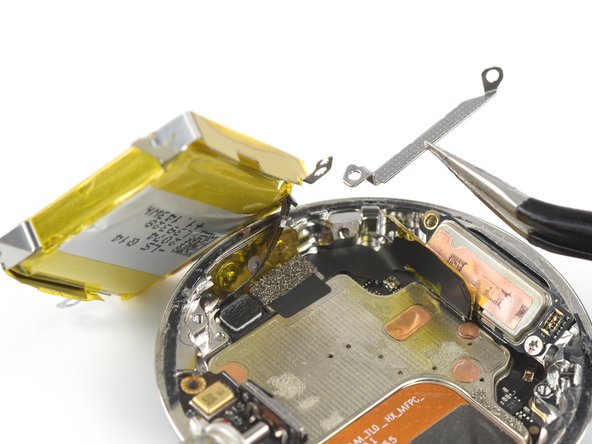
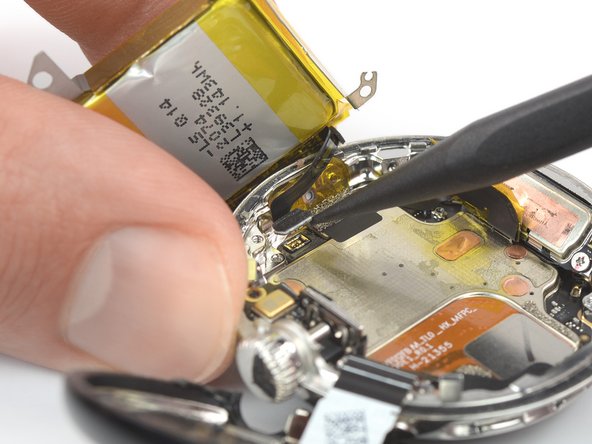
Step 19
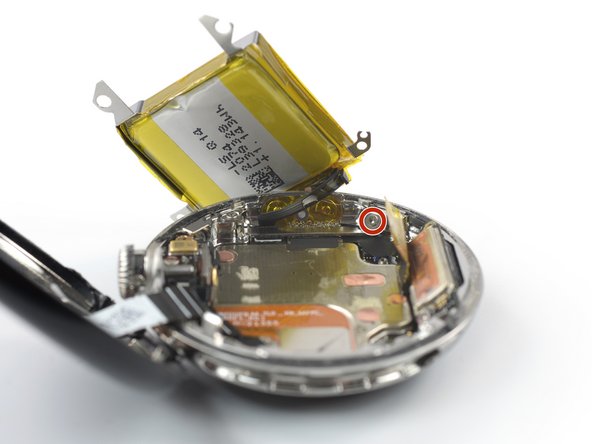

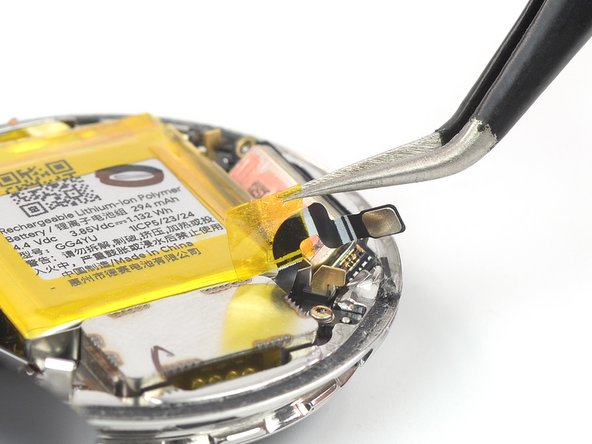
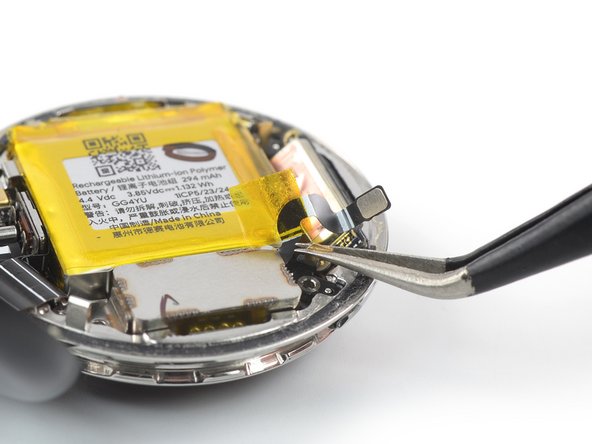
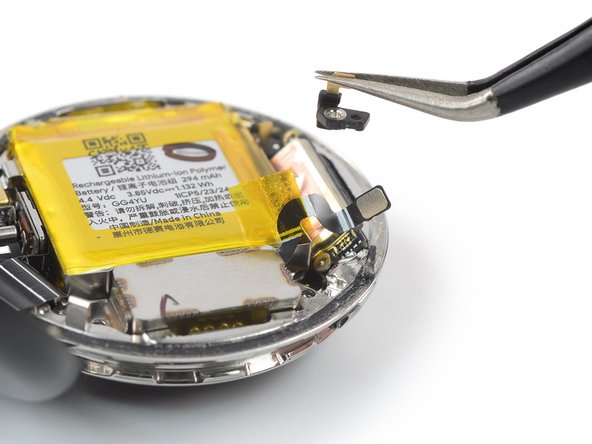
– Grab your trusty Torx T2 screwdriver and pop out those two tiny 1.5 mm screws holding the battery connector bracket in place. Easy peasy!


Step 22

Don’t even think about reusing a battery that’s been through the wringer—it’s a serious fire risk. Swap it out with a fresh one for your safety.
– To put everything back together, just follow these steps in reverse order. Piece by piece, you’re almost there!
– During reassembly, don’t forget to freshen up with some new adhesive if needed. A quick wipe with isopropyl alcohol (>90%) on the affected areas will do the trick.
– For peak performance, give your newly installed battery a quick calibration once you’re done.
– Got old electronics? Drop them off at an R2 or e-Stewards certified recycler to keep things green!
– Did things not go as planned? No worries—try some basic troubleshooting, or ask our Answers community if you’re stuck.
– If you didn’t finish the guide, you can always cancel it and take a break.
– Need a hand? If things get too tricky, feel free to schedule a repair.
Success!

