DIY Guide for Replacing the Battery in Galaxy A80
Duration: 90 min.
Steps: 11 Steps
Did you just plug in your Galaxy A80 and now it feels like the battery’s already waving goodbye? Fear not! Follow these steps to swap out that tired battery and breathe new life into your trusty sidekick. If your phone’s been playing hide and seek with power or just shuts down when the battery’s feeling low, it’s time for a battery change. We’ll walk you through the process of opening up your Galaxy A80, peeling off the glued back cover, and removing a few components until the battery is free. Plus, we’ll show you how to put everything back together once the new battery is in place. And hey, if you hit a snag or have questions, just reach out to our support team through chat or comments. We’re here to help you get through this with ease!
Step 1

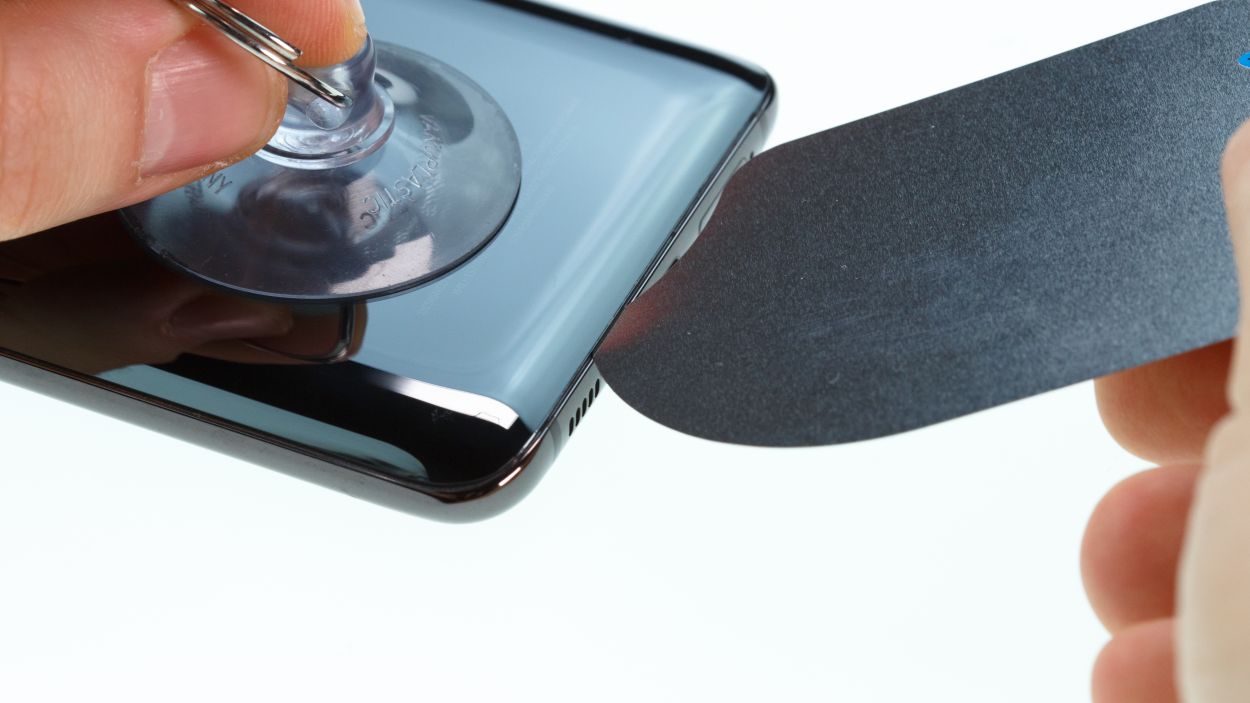
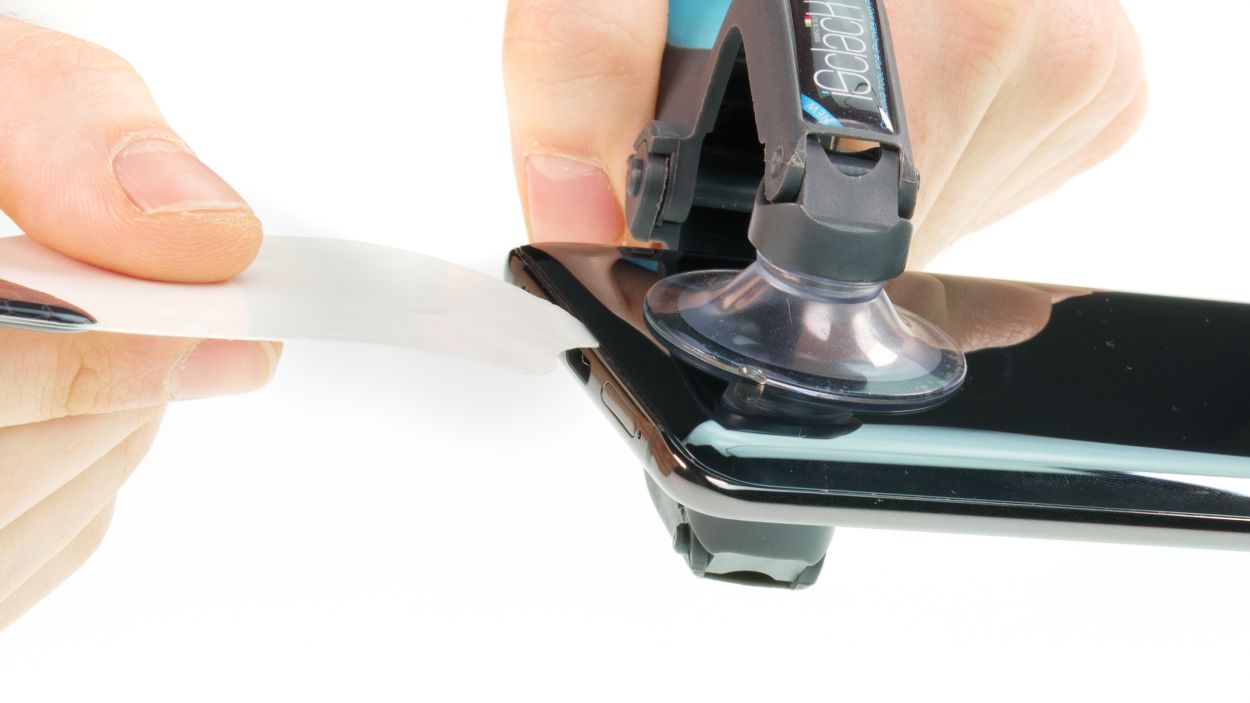
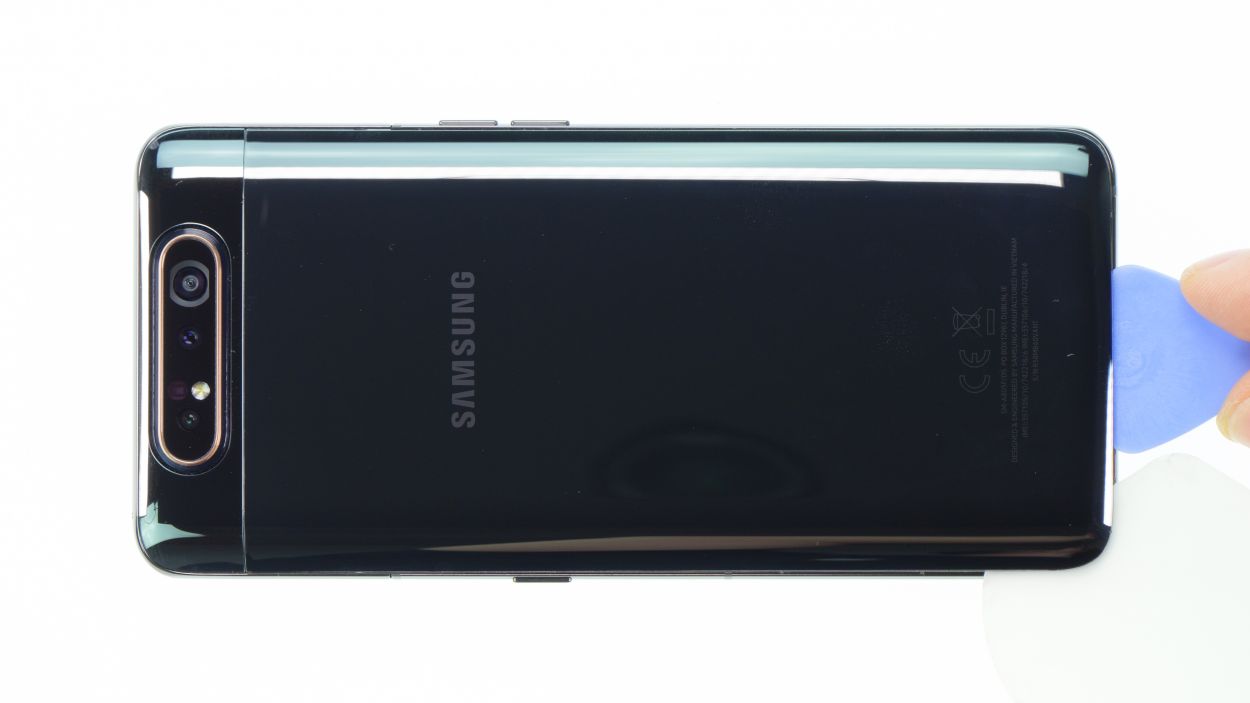


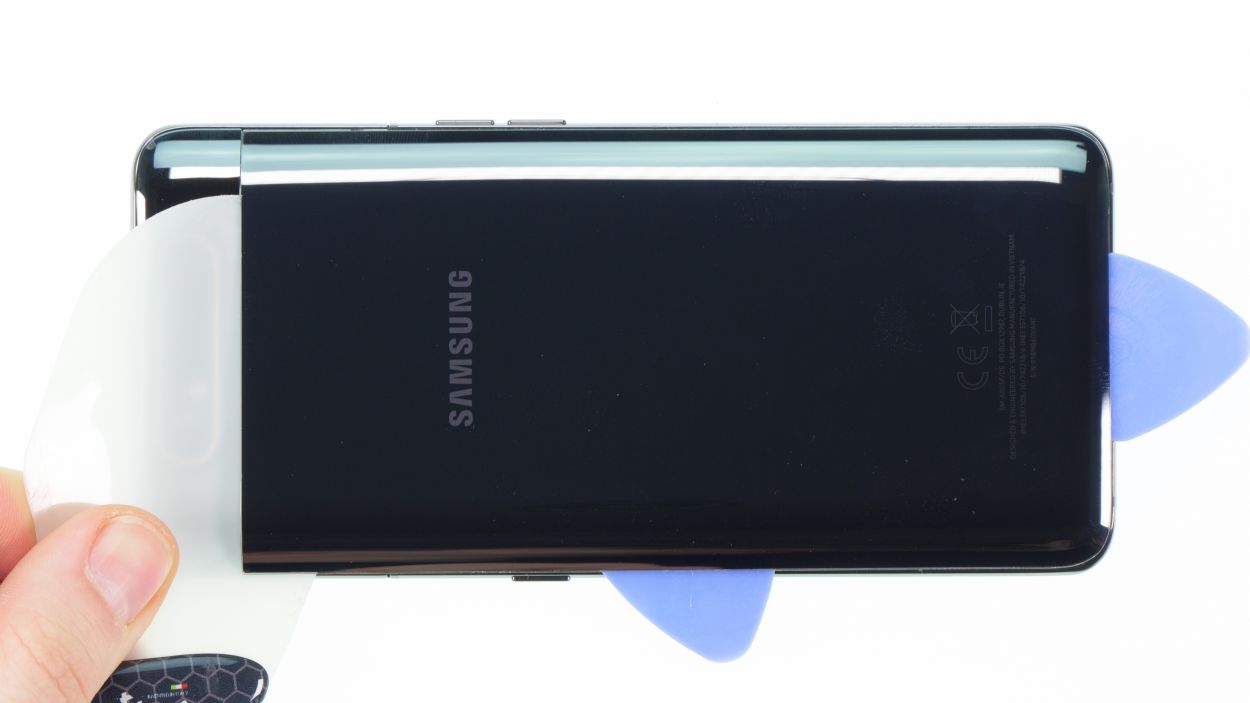


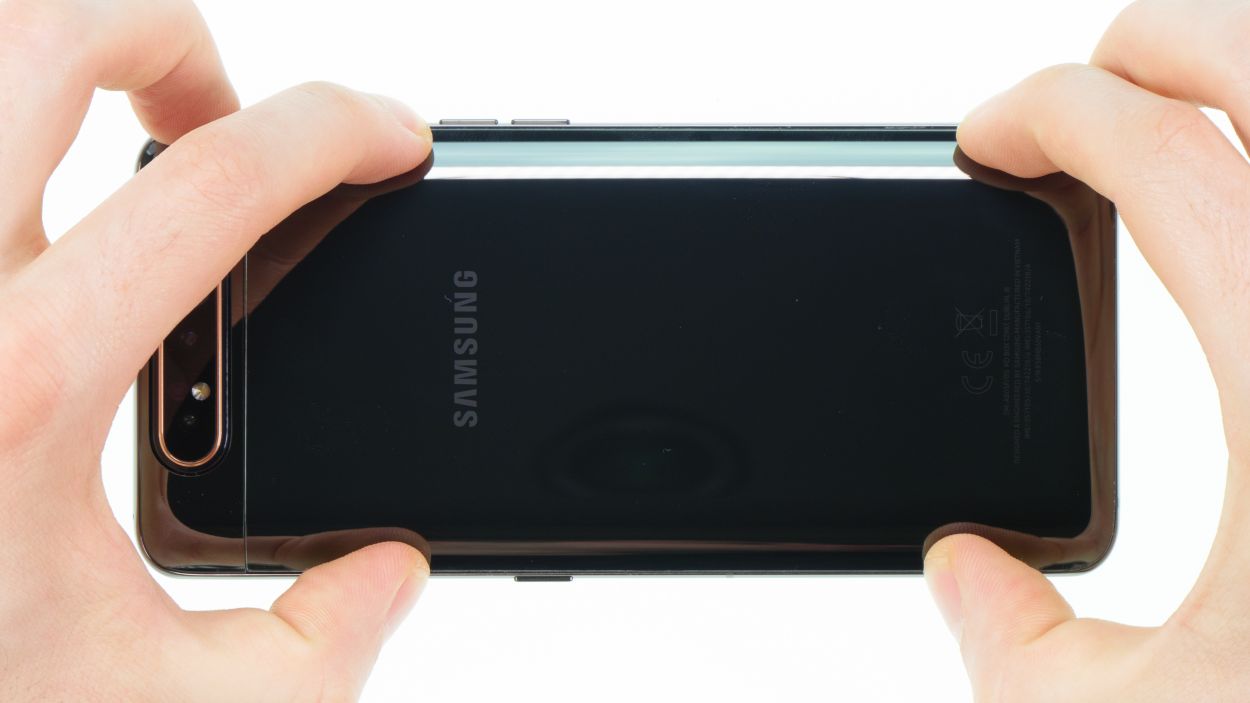
– Once you’ve warmed up that adhesive, grab a suction cup and stick it at the bottom of the back cover. Gently pull on the suction cup while sliding in your trusty opening tool, like the iFlex or iPlastix, into the gap that’s forming between the back cover and the frame.
– Feeling fancy? You can also whip out an iSclack to give the back cover a little lift. With suction cups on both sides, it helps pull the display and back cover up evenly.
When you’re working on the left edge of the back cover, just a friendly reminder: don’t go too deep with your tool! There’s a sneaky flex cable lurking around that could get hurt if you’re not careful. And while you’re at it, watch out for the camera module at the top; it’s a little sensitive and the back cover is super glued in that area. So, take it easy and be gentle!
The iFlex is crafted from a sleek yet sturdy metal, making it a breeze to slide into those tight spots. Just a heads up, though: while it’s super handy, it can also be a little too friendly with your device’s back glass or frame, so be careful not to leave any scratches!
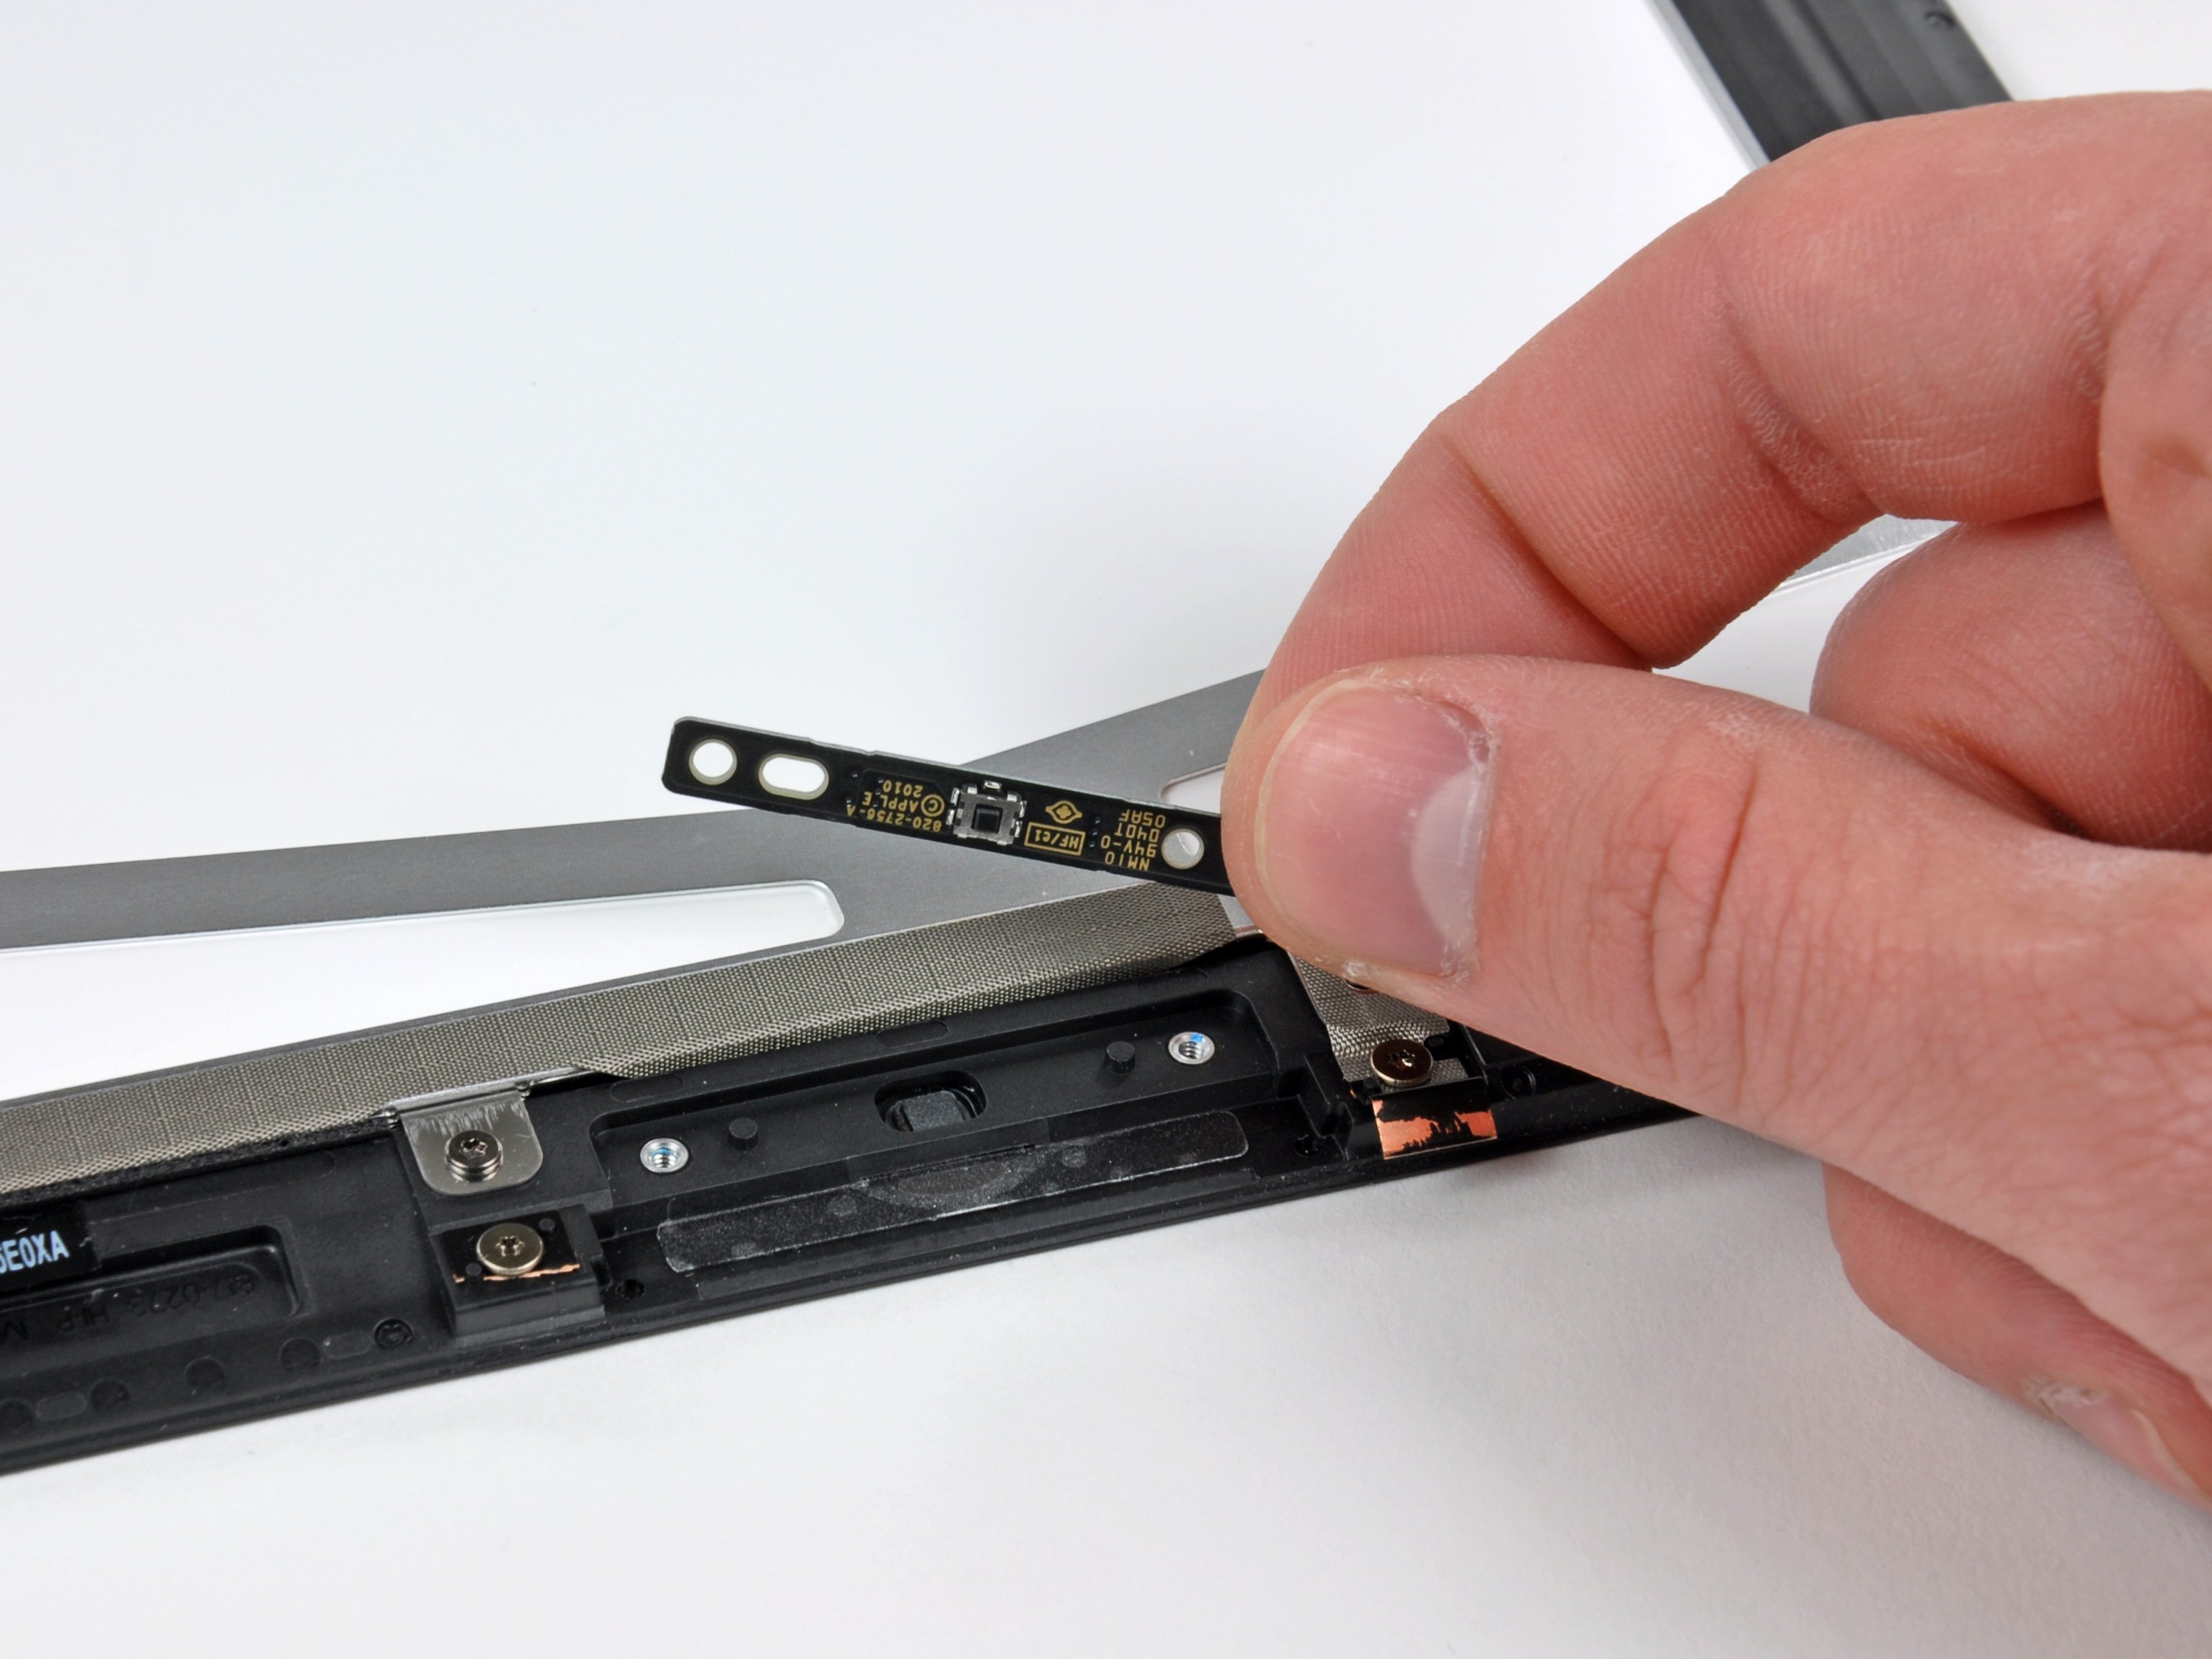
Step 2


6 × 3,3 mm Phillips
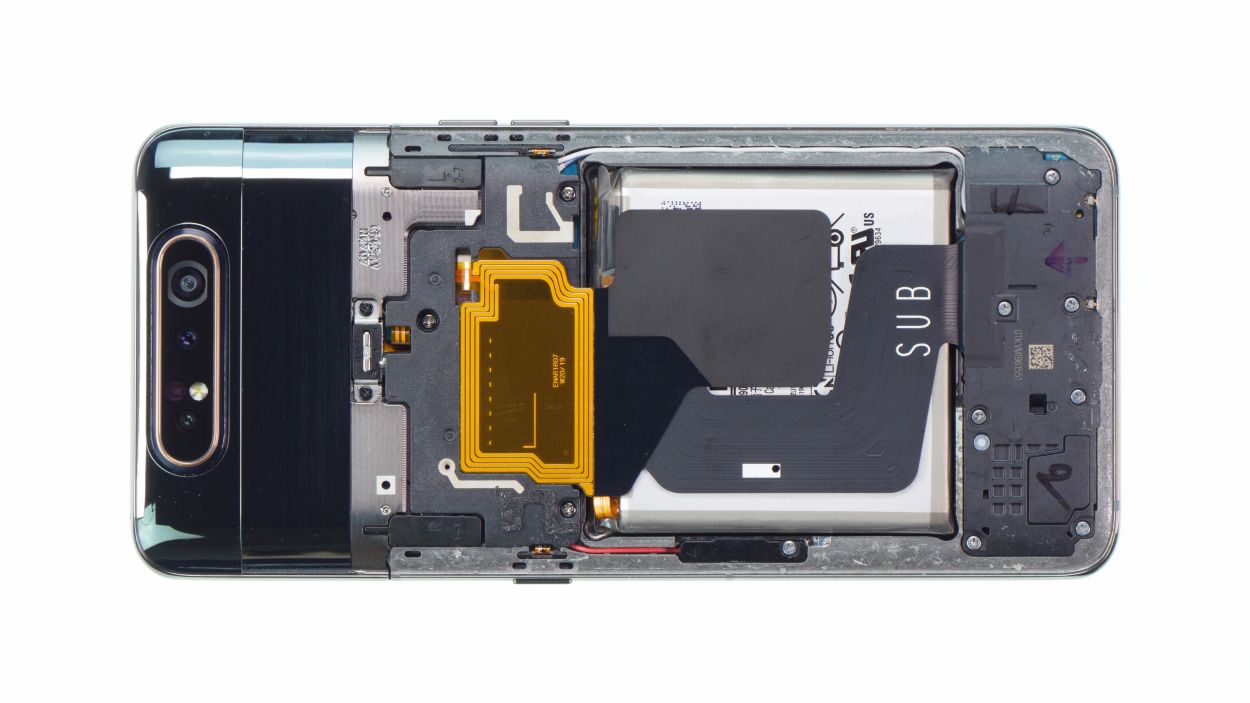
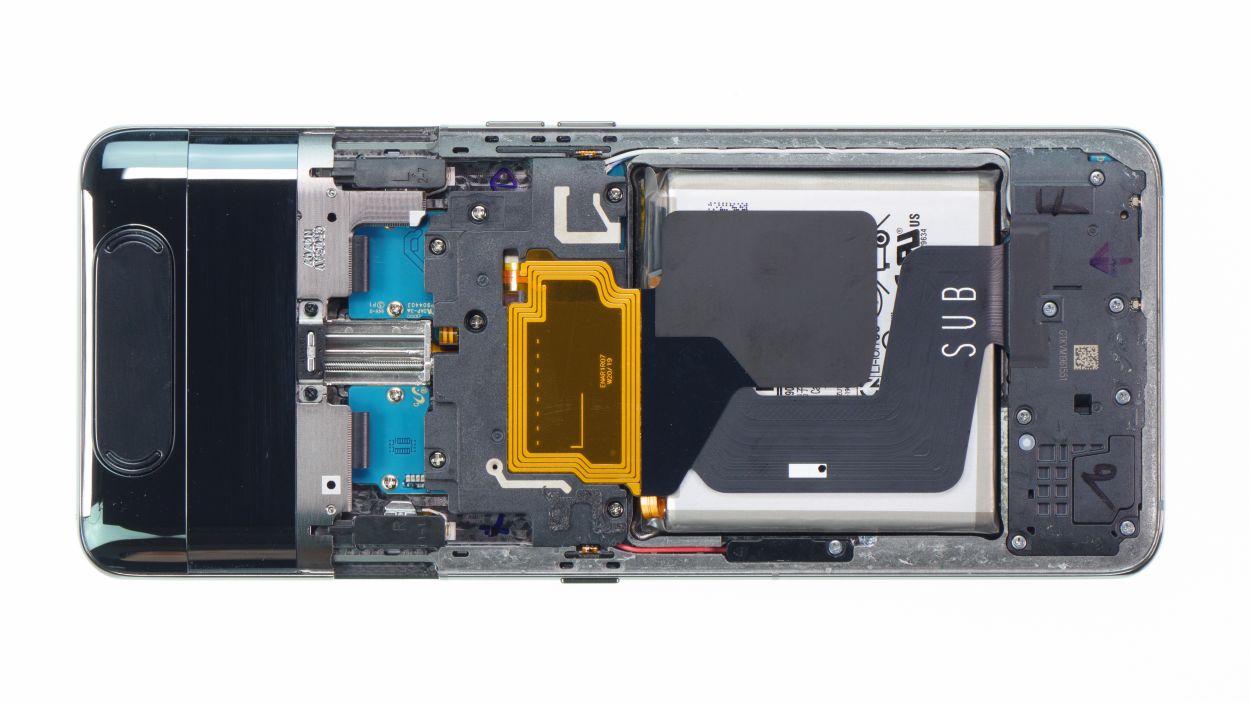
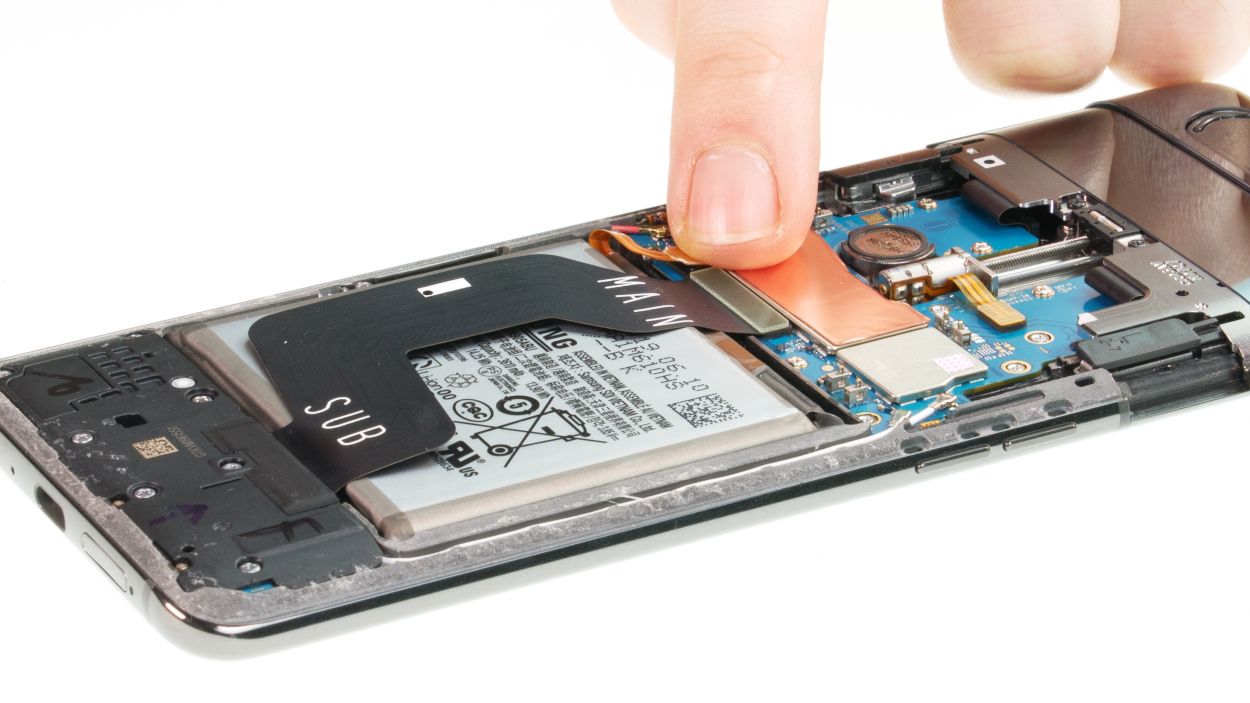
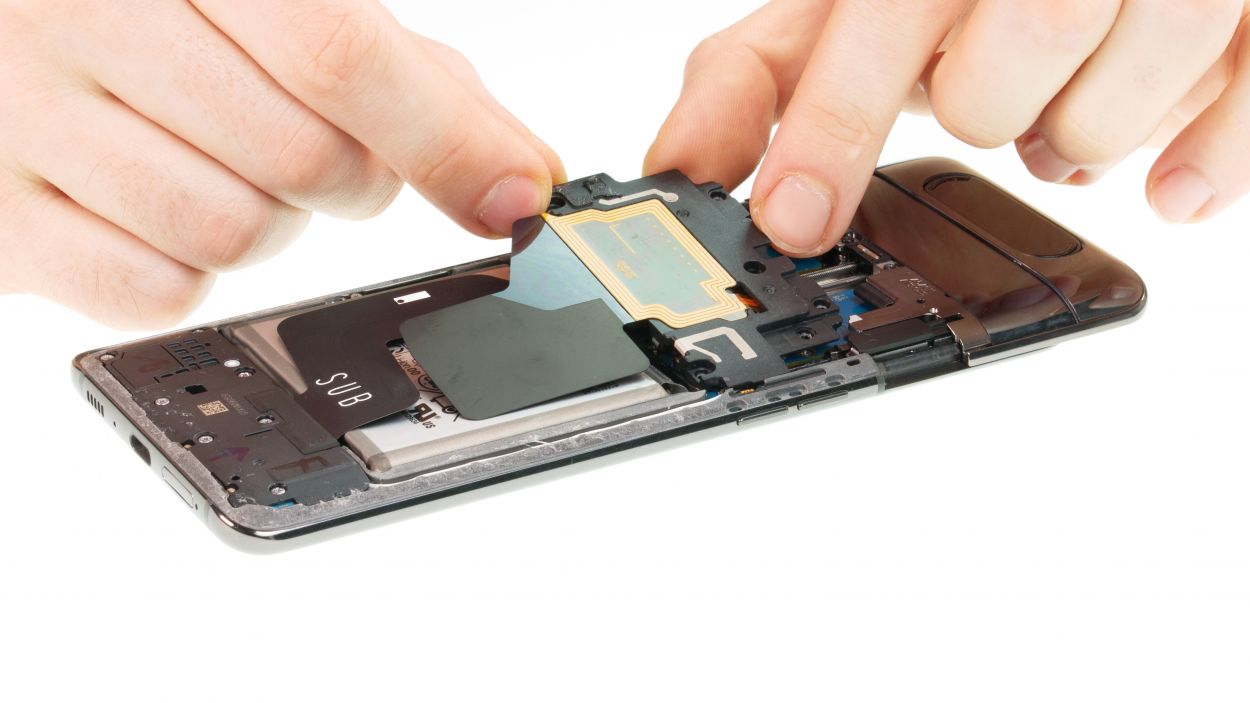
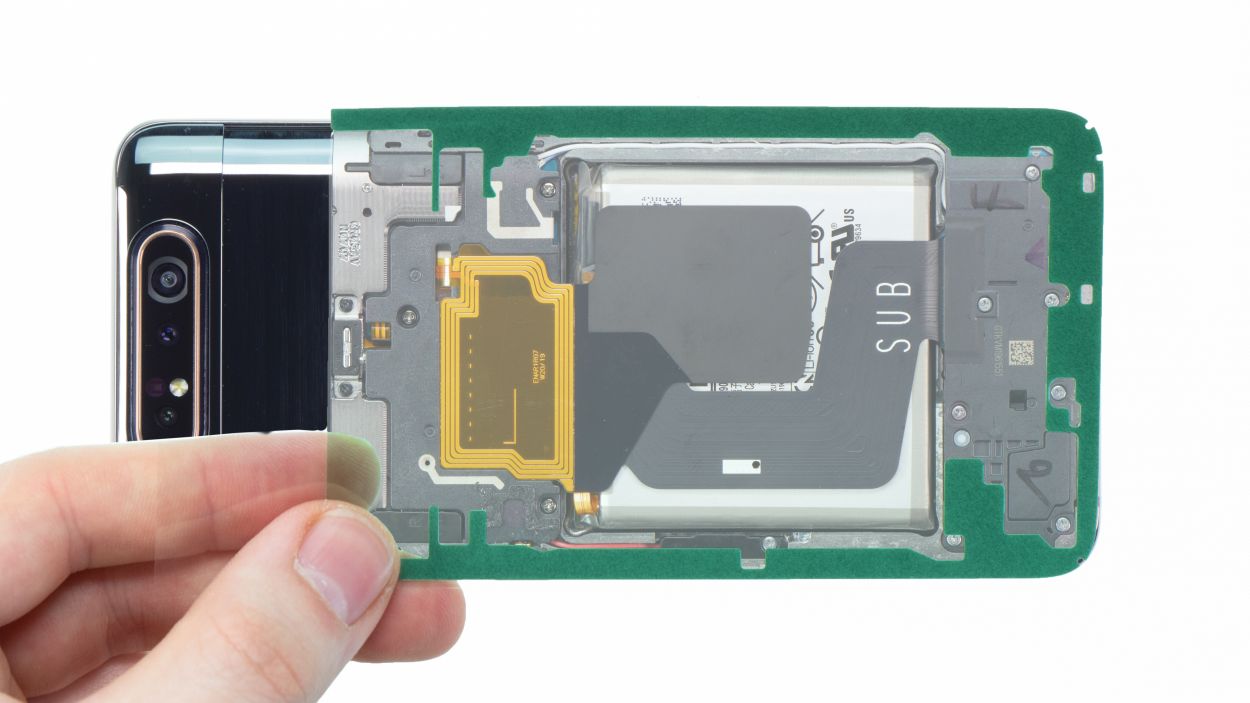
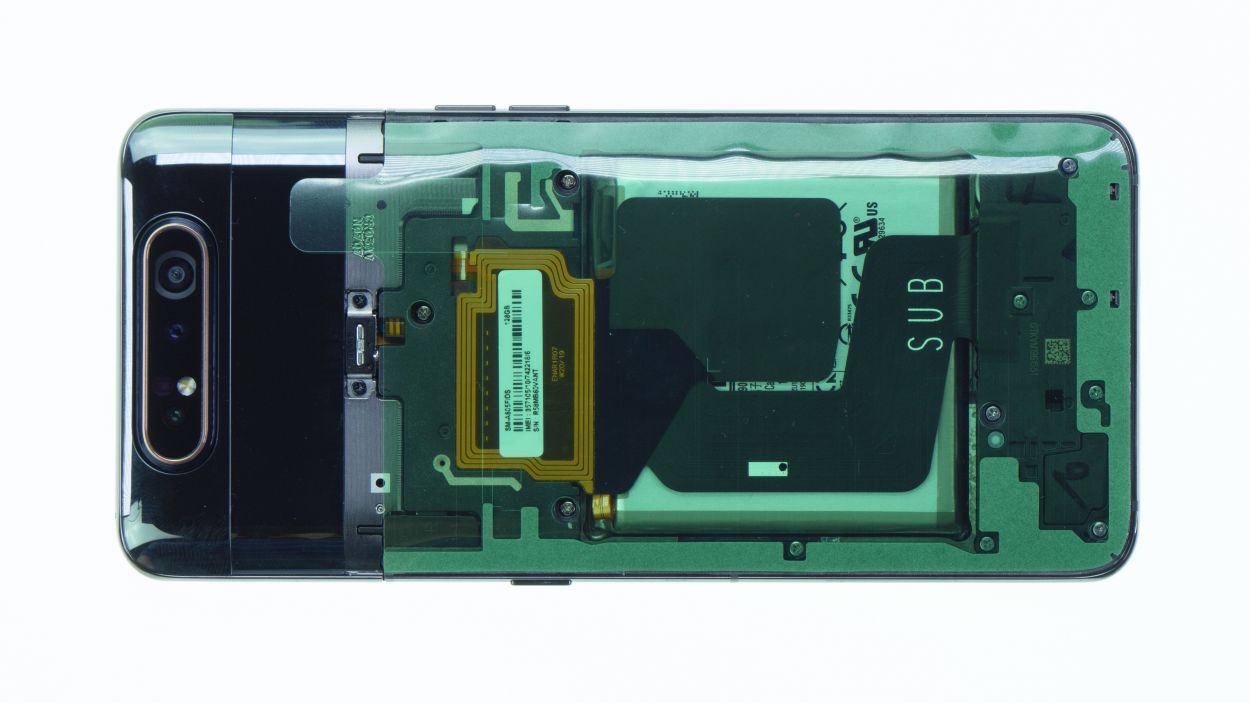
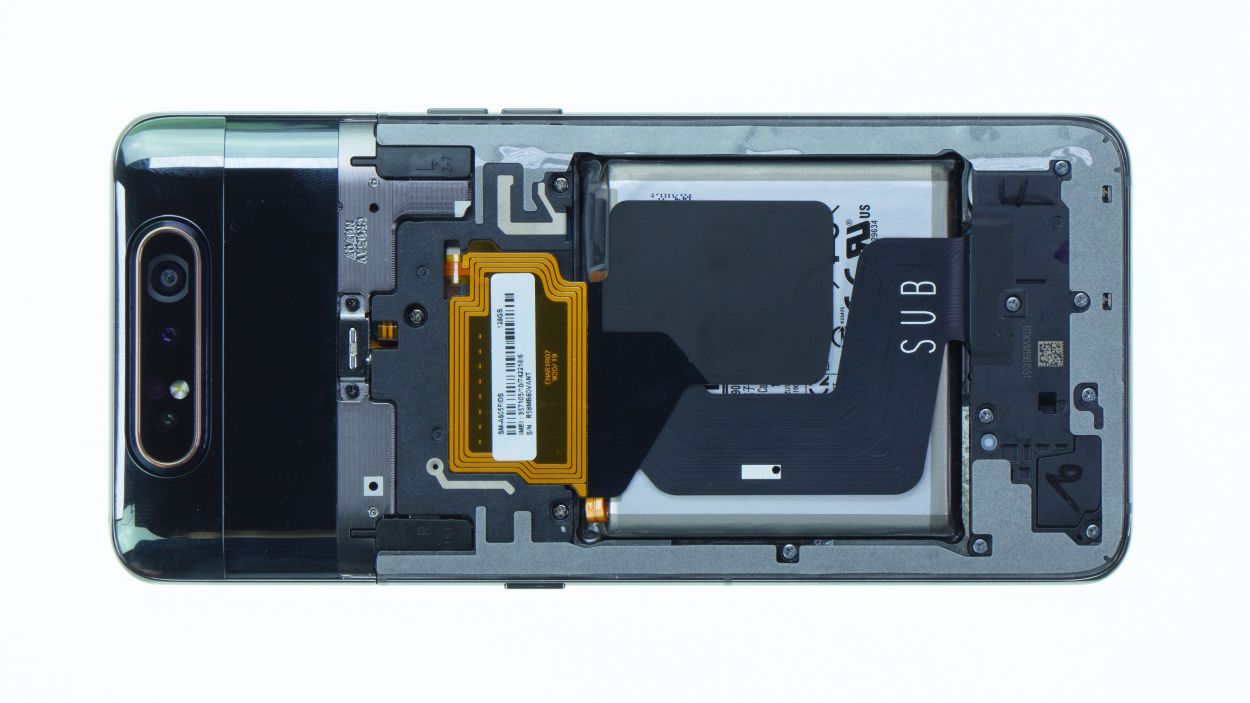
The NFC antenna hangs out on the cover of the main board, just waiting to help you connect with all your favorite devices!
– First things first, let’s get that camera ready to roll! Extend it out like it’s stretching after a long nap.
– Fire up your camera app and switch to the front camera mode—time to see your best side!
– Once the camera module is fully extended and ready for action, you can go ahead and unscrew those six Phillips screws that are all the same length. Easy peasy!
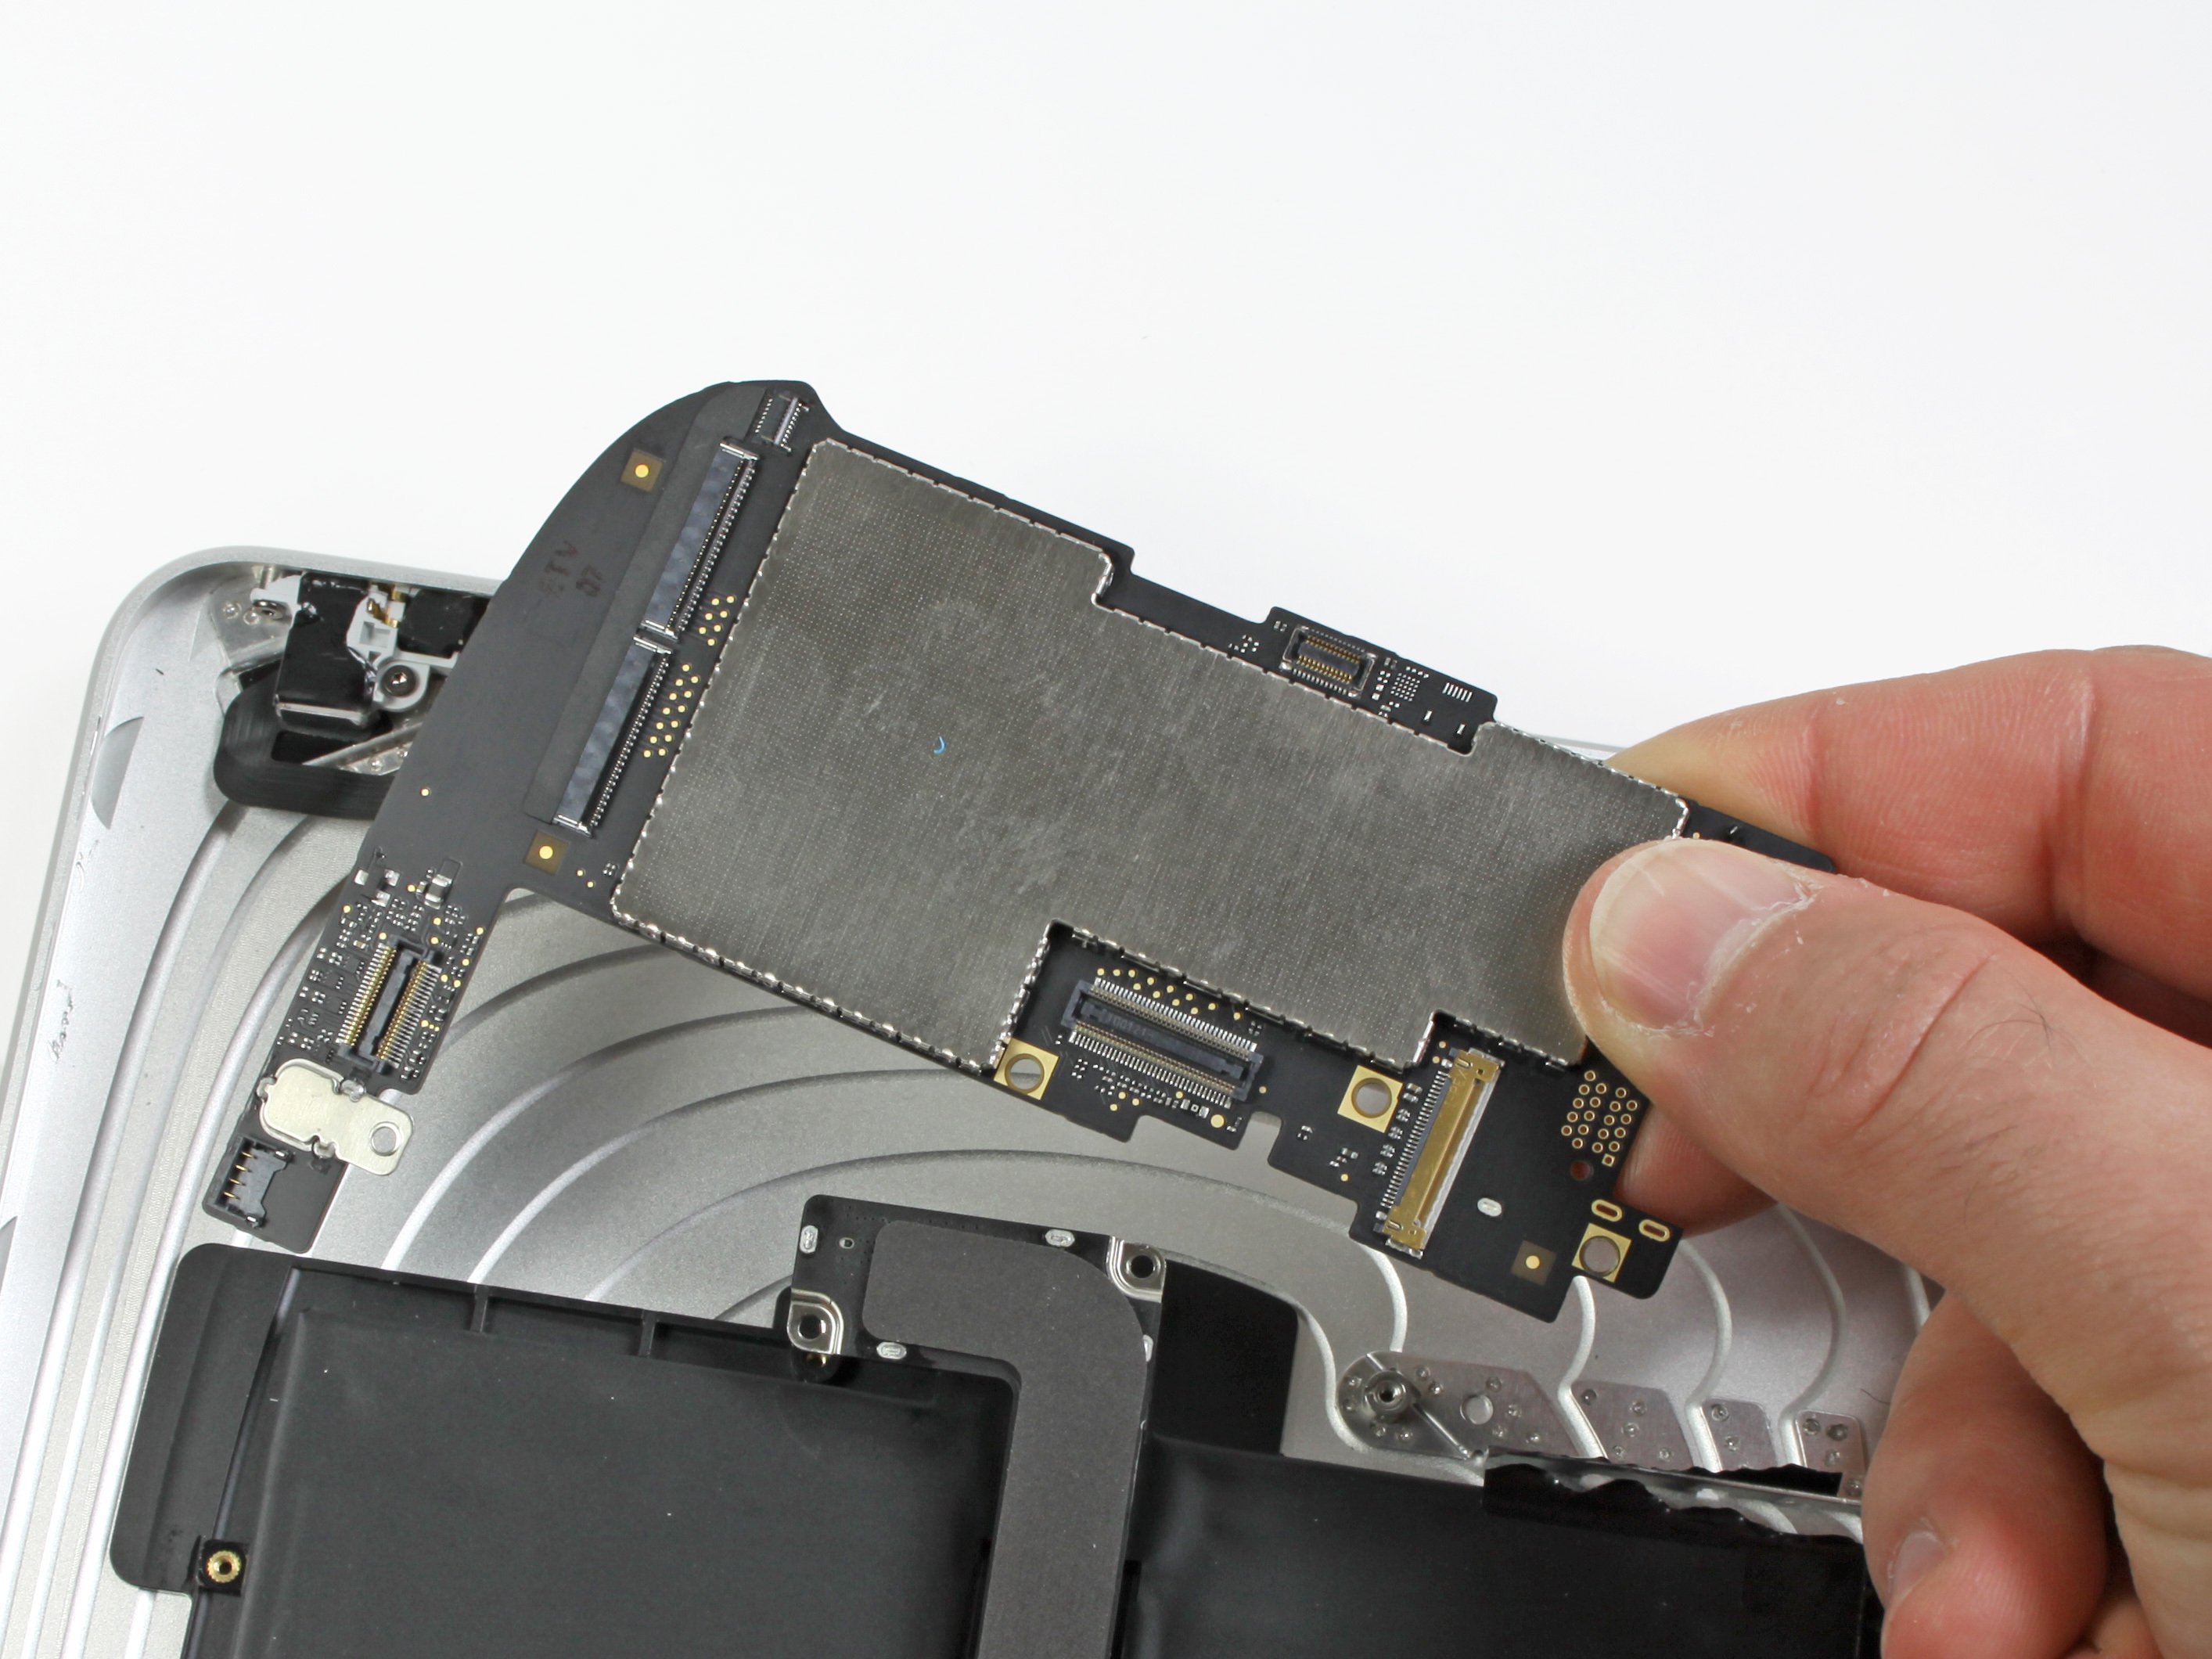
Step 3


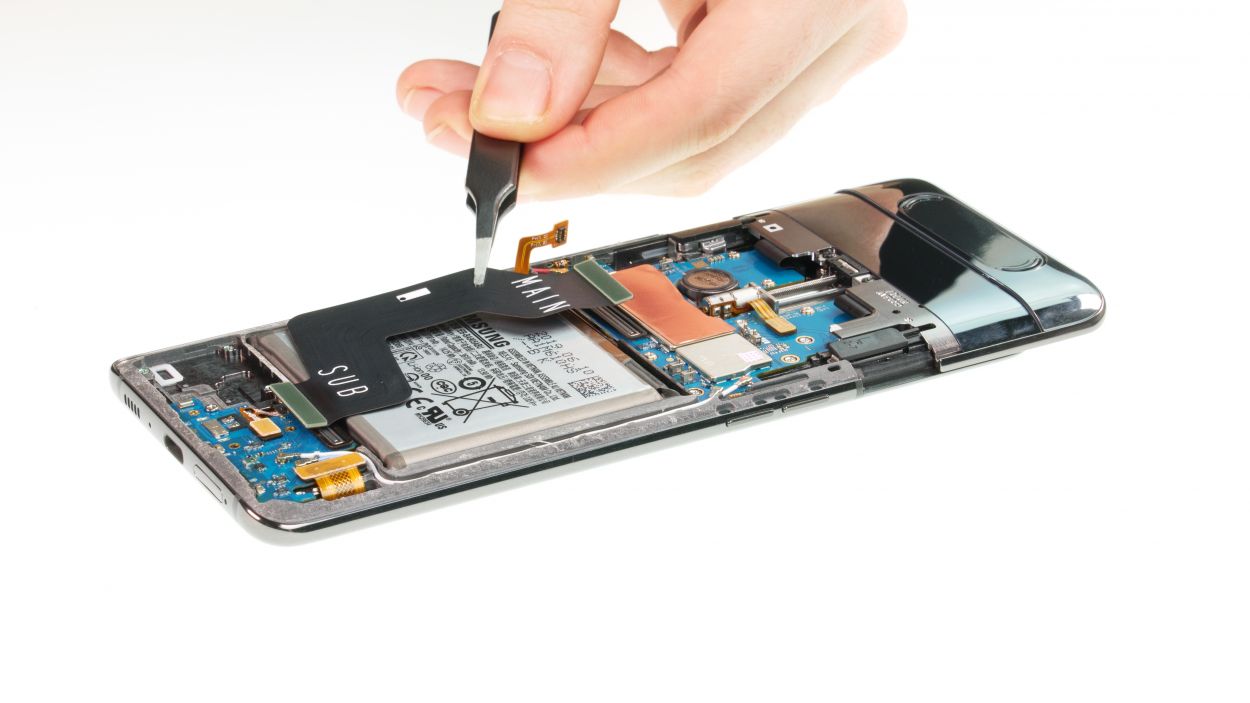
Battery Connector
Keep that camera module extended while you unplug the battery! This little trick ensures the camera stays in place for the rest of your repair adventure.
– Next up, let’s disconnect that battery contact! This little move stops any power from zipping around in your device, keeping everything safe and sound while you work your magic. No short-circuits on our watch!
Step 4


7 × 3,9 mm Phillips
– Start by loosening those seven Phillips screws that are holding the speaker in place—just a little twisty action will do!
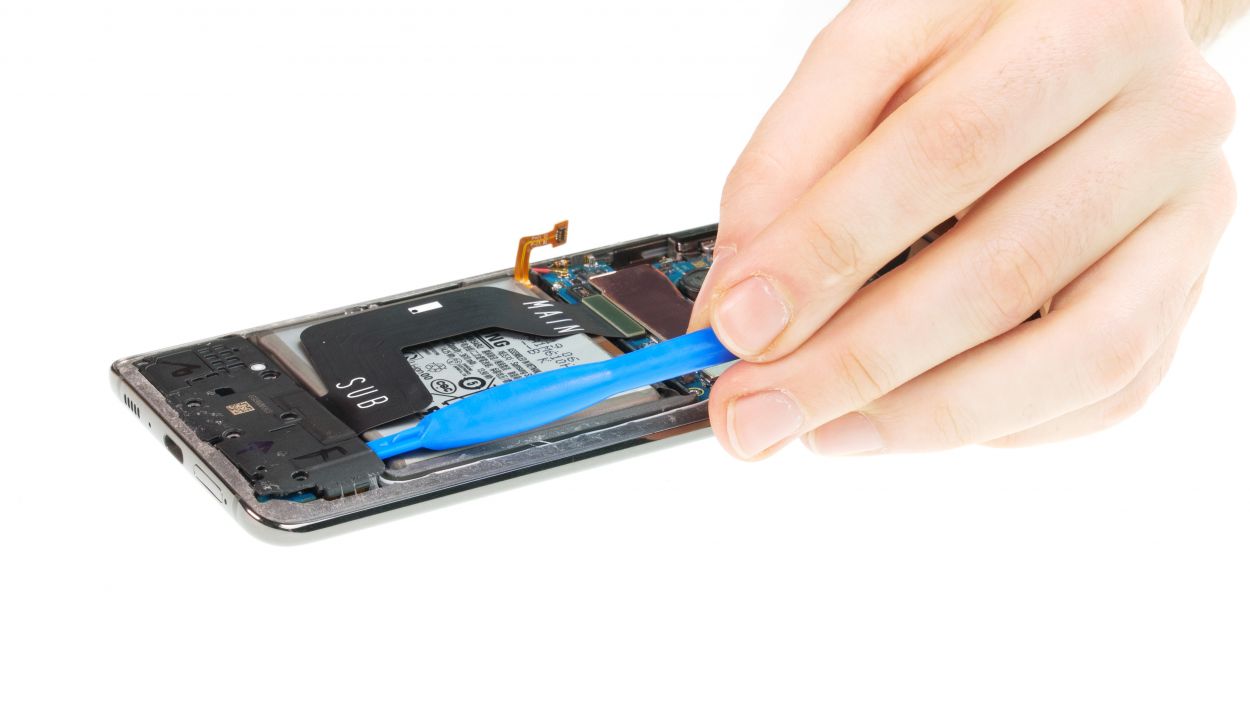
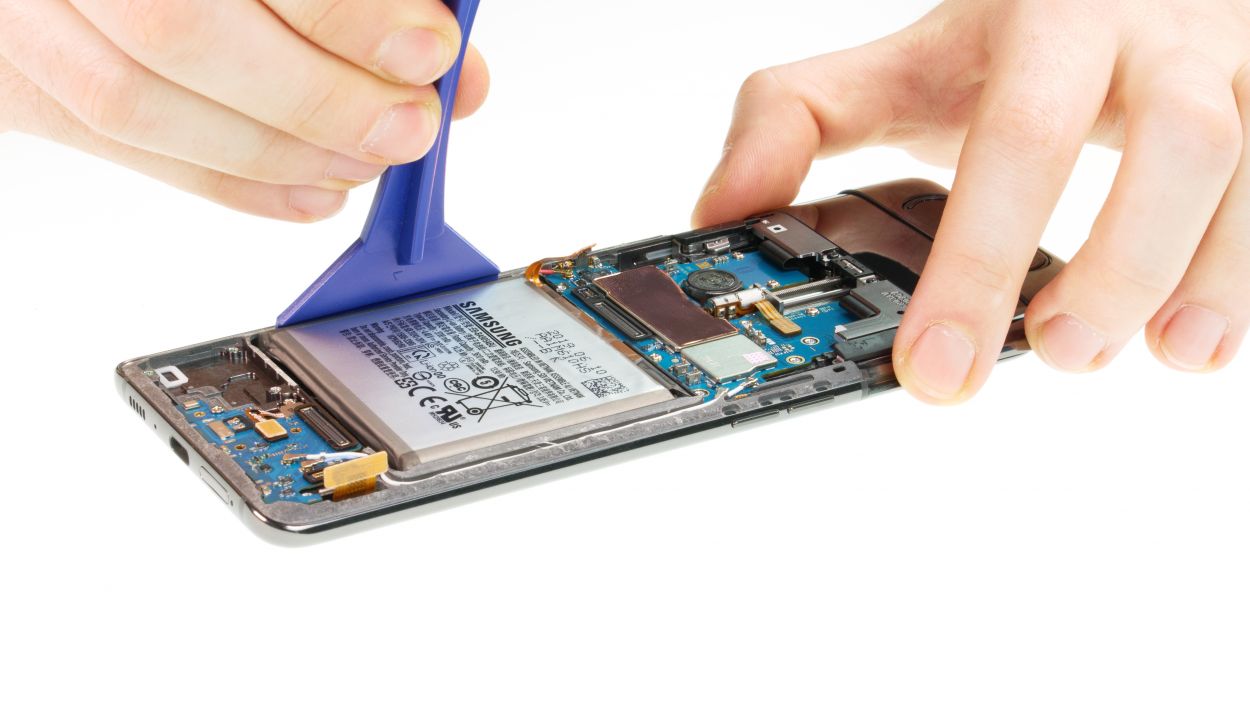
– Next, gently pry out that slightly glued component from the unit. You’ve got this!
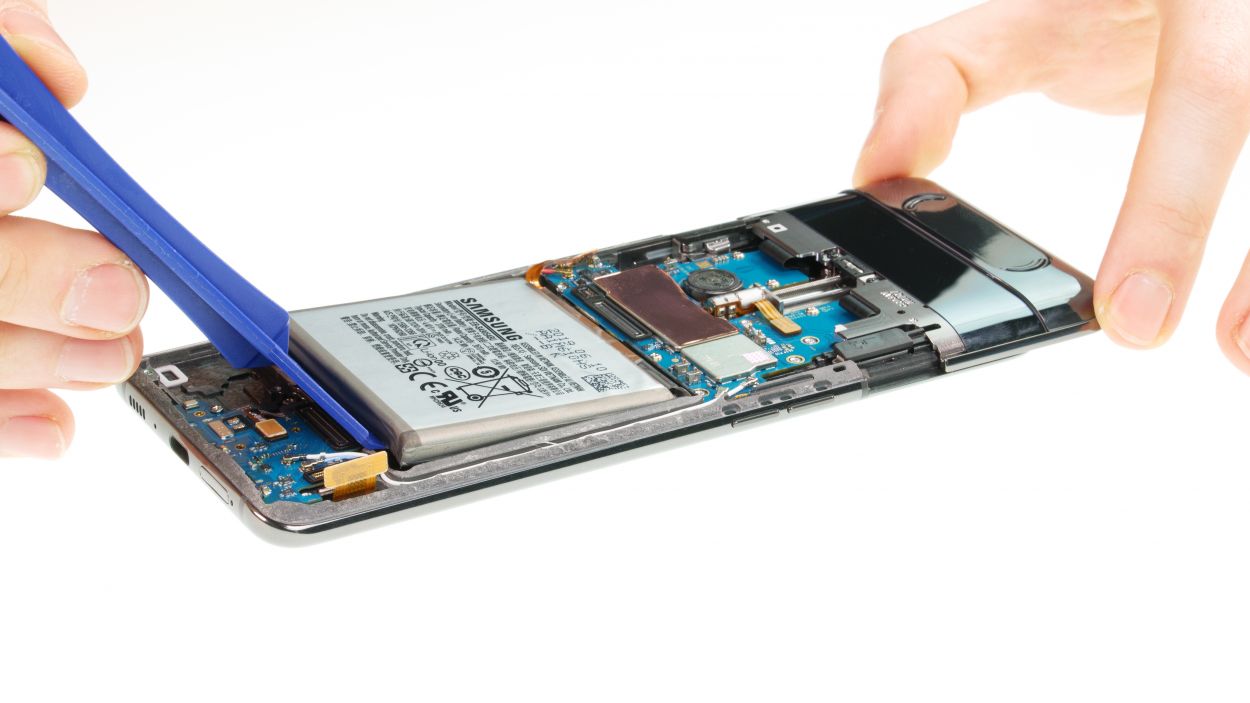
Step 5
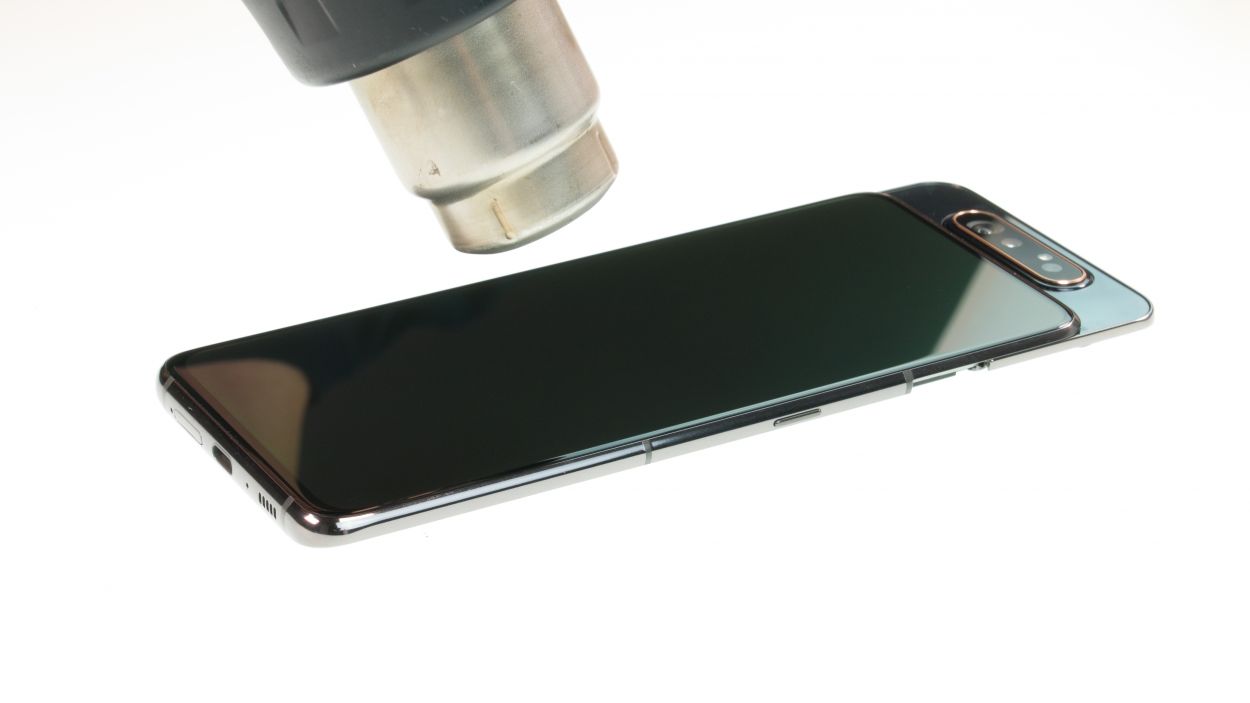
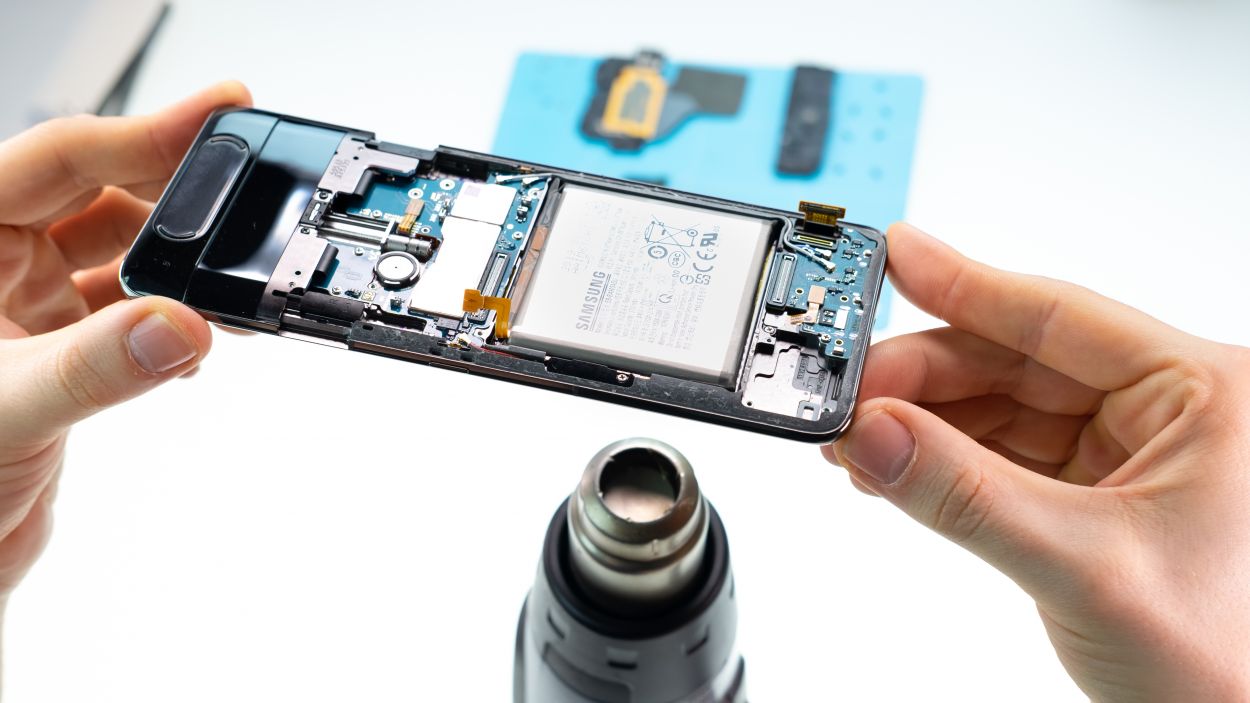
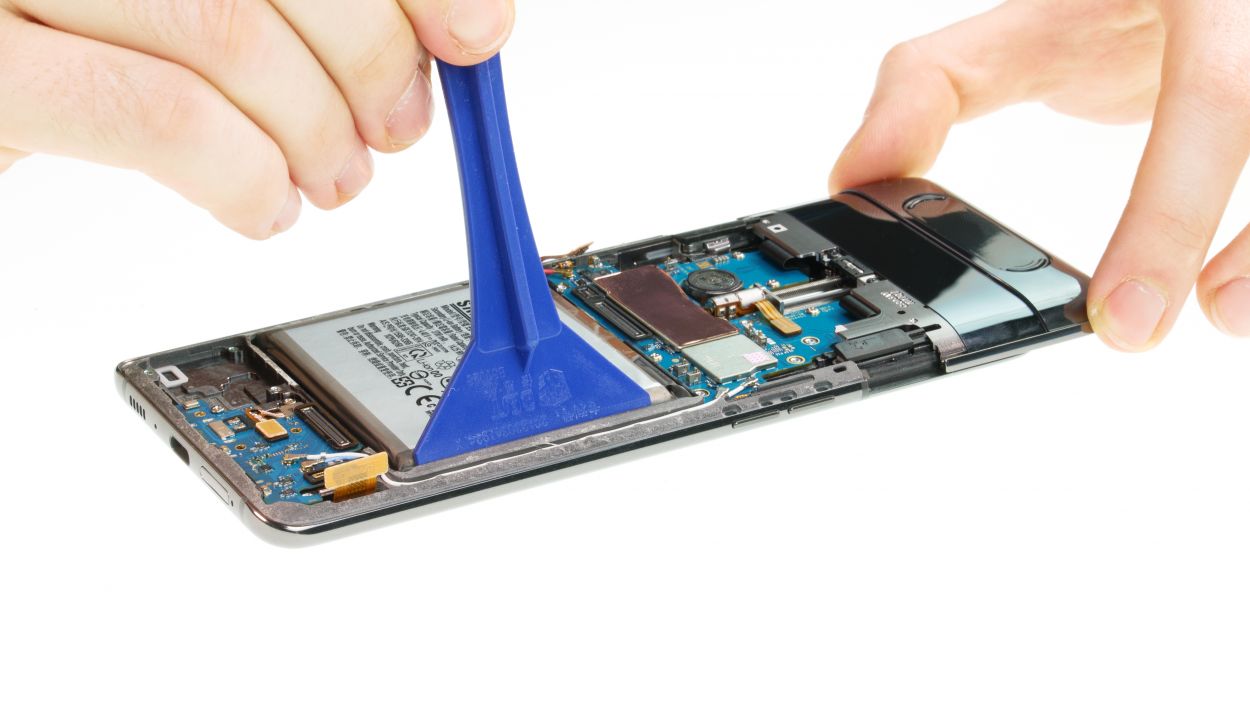


Hey there, just a quick heads-up: when you’re heating things up, make sure to keep the heat focused on the side of the display, not directly on the battery. We want to keep that battery safe and sound!
It’s a good idea to warm things up more frequently while you work, and remember to be gentle! We want to keep that battery safe and sound, so no bending or roughhousing with its case, okay?
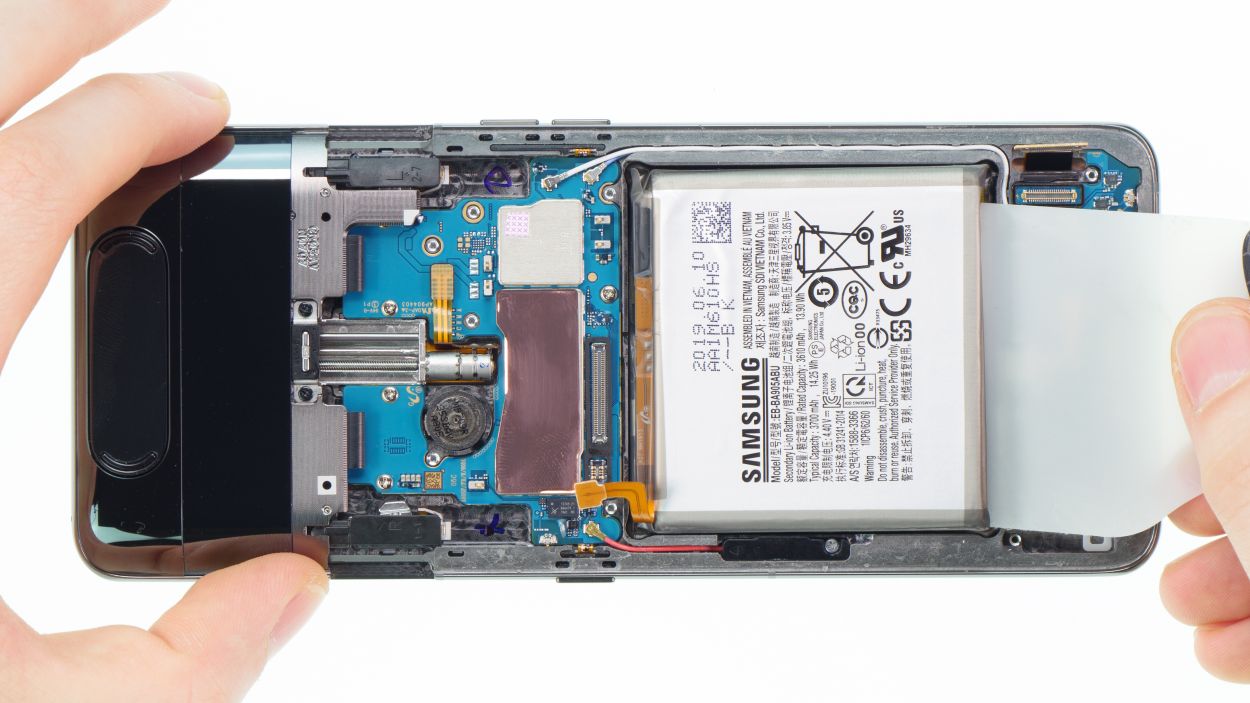
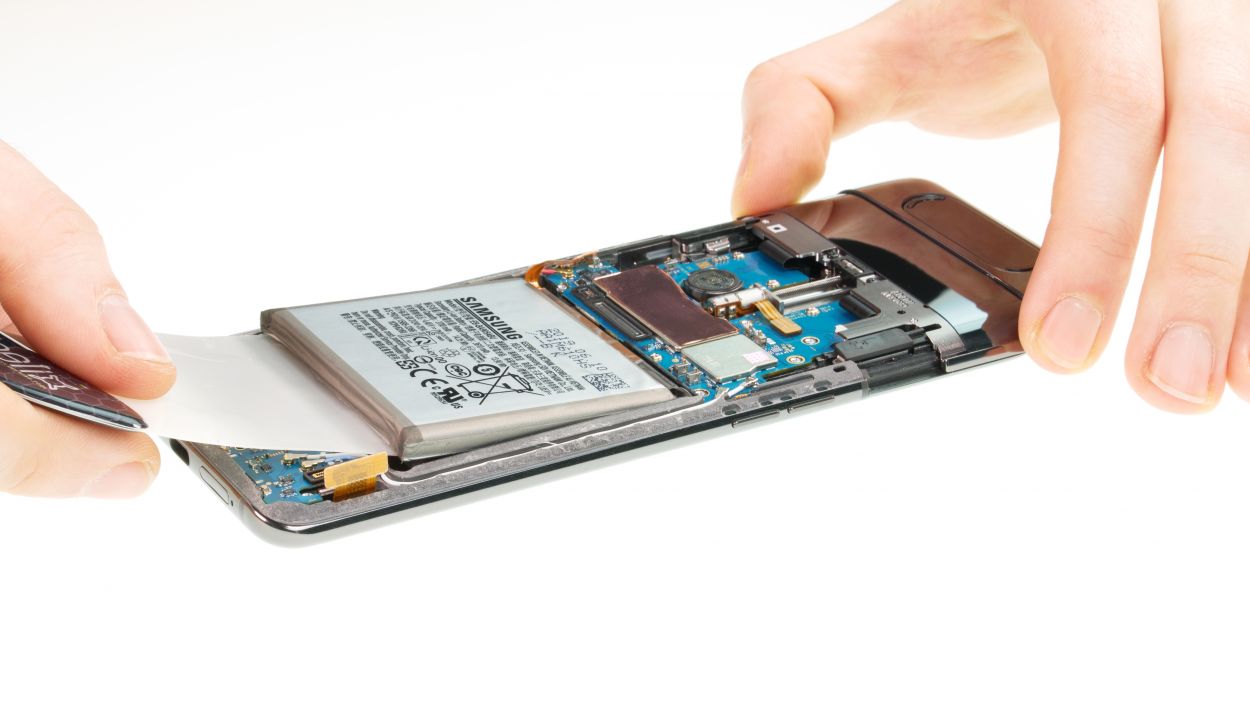
Step 6
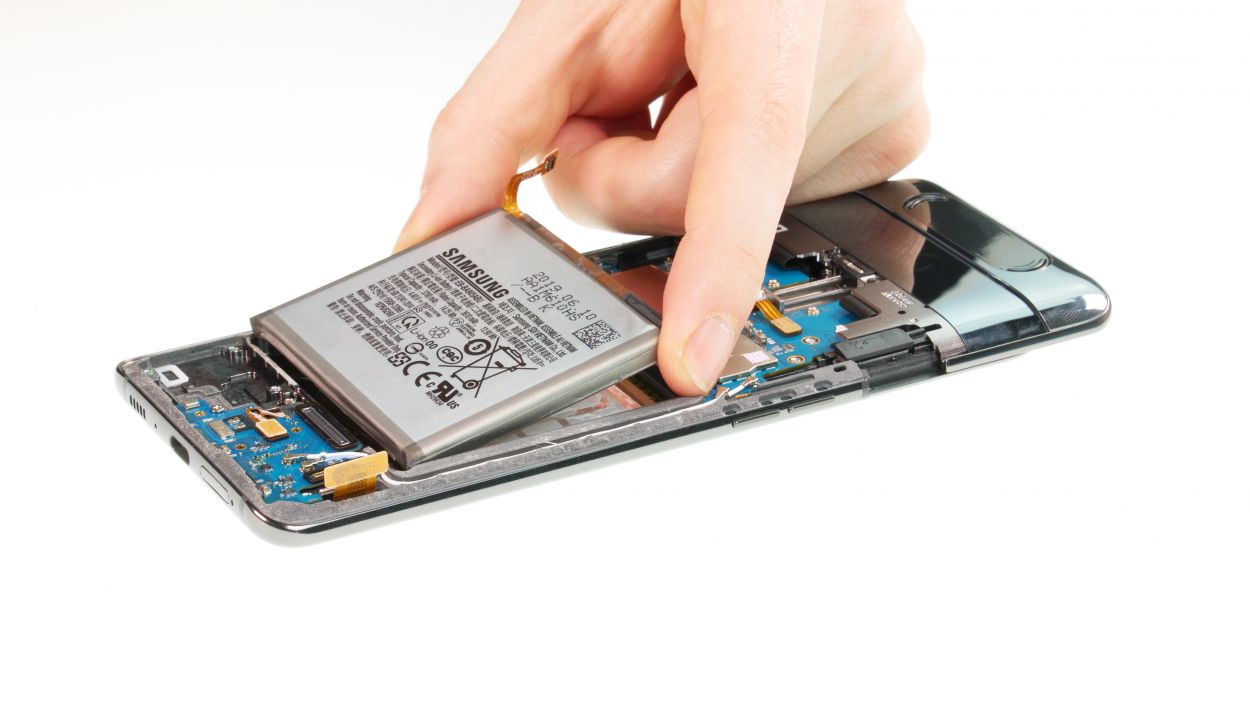
Step 7


7 × 3,9 mm Phillips
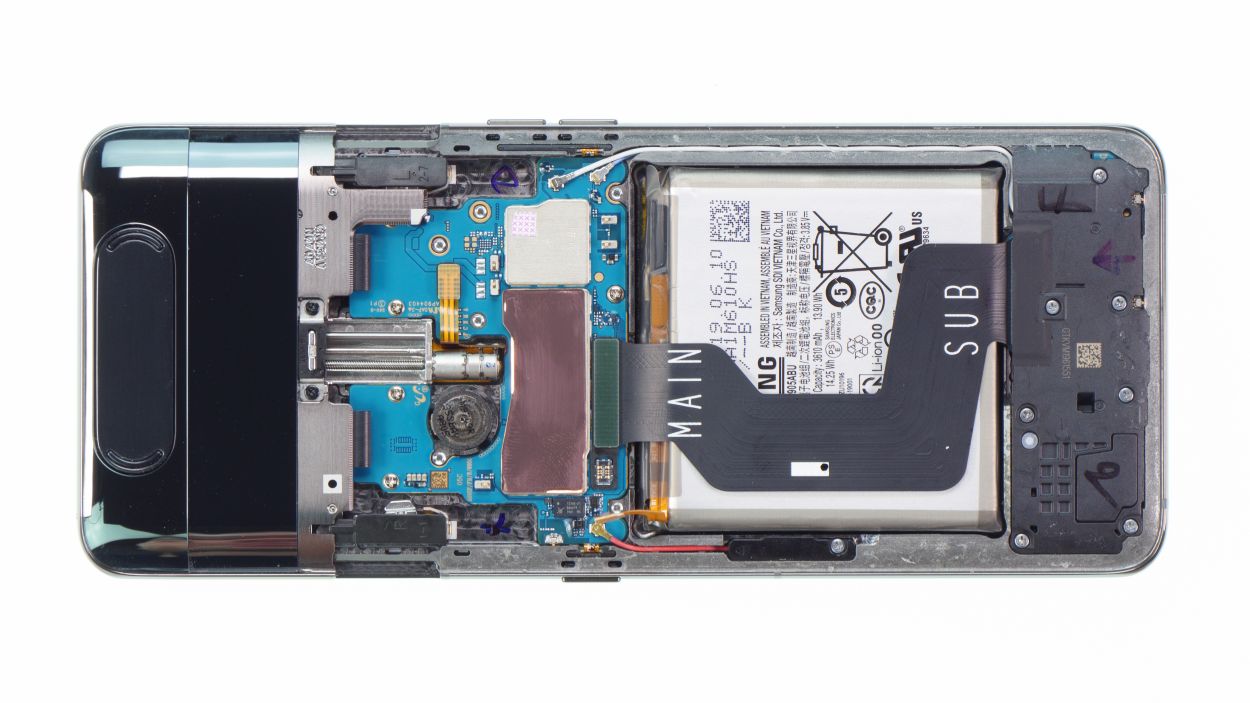
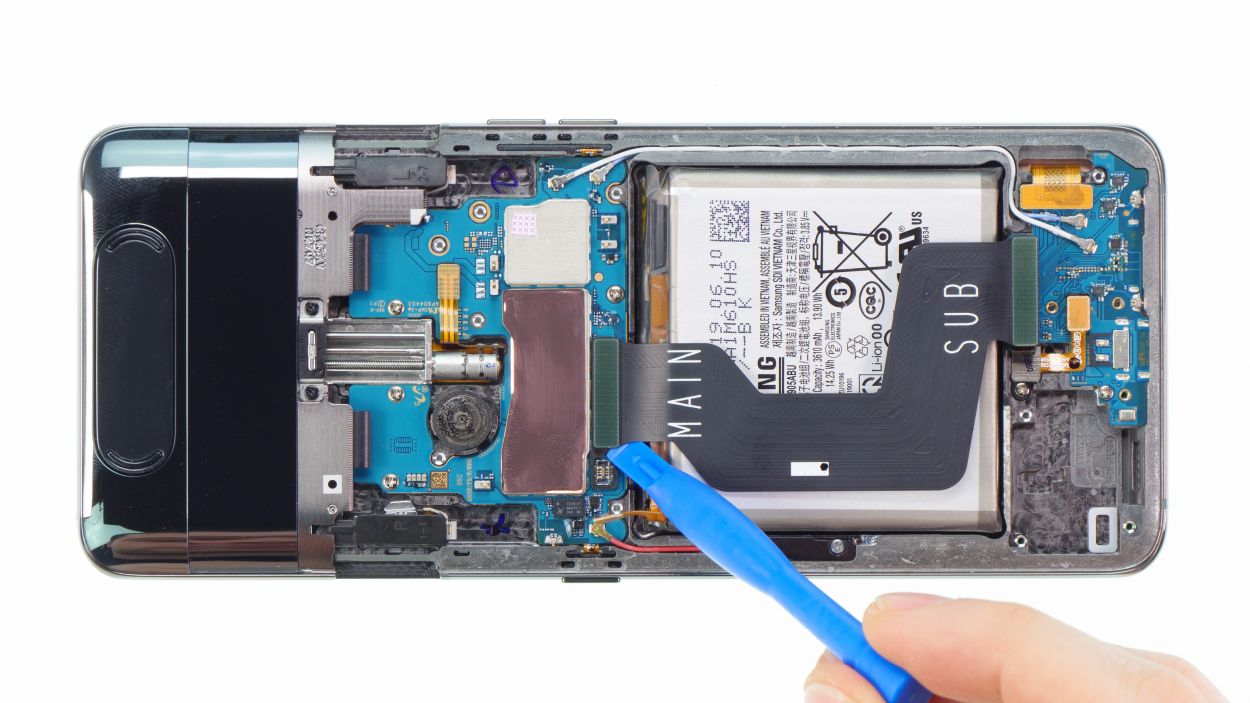
– Reconnect the wide flex cable back into the device and link it up with the main board and the USB board. It’s like giving a high-five to your tech!
– Nestle the speaker back into its cozy spot in the device, give it a gentle press, and secure it with some screws. You’re almost there!

Step 9


6 × 3,3 mm Phillips
– Position the main board cover on the right side and give it a gentle press to secure it in place.
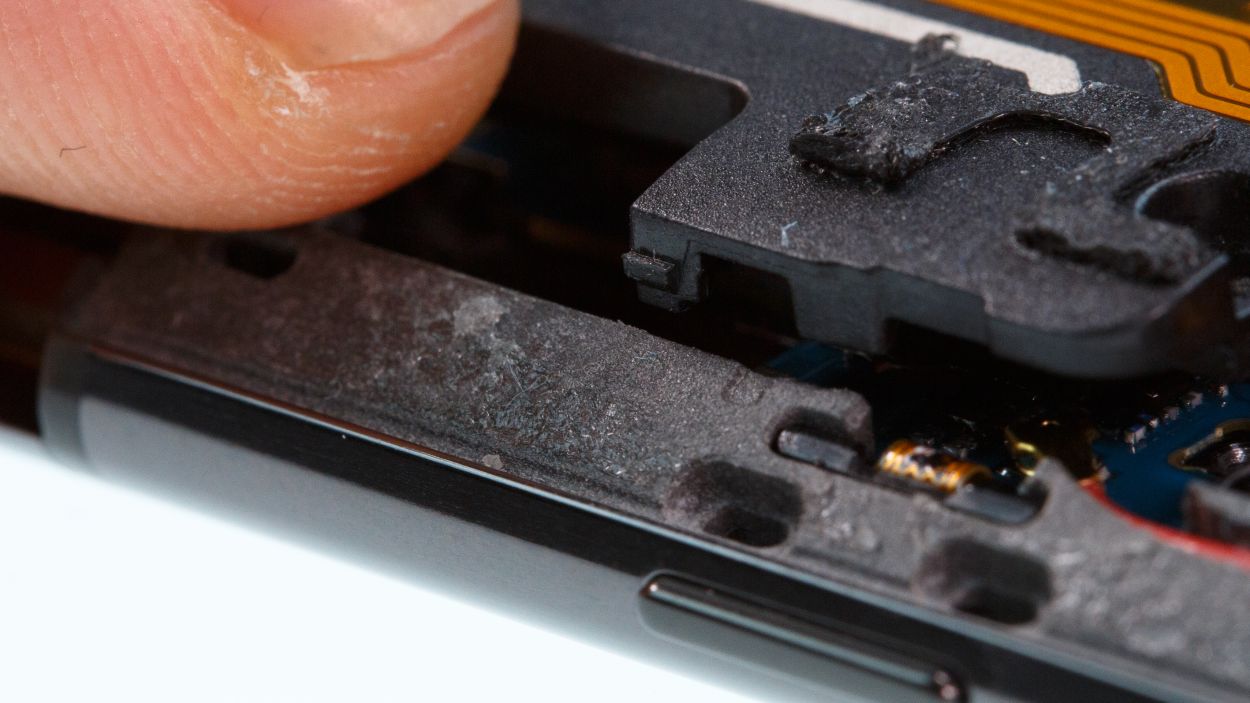
– Ensure those little plastic tabs on both sides click back into their cozy homes.
– Now, it’s time to fasten that cover and wrap things up!
Step 10
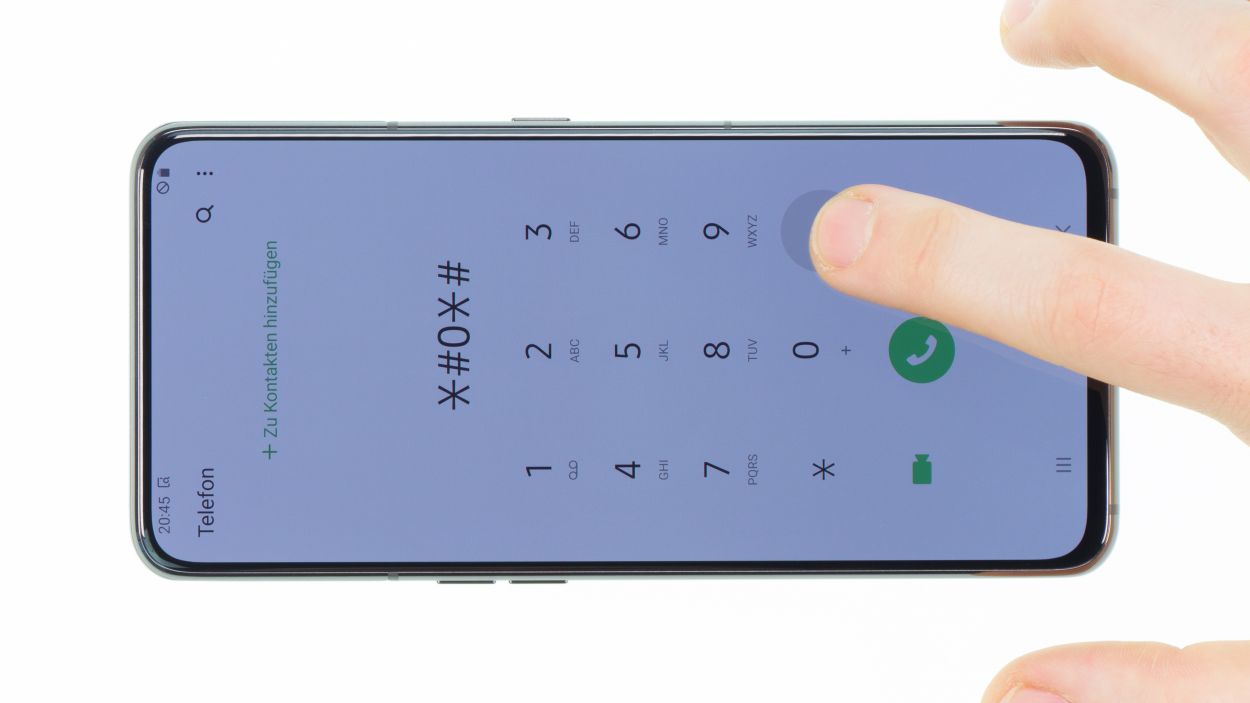
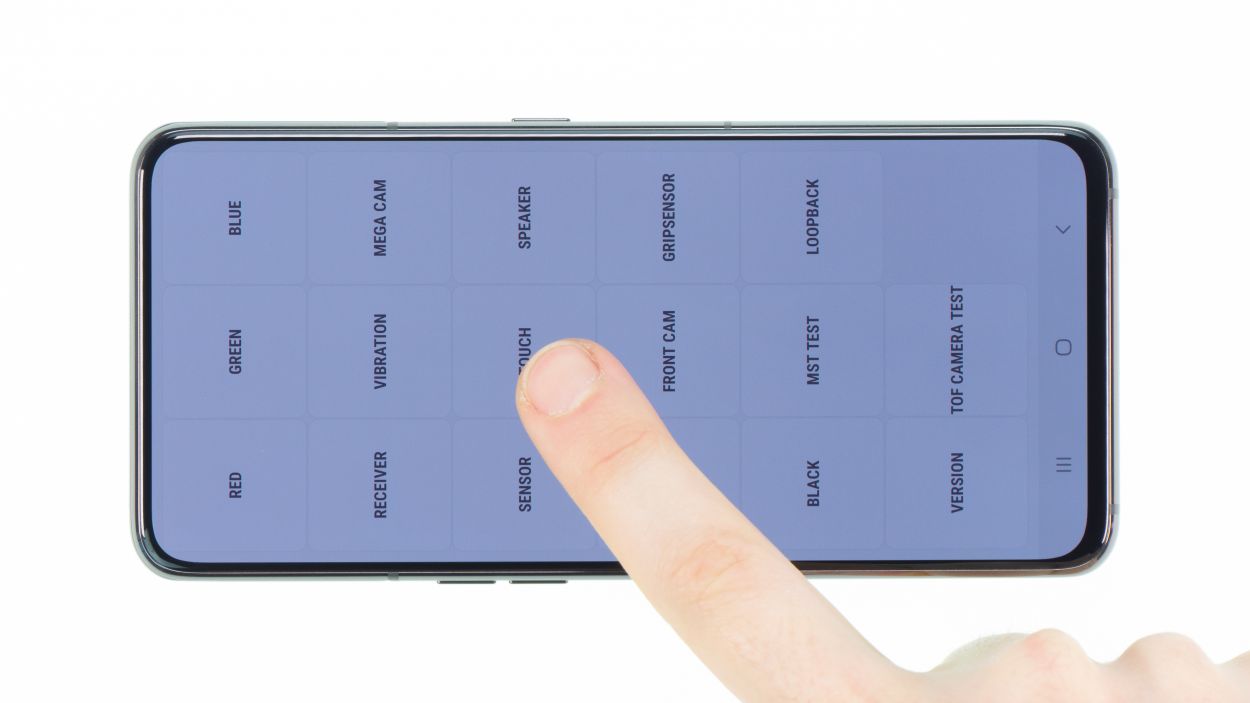


– Before you completely close your Samsung Galaxy A80 again and reglue the back cover, you should test if everything works.
– Start the phone and open the phone app.
– Enter *#0*# in the number field and the Samsung test menu will open.
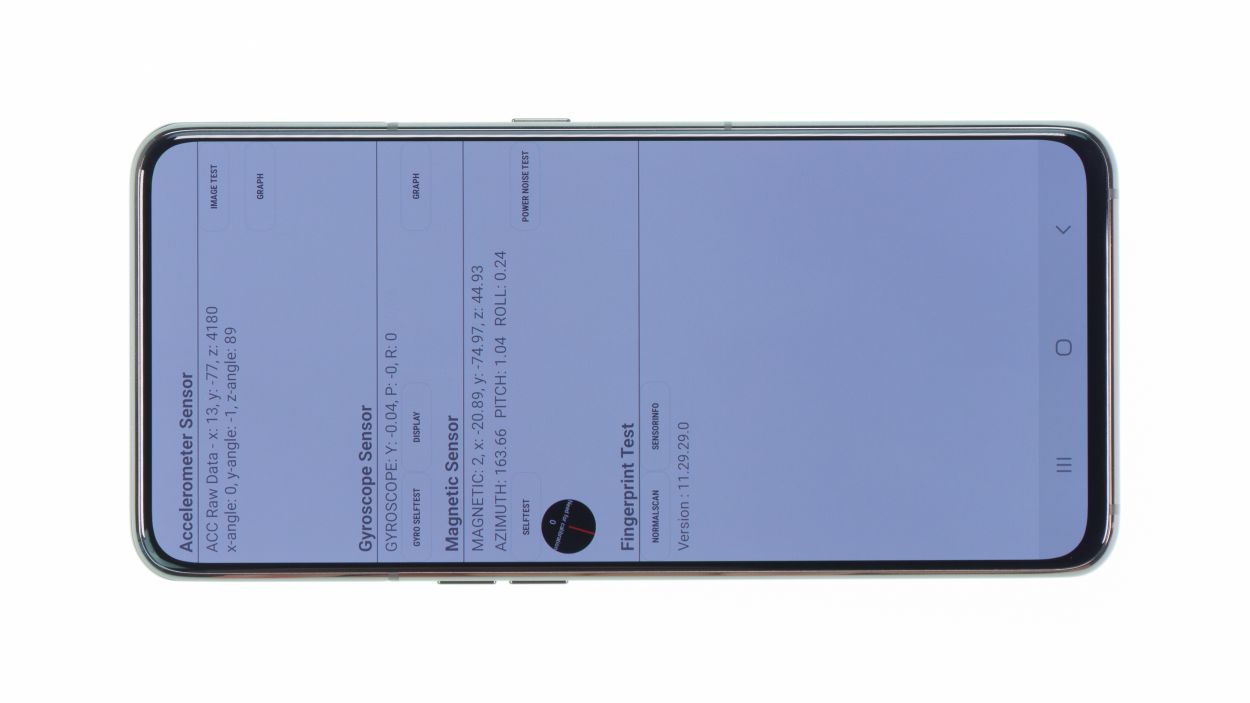
– Here you can test the display for touch and display errors.
– You can also test all other functions, such as the speaker, vibration motor, etc.
– If everything works as expected, you can close the device.
Step 11
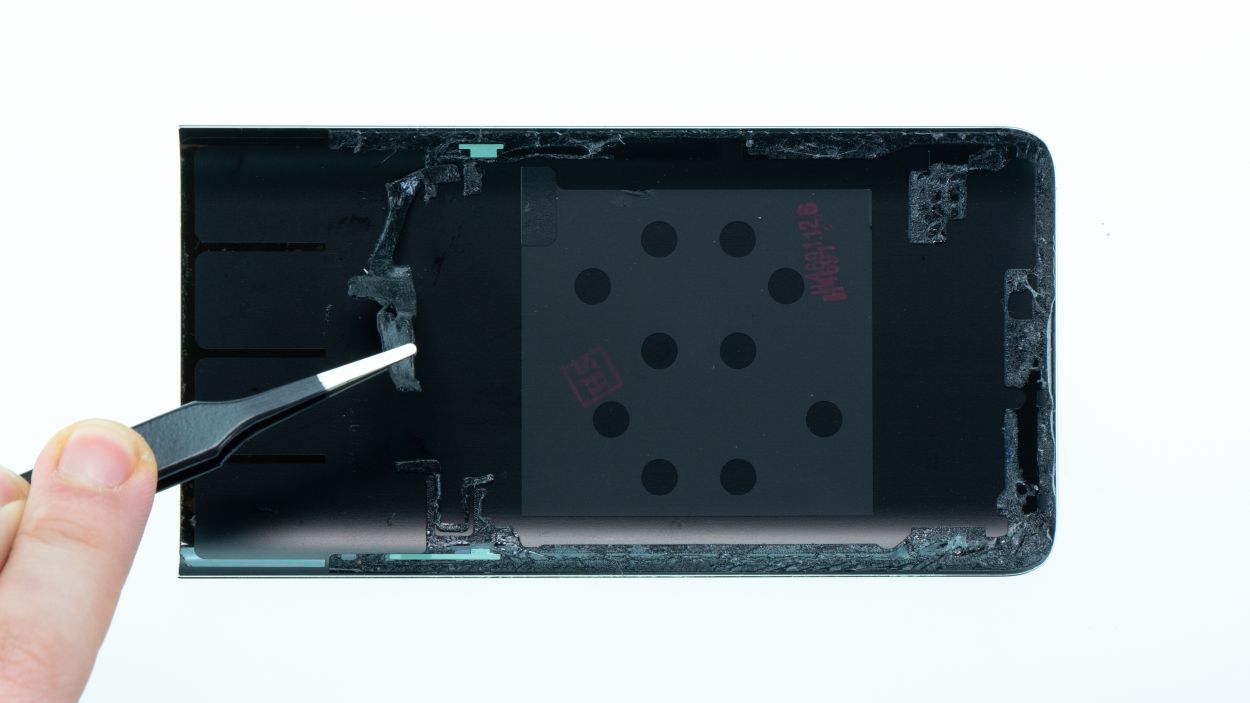
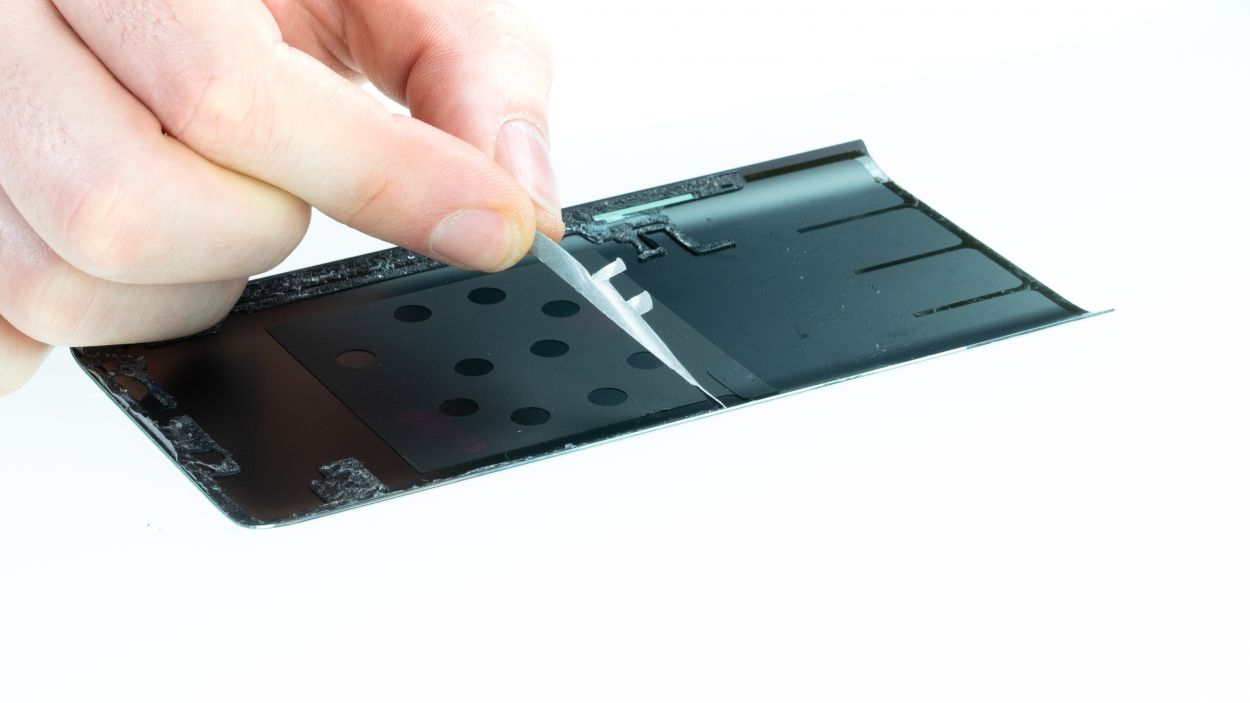


– First things first, let’s clear out any leftover adhesive from the inside of the back cover and the device frame. A trusty plastic tool, like a spudger, will do the trick for scraping off the remnants. Rubbing alcohol, such as isopropanol, paired with a lint-free cloth can also help. Make sure to get rid of all that sticky residue so you can close your device like a pro!
– Next up, grab your new adhesive frame and check if everything lines up just right. Use the various recesses and screw holes as your guide.
– Peel off the first transparent protective film and carefully position the adhesive on the frame. Make sure it fits snugly without any overhang.
– Now, go ahead and remove the green protective foil. If any glue tries to escape from the frame, just nudge it back into place with your spudger.
– Time to set the back cover back on and give it a gentle press down.
– For an extra strong bond, you can heat the edge of the device again with your heat gun and place a few books on top to weigh it down. That adhesive will thank you!