DIY Guide: How to Disassemble Nintendo DS Lite – Step-by-Step
Duration: 45 minutes
Steps: 7 Steps
Heads up! We’ve refreshed this guide to make it even better. Check out the latest version here.
Hey there! Ready to dive into some DIY magic? This guide is here to show you how to remove the bottom cover of the DS Lite. If you need help, you can always schedule a repair. Let’s get started!
Step 1

Grab your trusty Phillips screwdriver to take out that screw like a pro!
– Flip your device over like a pancake and spot the battery compartment hanging out underneath.
– Hunt down the Phillips head screw chillin’ in the bottom-right corner, keeping the battery cover locked in place.
– Give that screw a little twist to free the battery cover, but hold up—don’t let the screw wander off! Keep it snug in the cover for when it’s time to put everything back together.
Step 2

Gently pop off the cover, and keep an eye on that sneaky Phillips screw hiding underneath—it’s a key player for putting things back together later!
– Gently pry off the battery cover using the iFixit opening tool, taking your time to avoid any mishaps.
Tools Used

Step 3


For some devices, you can try flipping them over and letting the battery fall out – it’s like a little surprise! If that doesn’t work, don’t worry, we’ve got more steps to help you out. If you need help, you can always schedule a repair
– Grab that opening tool and gently nudge the battery out of its cozy little spot. Take your time—no rush!
– Once you’ve evicted the old battery, pop in the new one, making sure it’s facing the same way it was when you first opened things up. Easy peasy!
Tools Used
Step 4

– Alright, let’s kick things off by unscrewing the seven screws keeping the lower case on your DS Lite snug:
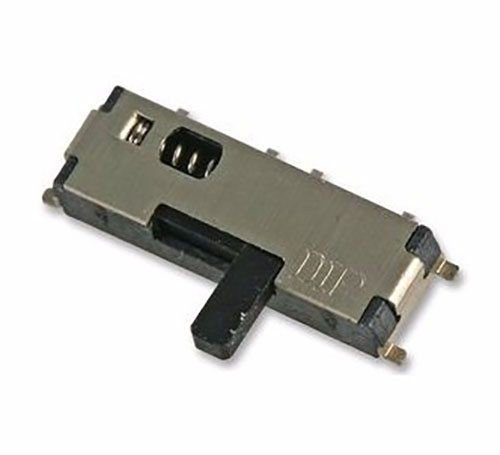
– Hold up! Don’t touch the silver PH screw (3mm) in the battery compartment just yet. That little guy’s holding the main PCB in place.
– You’ll find three silver tri-wing screws (5mm long)—take those out.
– Next, there’s one black tri-wing screw (4mm)—pop that one out too.
– Now, remove the two gold Phillips screws (4mm).
– Finally, unscrew the one silver Phillips screw (3mm).
Step 5

– Alright, let’s get this party started! First up, locate the front edge of your Nintendo DS. Right between the headphone jack and those handy volume controls, you’ll find a little plastic insert (or cartridge) hanging out in the lower slot (Slot 2). Go ahead and give it a gentle pull to remove it. Easy peasy!
Step 6


– Turn the device over so it’s right-side up and ready for action!
– Grab a spudger and gently work it into the gap between the bottom case and the front panel. Keep going all around until the panel pops free like a champ!
– Be careful around the L and R shoulder buttons—they’re a bit shy and can easily detach. Keep the bottom case flat on your workbench to help those buttons stay put while you work your magic.
Tools Used

Step 7

– To wrap things up, simply reverse the steps to reassemble your device – easy peasy!
– If you didn’t quite nail it, don’t worry! You can always schedule a repair with Salvation Repair.
– You’re all done! Pat yourself on the back for completing this step-by-step repair guide.
Success!