DIY Guide: How to Make an Affordable Soldering Fume Extractor
Duration: 45 minutes
Steps: 18 Steps
Hey there! Just a friendly reminder to take your time and be careful while working on your device. If you run into any trouble, don’t hesitate to reach out for help. You can always schedule a repair with us!
Soldering can create some pretty gnarly fumes that you definitely don’t want to breathe in. If you’re tired of holding your breath or playing a game of fume dodge, this budget-friendly and easy-to-make fume extractor is just what you need! The best part? You likely have most of the materials just hanging out in your workspace. The only special item you might need to grab is an activated carbon filter, and for that, this guide recommends using Hakko A1001 filters.
Step 1


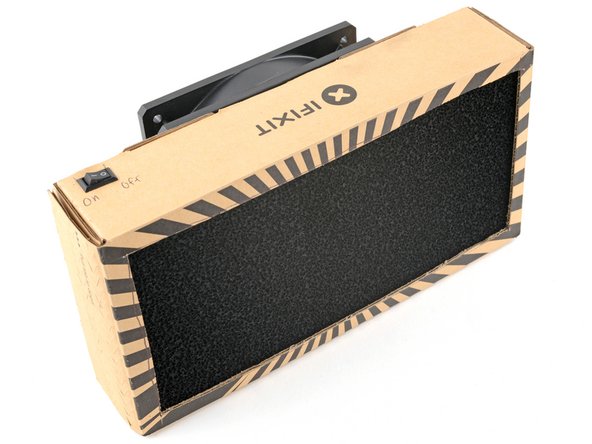
Meet your new fume extractor, made up of three essential components: a 12V computer fan to get the air moving, a sturdy cardboard box enclosure for some solid protection, and an activated carbon filter that knows how to catch those pesky fumes.
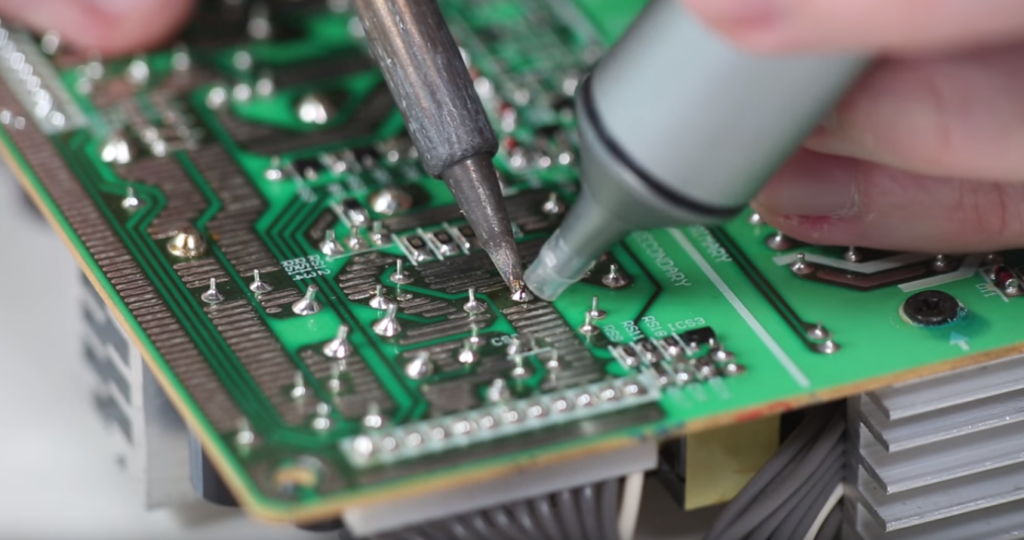
Solder often has rosin flux in it, and when that stuff heats up, it turns into vapor that can be a bit of a bother for your lungs and eyes. Long-term exposure? Not the best idea, so let’s keep that air fresh!
This little champion draws in those harmful fumes and sends them through the charcoal filter, which works hard to trap those volatile compounds, clearing the air for you to breathe easy.

Step 3


– Grab a sharp little tool, like a screwdriver, and gently poke four fan mounting holes into the box. You’ve got this!
Tools Used


Step 5


– Grab your trusty razor blade and carefully slice through the fan exhaust port. You’ve got this!
Step 6


– Create four additional holes about 1 cm away from the ones you made previously.
Step 7


– Let’s give that box a little flip, shall we?
– Grab a pen or pencil and a straight edge to outline the intake port like a pro.
Tools Used
Step 8


– Grab a razor blade and carefully slice out the intake port from the box. You’ve got this!

Step 10


Activated carbon filters come in all sorts of shapes and sizes! Feel free to trim and tweak the filter so it fits snugly in your enclosure. You’ve got this!
– Trim the filter so it fits perfectly in the intake port.
Step 11


If your filter doesn’t quite cover the intake port, no worries! A little glue or some tape can work wonders to link those filter pieces together.
– Slide that filter right into the intake port, nice and snug!


Step 14


– Grab a sharp little tool, like a screwdriver, and give the box a gentle poke to create a hole for the fan cable.
– Now, let’s get that fan cable threaded through the newly made hole in the box!
Tools Used


Step 16

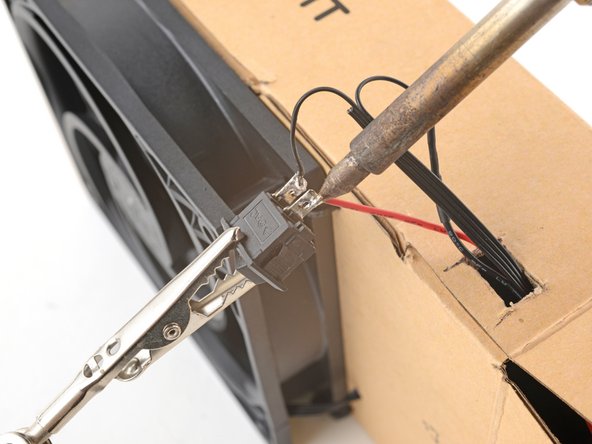

– Time to get your soldering iron ready! Connect the switch between the fan’s positive wire and the battery’s positive wire.
– Next up, let’s keep things grounded by soldering the negative fan wire to the negative battery wire.
– Now, gently pull any excess cable back through and secure that switch to the box. You’re almost there!
Step 17

– Gently tuck those loose wires into the box, making sure they feel cozy.
– Use some double-sided tape to firmly attach the 9V battery inside the box. It’s like giving it a warm hug!
Step 18

If your solder fumes are particularly strong and make a grand entrance in the exhaust, feel free to layer on some extra filter material to catch those pesky fumes.
– Hooray! Say goodbye to holding your breath or dealing with those pesky solder fumes.