DIY Guide: How to Replace Asus Phone Front Camera Step-by-Step
Duration: 45 minutes
Steps: 9 Steps
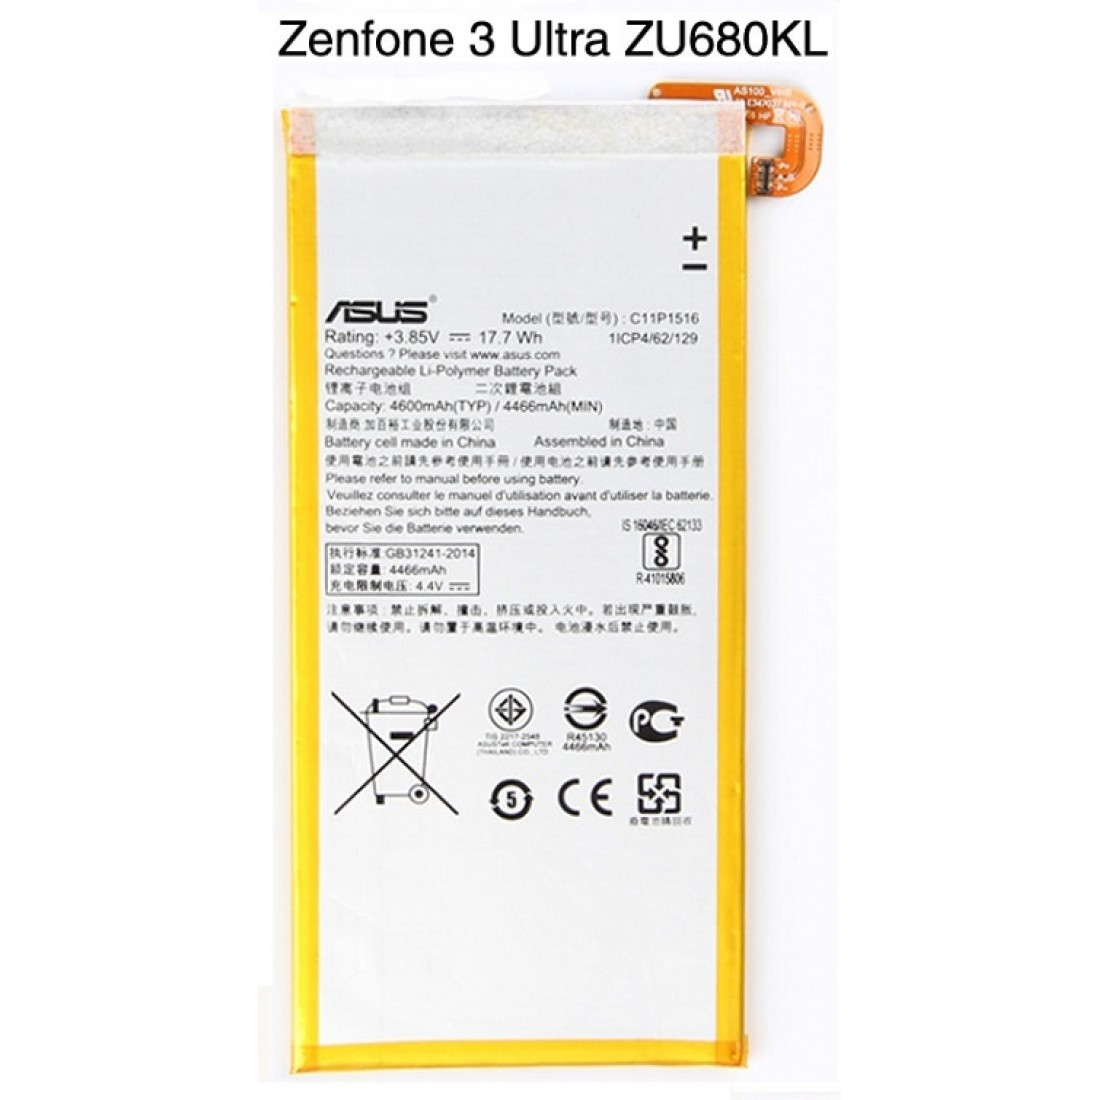
Ready to give your Zenfone 3 a fresh front camera? Whether it’s gone dark or just acting up, we’ve got you covered. Grab your tweezers, Torx T2 screwdriver, prying tool, and Phillips #00 screwdriver, and let’s get started. If you hit a snag, you can always schedule a repair.


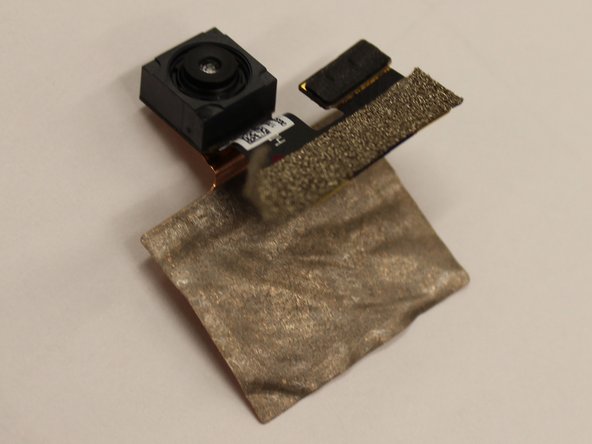
Step 3


You’ll notice a delicate little film holding the two parts together. No need to stress about removing it! Just gently fold the pieces apart with the insides facing up, and you’re on your way!
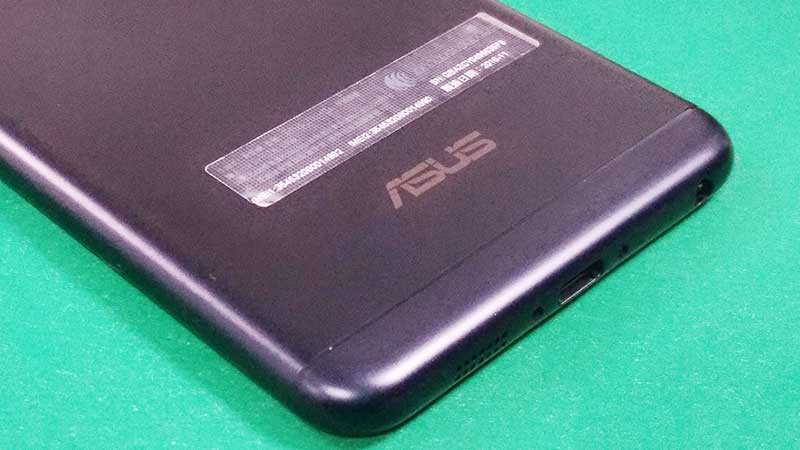
– Slide a prying tool into the gap between the screen and the metal backing of your phone at the bottom. This will help you pop off the backing with ease!
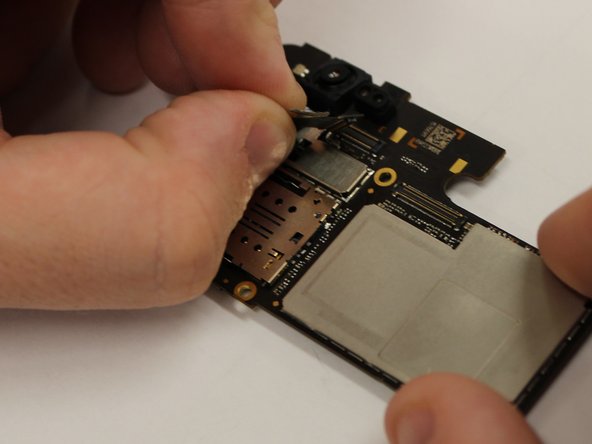
Step 4

– Let’s get groovy! Unwind those two 3 mm screws, using the Phillips #00 screwdriver, on the shiny silver band at the top of the battery, then slide that baby off. Time to reveal the secret chamber! 💡😉🔧
Tools Used

Step 5

– Time to get peelin’! Gently lift that silver tape back.


Success!