DIY Guide: How to Replace Galaxy Tab S 10.5 Motherboard
Duration: 45 minutes
Steps: 20 Steps
Swapping out your motherboard might sound intimidating, but it’s actually pretty straightforward! This guide breaks it down step-by-step, so you’ll be done before you know it and feeling like a tech pro!
Step 1
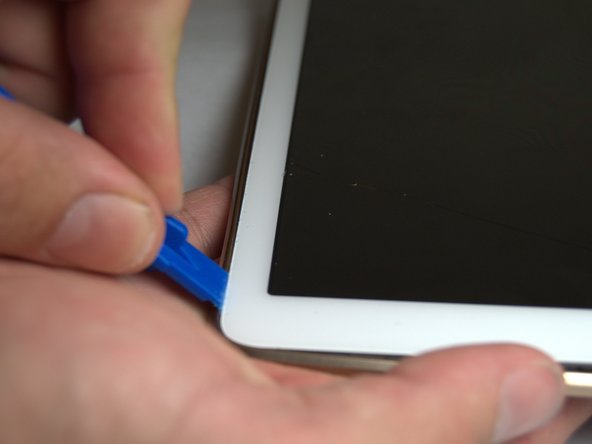
– Grab your plastic opening tool and slide it into the SD card slot or charge port.
– Gently wiggle it upwards until you notice the tablet and back cover starting to separate.
Step 2
If this is your first rodeo, getting that back cover off might be a bit tricky.
The clips are spaced about 5 cm apart. While you work around the device, expect some dislocating sounds as the clips disconnect.
– Gently glide that trusty plastic opening tool all around the device’s edge like you’re giving it a little spa treatment.
Step 3
Handle the tablet’s innards with care!
– Pop off the back cover once you’ve separated all the links.
Step 4
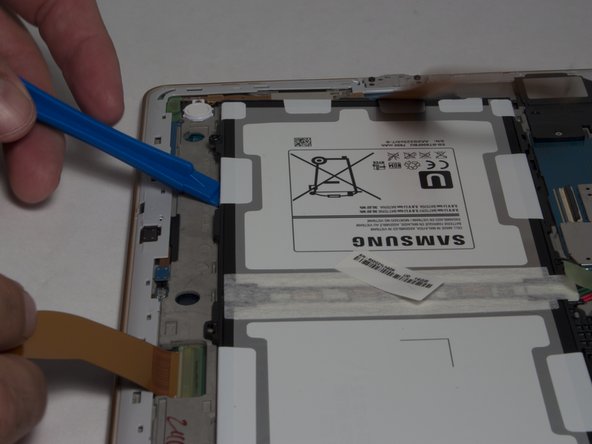
– Let’s get started! Carefully insert the plastic opening tool between the outer rim, making sure it’s securely in place.
– Now, gently move the tool in a downward motion to start separating the two parts – it’s like a little dance, but don’t worry, we’ve got you covered!
– Next, run the tool along the rim to release all the connectors that hold the outer rim to the back of the device. You’re doing great, keep going!
Step 5
– Go ahead and tackle each of the four sides, and then gently lift off the rim. You’ve got this!
Step 6
– Grab your trusty tweezers and gently peel off the green tape from the ZIF connectors on those two black ribbon cables.
– Now, take a plastic opening tool and carefully lift the plastic clips on the ZIF connectors. Nice and easy!
Tools Used
Step 7
– Let’s get started! Remove the six 2mm screws surrounding the battery using a Phillips #000 screwdriver. This is the first step in giving your device a brand new life!
Step 8
– Wedge that plastic opening tool between the frame and the battery.
– Gently push the plastic opening tool downward, away from the battery to pop it out of the device.
Step 10
– Grab your Phillips #000 screwdriver and let’s get to it! Carefully remove the two screws holding down the ribbon cable bracket. Keep up the great work!
Tools Used
Step 13
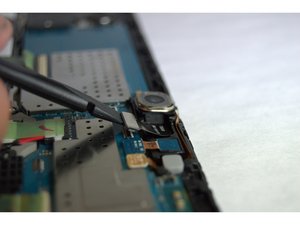
– Grab your spudger and gently lift up the front camera near the top edge of your tablet. It should come off with a little nudge!
– Next, use the spudger to carefully pop off the rear camera, which is right next to the front one. A smooth and steady motion will do the trick!
Tools Used
Step 14
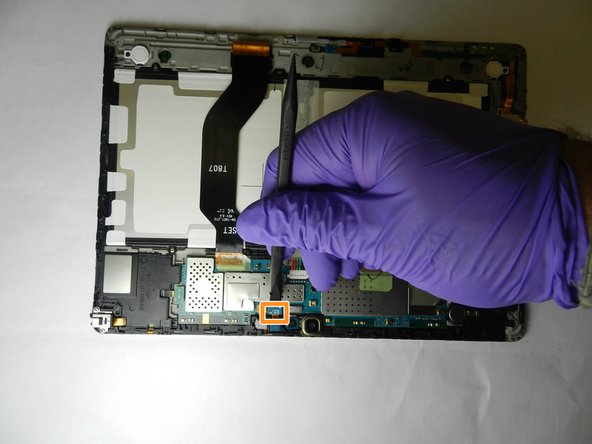
– Gently pop the loud speaker connection off the left side of the tablet’s motherboard using a spudger.
– Take out the 2 screws on either side of the headphone jack with your Phillips #000 screwdriver.
Tools Used
Step 15
– Gently warm the loud speaker module at the front edge just a bit from the side.
– With a plastic opening pick, pop it off and give it a slight lift.
Step 17
– Pop out that one little screw on the right loud speaker with your Phillips #000 screwdriver.
Tools Used
Step 18
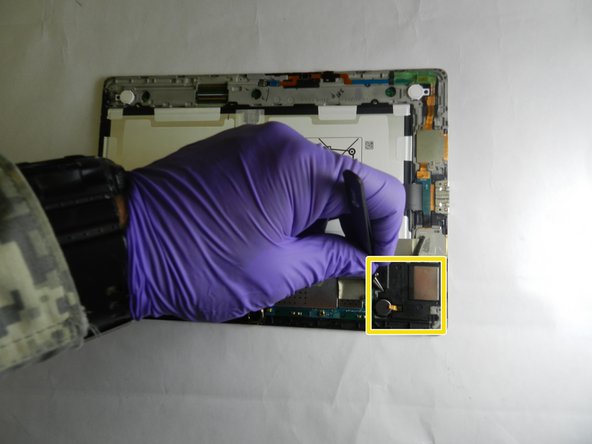
– Time to get this repair started! Gently apply some heat to the right loud speaker module to loosen things up.
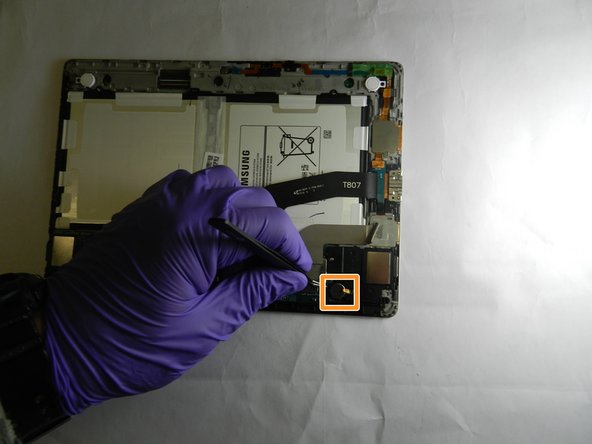
– Now, carefully use your trusty tweezers to pry out the vibration motor – it’s like a little puzzle piece waiting to be freed!
– Almost there! Use those same tweezers to carefully pry out the entire loud speaker module. Take your time, and don’t worry if it takes a little wiggling.
Tools Used
Step 19
– Gently pop off the connection for the light sensor, which hangs out next to the front camera, using a spudger. You’ve got this!
Tools Used
Step 20
– You’ve made it! Now, just retrace your steps to put your device back together.
– Didn’t finish? No worries, you can always try again later.
– If you need help, you can always schedule a repair.
Tools Used
Success!


