DIY Guide: How to Replace Google Pixel 9 Pro Fold Battery
Duration: 45 minutes
Steps: 74 Steps
Hey there! Just a quick heads up: this repair guide is brought to you by a team of repair enthusiasts and hasn’t been given the official thumbs up from the big tech companies. For more info on our repair adventures, check out our guides here!
Hey there, tech whiz! This guide is your go-to resource for swapping out the flip battery in your Google Pixel 9 Pro Fold. Just a heads-up, this guide comes packed with tips straight from the pros at Salvation Repair. So roll up your sleeves, grab those tools, and let’s make your device feel brand new again! If you hit a snag, no worries—just schedule a repair and we’ll help get you back on track.
Step 1

– Disconnect all cords from your phone and make sure it’s completely powered off.
Step 2

Got a screen that’s looking a bit worse for wear? No worries! Slapping on a layer of clear packing tape could help your suction cup stick like a champ. If you’re feeling adventurous, you might try some really strong tape instead of that suction cup. And hey, if nothing else works, a dab of superglue can help you affix the suction cup right to your screen. Just remember, if you need help, you can always schedule a repair.
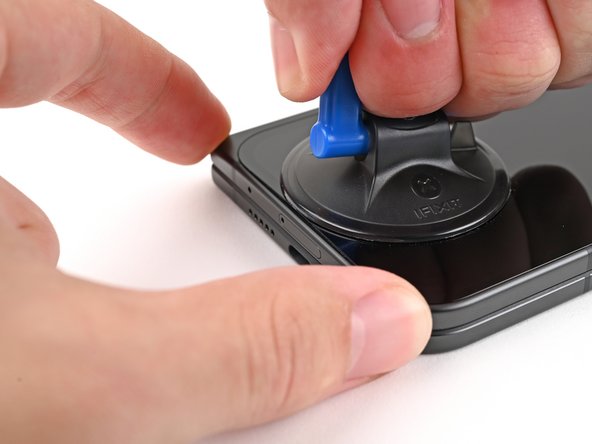
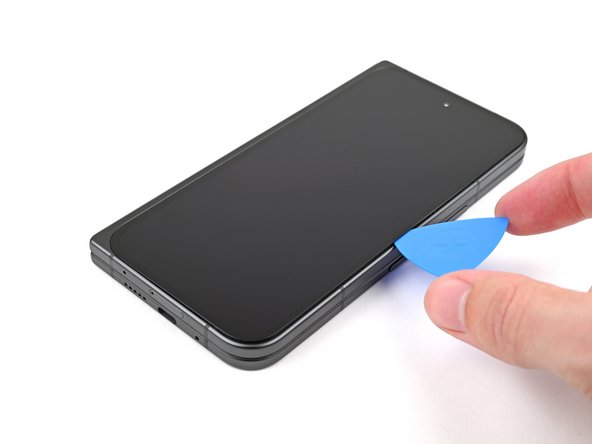
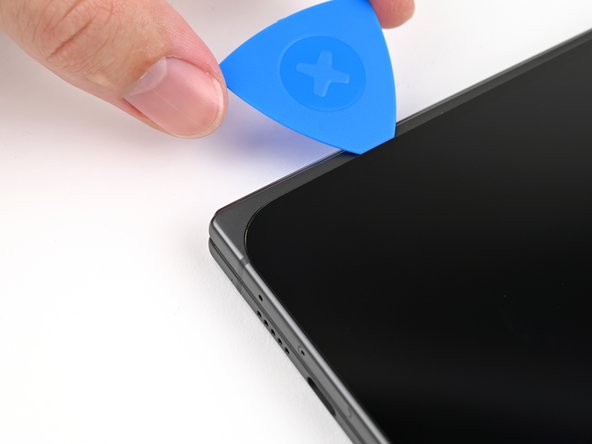
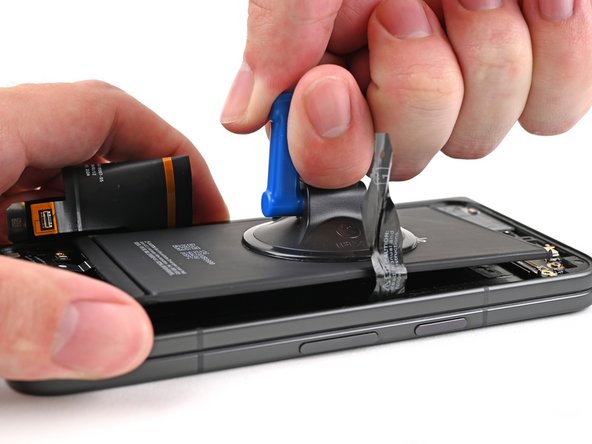
– First things first, grab a suction cup and stick it right near the middle of the bottom edge of the screen.
– Now, give that suction cup a solid, steady pull – we’re aiming to make some room between the screen and the frame.
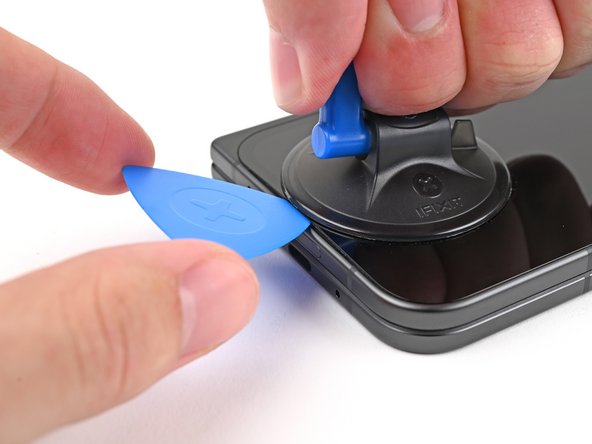
– Slide an opening pick into that gap you’ve created. You’re on your way!
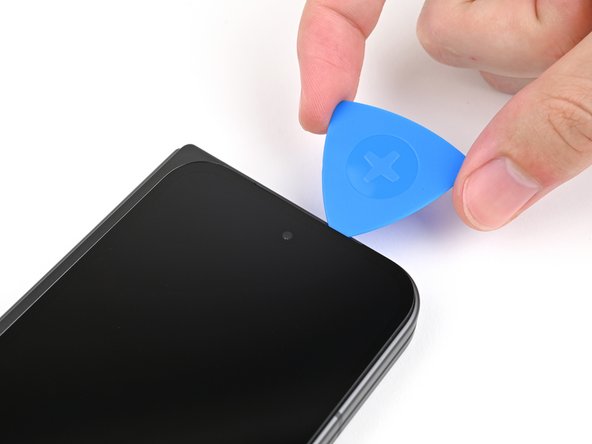
Step 3

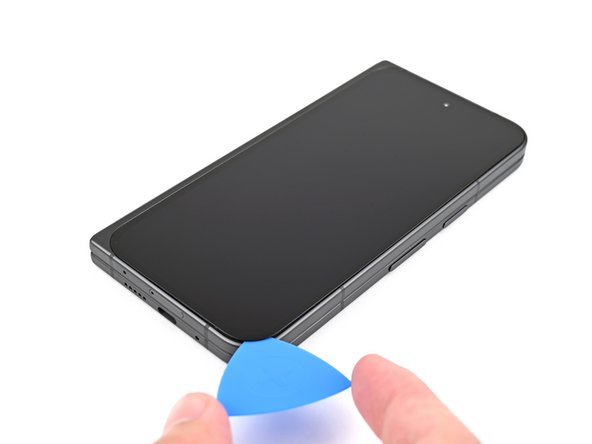
For the next few steps, keep your opening pick shallow—no deeper than 3 mm—to avoid any accidental damage to the delicate insides. You’ve got this!
If you’d like, take a moment to measure and mark your opening pick about 3 mm from the tip. This little trick can help you visualize the length better as you go about your repair journey!
– Let’s get this party started! Slide the opening pick around the bottom right corner and up the right edge of the screen to loosen up the adhesive.
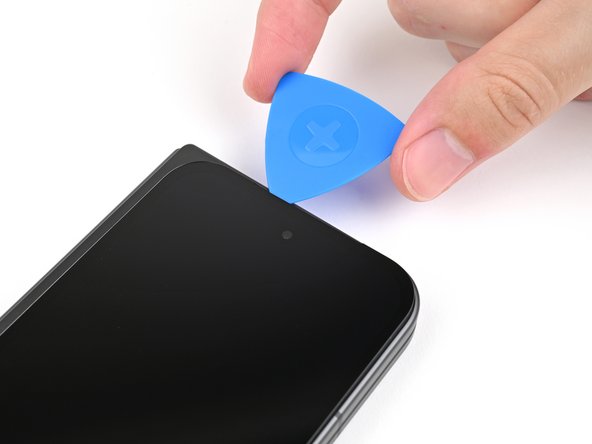
Step 4
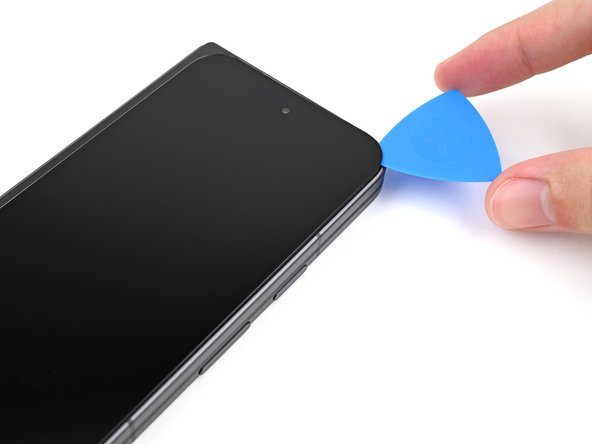

– Gently glide the pick around the top right corner, but make sure to pause right before you reach the front camera. You’ve got this!
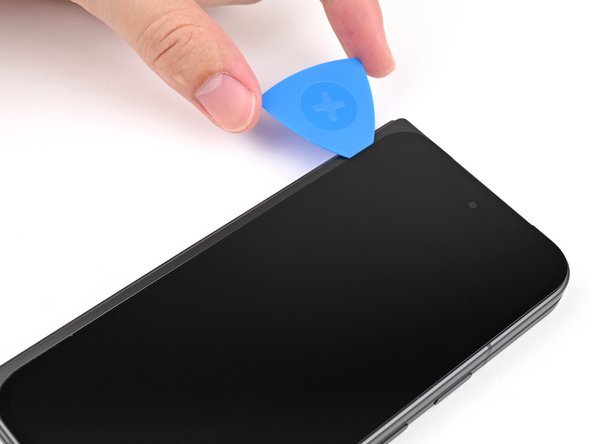
Step 5

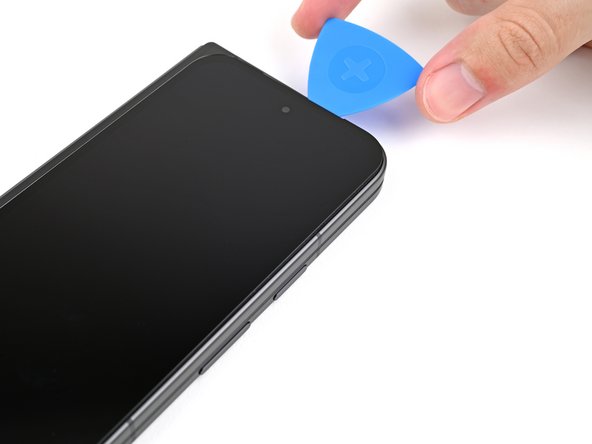
– Gently pull the opening pick out, leaving just the tip under the screen.
– Slide the pick along the top edge of the screen, gliding past the front camera.
– Push the pick back to its original depth before moving on. You’ve got this!
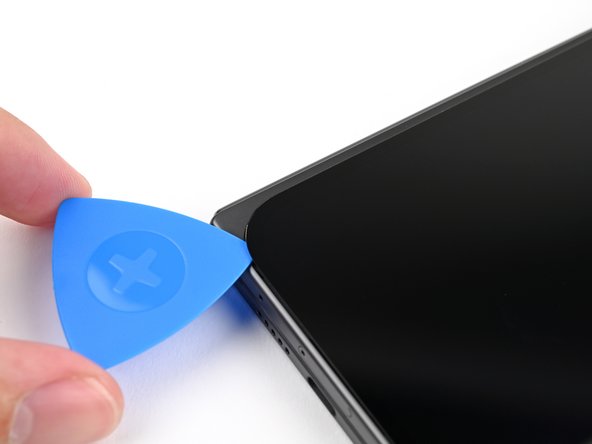
Step 6


Hold up on sliding that pick further—let’s keep that display cable safe and sound!
– Now, let’s gently wiggle that opening pick around the top left corner. Keep going until you’re about two-thirds of the way down the left edge of the screen. It’s like giving your device a little dance move!
Step 7

– Alright buddies, let’s be bold as we push the pick forward and slide it under the adhesive at a 2mm depth. Now, pretend we’re twirling a dance partner and rotate that pick around the bottom left corner. You got this!
Step 8

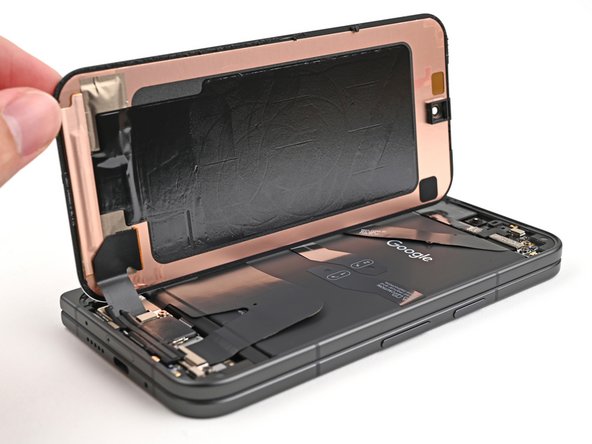
Hold up there, cowboy! Don’t yank that screen out just yet. It’s still hooked up to the phone with a cable, and we don’t want to cause any trouble. We’ll get to that cable in a bit.
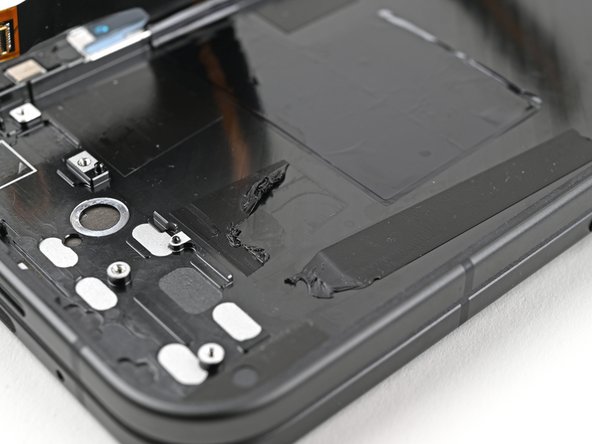
At this stage, your screen should be loose from the frame! If you’re still facing some sticky resistance around the edges, grab an opening pick and gently wiggle it in to break any leftover adhesive. You’ve got this!
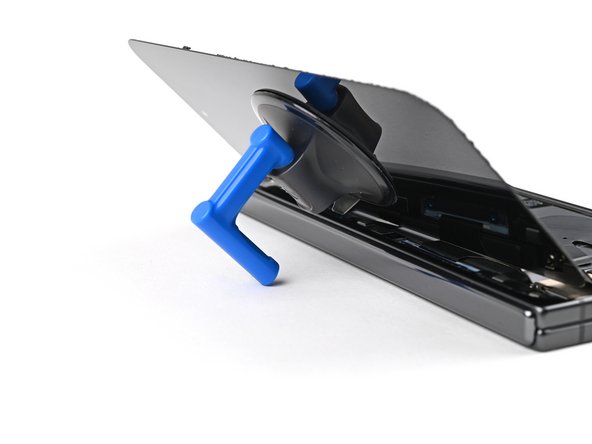
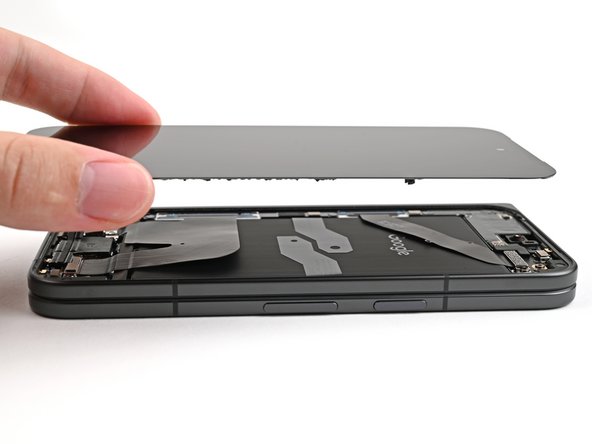
– Gently lift the right side of the screen and swing it open like you’re flipping the pages of your favorite book.
– Support the screen with your trusty suction handle or any clean, sturdy object you have handy.
Tools Used

Step 9

During this repair, be sure to keep a close eye on every screw and put each one back exactly where it belongs, like a puzzle piece finding its home.
The Pixel 9 Pro Fold is equipped with Torx Plus screws, but don’t fret! Standard Torx bits work just fine too. Stick with the same size or go up a notch (T3 or T4 Torx bits for 3IP Torx Plus screws) and remember to apply steady, downward pressure to keep those screws from slipping away!
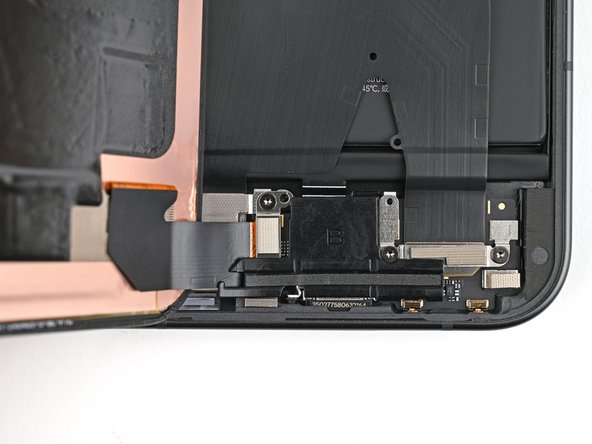
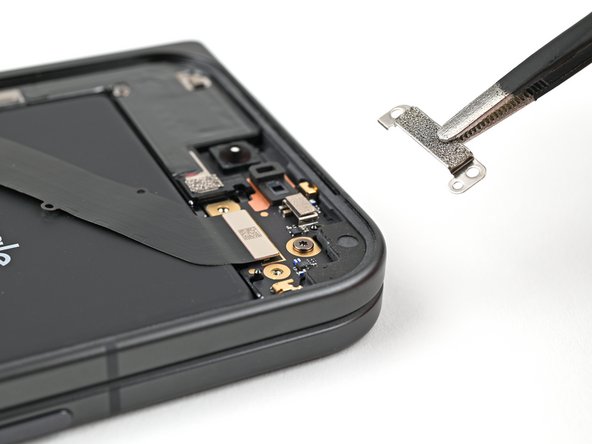
– Grab your trusty Torx Plus 3IP driver and get ready to tackle that 2.2mm-long screw holding down the display cable bracket! You’ve got this!

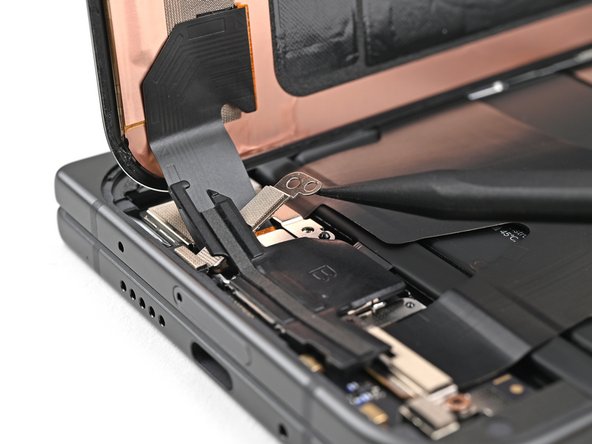


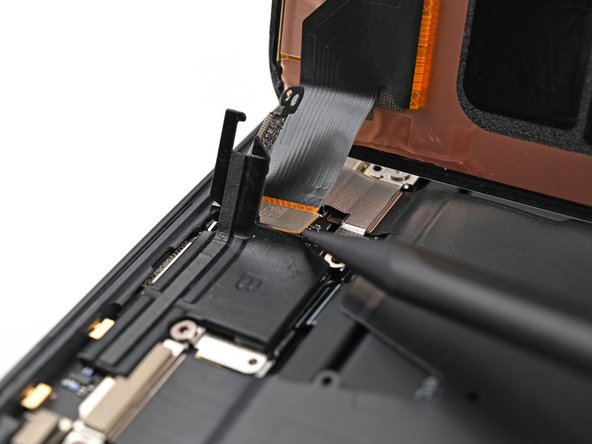

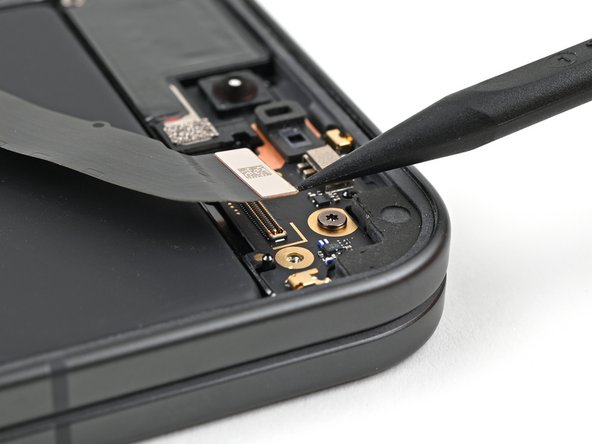
Step 13

– Grab your trusty Torx Plus 3IP driver and carefully unscrew that 2.0 mm-long screw holding the battery bracket in place. You’ve got this!
Step 14

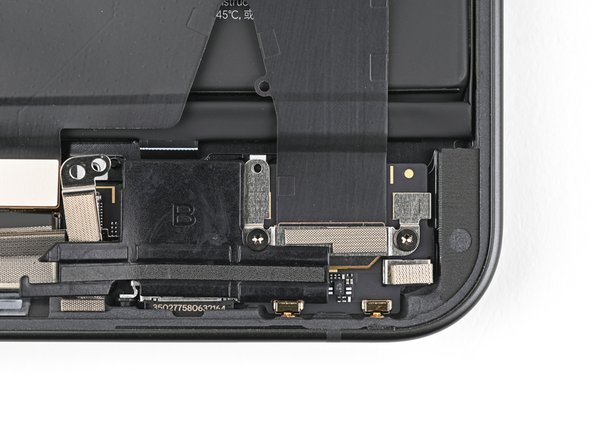
The battery connector bracket gets a cozy hug from some trusty conductive tape, keeping it snugly in place on the lower board.

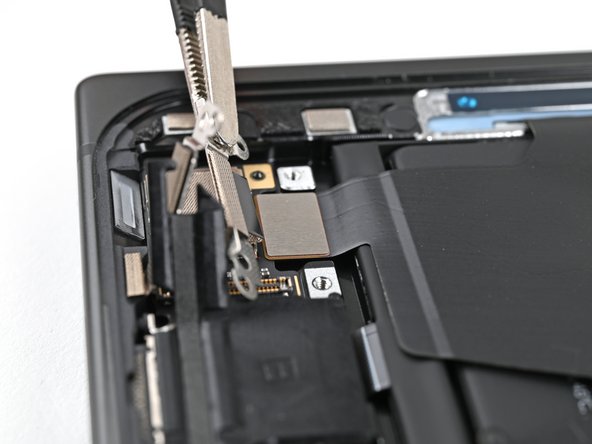
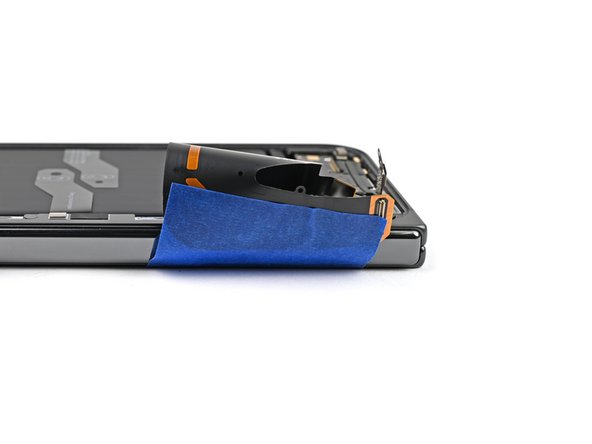
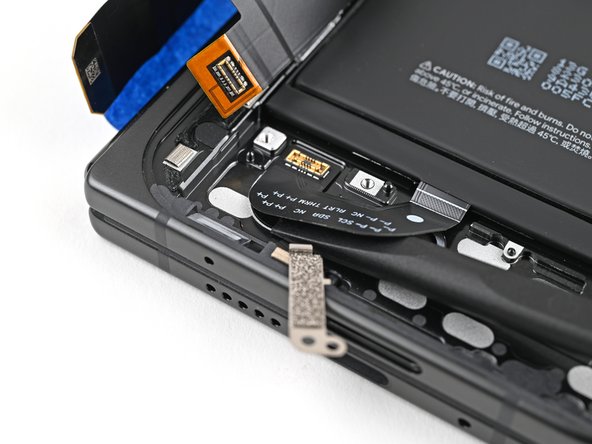
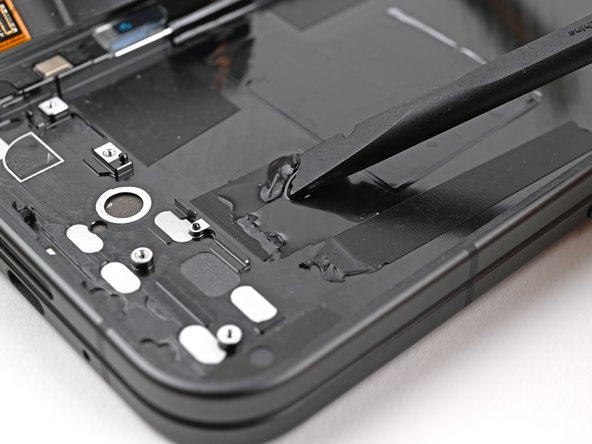
Step 16

– Grab your trusty tweezers or just use your fingers to gently lift off the rubber cover that’s hiding a screw on the top board. It’s like a little surprise party, but for your device!
Step 17

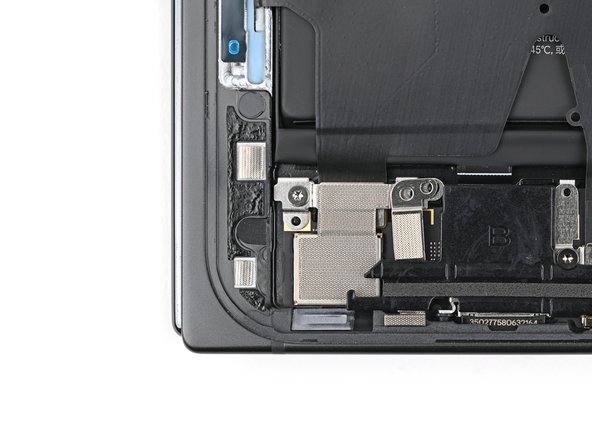
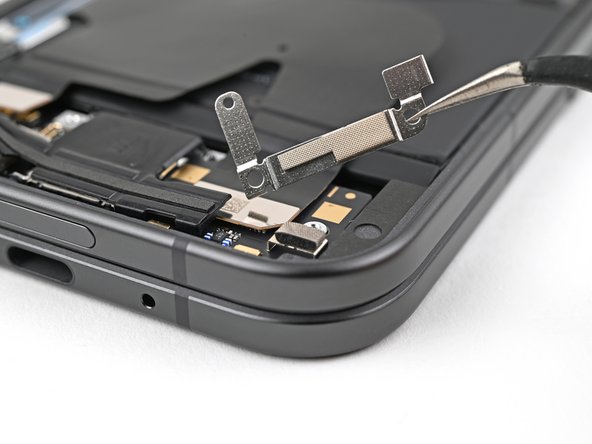
– Alright, time to loosen those screws! Grab your Torx Plus 3IP driver and give those two little 2.2 mm‑long screws holding the top interconnect cable bracket a little twist. You got this!
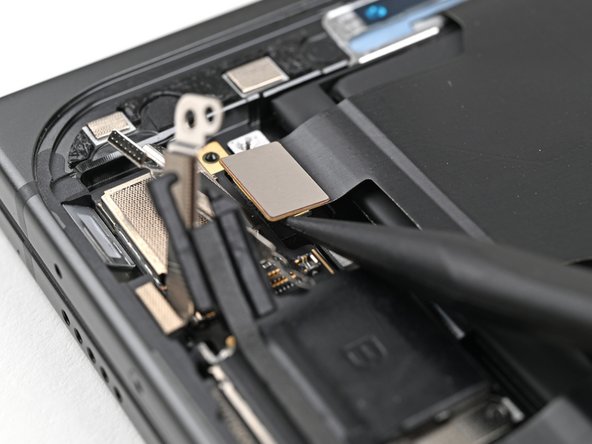
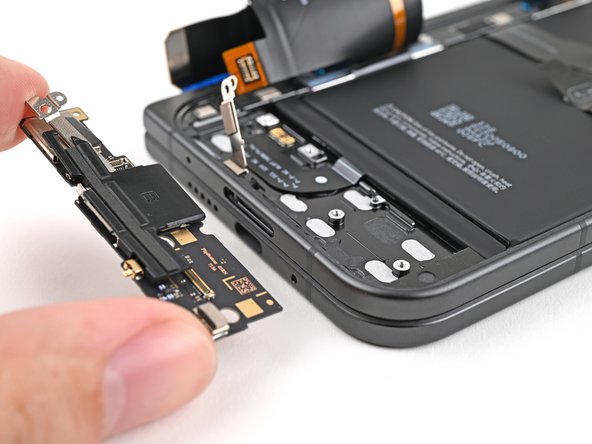
Step 18

– Grab your trusty tweezers or just use those clever fingers to gently lift off the top interconnect cable bracket. You’ve got this!

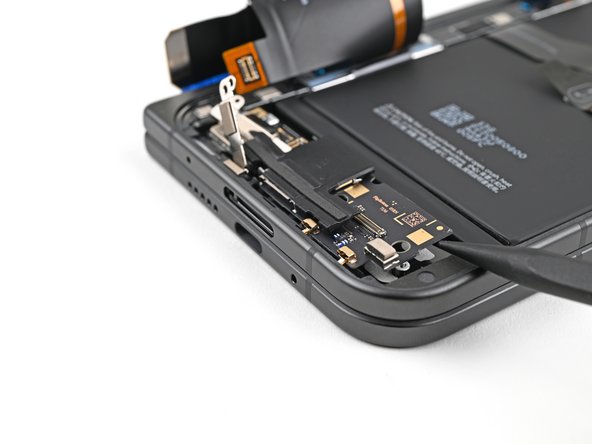
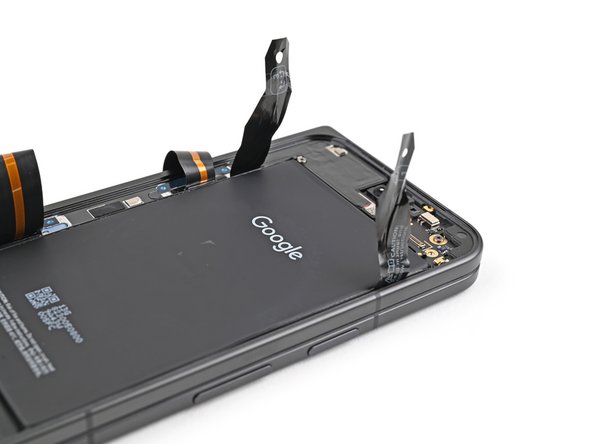
Step 20

– Grab your trusty Torx Plus 3IP driver and get ready for some action! It’s time to unscrew those two pesky 2.2 mm-long screws that are holding the bottom interconnect cable bracket in place. Let’s get that bracket loose!
Step 21

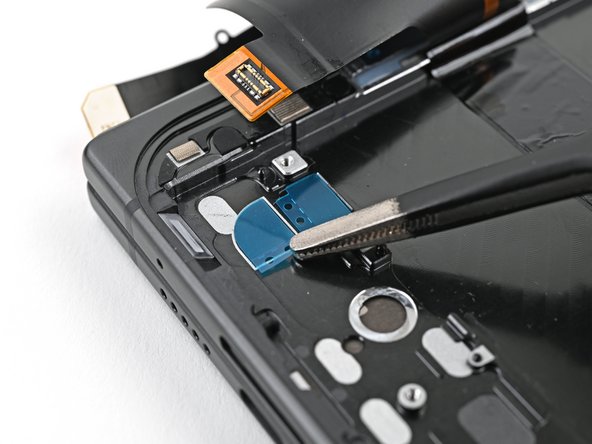
– Grab your tweezers or just use those nimble fingers of yours to gently lift off the bottom interconnect cable bracket from the lower board. You’ve got this!
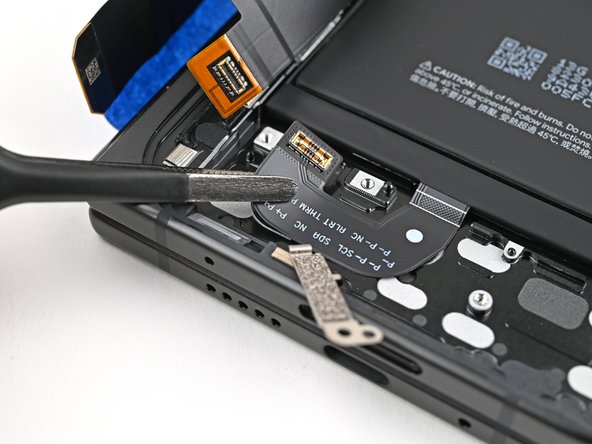
Step 22

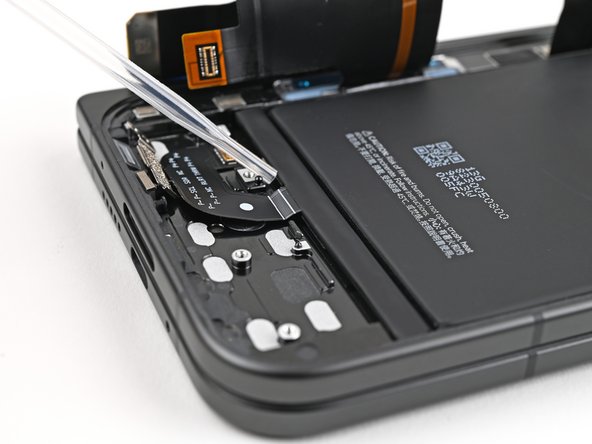
Keep your spudger in the right spot! If you wander off the beaten path, you might accidentally knock loose some tiny components that are happily glued down.
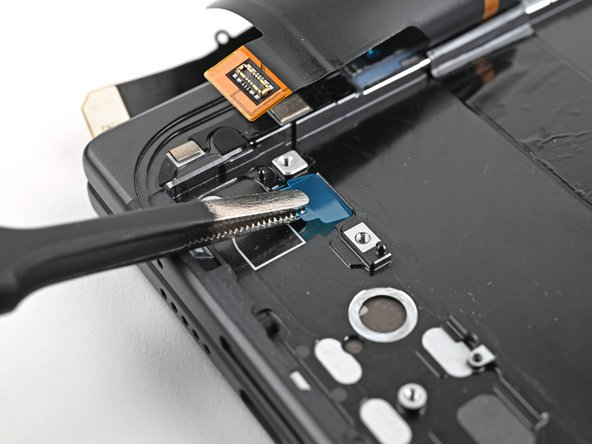
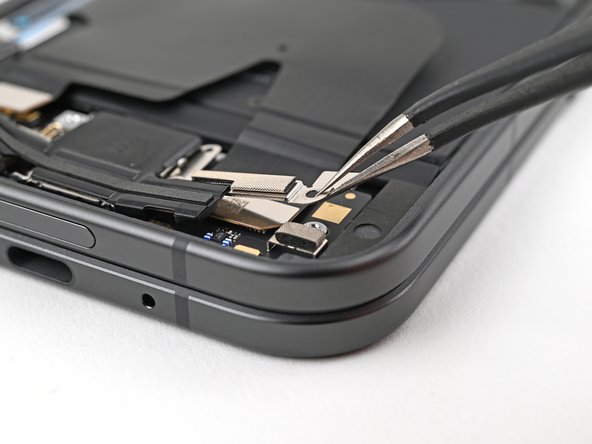
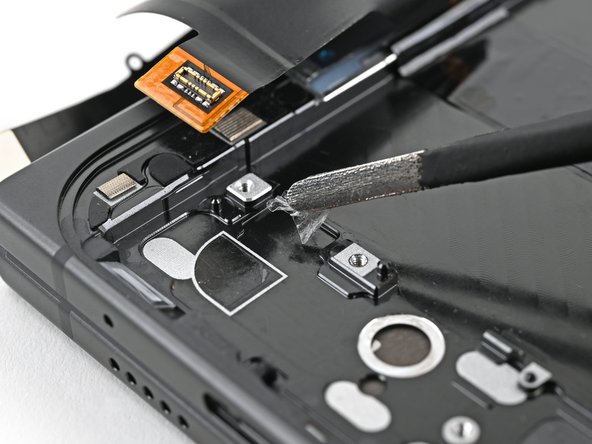
– Slide a spudger under the right side of the bottom interconnect cable press connector with a gentle touch.
– Pop it up and disconnect that bottom interconnect cable like a pro!
Tools Used
Step 23

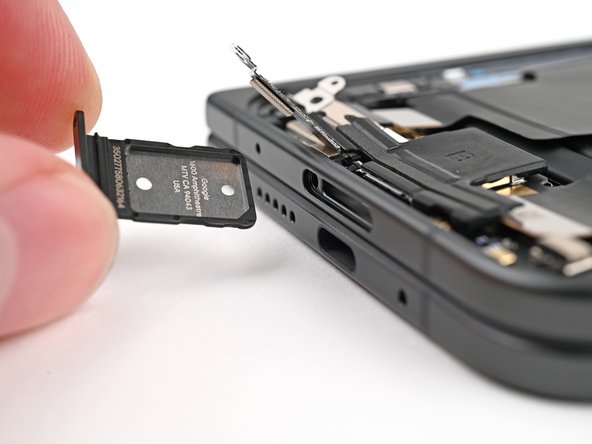
– Grab your SIM eject tool, paper clip, or whatever you’ve got handy and give that SIM card tray hole a firm press to pop it out.
– Slide that SIM card tray right out and you’re good to go!
Step 24

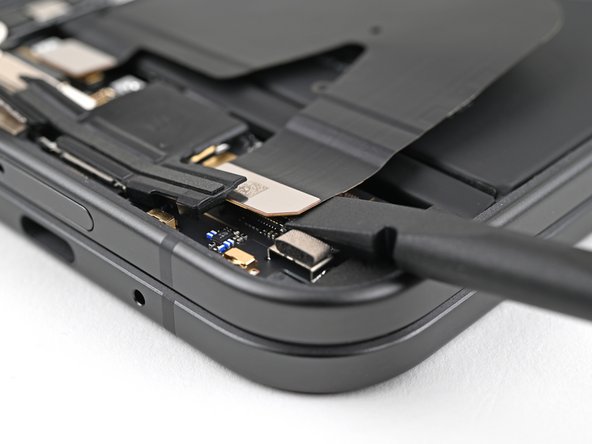
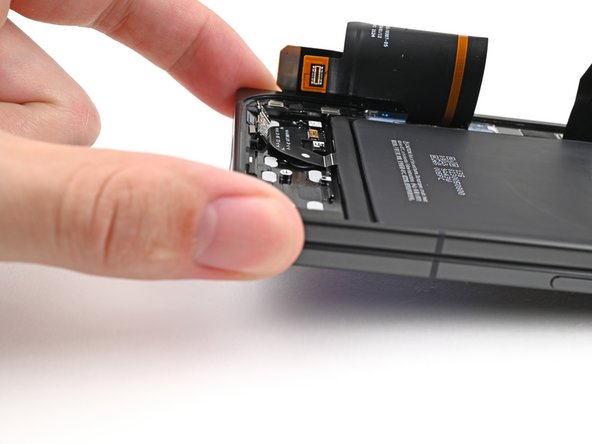
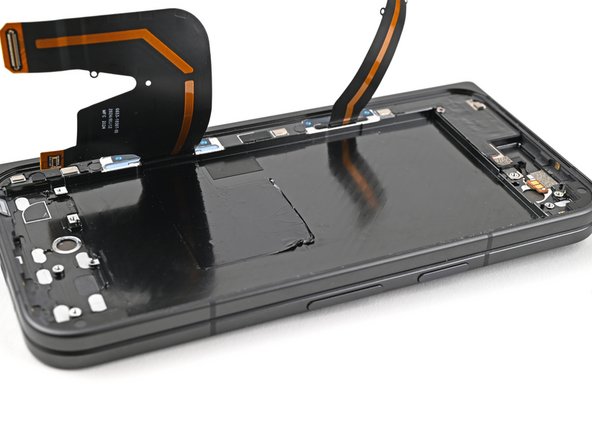
Okay, so now, let’s just keep that bottom interconnect cable out of the way. You can either hold it up, or use some light tape to stick it to the side. No big deal!


Step 28

Alright, cool dude, don’t go frying the screen for more than 30 seconds, or it’s gonna be toast!
– Peel back your trusty phone and put it in a caper position with that inner screen looking up at the sky. Time for some sizzle! Whip out your hair dryer or heat stylus and get that inner screen unduly warm before it says ‘ouch!’
Step 29

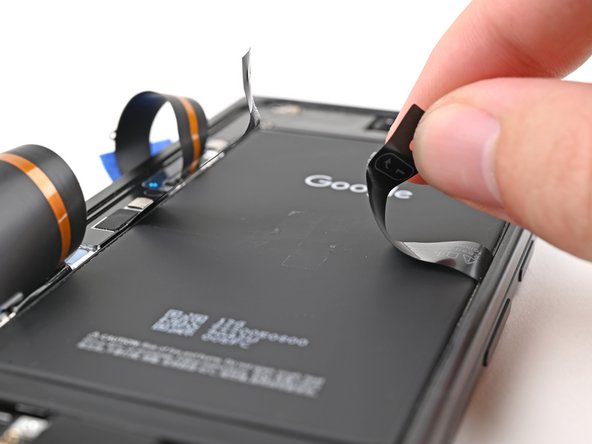
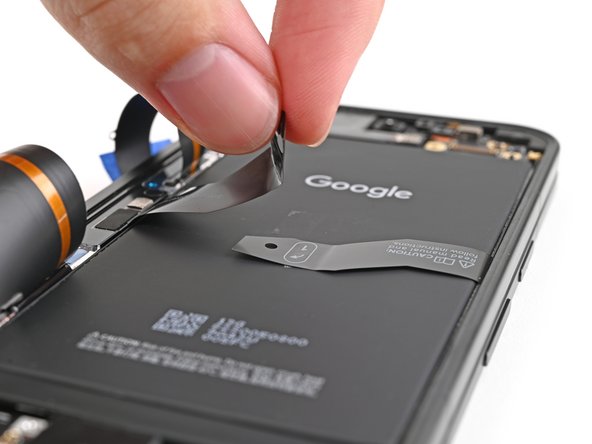
– Alright, let’s get started! First, gently fold your phone and flip it over so the battery side is facing up. You’re doing great!
– Now, take a deep breath and grab that pull tab. Carefully pull up on alternating sides to cut through the adhesive on the upper half of the battery. Stop when you reach the top edge – nice and steady!
Step 30

– Gently place a few drops of isopropyl alcohol (at least 90%) right under the bottom edge of that flip battery. Keep it cool and steady!
Tools Used

Step 32

If the flip battery is being stubborn after you’ve given it a good push, don’t fret! Just add a little more isopropyl alcohol and give it another go.
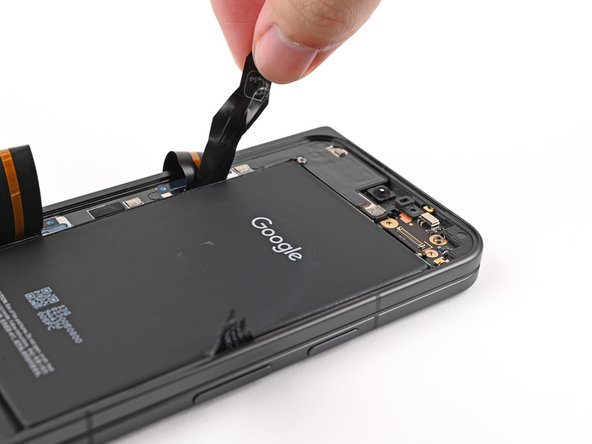
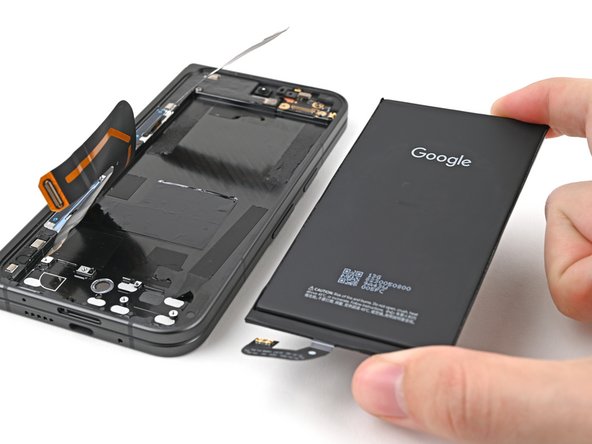
– Grab that suction handle and stick it right in the middle of the flip battery.
– Hold the phone steady with one hand, and with the other, pull up on that suction cup with strong, smooth force to pop the flip battery out of the frame.
– Take the flip battery out.
Tools Used
Step 33

– Way to go on finishing the teardown! Now let’s walk through reassembling your device.

Step 35

– Grab some isopropyl alcohol (90% or higher) and a coffee filter or microfiber cloth to gently wipe away any sticky residue. Easy peasy!