
DIY Guide: How to Replace Google Pixel 9 Pro Fold Lower Board
Duration: 45 minutes
Steps: 49 Steps
This repair guide was crafted by our enthusiastic team at Salvation Repair and hasn’t received a thumbs up from anyone else. For more info on our repair guides, check out our website here.
Get ready to dive into the world of repairs! This guide is your friendly companion as you embark on the adventure of replacing the lower board in your Google Pixel 9 Pro Fold. While we haven’t received a thumbs up from the big G, we’re here to help you every step of the way. Discover more about our handy repair guides here. Remember, if you hit a snag, don’t hesitate to schedule a repair!
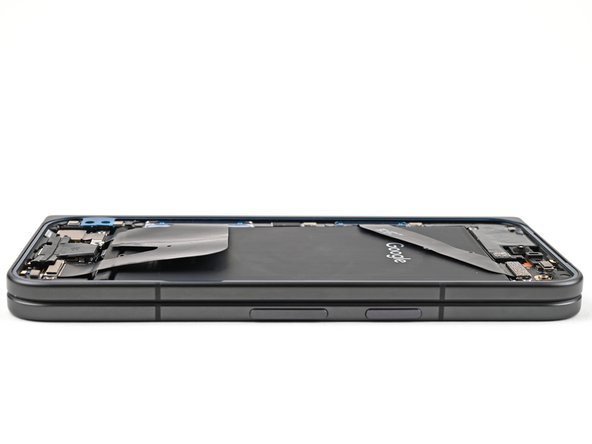
Step 1

– Disconnect all cables from your phone and power it down completely. Give it a little break – it deserves it!
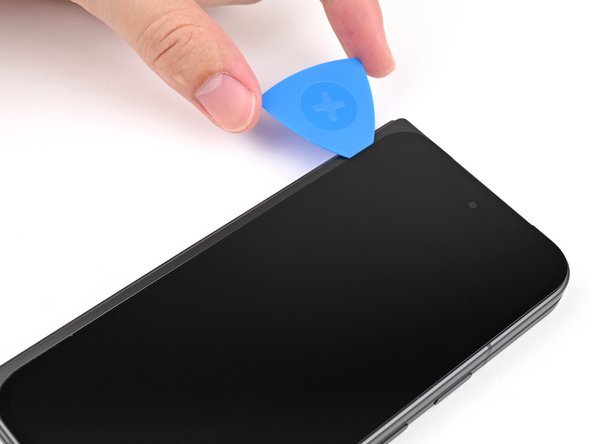
Step 2

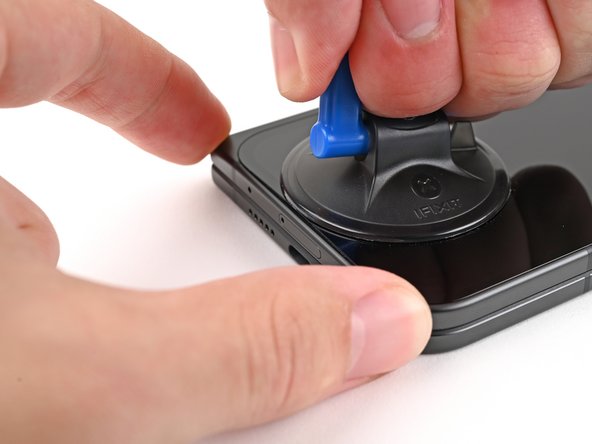
– Place a suction cup gently on the screen, getting it as close to the center of the bottom edge as you can.
– With a firm and steady pull, lift the suction cup to open up a little gap between the screen and the frame.
– Slide an opening pick into that delightful gap you’ve created.
Hey there, pal! Need a hand with that cracked screen? Don’t worry, we’ve got ya covered. Just grab a piece of clear packing tape and slap it over the surgeon, or if you’re feeling extra adventurous, you can try using a strong tape instead of that pesky suction cup. If you’re really in a pickle, smearing some super glue on that cup should do the trick. And if all else fails, you know what they say – if at first you don’t succeed, try, try again! But remember, if you’re feeling stuck, you can always schedule a repair to get some pro help. Hang in there, champ! You’ve got this!
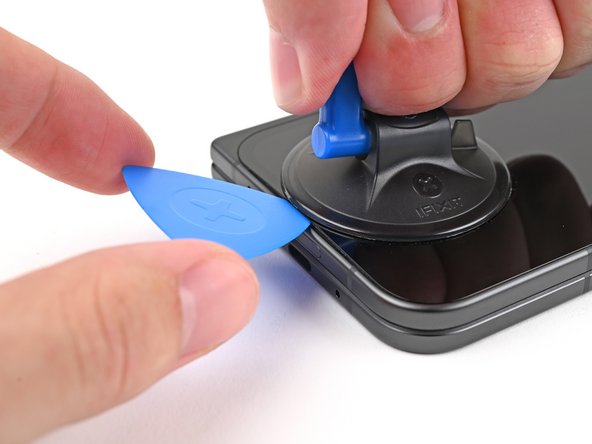
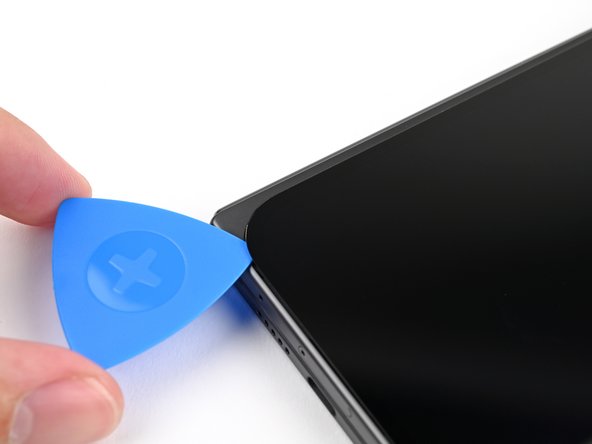
Step 3

Okay, for the next few steps, be careful not to push your opening pick more than 3 mm deep. We don’t want to mess up any of the delicate parts inside, right? If you need help, you can always schedule a repair.
If you’re feeling fancy, consider measuring and marking your opening pick about 3 mm from the tip. It’ll help you visualize the length and make things a bit smoother!
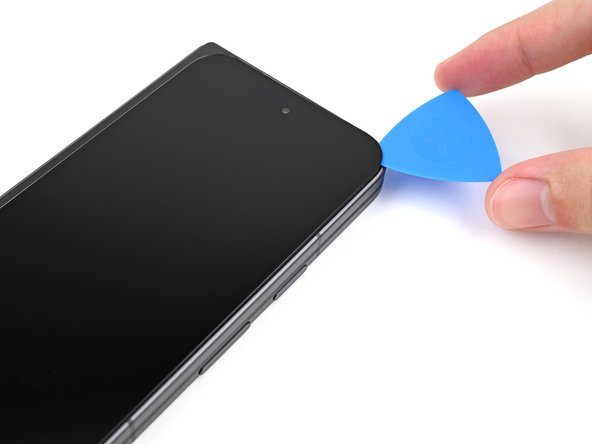
– Gently slide that trusty opening pick around the bottom right corner and glide it up the right edge of the screen to break free from the adhesive’s grip.
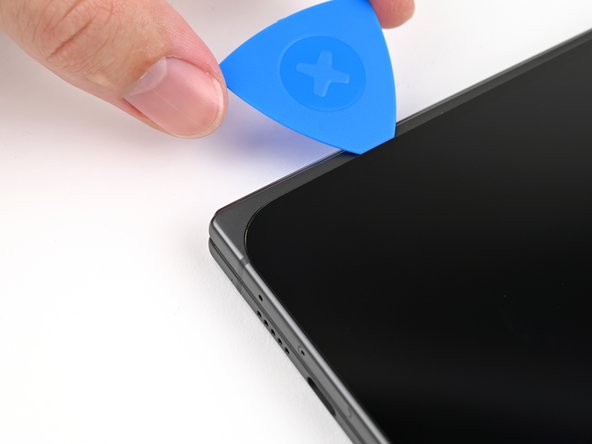
Step 4

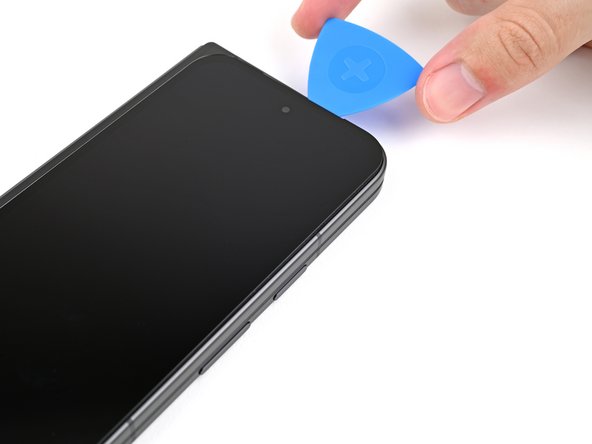
– Gently glide the pick along the top right corner, but hit the brakes before you reach the front camera!
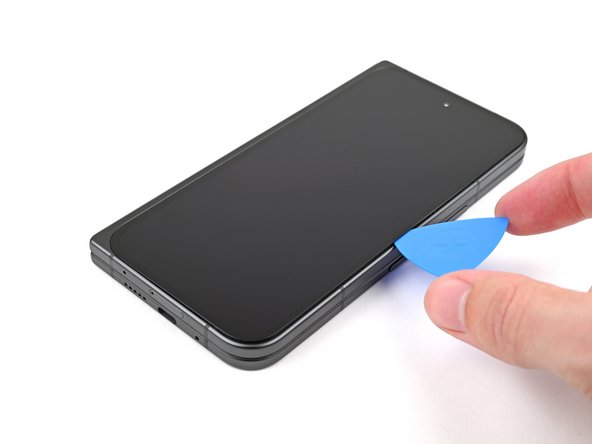
Step 5
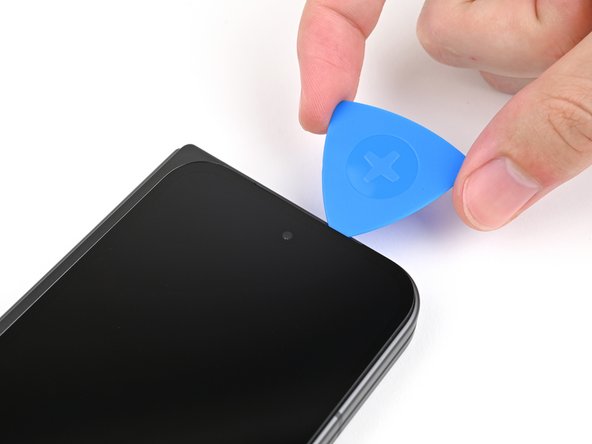

– Let’s get that opening pick ready! Slide it under the screen, keeping just the tip underneath.
– Now, slide the pick across the top edge of the screen, making sure to avoid the front camera.
– Keep the pick at a consistent depth as you go along. You got this!
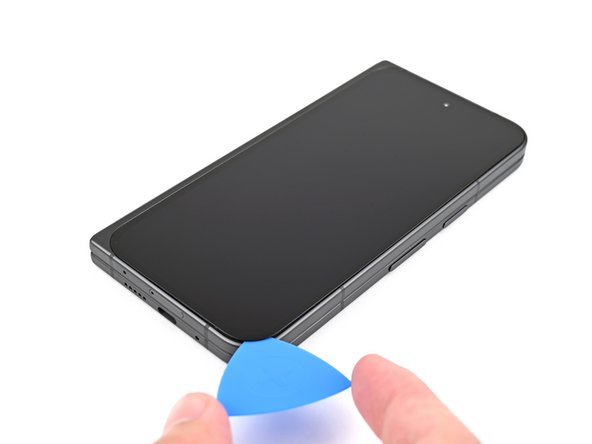
Step 6


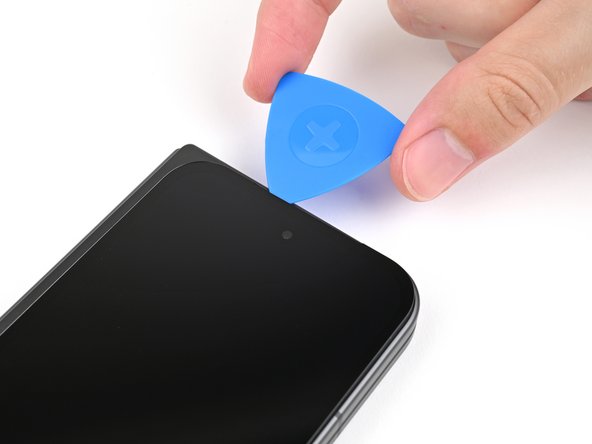
Hold up on sliding that pick further—let’s keep that display cable safe and sound!
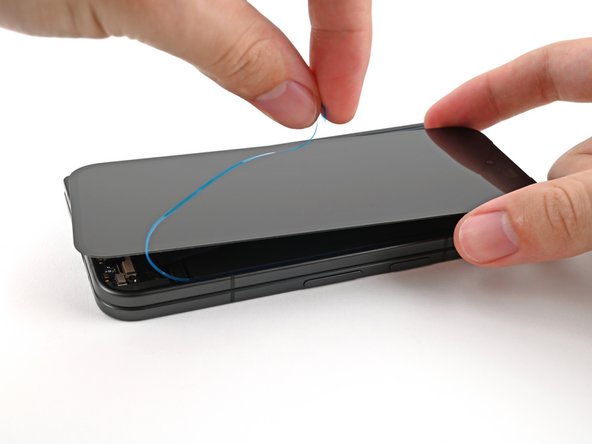
– Let’s get this party started! Slide that opening pick around the top left corner, stopping about two-thirds down the left edge of the screen. It’s like a little dance for your phone!
Step 7

– Gently pull the opening pick to about 2 mm, then give it a little twist around the bottom left corner to loosen up that stubborn adhesive. You’ve got this!
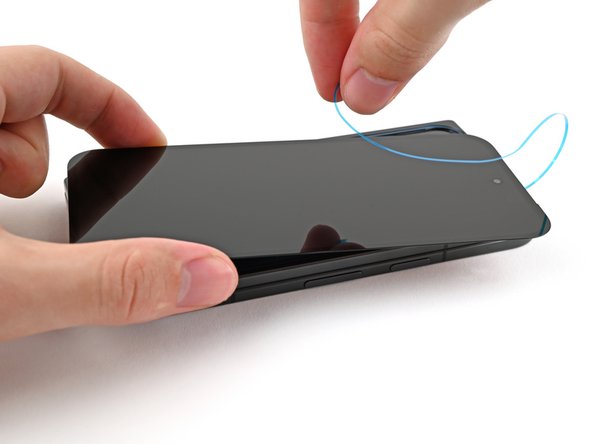
Step 8

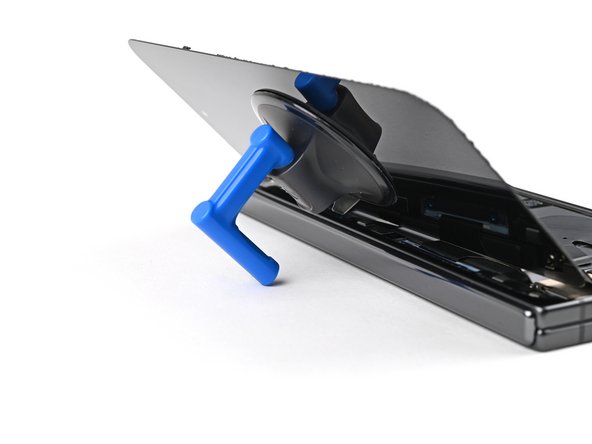
Hold up, champ! Don’t yank that screen out just yet. It’s still attached to the phone with a cable, and we don’t want to go ripping anything out.
Now, your screen should be popping free from the frame like it’s ready for a dance-off! If it’s still clinging on around the edges, grab an opening pick and gently coax away any stubborn adhesive. You got this!
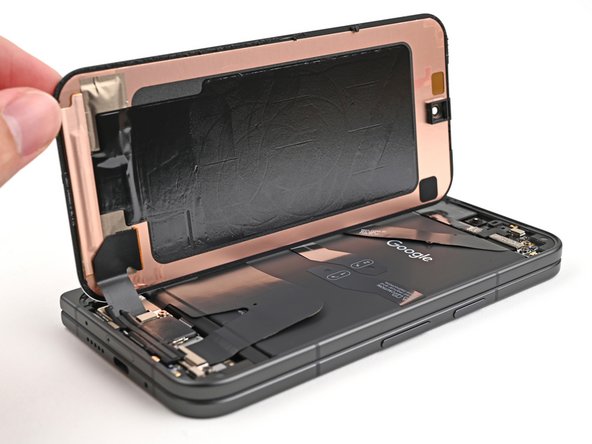
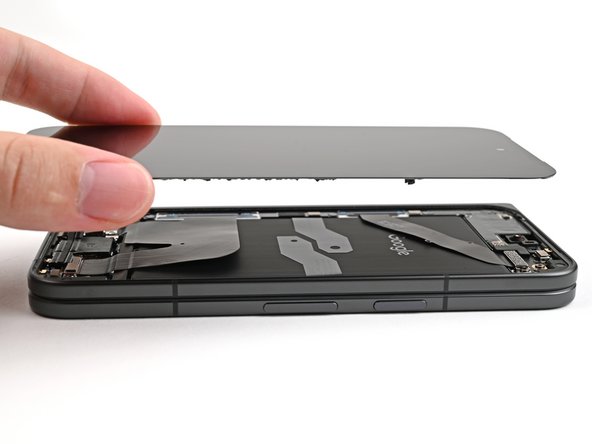
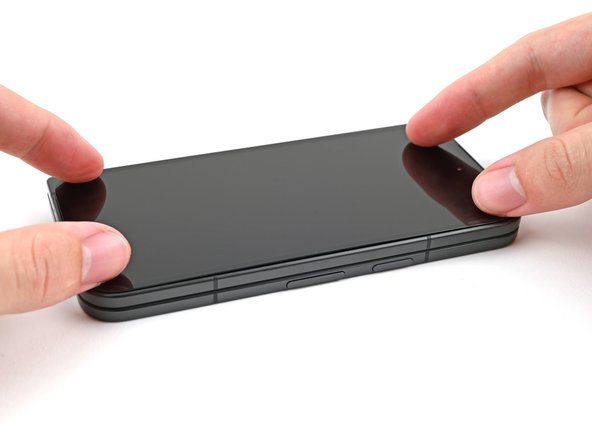
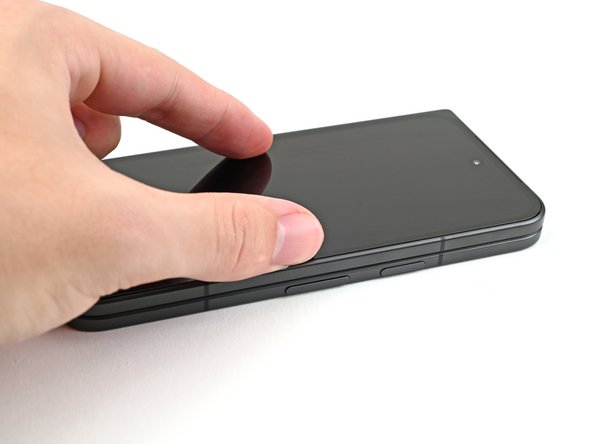
– Gently lift the right edge of the screen and swing it over to the left, just like you’re opening a book to your favorite chapter.
– Support the screen with your trusty suction handle or a clean, sturdy object to keep it propped up while you work your magic.
Tools Used

Step 9

As you dive into this repair, keep tabs on every screw and make sure each one finds its way back home to the exact spot it came from. It’s like a little screw reunion!
The Pixel 9 Pro Fold may be rocking Torx Plus screws, but don’t sweat it—standard Torx bits can join the party too! Go for the same size or one size up (T3 or T4 Torx bits with 3IP Torx Plus screws). Just remember to apply steady, downward pressure to keep things from getting stripped. You’ve got this!
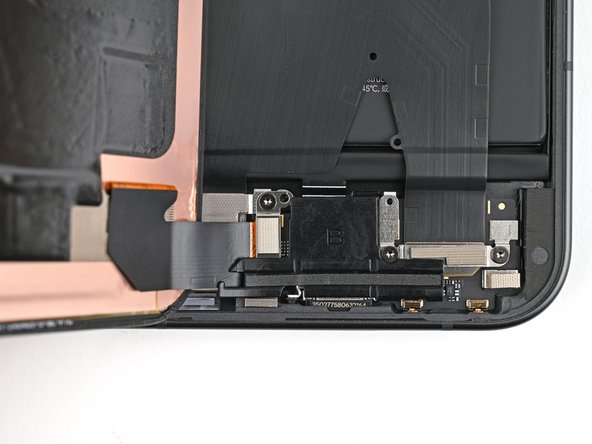
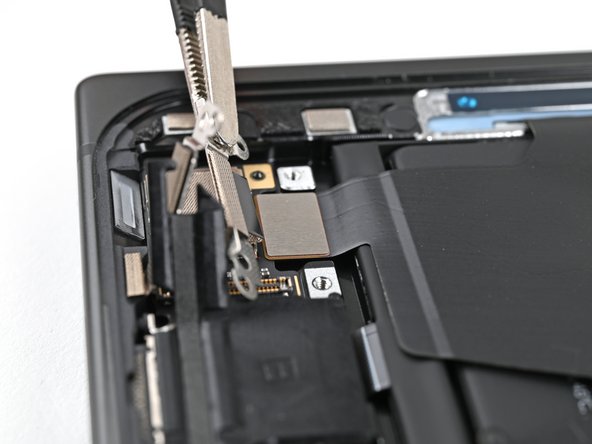
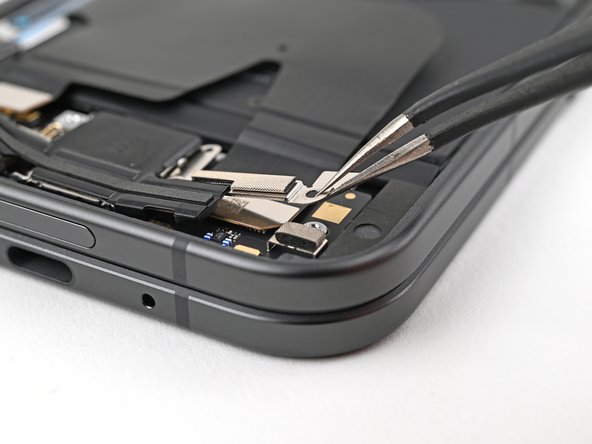
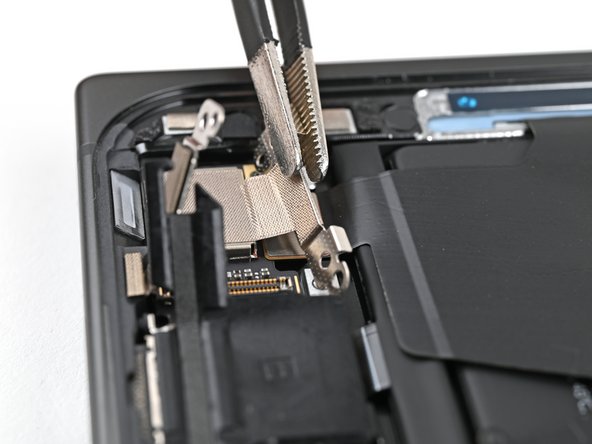
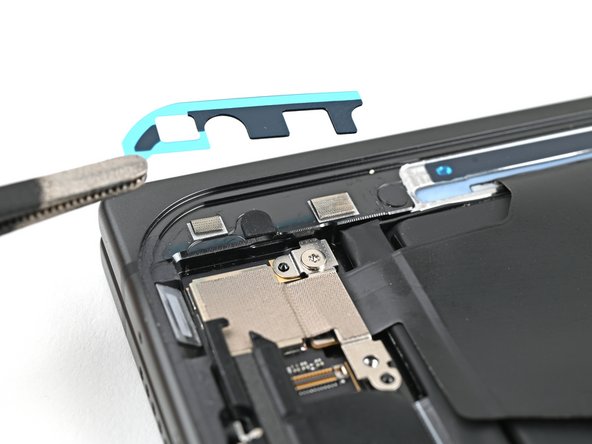
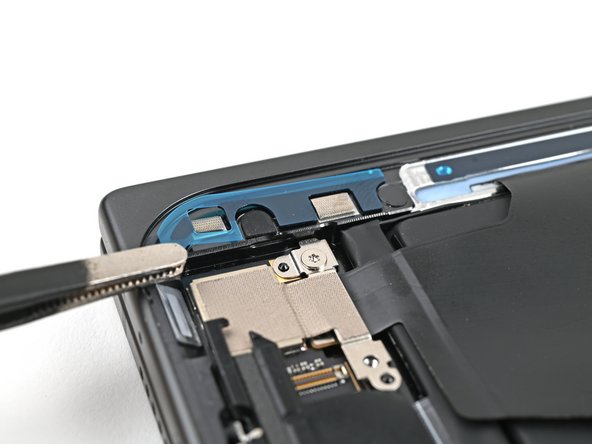
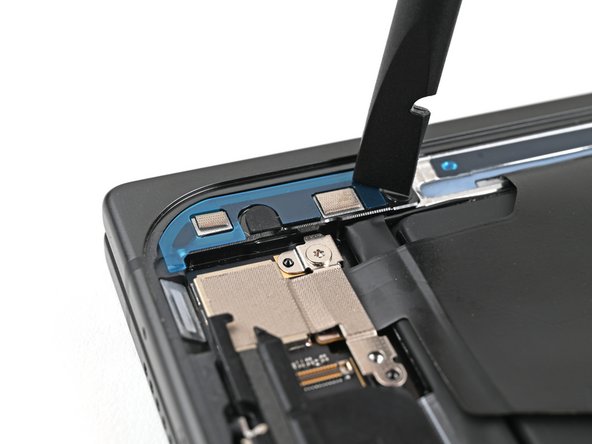
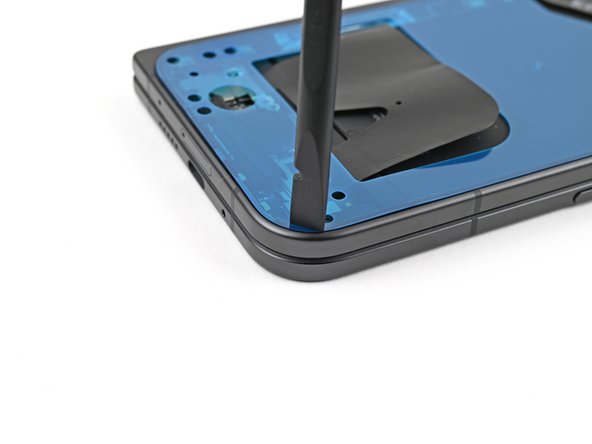
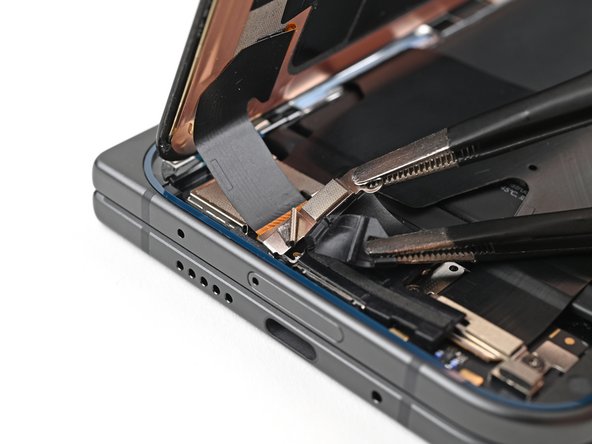
– Grab your Torx Plus 3IP driver and unscrew the 2.2 mm-long screw holding the display cable bracket in place. Easy peasy!


Step 13


– Grab your trusty Torx Plus 3IP driver and let’s get to work! Unscrew that 2.0 mm-long screw that’s holding down the battery bracket. You’re on the right track!


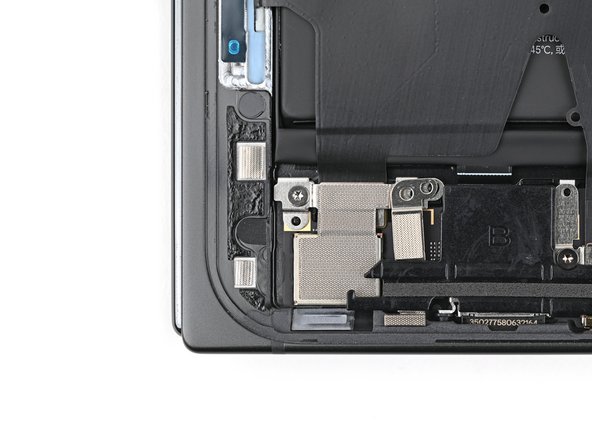
Step 16


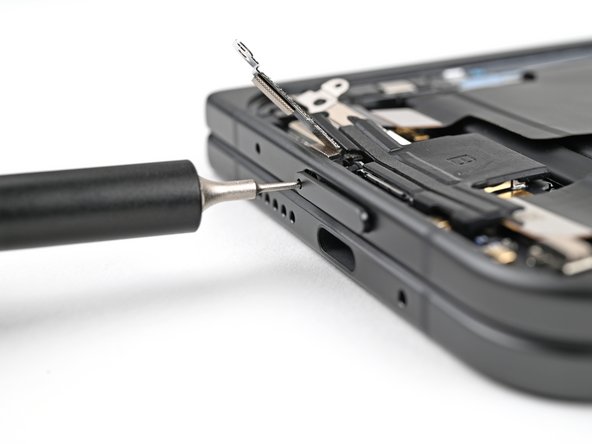
– Grab your trusty Torx Plus 3IP driver and unscrew those two 2.2 mm-long screws holding down the bottom interconnect cable bracket. You’ve got this!
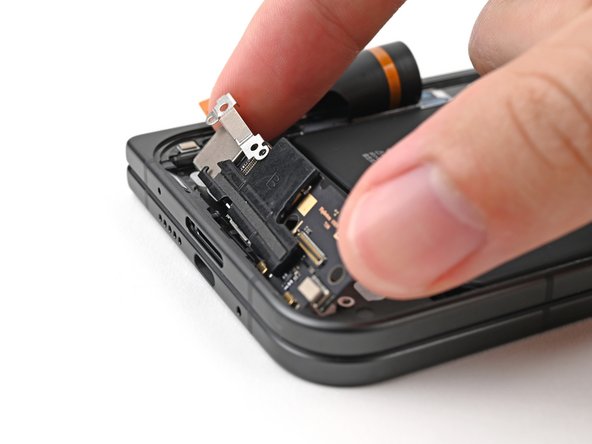
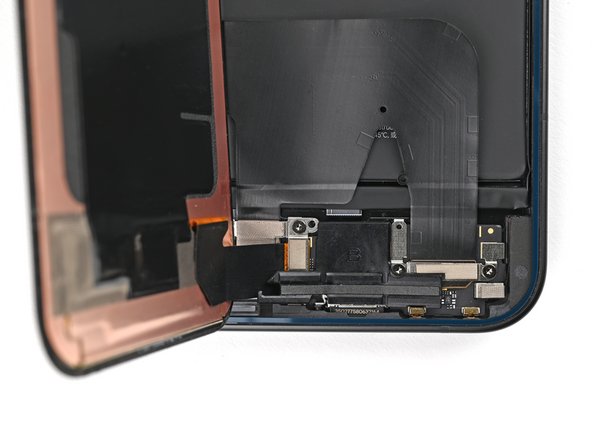
Step 17

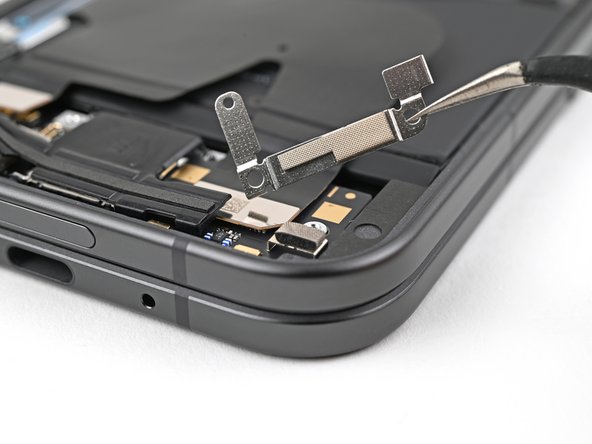
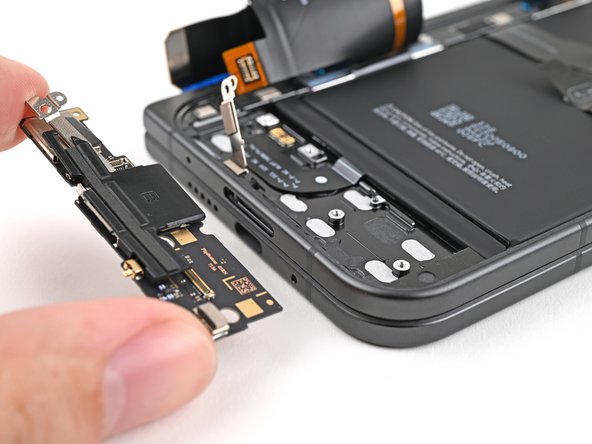
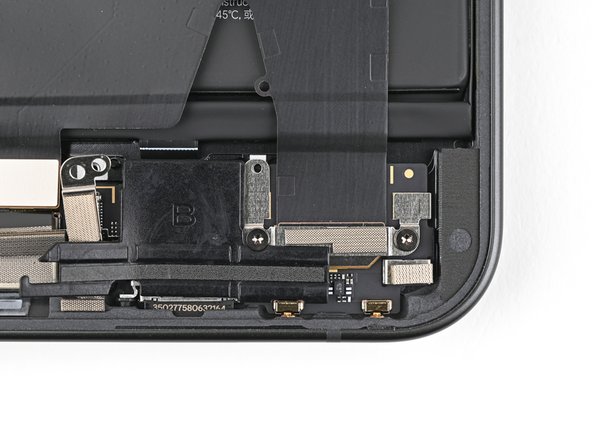
– Grab your trusty tweezers or just use your fingers, and gently lift the bottom interconnect cable bracket right off the lower board. You’ve got this!
Step 18

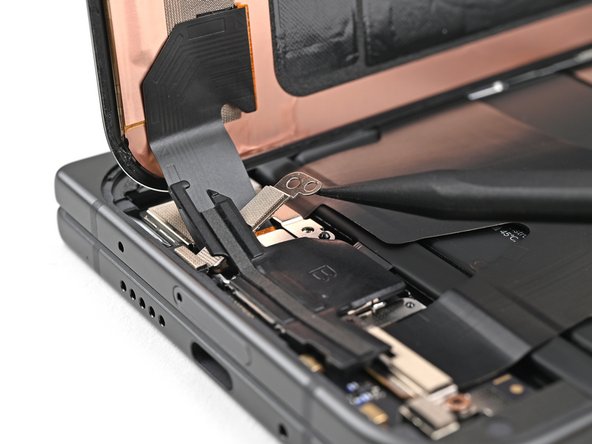
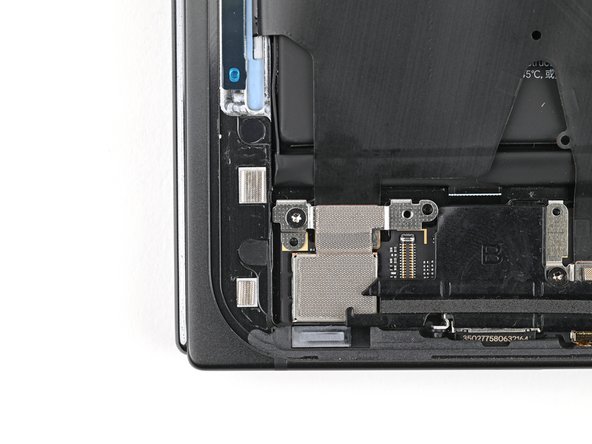
Keep your spudger in its designated zone! Straying off course could send those tiny surface-mounted components flying.
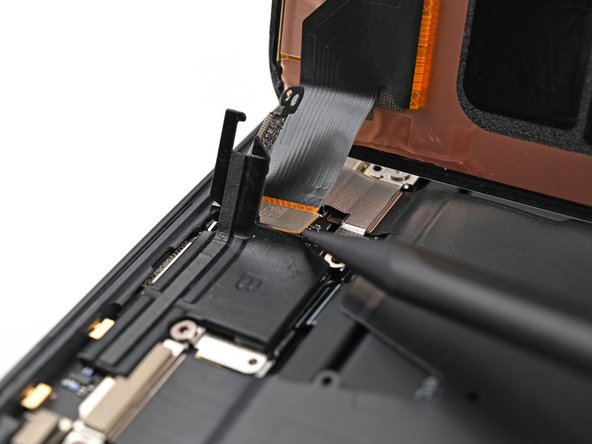
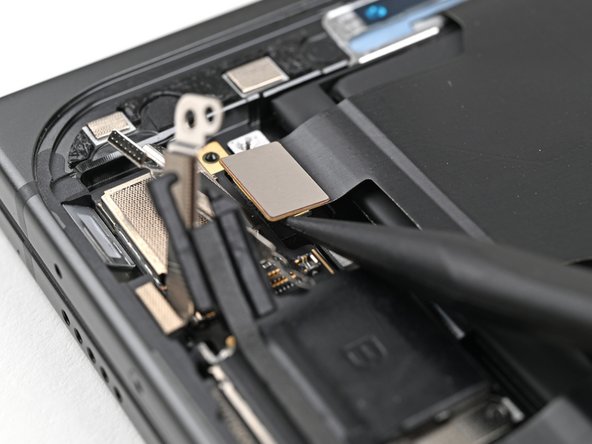
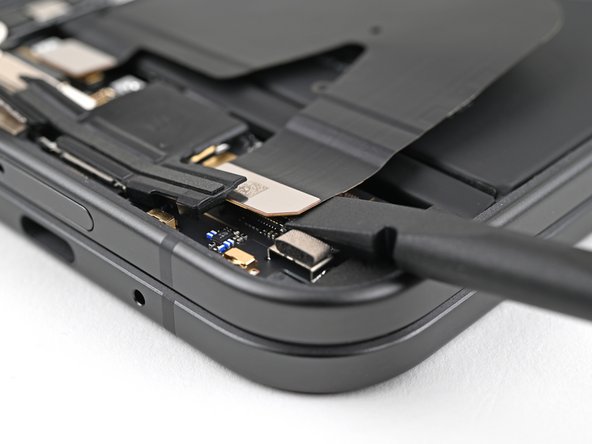
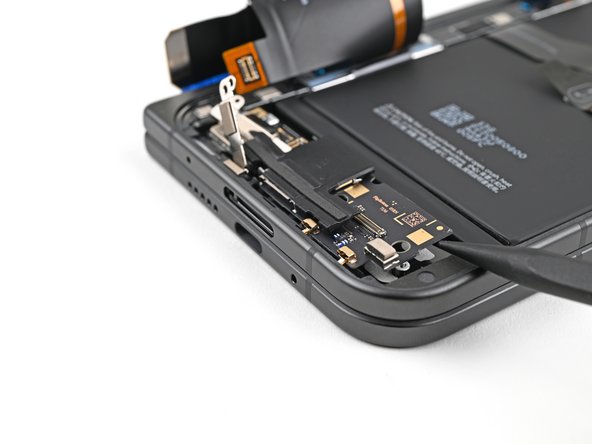
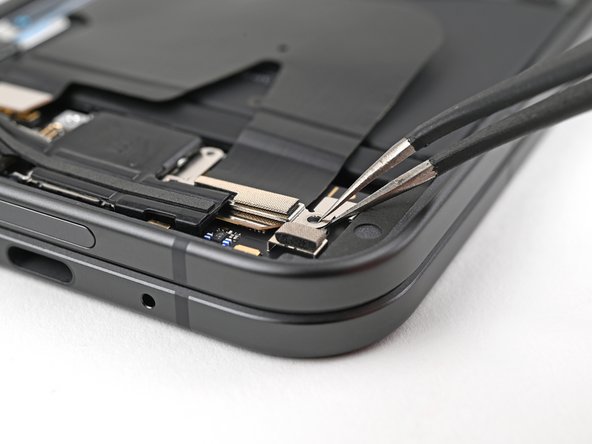
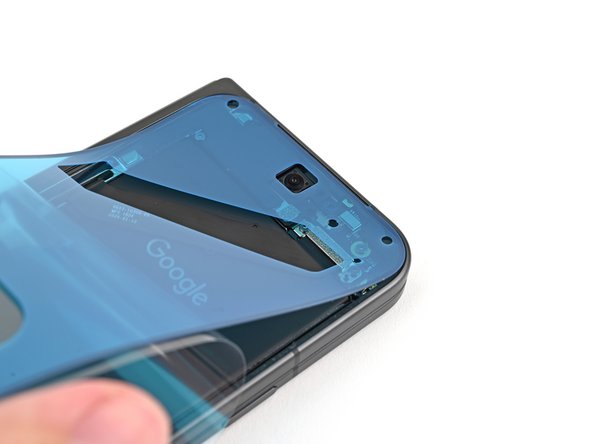
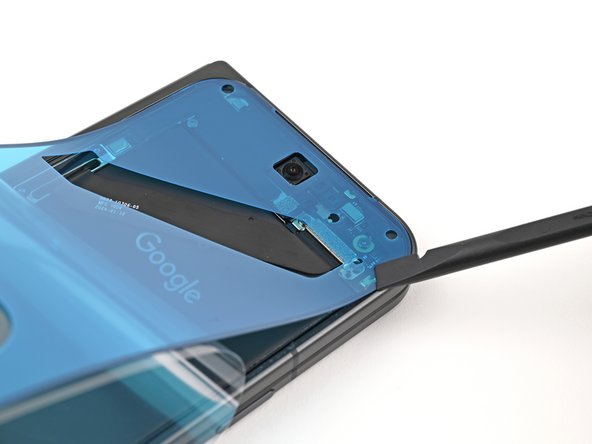
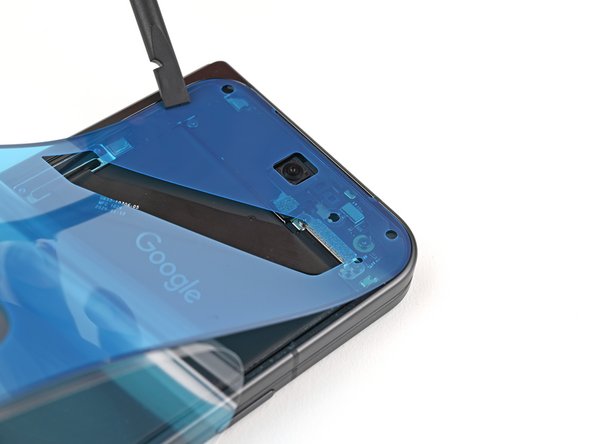
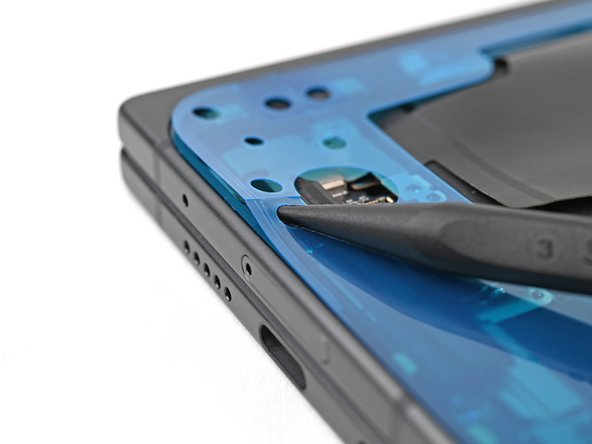
– Gently slide a spudger under the right edge of the connector for the bottom interconnect cable. You’re on your way!
– Carefully pry it up to disconnect the bottom interconnect cable. Almost there!
Tools Used
Step 19

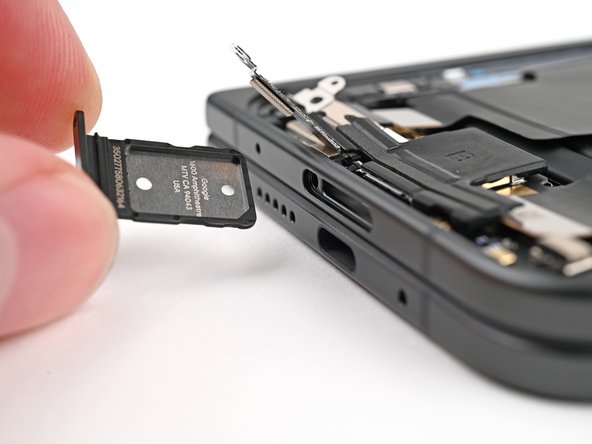
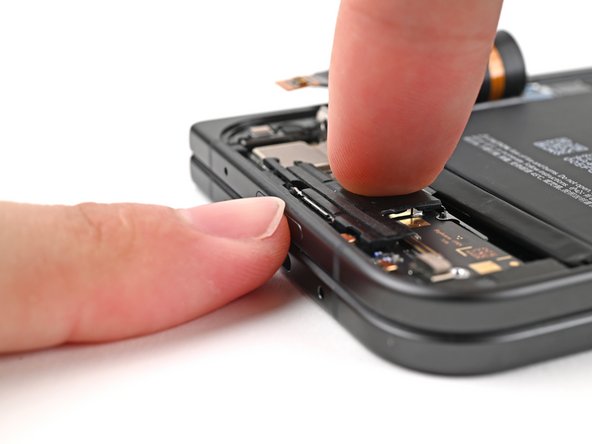
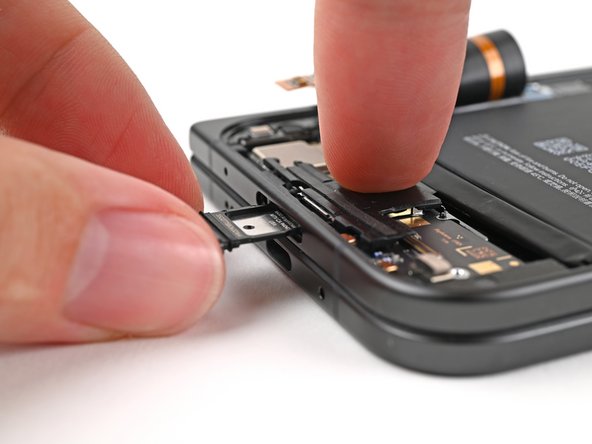
– Grab your trusty SIM eject tool, a tiny screwdriver, or even a straightened paper clip. Insert it into the SIM card tray hole and give it a firm push to pop it out. You’ve got this!
– Now, gently pull out the SIM card tray like a pro.
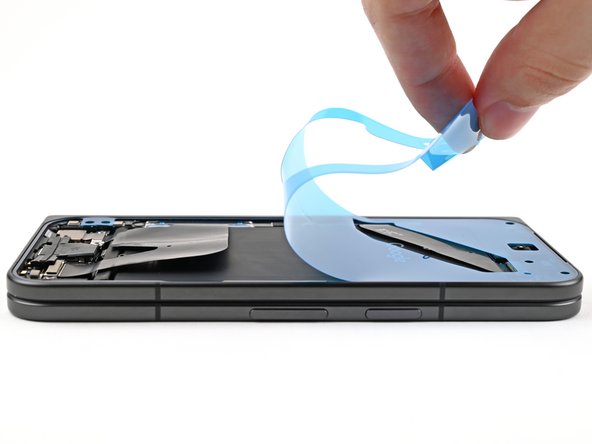
Step 20

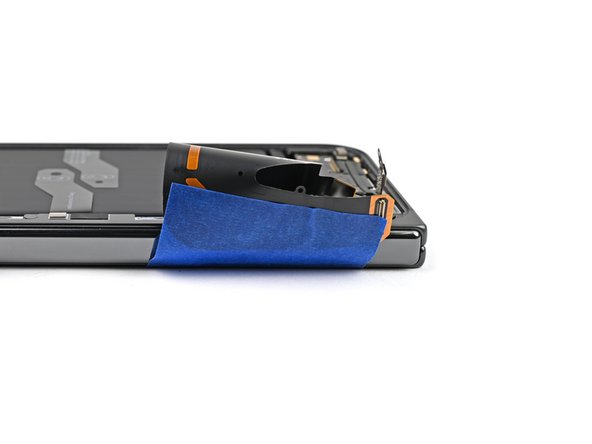
In this step, just give that bottom interconnect cable a little nudge to the side. If it’s feeling a bit rebellious, a strip of painter’s tape could help keep it in check while you work. Easy peasy!

Step 22

– Way to go on the teardown! Now, let’s walk you through the reassembly process and get your device back together.


Step 24

– Time for the SIM card to shine, my friend! Give it a sweet little nudge and guide it right back into its rightful place in the lower board. Peng! You did it!
Step 25

– Go ahead and reconnect that bottom interconnect cable press connector—it’s like giving your device a warm hug!
Step 26

– Now, grab the bottom interconnect cable bracket and gently place it on the lower board. Make sure those screw holes are lined up perfectly. You got this!
Step 27

– Grab your trusty Torx Plus 3IP driver and get ready to rock! It’s time to fasten those two 2.2 mm-long screws that hold the bottom interconnect cable bracket in place. You’ve got this!

Step 29

– Pop that flip battery bracket onto the press connector and get those screw holes perfectly aligned.
Step 30

– Grab your trusty Torx Plus 3IP driver and let’s make that battery bracket feel secure! It’s time to install the 2.0 mm-long screw that holds it in place. You’ve got this!
Step 31
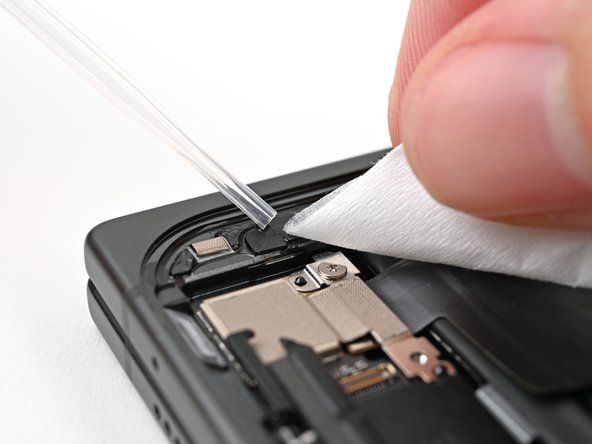

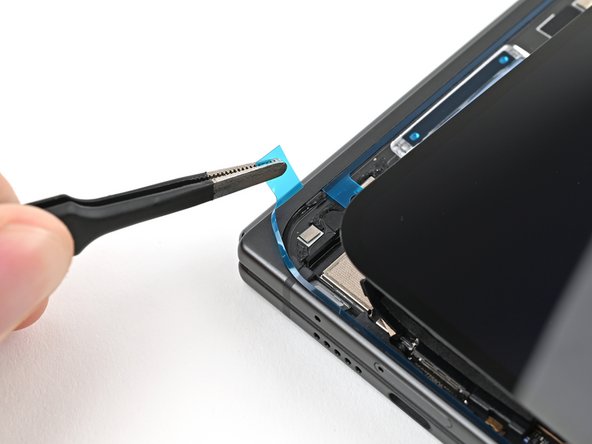
– Grab a spudger or just your trusty fingers to gently peel away that old bottom left outer screen adhesive. You got this!
– Next up, let’s tidy things up! Use some isopropyl alcohol (more than 90% is ideal) along with a coffee filter or a microfiber cloth to wipe away any leftover adhesive residue. Your device will thank you!
Tools Used


Step 36

Take it easy during this step! It’s super easy to misplace that adhesive, so slow and steady wins the race. You’ve got this!
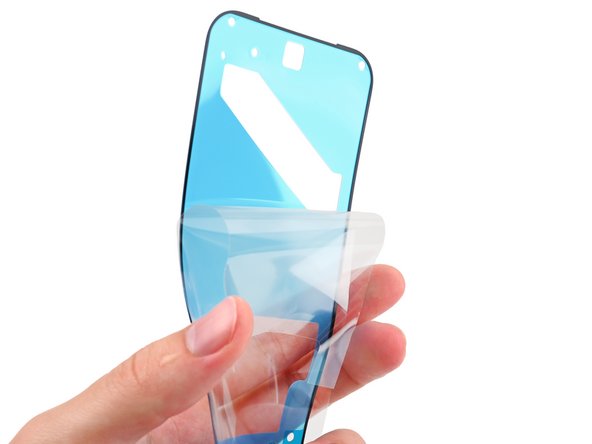
– Alrighty, let’s get this party started! Unveil half of that intriguing new adhesive by easing the clear liner away and keep the magic tucked away until you’re ready to bust it out!


Step 39


– As you peel off the remaining clear liner, gently position the rest of the adhesive around the edge of the phone. You’ve got this!


Step 42

– Give that tab a gentle lift and peel away the big blue liner to reveal the hidden secondary liner. You’ve got this!
Tools Used


Step 45

– Time to snuggle that display cable bracket in place! Use your Torx Plus 3IP driver to install the 2.2 mm‑long screw. You got this!


Step 47

– With the screen still in your grip, peel off the secondary liner to reveal the sticky stuff underneath. You’re getting closer!
Tools Used

Step 49

Want to give your phone a little extra love? You can use a hairdryer or heat gun to warm up the edges of the back cover for a stronger bond. Just be sure to keep it light and gentle!
– Way to go on finishing your repair!
– Remember to drop off your e-waste at an R2 or e-Stewards certified recycler.
– If things didn’t turn out quite as expected, give some basic troubleshooting a shot or feel free to reach out to our community for support.
– No worries: I chose not to continue with this guide.
–
Success!