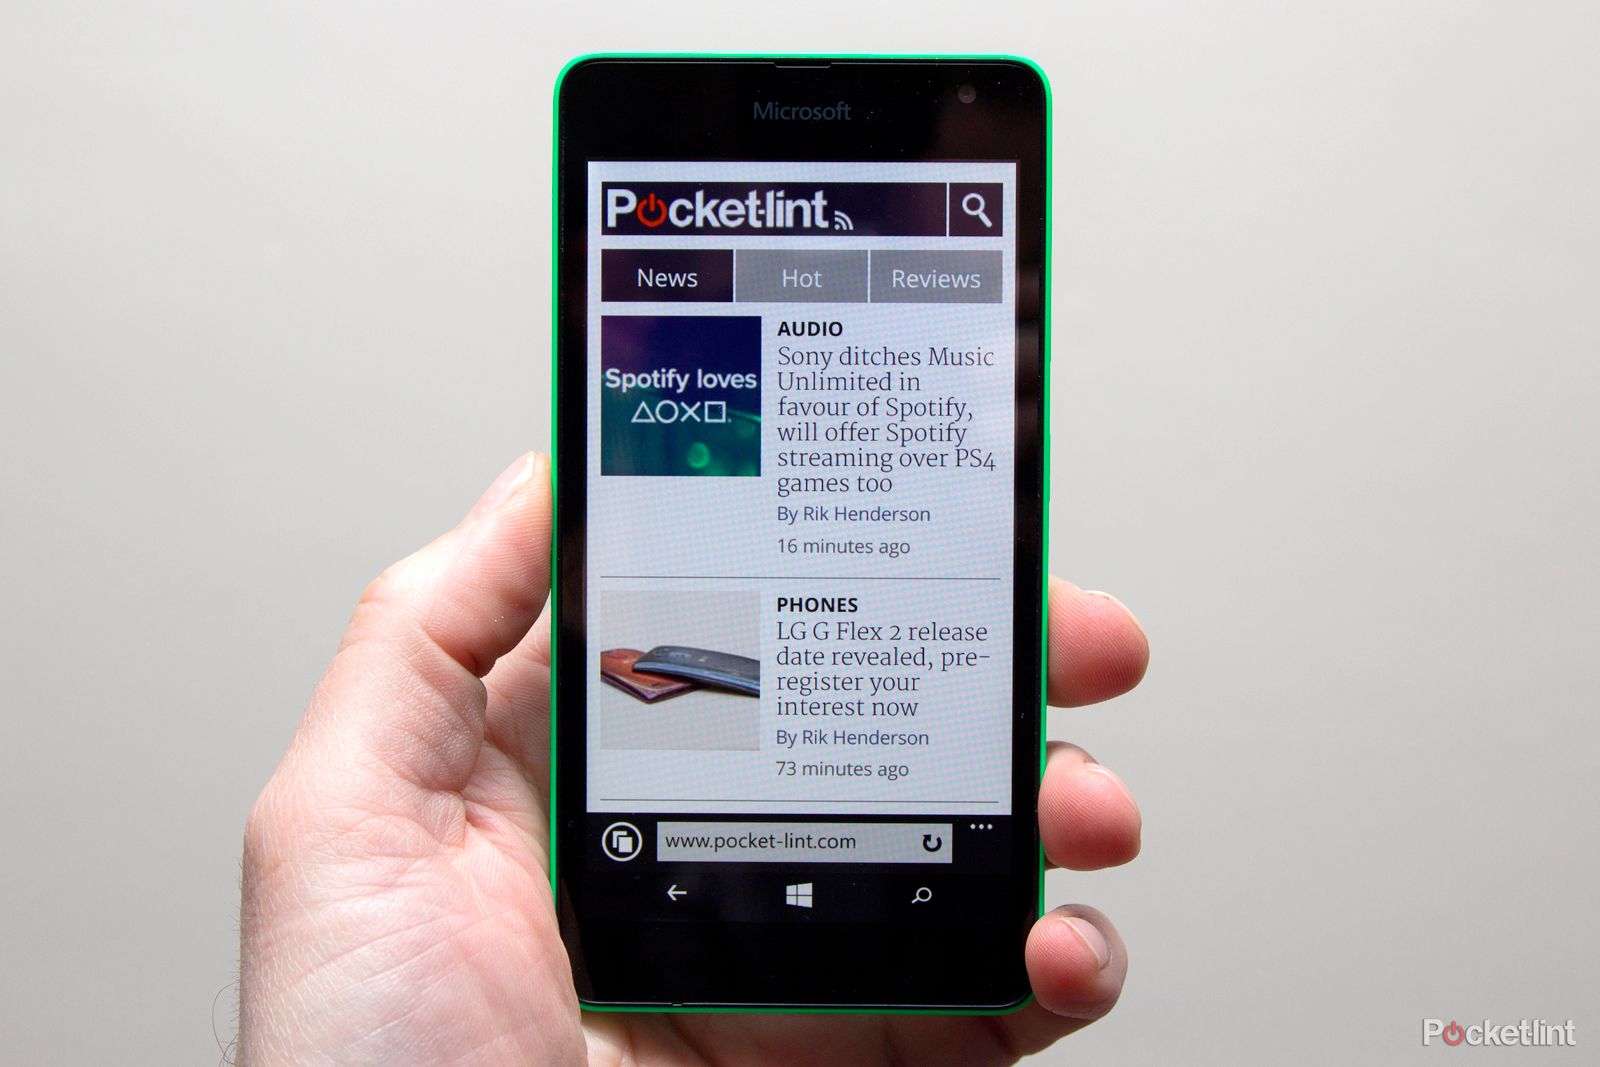
DIY Guide: How to Replace Microsoft Lumia 535 Touch Screen
Duration: 45 minutes
Steps: 10 Steps
Heads up! Touch screens come in various versions:
You’ll find the version number printed right on the flex cable.
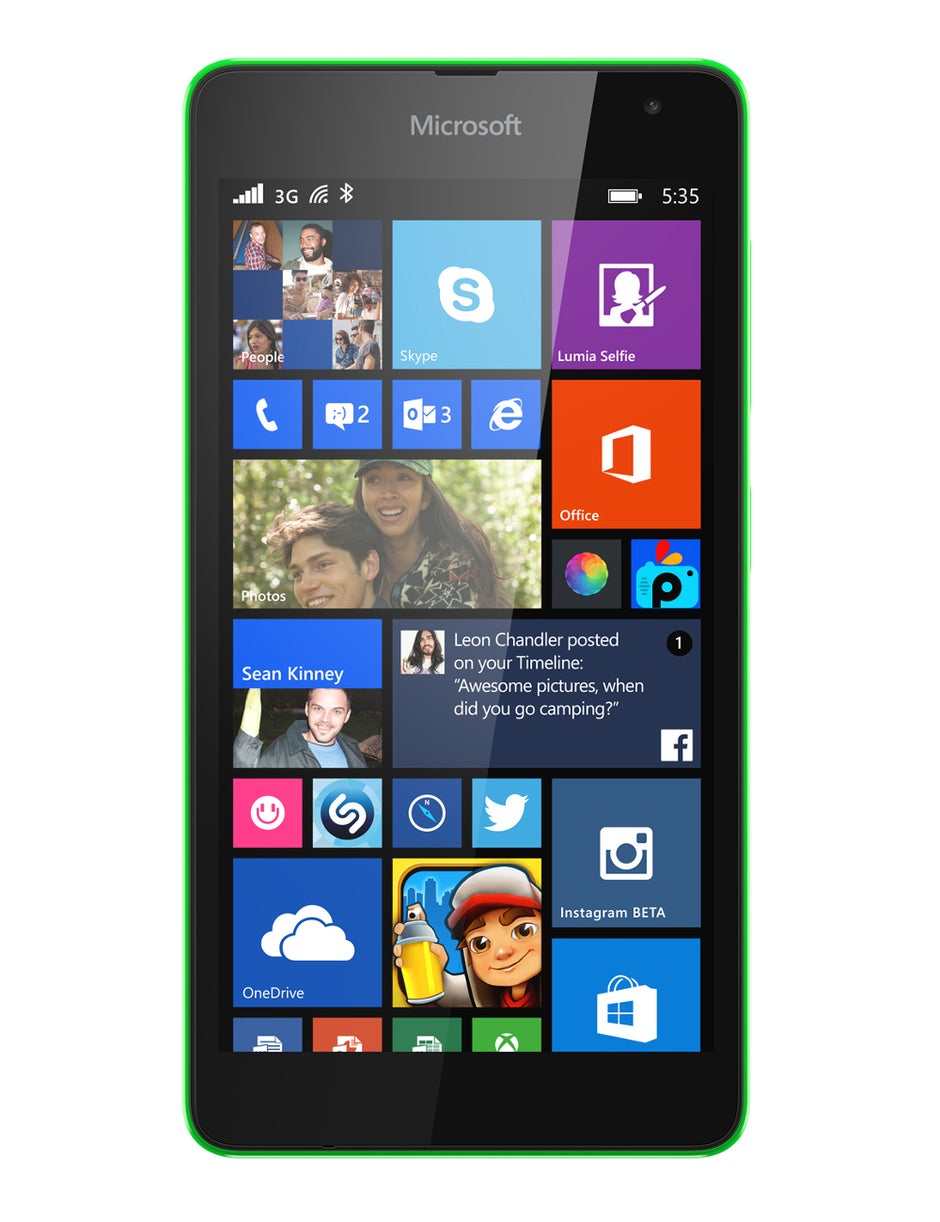
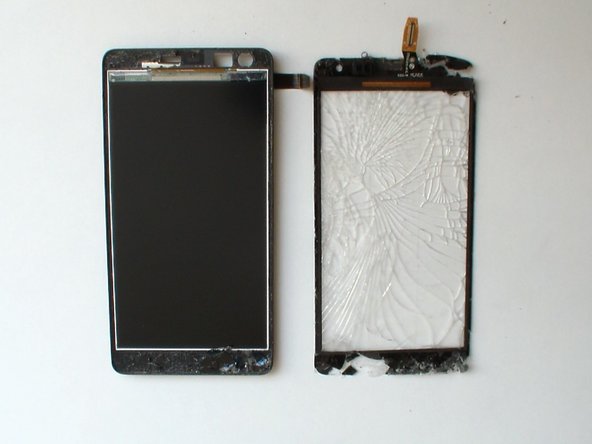
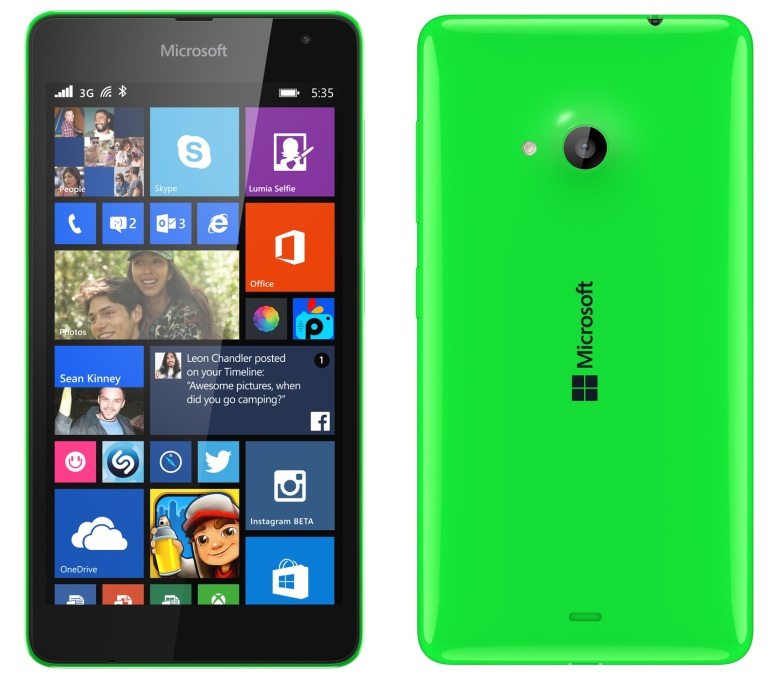
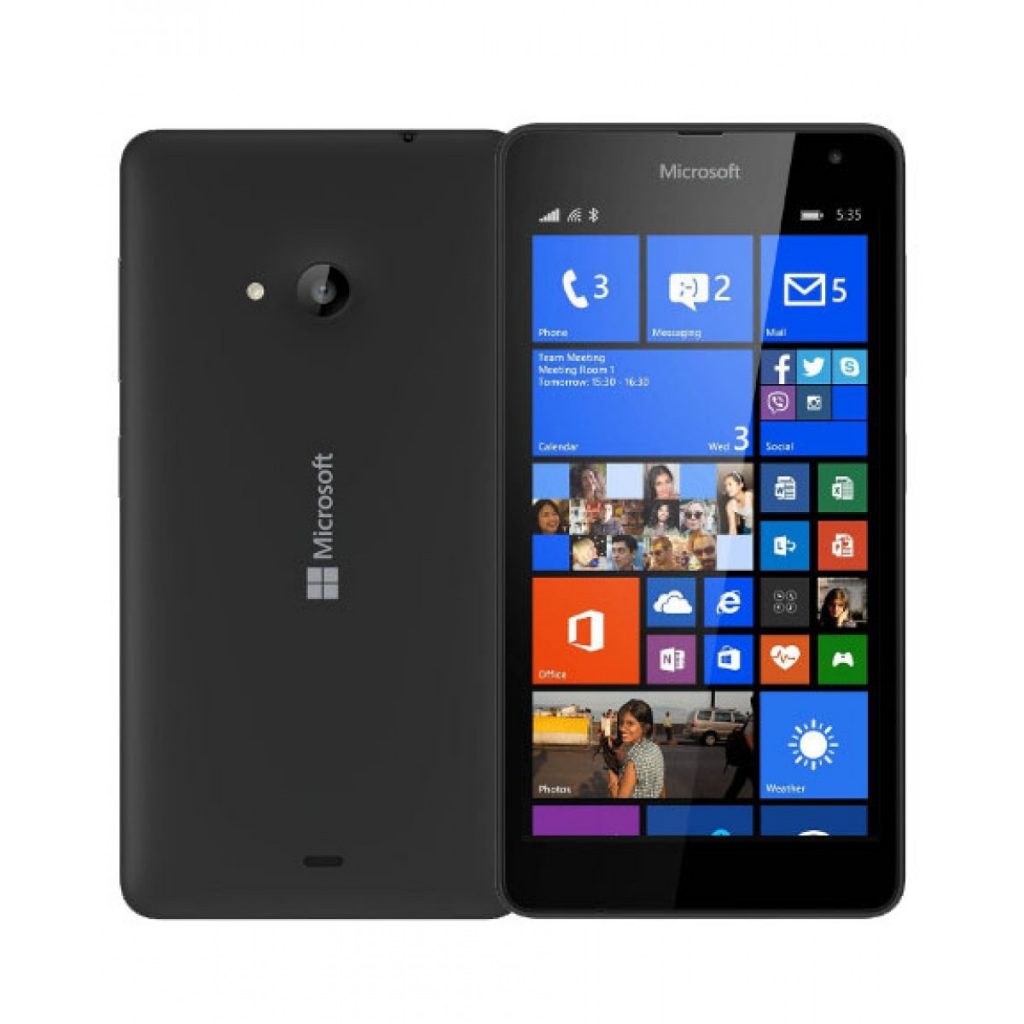
Get ready to dive into the world of Microsoft Lumia 535 (models RM-1090, RM-1091, RM-1089, and RM-1092)! We’re here to guide you through the fun process of disassembling your device and swapping out that broken, shattered display or touch screen glass digitizer. Just a heads up: there are a couple of different touch screen versions you might find: • CT2S1973FPC-A1-E • CT2C1607FPC-A1-E. Don’t worry; the version is clearly printed on the flex cable. Let’s roll up our sleeves and bring your device back to life!
Step 1
– First things first, let’s power down that phone of yours! Safety first, right?
– Next up, gently take out the battery along with any SIM or memory cards. You’ve got this!
Step 2
– Grab your trusty Torx T4 screwdriver and let’s tackle those 9 pesky screws! You’ve got this!
Step 3
– Whoa! Time to get that back cover to separate from the middle frame – like two peas in a pod no more!
Step 4
– First up, let’s disconnect everything: it’s the best way to avoid any surprises. Start by removing those 2x Torx T4 screws—should be a piece of cake!
– Next, carefully detach the touch screen flex cable so it can take a break.
– Don’t forget about the LCD display flex cable—give it some love and attention as you remove it.
– Now we need to be gentle with the charging dock board flex cable. Remove the foam and tape, then flip up that little black lock before delicately easing out the flex. You’ve got this!
– Lastly, tackle the coaxial antenna cable with care. Slowly pull only the metal connector and not the cable itself. This little step will keep everything safe and sound—no one likes a cable mishap!
Step 5
– Alright, let’s get this thing fixed!
– This is where the magic happens – the part where you get your device working again.
– Don’t worry, we’ll walk you through it step-by-step.
– It’s all about taking your time and being careful.
– Think of it as a little puzzle, but with a lot more fun!
– And remember, if you need help, you can always schedule a repair.
Step 6
– Time to let that display flex cable breathe! Gently peel away the rubber covering it.
– Grab some trusty scotch tape and place it on the glass to keep it intact. No shattering on our watch!
– Warm things up a bit! Use a hair dryer or heat gun to gently heat the glass, making that adhesive nice and soft.
Tools Used
Step 7
If you find it tricky, just give that glass a little extra warmth with a hairdryer.
– Grab a cutter or any sharp-edged tool and start prying open from the bottom side. Once you have created enough space, switch to a plastic tool and continue your mission!
Step 8
– Get ready to dive into your device’s innards, as you’ll need to use a trusty plastic tool to carefully pry up that display. Once you’ve uncovered the true face of this technology, be sure to give the frame a good scrubbing to remove any last remnants of that old, clingy adhesive. You’ve got this, gadget whisperer!
Step 10
– Time to put your device back together! Just retrace your steps and follow these instructions in reverse. It’s like a fun little puzzle!
– Oops! If you haven’t finished this guide, that’s totally okay. No pressure!
– If you find yourself staring at a tricky step and need a hand, don’t hesitate to schedule a repair. We’re here to help!
Success!
