DIY Guide: How to Replace Nintendo DS Lite Speakers
Duration: 45 minutes
Steps: 19 Steps
Stuck with a broken device? Don’t stress! Our repair guide is here to help. Follow these easy steps, and you’ll be back to normal in no time. If you need help, you can always schedule a repair.
We’ve given this guide a fresh makeover! Check out the official update right here. Ready to tackle replacing those Nintendo DS Lite speakers? Let’s dive in together and get your device sounding great again!
Step 1

Grab your trusty Phillips screwdriver, and let’s get those screws out! Remember, Phillips ONLY!
– Flip your device over so it’s resting on its back and check out the battery compartment.
– Spot the Phillips head screw hanging out in the bottom right corner, keeping the battery cover snug.
– Gently loosen that screw just enough to pop off the battery cover, but keep it in the cover for easy reassembly later!
Step 2

Handle that cover with care! We wouldn’t want that sneaky Phillips screw to escape and play hide-and-seek. You’ll need it when it’s time to put everything back together.
– Gently pry off the battery cover using the opening tool with care.
Tools Used

Step 3


For some devices, you might just flip the DS over and let the battery take a little tumble right into your hand. Easy peasy!
– Use the opening tool to gently wiggle the battery free from the case.
– Once you’ve evicted the old battery, pop in a new one, making sure it’s facing the same way as before.
Tools Used
Step 4

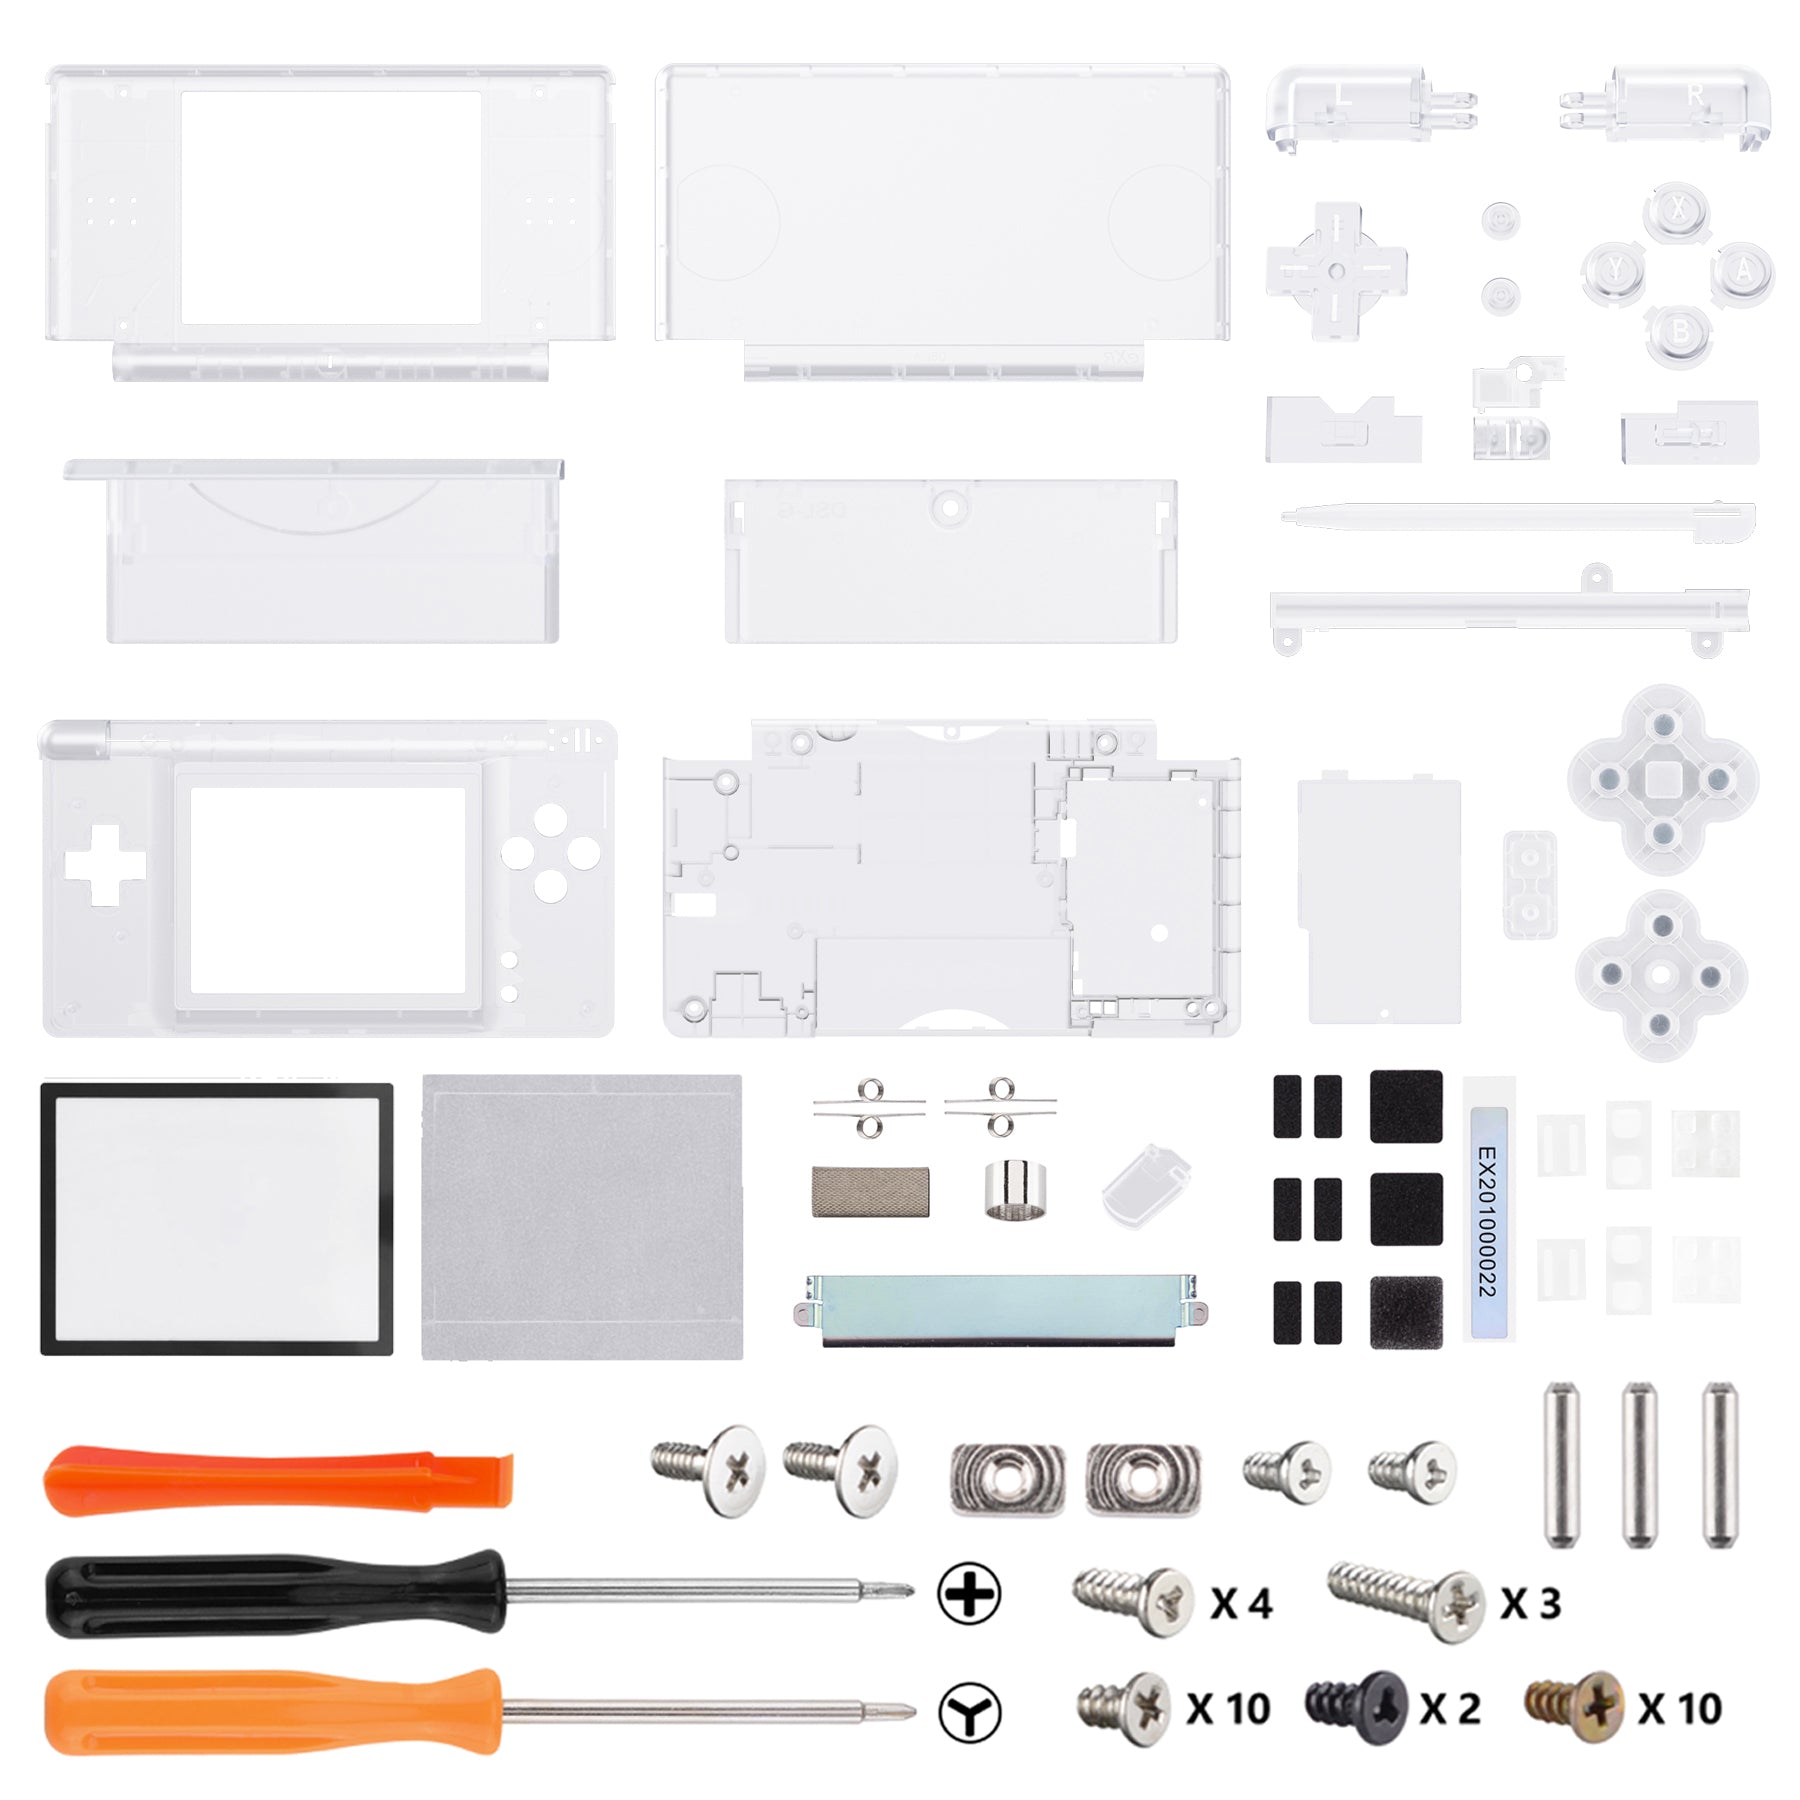
– Let’s get started by taking out the seven screws that are holding the lower case of the DS Lite in place:
– Hold off on removing that shiny silver PH screw (3mm) in the battery compartment for now. It’s keeping the main PCB snug and secure.
– Three silver tri-wing screws (5mm long) need to be removed.
– Next up, there’s one black tri-wing screw (4mm) waiting for you.
– Don’t forget about the two gold Phillips screws (4mm) that need to go.
– And finally, there’s one silver Phillips screw (3mm) to remove.
Step 5

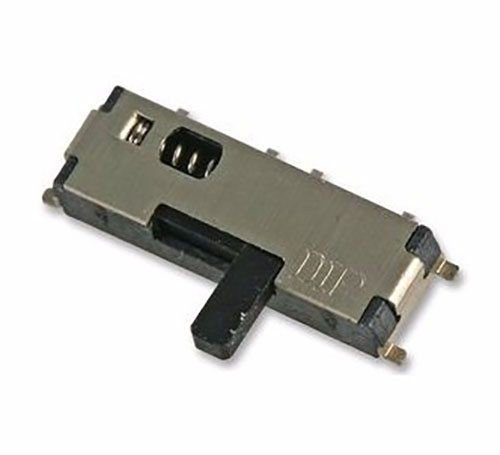
– Alright, let’s get this party started! First up, locate the front edge of your Nintendo DS. Right between the headphone jack and the volume controls, you’ll find a little plastic insert (or cartridge) hanging out in the lower slot (Slot 2). Go ahead and give it a gentle pull to remove it. Easy peasy!
Step 6


– Turn the device over so it’s sitting pretty on the table, right-side up.
– Grab your trusty spudger and gently work it into the gap between the bottom case and the front panel. Keep it going all around until that panel pops free and is ready to shine!
– Be careful around those L and R shoulder buttons – they love to come off and can be a bit tricky to put back on. Keep the bottom case pressed flat against your workbench to help those shoulder buttons stay put.
Step 7

– Gently pry apart the two sections using your hands. You’ve got this!
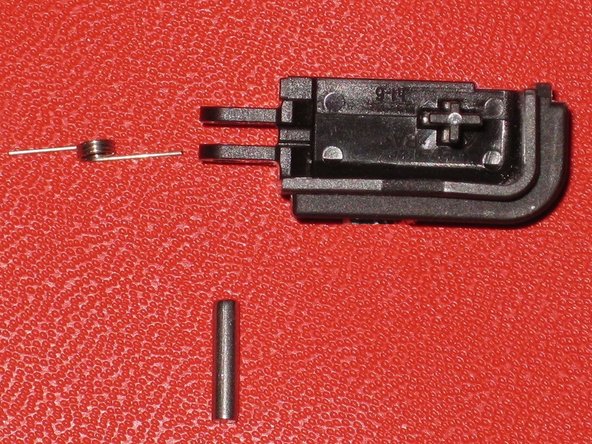
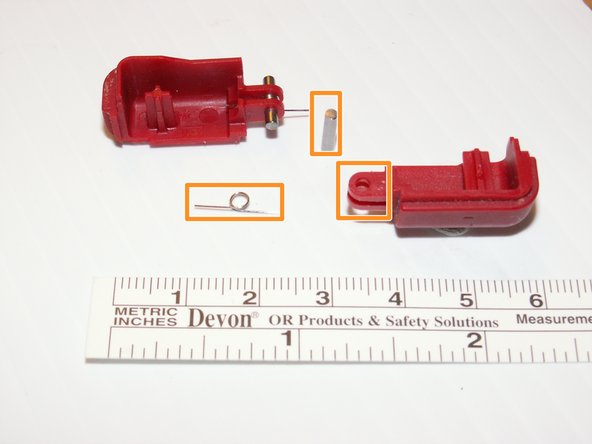
– Remember, the shoulder buttons consist of three components: the plastic button, a pin, and a spring. If they happen to pop out, take a moment to check the picture and ensure that the spring is in its rightful place. You’re doing great!
– When putting the cover back together, double-check that the power switch cover on the bottom case is flipped to the off (down) position. This will help prevent any breakage. Keep up the awesome work!
Step 8

– Spot the two screws anchoring the logic board to your device—yup, those little guys!
– Using a trusty Phillips head screwdriver, carefully unscrew both of them and set them aside safely. You got this!
Step 9
The ribbon cable and two wires are still attached to the logic board. Hang tight, we’re almost there!
No worries if the buttons pop out—just give them a little nudge and they’ll happily click back into place!
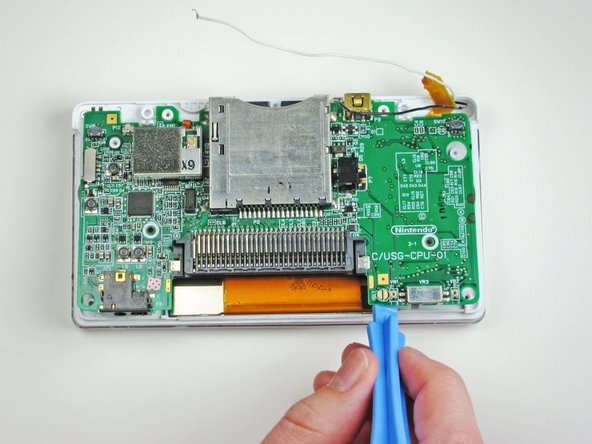
– Using a plastic opening tool, carefully pry the logic board away from the device base. Take your time and be gentle—it’s like giving your device a little hug!
Step 10


– Alright, flip that logic board like a pancake so the touch screen is looking up at ya!
– Now, with your trusty metal tweezers, gently disconnect the remaining ribbon cable linking the touch screen and logic board. Easy does it!
Tools Used

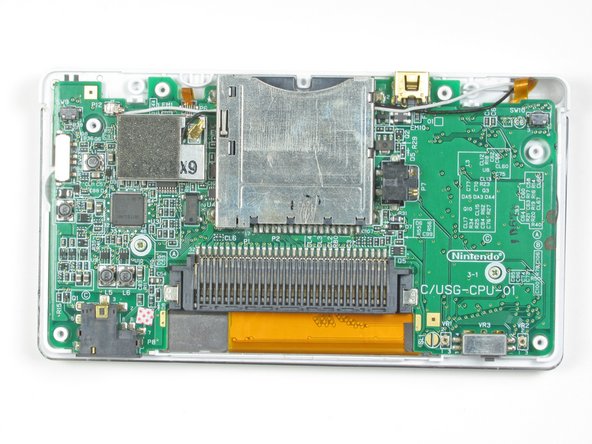
Step 11

– Gently pop up that brown securing flap on the connector using your fingernail or a trusty plastic opening tool. Once it’s up, smoothly slide out the ribbon cable connecting the logic board to the upper screen. Easy does it!
Step 12


– Unscrew those two Phillips-head screws that are keeping the hinge snug as a bug!
– Now, gently open up the system as if you’re about to dive into your favorite app!
Step 13


Be careful not to pinch any wires when you’re doing this—take it easy and don’t pull too hard.
– Once it’s open, gently slide the bottom piece to the left and the top piece to the right to unhinge them from each other.


Step 15


Watch out for those wires and the ribbon cable! They’re a bit delicate, so give them some love and care while you work.
– Pop out the four Phillips-head screws and lift off the top panel.
Step 16


– Gently pop out the two speakers and slide out the green wireless card from the top panel. Take your time, you’re doing great!

Step 18

Handle the ribbon cable with care—no tugging too hard or folding it! Let’s keep it safe and sound.
– Gently thread the ribbon cable through the clip. You got this!
Step 19

– Put your device back together by following these steps in reverse—you’re almost there!
– Changed your mind? No worries! You can stop here.
– Need a hand? If it’s feeling tricky, you can always schedule a repair.
Success!