DIY Guide: How to Replace Samsung Galaxy Note Edge Rear Camera
Duration: 45 minutes
Steps: 8 Steps
Hey there! Your Samsung Galaxy Note Edge comes with a powerful 16 megapixel camera that should be snapping stunning photos. If your pics aren’t living up to their potential, it might be time for a camera swap! To get to that rear-facing beauty, you’ll need to pop off the back plate, mid-frame, and motherboard. Let’s dive in and give your camera a fresh start!
Step 1

– First things first, make sure your device is powered down and completely off. No distractions here!
– Now, gently place your phone screen-side down on a clean, flat surface. Let it rest comfortably while you work your magic.
Step 2


We didn’t have a battery on hand when creating this guide, but don’t worry, we’ve got you covered with the steps you need to follow.
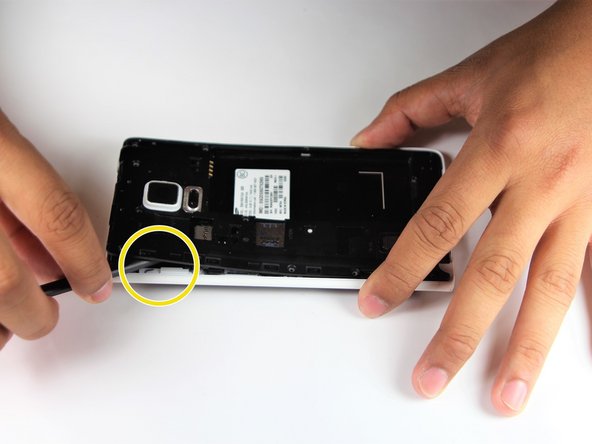
– Grab your trusty Supdger and gently pop off the back cover of the phone using the nifty little notch in the top left corner. You’ve got this!
– Next up, let’s remove the battery. Use your Supdger on the notch that’s conveniently located right beneath the battery. Easy peasy!
Step 3

– First, let’s get started by carefully sliding the SIM Card out of its holder – just gently push it horizontally and it should come out easily.
– Next, take out the stylus from its holder. If you need help or get stuck, you can always schedule a repair
Step 4


– Grab your trusty Phillips #000 screwdriver and unscrew those fifteen 4mm screws holding the rear chassis in place.
– Stick your spudger into the stylus socket and pop that midframe off the phone.
– Work the spudger around the edges, prying the midframe off bit by bit until it’s completely detached.
Tools Used


Step 5


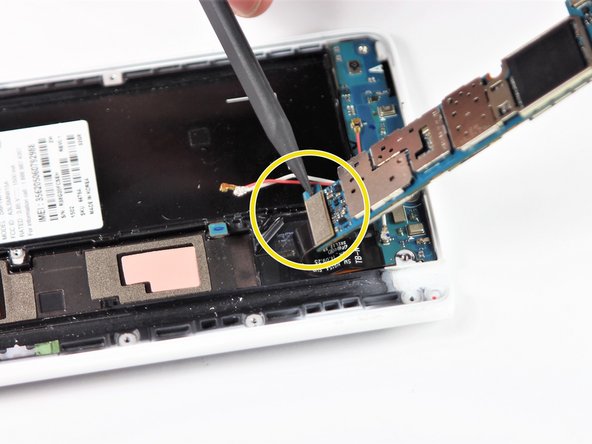
– Let’s disconnect those cables! Grab your trusty spudger and give a gentle tug on the pink and white wires near the bottom of the phone.
– Now, let’s tackle that fingerprint scanner cable. Using the pointed end of your spudger, disconnect it – it’s right above the pink and white wires. You got this!
Tools Used
Step 6


– Alright, let’s disconnect a few things before we get to the good stuff! Using the pointy end of your trusty Spudger tool, carefully lift these cables from the logic board in the top left corner:
– Front Facing Camera – That’s the one that makes your selfies look awesome!
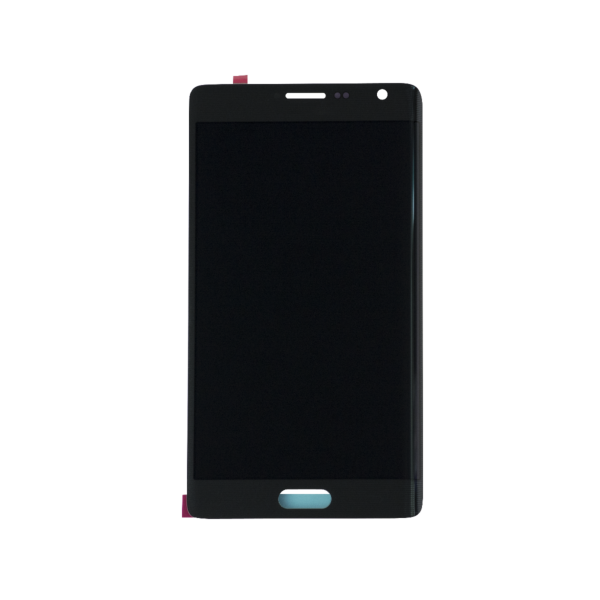
– AMOLED Display Screen – Time to give that screen a break!
– AMOLED Capacitive Screen – This is the one you touch to make things happen, so let’s give it a little space.
Tools Used
Step 7


– At the top end, carefully slip the pointed end of your spudger beneath the motherboard. No rush, take your time!
– Gently lift the motherboard. Make sure to disconnect the cable that’s linking the daughter board; it’s snugly attached to the underside of the motherboard.
– Now, it’s time to free the motherboard from the device. You’ve got this!
Tools Used
Step 8

Hey, you got this! Just make sure you’re on a flat surface when you disconnect the cable, okay? The camera pops right off and wouldn’t want it to take a tumble! If you need help, you can always schedule a repair.
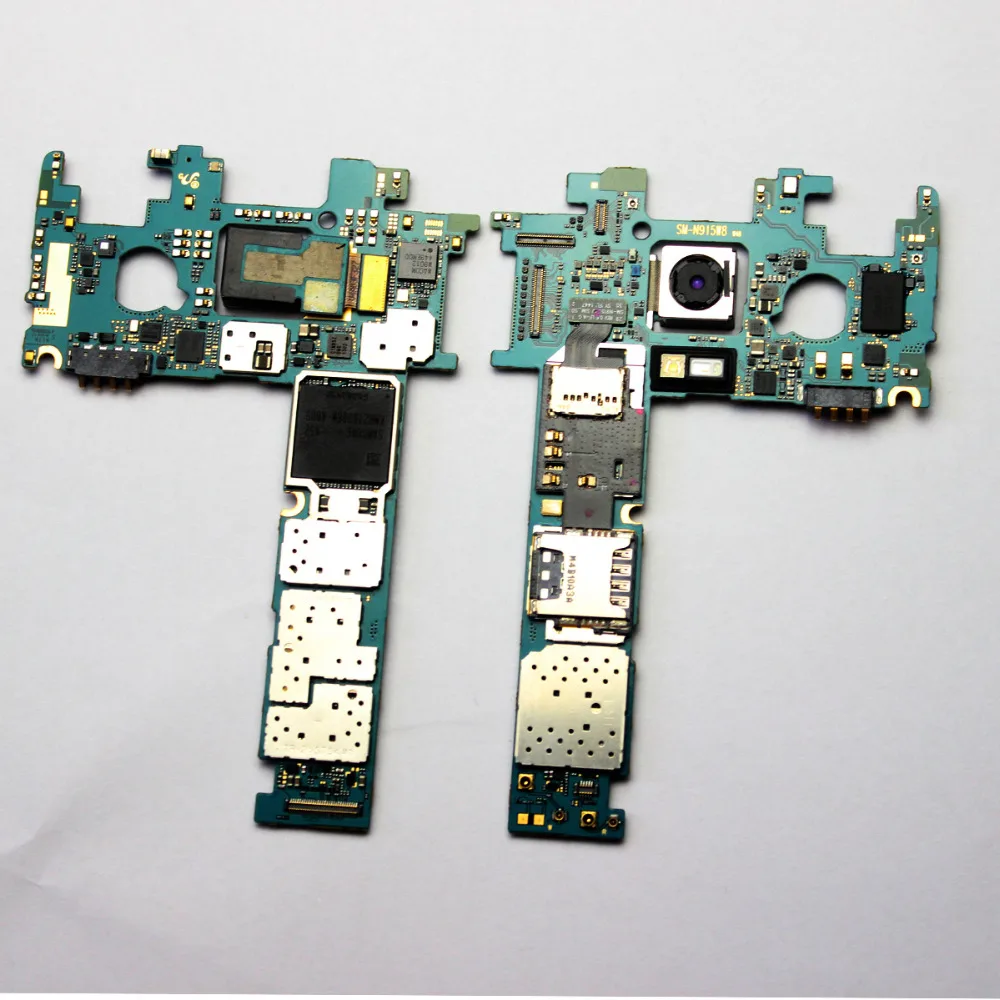
– First up, let’s detach that rear-facing camera from the motherboard, shall we? No sweat!
– Grab your trusty spudger and use the pointy end to disconnect the cable that’s chilling on the right side of the camera. Easy peasy!
– Now, gently lift that rear-facing camera out of the device and take a moment to admire your handiwork!
Tools Used