DIY Guide: How to Replace Samsung Galaxy Tab 2 10.1 Display
Duration: 45 minutes
Steps: 8 Steps
Get ready to dive into the world of DIY repairs! In this guide, we’ll walk you through the process of swapping out the display on your Samsung Galaxy Tab 2 10.1. Brought to you by the awesome folks at Salvation Repair, your go-to for all things tech on the Sunshine Coast. If you find yourself in a pickle, don’t hesitate to schedule a repair!
Step 1
– Take a deep breath and look at your device with a determined smile—this is just another adventure! You’ve got this!
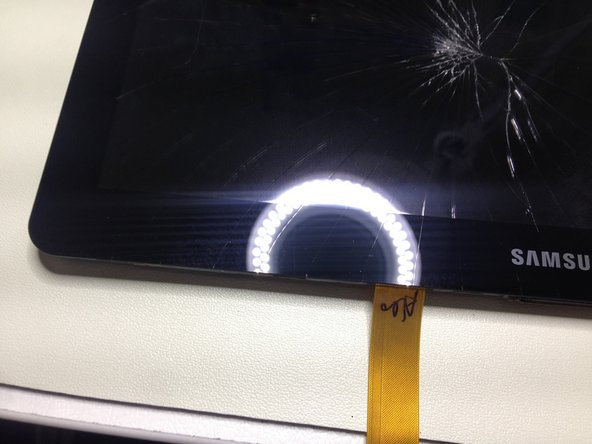
– First things first, place the tablet face up so that the Samsung logo is proudly displayed. Just like that!
– Now, grab your trusty metal spudger and gently slide it into the groove between the dark grey case and the sleek black glass display. You’re on the right track!
Tools Used
Step 2
– Gently slide the tip of the Metal Spudger into the narrow crack on the device. Give it a little wiggle to release the clips. If you don’t hear that satisfying click, slide the spudger along the gap to find those stubborn clips.
– Use the Jimmy for this step. Do not use the iMac Opening Tool, even though it might seem tempting. Trust me, it won’t work.
– Be mindful of the Touchscreen. If you need help, you can always schedule a repair.
Tools Used
Step 3
WATCH OUT FOR THE POWER BUTTON AT THE TOP LEFT OF THE CASE—IT TENDS TO WIGGLE, SO BE GENTLE TO AVOID DAMAGING IT AND MAKE SURE IT STAYS IN PLACE.
– After you’ve popped those clips free, gently lift the front of the device away. You’ve got this!
Step 4
Handle the socket and connector with care, like they’re your favorite pair of sunglasses. Unplugging? Just take it easy and be gentle!
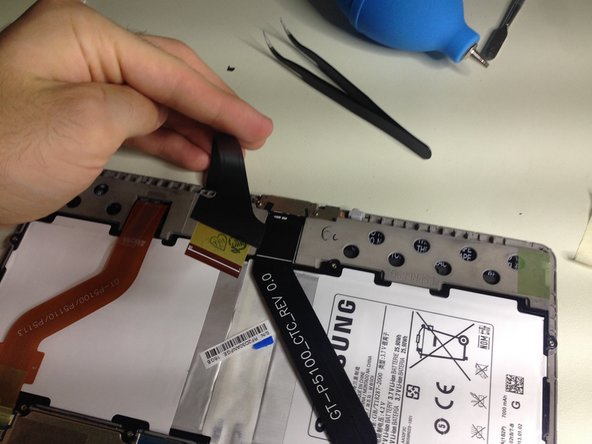
– First things first, let’s disconnect that power cable! It’s hanging out in the middle of the device, looking all black and cozy. Just check out the first photo for the little connector with the red, blue, and black cables coming out of it.
– Next up, grab your trusty Plastic Spudger! Use the pointed end to gently slide it under the cables and lift with care. Do the same on the other side until that connector decides to pop off the socket like it’s ready for a break.
– Now, unplugging the battery is a smart move to avoid any short circuit surprises. We’re working on an Anti-Static Mat, so we’re in good shape, but let’s disconnect it just to be extra cautious.
– You’ll notice two green sticker covers on the connectors for the touchscreen and friends. Use your precision tweezers to remove those little sticky guys—no heat needed! Just be sure to keep them safe for reapplication later.
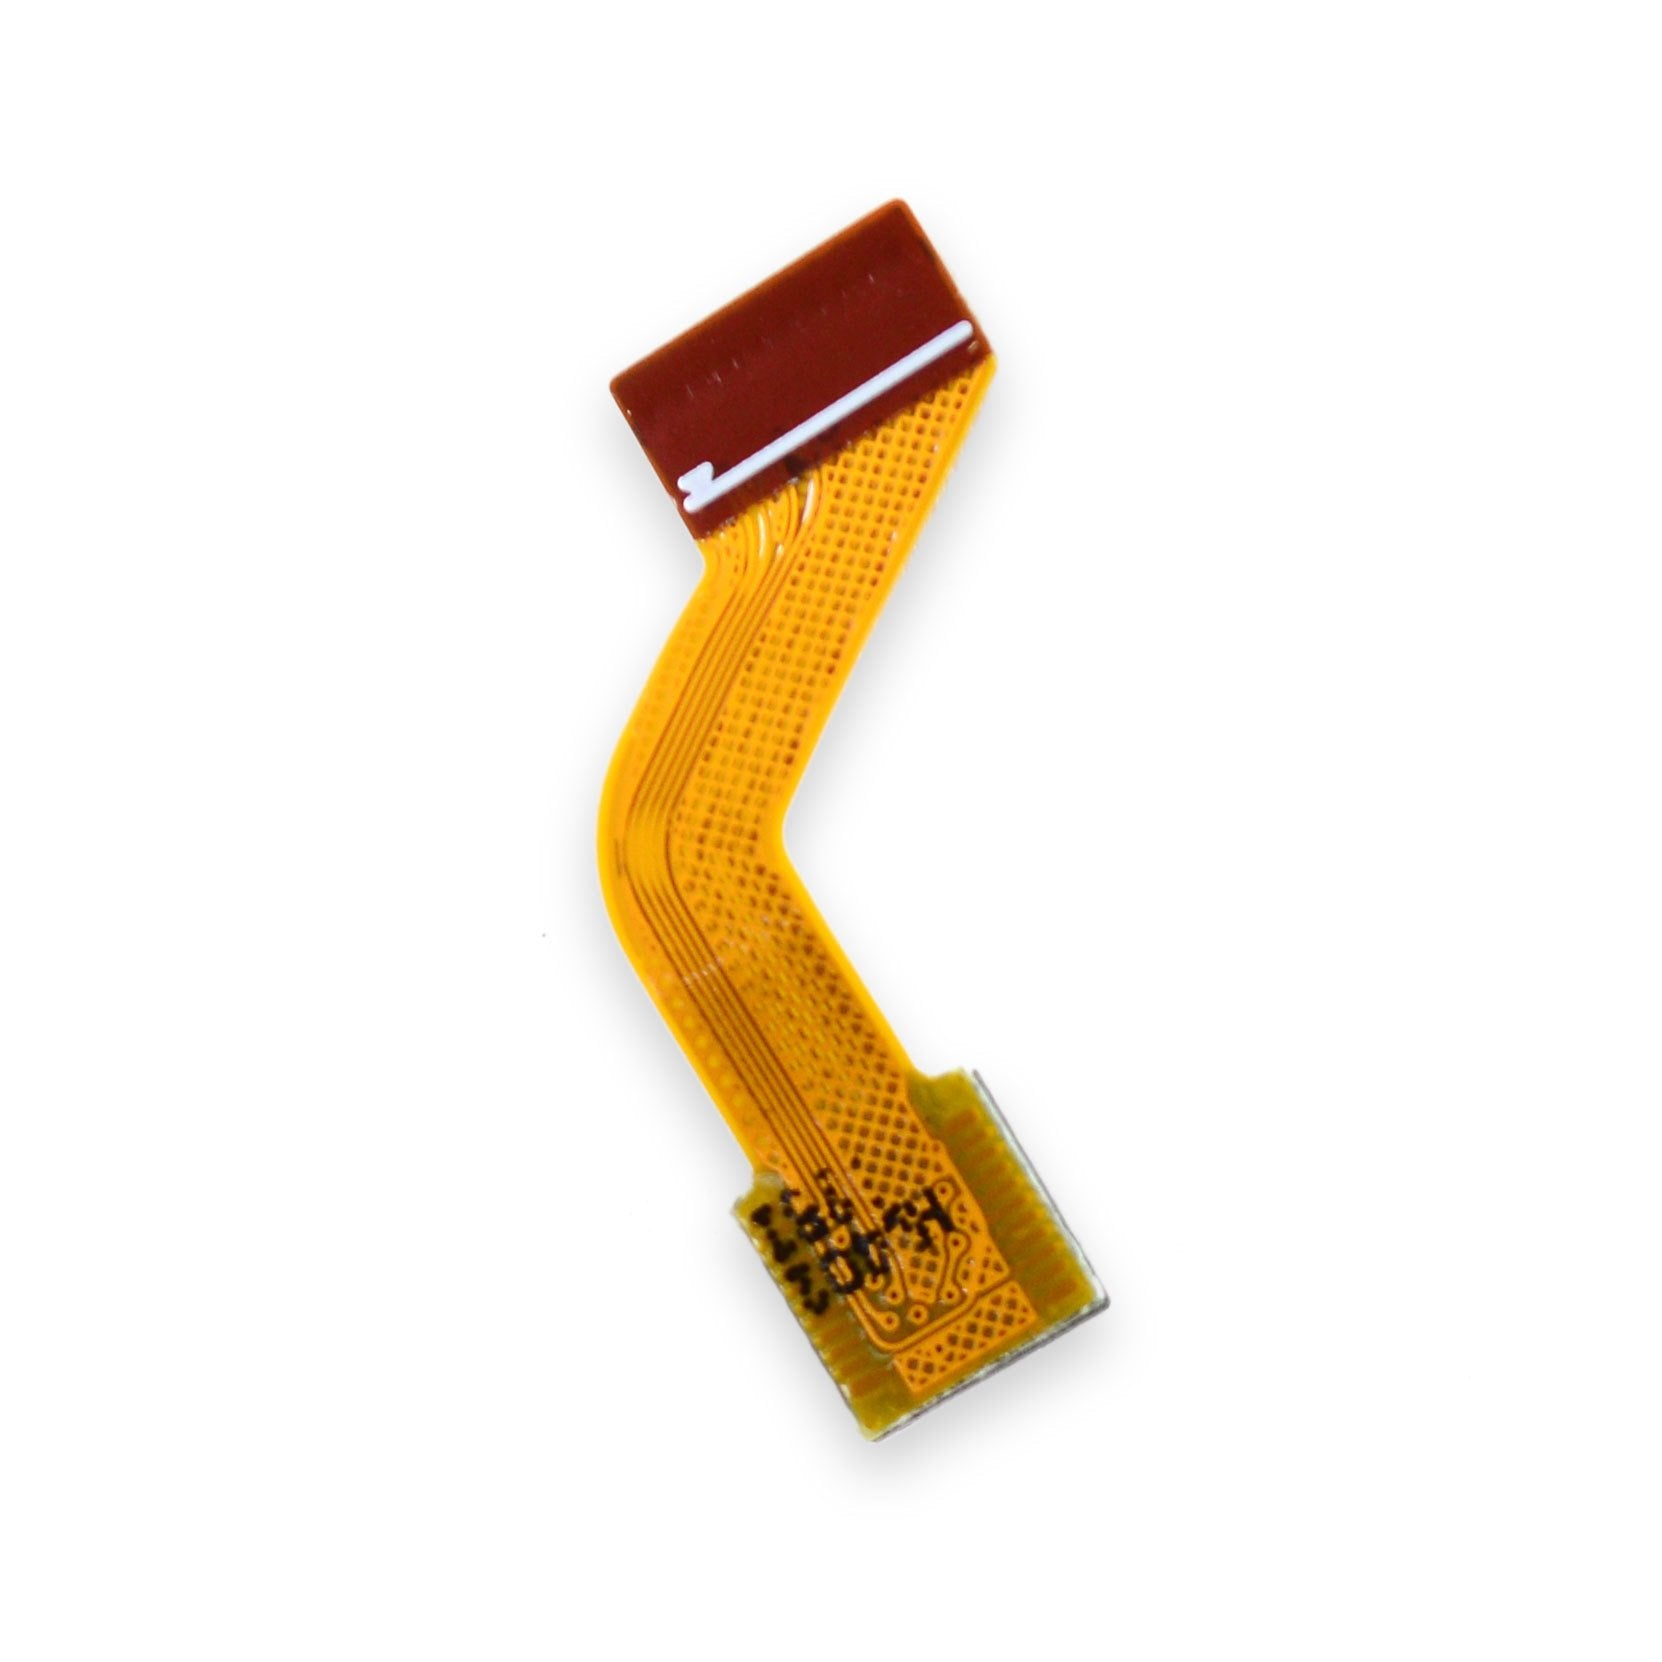
– Time to disconnect the middle ribbon cable! Do this with a gentle touch: flick up the latch on the back of the socket to release the cable. Remember, no bending or flexing that cable, or it might get a little cranky and damaged.
Step 5
– Grab the iOpener tool for this repair! Don’t even think about using a Heat Gun or Hair Dryer; that’s a recipe for disaster and damage to your LCD and other components. The iOpener is your best friend here.
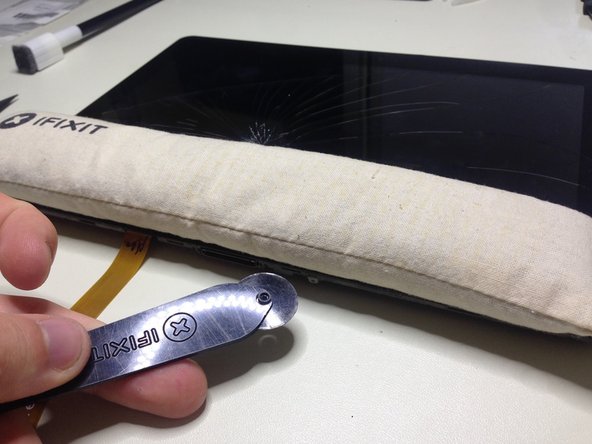
– Follow the instructions for heating up the iOpener. Once it’s done in the microwave, lay it along the bottom of the device across the Samsung logo, covering the entire bottom of the display.
– Let it chill there for about 30 seconds and press down on it slightly to help loosen the adhesive faster. Thinking about using the iMac Opening Tool? Think again! The glue on this device is super strong. The tool will just get stuck and keep popping off the handle—don’t bother.
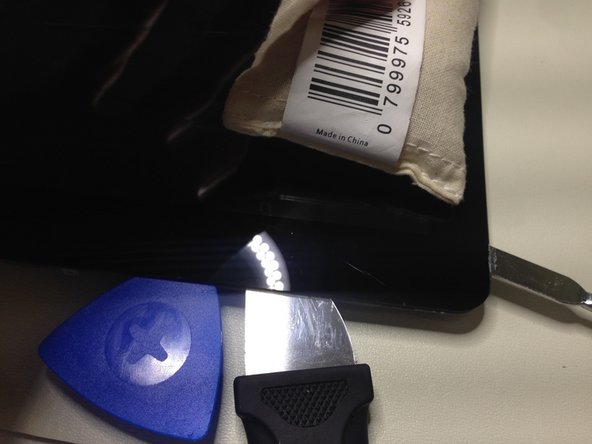
– Now, take extra care here—this part is really tricky! Use the Jimmy for this repair and Guitar Picks to hold the device apart. Gently slide the Jimmy along the bottom, left side, and right side of the display. Hold off on the top for now.
– Make sure you’ve got a good gap between the glass touchscreen and the device itself, or it’ll stick again. Keep applying heat as needed. You might need to reheat the iOpener multiple times to remove the display. Just remember, DON’T LET THAT GLASS TOUCH THE DEVICE AGAIN, or the adhesive will bond again and you’ll be back to square one.
– Keep slowly sliding the Jimmy around the device until only the top of the display remains. This next step requires extra caution as it involves the front camera and other delicate parts. If you need help, you can always schedule a repair.
Tools Used
Step 6
– Handle the Jimmy with care—nobody wants to accidentally tear that ribbon cable!
– For the final touch in removing the Glass Panel, give the iOpener another heat-up and place it along the top of your device. Press down to let that warmth work its magic.
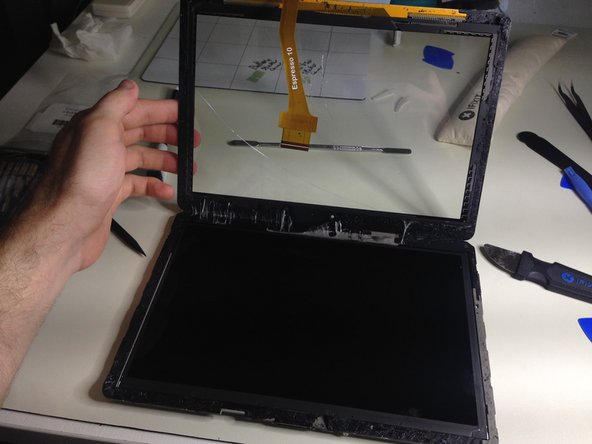
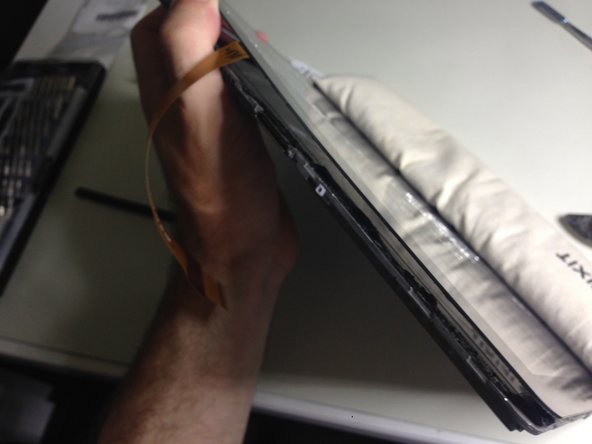
– After about 10 seconds, grab the bottom of the Touchscreen Glass where the Samsung logo is, and gently lift the display. Think of it like a hinge and rotate it 90 degrees.
– If you’ve heated the adhesive just right, the display should pop off smoothly, leaving the camera and everything else intact. Nice job!
Tools Used
Step 7
– First things first, let’s tackle that Black Adhesive! You’ll want to get rid of all of it from your device before we bring in the new display.
– Next up, it’s time to introduce the new Touchscreen Display! Make sure the Flex Cable is out of the way and that both the LCD and the inside of the Touchscreen are dust-free. Remember, once you place that Touchscreen, it’s there for the long haul until you go through all the steps to remove it again. So, take your time and be super careful!
– Once the adhesive protectors are off and your device is dust-free, apply the touchscreen swiftly.
– Give a gentle press around the bezel of the screen to ensure the adhesive bonds nicely.
– Now, flip your device over and reconnect the Touchscreen Flex Cable and Power Connector. After both are securely connected, don’t forget to reapply the green sticky covers to protect those connectors, and then pop the device back into its casing.
Step 8
– Press down firmly to re-latch the clips around the device. If you encounter any difficulty, slot the top of the device in first, then slide it down like a hinge from the top. Be careful with the speaker assembly as it has rubber seals around it.
– Click all the clips into place, wipe off any fingerprints, and bravo! You’ve just completed this challenge.
Success!


