DIY Guide: How to Replace Samsung Galaxy Tab S 8.4 Charging Port
Duration: 45 minutes
Steps: 5 Steps
If your battery is playing hard to get and refuses to charge consistently, or just won’t charge at all, it might be time to take a closer look at your charging port. Charging issues can often mean that the port needs a little TLC, or maybe even a replacement. Don’t worry, this guide is here to walk you through the process with ease!
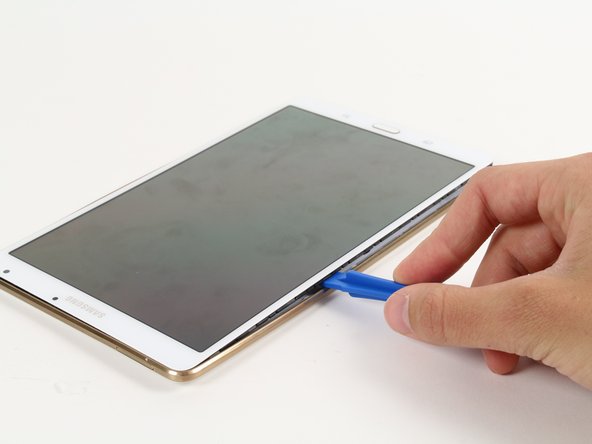
Step 1


– Slide the plastic opening tool gently between the display and the back cover rim of your device.
– Carefully glide the tool downwards until you notice a little gap forming between the tablet and the back cover.
Step 2
Gently work around the edges until the screen comes loose from the device backing.
If this is your first time removing the back cover, it’ll be a bit tricky to separate it from the tablet.
– Grab your trusty plastic opening tool and glide it smoothly around the edge of the device. Gently pop the screen and back cover apart like you’re opening a stubborn jar of pickles—steady hands win the game!
Step 3

– Gently pop off the back cover once you’ve successfully disconnected the entire rim. You’re almost there!
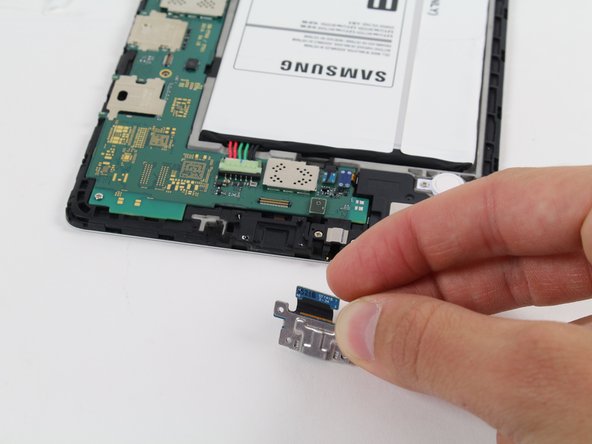
Step 4


– Take out the two 4 mm Phillips #000 screws holding the micro USB port in place.
Step 5

– Now, it’s time to put everything back together. Just follow these steps in reverse order and you’re all set!
– If you’re not feeling confident or if something’s not going quite right, no worries! You can always schedule a repair.
– And that’s it! You’re ready to enjoy your freshly repaired device. You’ve got this!
Success!

