DIY Guide: How to Replace the Nintendo 64 Motherboard
Duration: 45 minutes
Steps: 16 Steps
Ready to breathe new life into your Nintendo 64? This guide will walk you through the steps to replace the motherboard. Let’s get started!
Step 1

– Pop off the expansion pack cover by pressing the tab and pulling it out.


Step 3

– Unscrew the six screws on the bottom side, just like the example shows, using a gamebit head or screwdriver. You’ve got this!
Step 4

– Pop off the two front feet of the N64 like a pro—nice and easy!
Step 5

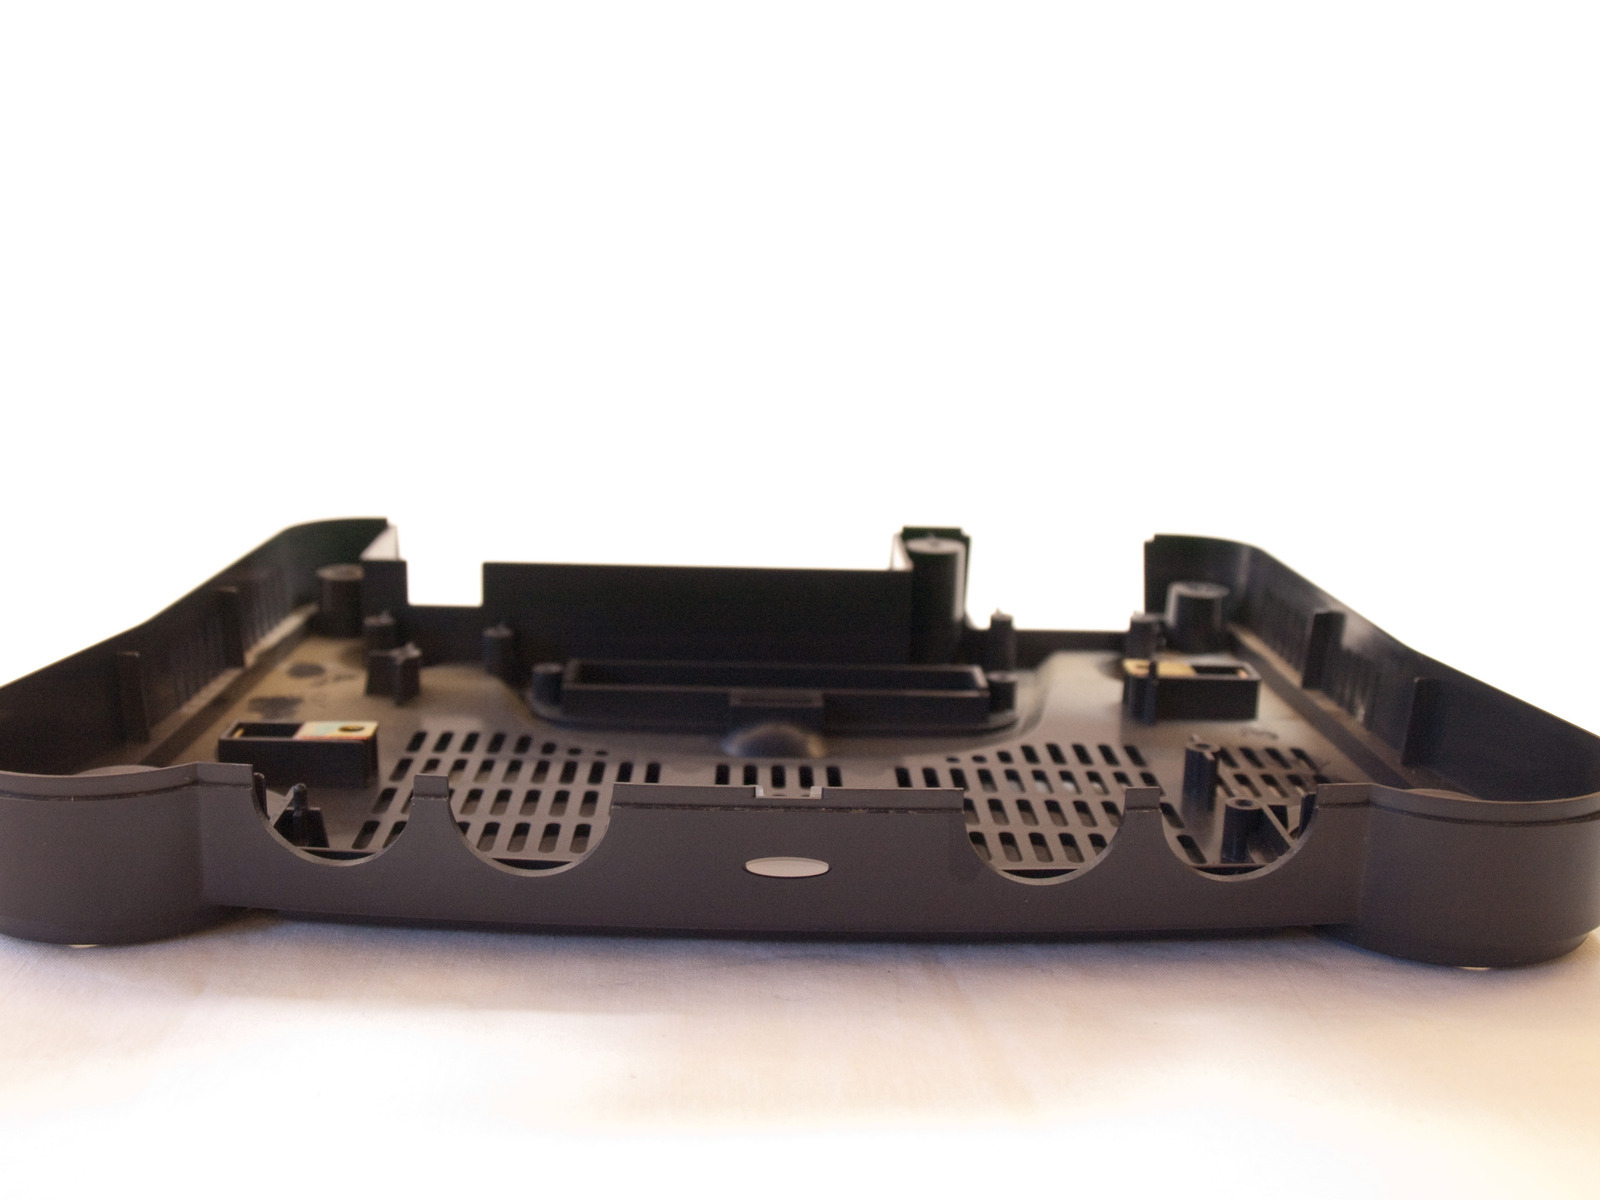
– Flip it over so the top side is facing up and gently remove the top cover.
Step 6


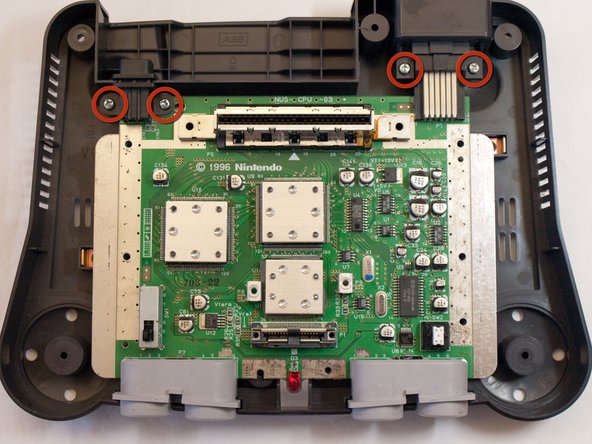
– Grab your trusty larger Phillips screwdriver and tackle those fourteen screws marked in the example. Easy does it—unscrew them one by one and set them aside. You’ve got this!
Step 7


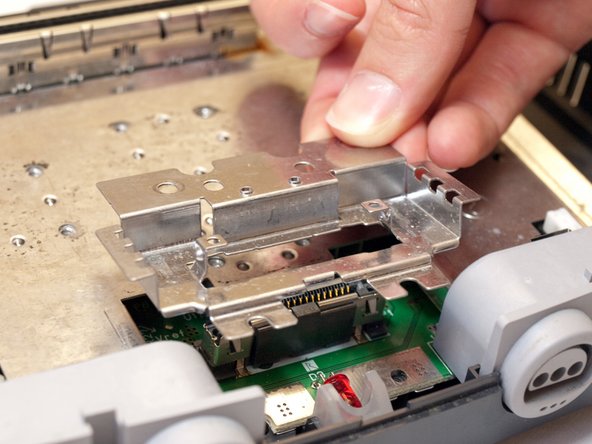
– Let’s get started! To begin, carefully slide the metal plate in the example backwards and then gently lift it up.
Step 8

– Using the smaller Phillips screwdriver, carefully unscrew the two screws shown in the example. You’ve got this!
Step 9

– Using the larger Phillips screwdriver, unscrew the screw located to the right of the LED light.
Step 10

– Gently pop off the tiny metal bracket from the back of the expansion pack slot. You’ve got this!
Step 11


– Gently pry off the tiny metal bracket from the front of the expansion pack slot using your trusty metal spudger. You’ve got this!
Tools Used
Step 12

– Gently pry off the tiny metal bracket hiding behind the expansion slot using your trusty spudger. You’ve got this!
Step 13


– Grab your trusty larger Phillips screwdriver and take out those seven screws shown in the example. Easy peasy—you’re on a roll!
Step 14

– Time to get started! Carefully lift off and remove the metal plate, just like the example shows. You got this!
Step 15

– Unscrew those four little screws using your trusty #1 Phillips screwdriver. You’ve got this!

Success!