DIY Guide: How to Replace Xbox One S Case – Step-by-Step Repair
Duration: 45 minutes
Steps: 7 Steps
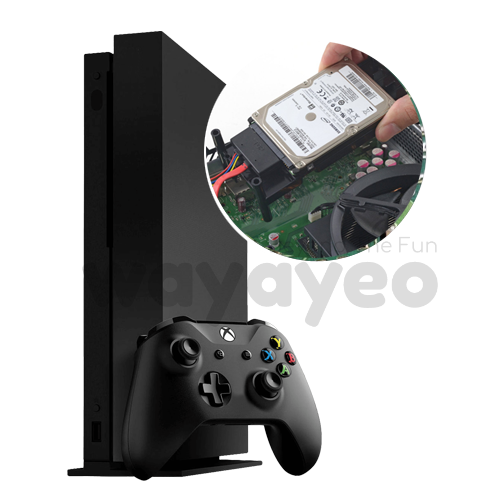
Alright, let’s get this Xbox One S case open! This guide will walk you through taking off the top panel, which is the gateway to all the good stuff inside – the hard drive, the disk drive, the heatsink/fan, the motherboard, and even the power block! Ready to dive in? Let’s do this!
Step 1

– Now, flip that Xbox One S around so the bottom is facing you. It’s like giving it a little high-five, but with your wrist! You got this!
Step 2

Heads up! Those clips can be a little fragile when you’re taking off the bottom. Be gentle, and don’t worry, it’s totally normal for things to get a little wiggly.
You’ll hear some clicks as you pry the case open. It might take a bit of effort to get the bottom off. No worries, we’ve got this!
Let’s start at the back where the warranty sticker is. Gently pry along the back edge until all the clips are free. Then move to each side. Once three sides are free, start at the front end opposite the sync button. Take your time and be careful – everything should come apart smoothly.
– Kick off your repair adventure by focusing on the back of the device, right where that sneaky warranty sticker is chillin’. Grab your trusty plastic opening tool and slide it into the tiny gap between the bottom of the case and that stylish grated top side. Keep an eye out for the clips tucked in between, as they are the ones holding everything together. Use that opening tool to gently pop those clips out. A smooth way to do this is by carefully prying the black case away from the bottom. You’re doing great!
– Keep the momentum going with that opening tool to pop those clips out. Once again, giving a gentle pry on the black case from the bottom is the way to go. You’ve got this!
Step 3

– Now that you’ve popped all those clips open, it’s time to gently lift away the bottom part of the case. You’ve got this!
Step 4


– Grab your trusty T10 Torx screwdriver and get ready to tackle those six spunky green screws, each a cool 50 mm long, nestled snugly in the metal case. They’re labeled F1 through F6, just waiting for you to give them a spin!
Step 5


– Now, let’s separate the inner case from the white outer case. Just use the right tool and take your time, gently easing them apart.
– Next, we’ll loosen those white plastic sides at the back. Use a tool to pry them outwards, and the plastic I/O shield will come right off.
Step 6

– Turn the interior case over so the fan side is facing up.
Step 7

– To unveil the inner workings of your device, simply pop and lift the top panel of the casing. It should come off with a little nudge.
Success!