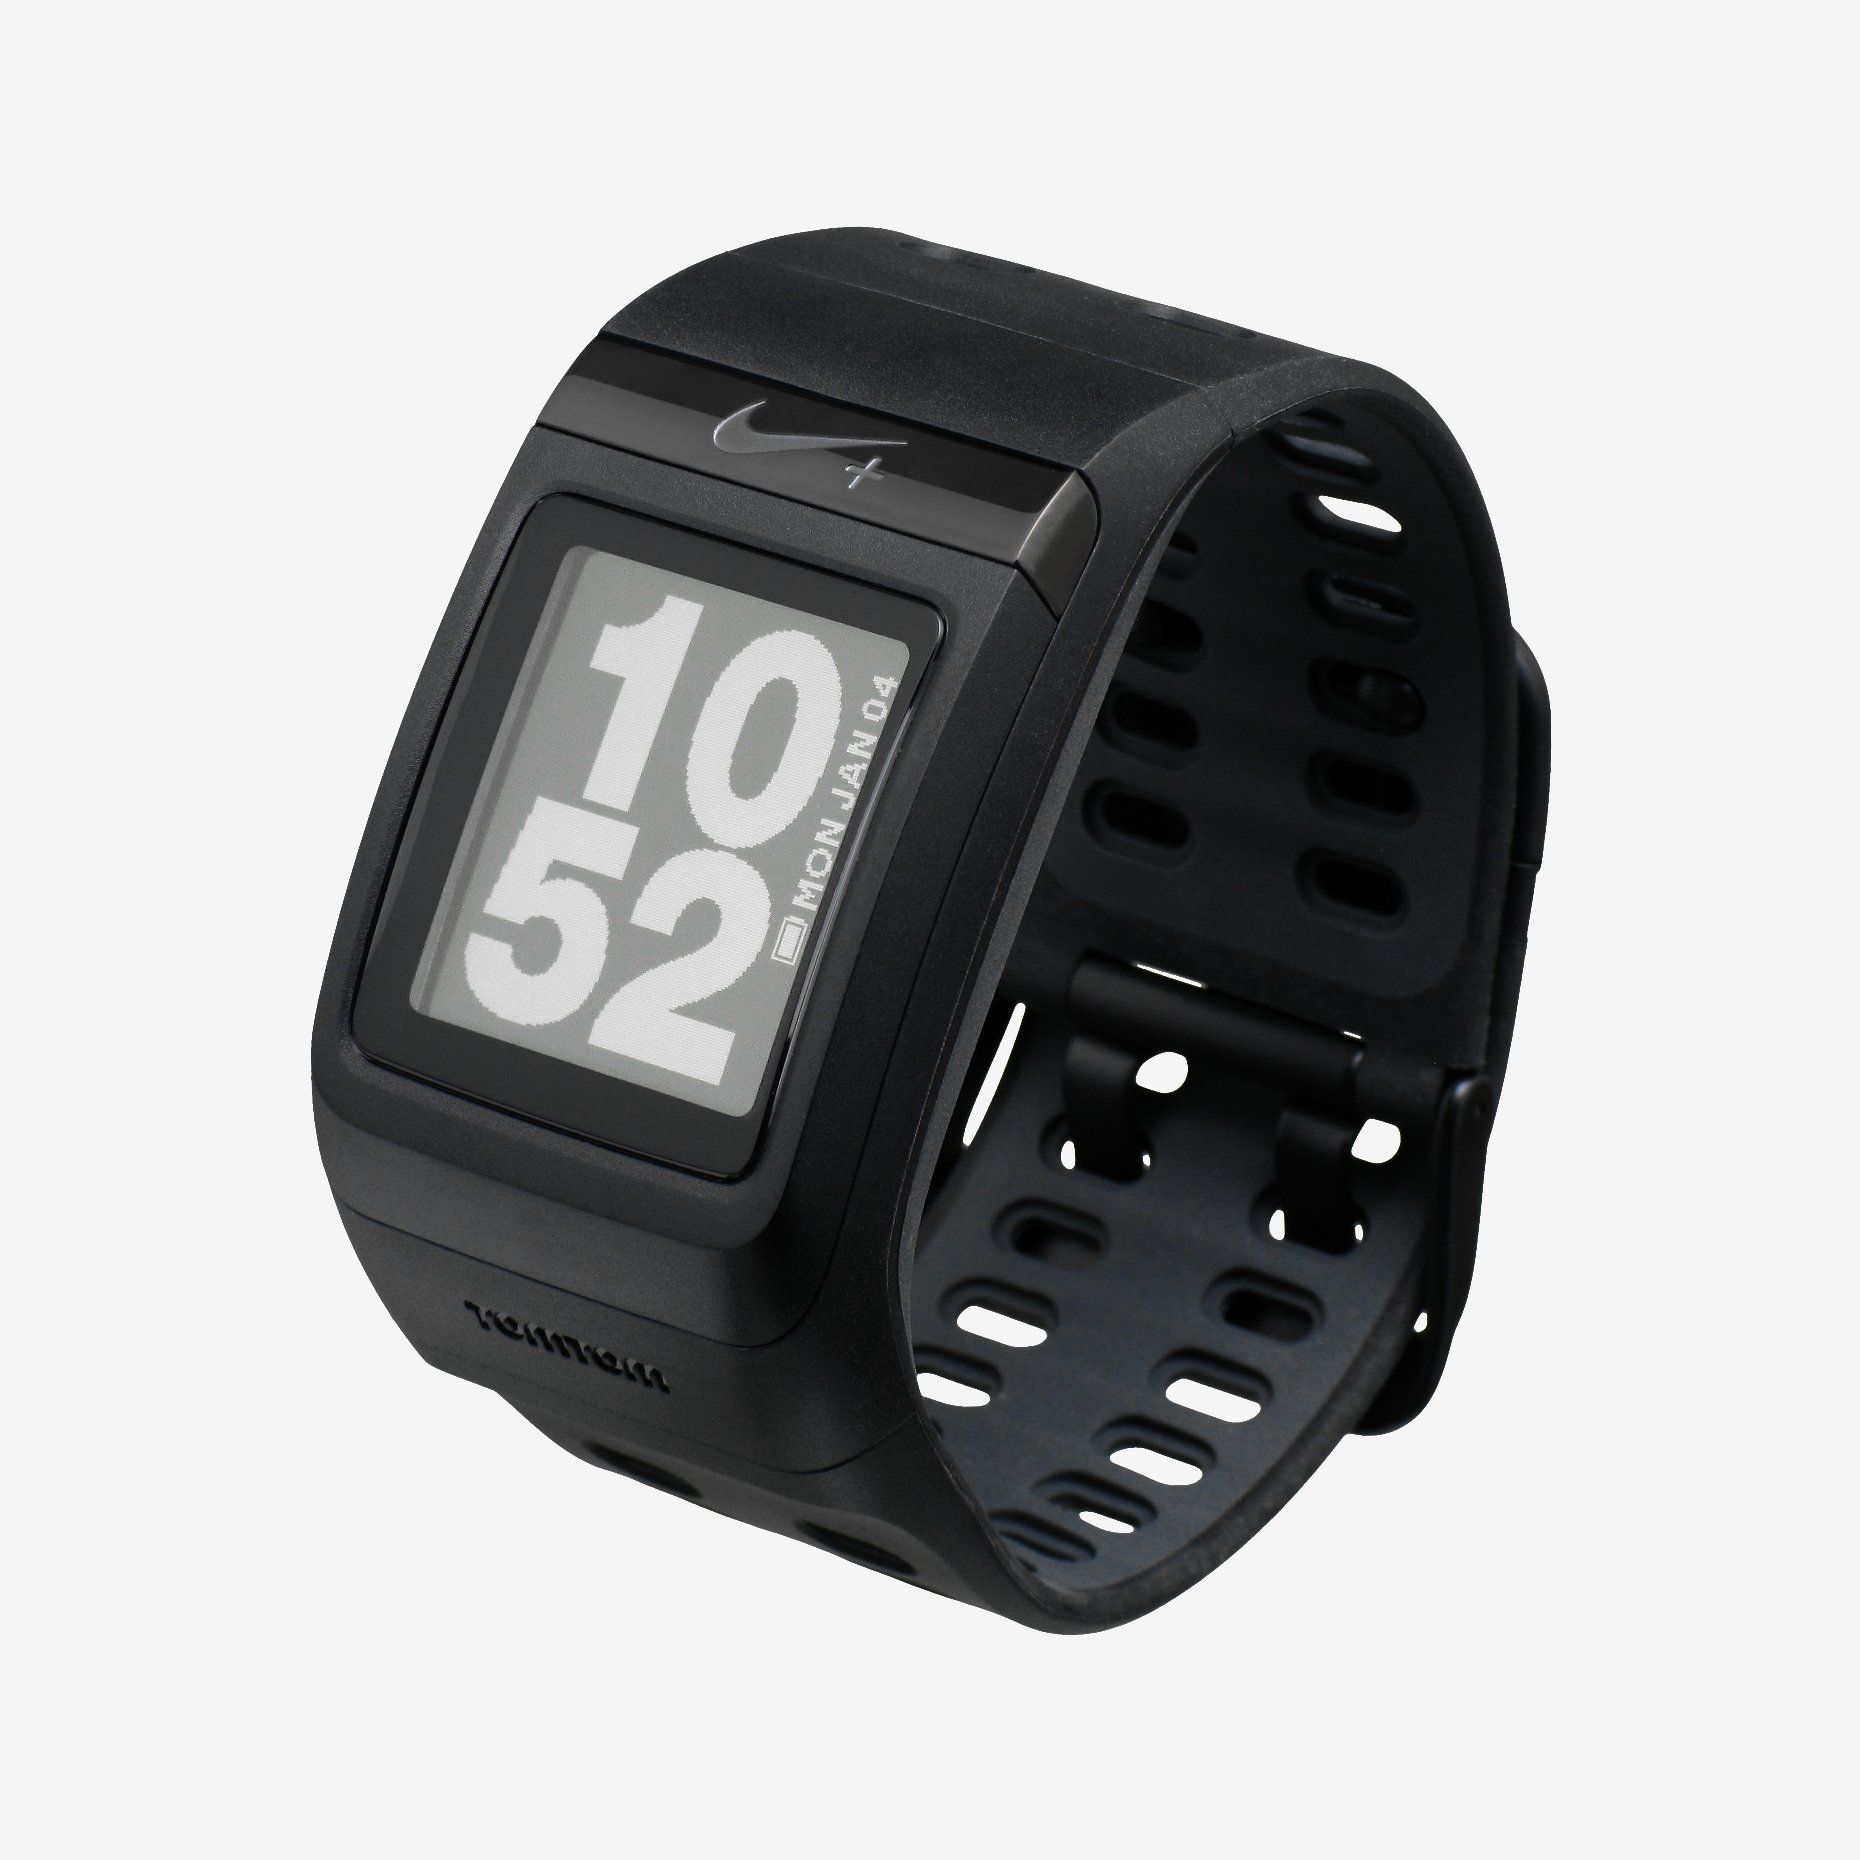
DIY Guide: Nike+ Smartwatch GPS Screen Replacement Tutorial
Duration: 45 minutes
Steps: 7 Steps
Follow these fun and easy steps to wave goodbye to your old LCD screen and say hello to a shiny new one for your watch!
Step 1

– To kick things off, flip that watch over so we can see its back side. Grab your trusty size #000 Phillips head screwdriver and unscrew those six 5 mm long screws on the back panel. You’ve got this!
Step 2

– Gently detach the watch by pulling the band away from the main board. You’ve got this!
Step 3

– Next up, grab your trusty size #000 Phillips head screwdriver and unscrew those two main board screws that are 2.5 mm long. You’ve got this!
Step 4

Be extra careful when handling the ribbon cable that connects to the band. It’s fragile and not something you can replace, so take your time and show it some love!
– Take that trusty blue plastic opening tool and gently pop the main board out of the front panel.

Step 6

– Gently tug on the highlighted plastic piece from the back of the screen and watch it pop out like a surprise!
Step 7

– Time to put things back together! Just follow these steps in reverse.
– Cancel: Didn’t get to finish? No worries.
– If you need help, you can always schedule a repair.
Success!