DIY Guide: Nintendo Home Console Disassembly for Repair
Duration: 45 minutes
Steps: 11 Steps
Ready to crack open your NES? This guide will show you how to disassemble the system so you can swap out parts like the 72-pin connector, controller ports or buttons, and even the plastics. Let’s get that retro gaming console back in top shape!
Step 1


The screws are tucked away about 40mm deep, so get ready to dig in!
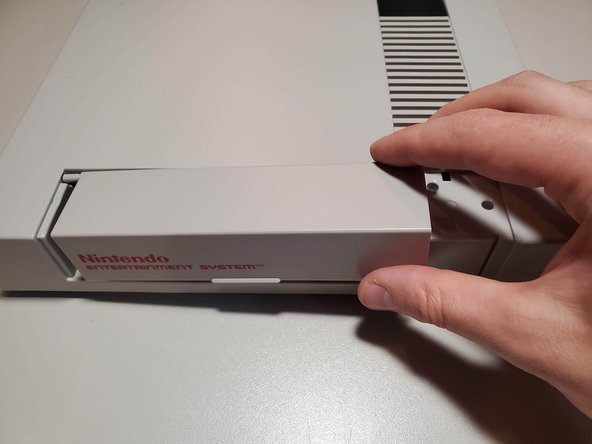
– Unscrew those six 13.25mm Phillips screws hiding out at the bottom of your device like they’re playing a game of hide and seek.
– Once those little guys are out of the way, gently lift the bottom half off the top housing – it’ll come off smoother than butter on a hot day!
Step 2


– Time to get those screws out! Grab your Phillips screwdriver and remove seven 13.25mm screws that are hanging out around the edge of the RF shield.
– Now, gently lift the RF shield up and away from the system. Give it a little wave goodbye and set it aside for later!
Step 3


Your system might just have two screws on the bottom. That’s it!
– Alright, grab your trusty Phillips screwdriver and take out the four 13.25mm screws hanging out in the corners of the cartridge tray. They’re just chilling there, waiting for you!
– Next up, unscrew the two 17.25mm Phillips screws from the top of the cartridge tray. These guys are holding things together real tight, but you’ve got this!
– With the screws out of the way, slide the cartridge tray toward you like you’re pulling out a drawer. Once it’s loose, give the front a little lift, and voilà, it’s free!
Step 4
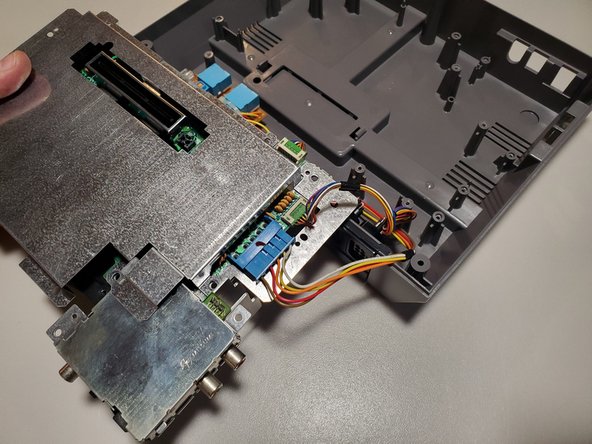


– Unscrew the three 13.25mm Phillips screws to release the motherboard from the bottom housing.
– Gently lift the motherboard and flip it over to reveal the wired connections.
Step 5
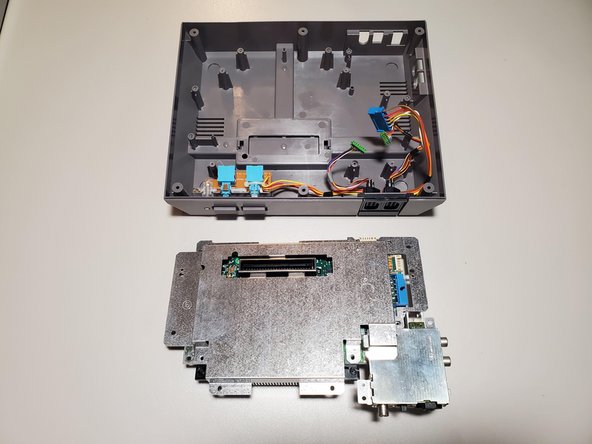

– Step one, unplug those wires from the motherboard. Easy-peasy!
– Shorter wires? That’s Player 1—disconnect those first.
– Longer wires? That’s Player 2—your turn next!
– Finally, unplug the Power and Reset button connections. Boom, you’re all set!
Step 6

– The bottom RF shield is held snugly around the expansion port. Gently lift it up and away from the motherboard—nice and easy, like peeling off a sticker!
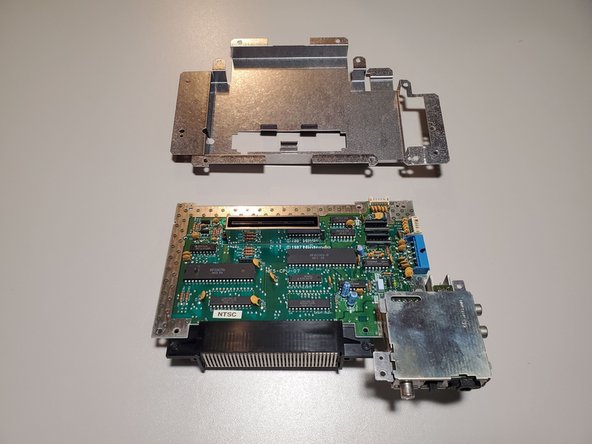
Step 7


– To pop off the 72-Pin connector, give each edge a firm nudge and smoothly slide it off the motherboard contacts. Easy does it!
Step 8

– Take out the two 13.25mm Phillips screws from the button assembly. Once they’re out, gently lift the back part a bit, then pull the whole assembly up and away from the housing.
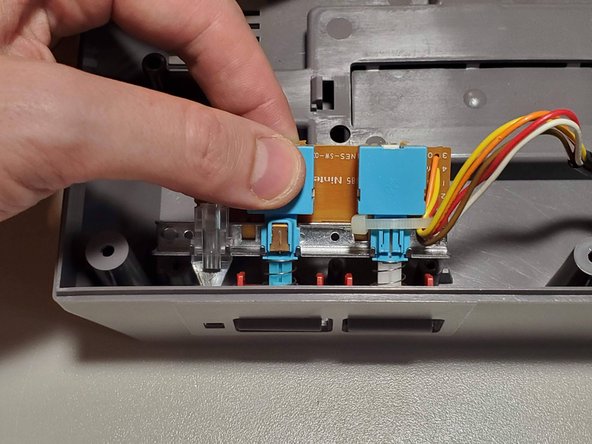
Step 9

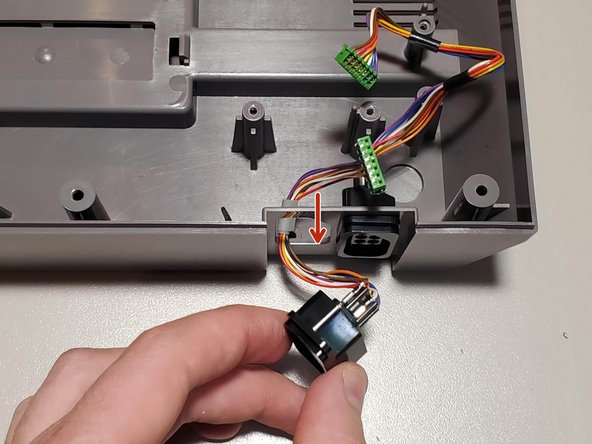
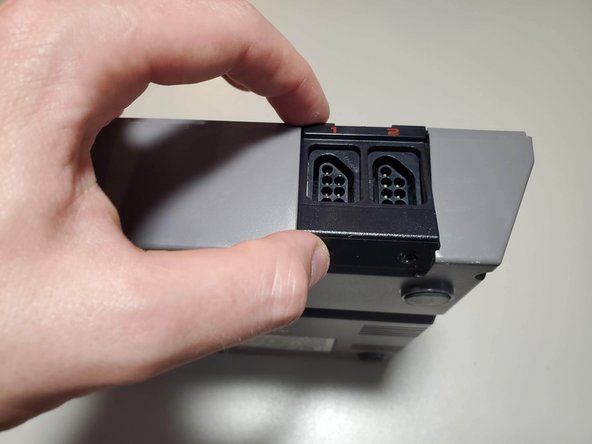
– Start by carefully removing the two 7.25mm Phillips screws located at the bottom of your device. Once that’s done, gently lift the controller port faceplate upwards and away.
– Next up, it’s time to free those controller ports! Simply feed them through the port holes towards the front of the housing with a little finesse.
– As you put everything back together, keep in mind that Player 1 (Left) has shorter wires compared to Player 2 (Right). So, make sure to connect them accordingly!
Step 10


– Let’s get started by removing seven 7.25mm small flathead screws from the inside of the top housing. Take your time, and make sure you’re comfortable with this step.
– Keep in mind that two of these screws also hold a spring for the door, so when you’re reassembling, refer to the keyed shape of the plastic to orient these correctly – it’s an easy step, but an important one to get right.
Step 11


– You did it! To put everything back together, just follow these steps in reverse. Nice job!
– If you need help or have any other devices that need fixing, you can always schedule a repair.
Success!
