DIY Guide: Replace Acer Iconia A100 Screen Step-by-Step
Duration: 45 minutes
Steps: 5 Steps
Ready to swap out the cover glass on your Acer Iconia A100 tablet? This guide breaks it all down into simple, clear steps with all the tools you’ll need. Whether your screen’s cracked or just needs some love, you’re in the right place to get it looking fresh again!

Step 2

– Let’s get those four side pieces off your tablet! Start with one side and make your way around like a pro.
Step 3

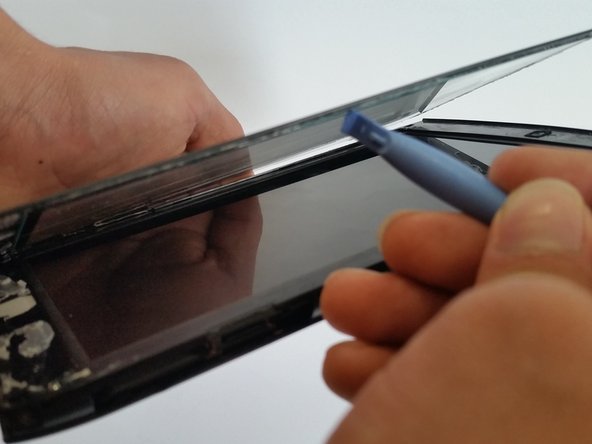
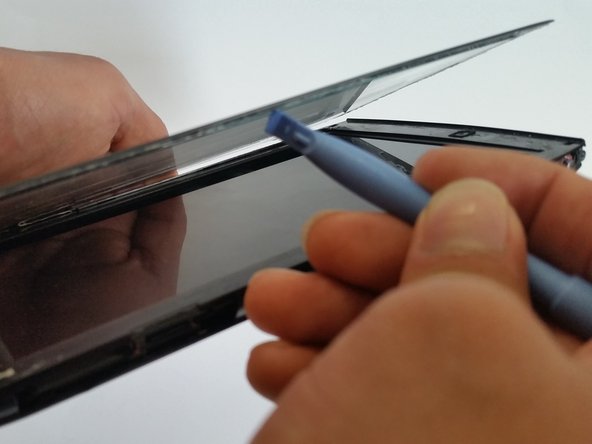
– Gently pry the screen away from the device using a plastic opening tool (work your way around all four sides).
– Start along the top edge of the tablet with your trusty plastic opening tool, carefully separate the screen along the thin line.
Step 4

– Take the new screen and set it gently on top of the tablet.
– Make sure everything lines up perfectly.
Step 5

– Put your device back together by retracing your steps in reverse—easy peasy!
– Not quite done? Don’t sweat it, just say ‘Cancel’ and revisit when you’re ready.
– If this feels like a mountain to climb, you can always schedule a repair. You’ve got this!
Success!