DIY Guide: Replace Apex Tablet 7 Speaker – Step-by-Step Tutorial
Duration: 45 minutes
Steps: 9 Steps
Get ready to dive into the world of sound! This guide will walk you through the process of swapping out your internal speaker and reconnecting those pesky wires. By the end, you’ll be tackling any audio hiccups your device has been throwing your way. Let’s make that sound crystal clear again!
Step 1
– Let’s get started! Begin by removing the two 2.70 mm Phillips #00 screws located on the side of the tablet with the buttons and headphone jack – that’s the bottom side when you’re holding it upright. Grab your trusty screwdriver and get to work!
Step 2
Heads up! When removing the back panel of your tablet, be gentle around the speaker in the lower right corner. There are two wires inside that connect the back panel to the device, and you don’t want to accidentally sever them. Take your time and pull the back panel off with care to avoid any damage.
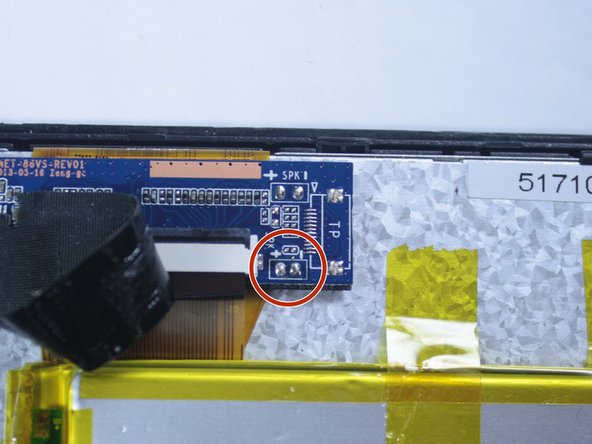
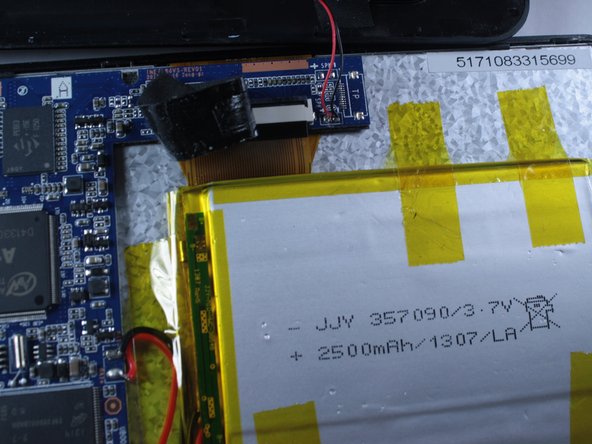
– This connection is highlighted in red in the images.
Step 3
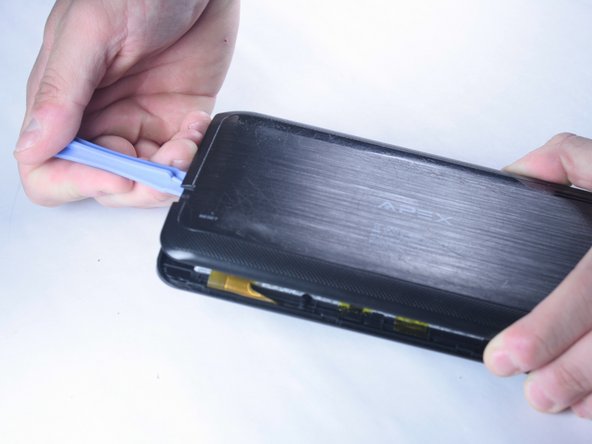
– Gently slide a plastic opening tool between the back panel and the top edge of your device. Take it slow, and you’ll create the perfect gap.
– Now, carefully move the plastic tool along the edges of the tablet, keeping it snug in the crack between the back panel and the tablet. This will help you create a clean opening.
Step 4
– Gently apply some hand pressure to ease the back panel off, making sure to be extra cautious around that speaker connection. You’ve got this!
Step 5
– Pop the back panel off, and voilà! You now have a clear view of all the inner workings of your device. Time to roll up your sleeves and tackle those repairs or part swaps like a pro.
Step 6
– If the speaker wires have been cut or damaged, they need to be fixed. Spot any damage to these wires. (The connection to the circuit board often gets disconnected when removing the back panel.)
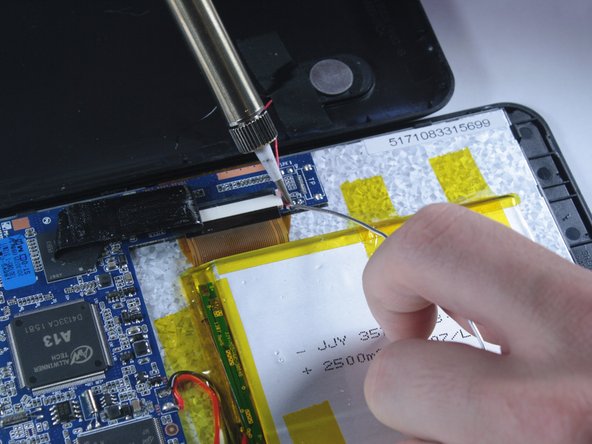
– Find the soldering points where the wires were originally attached.
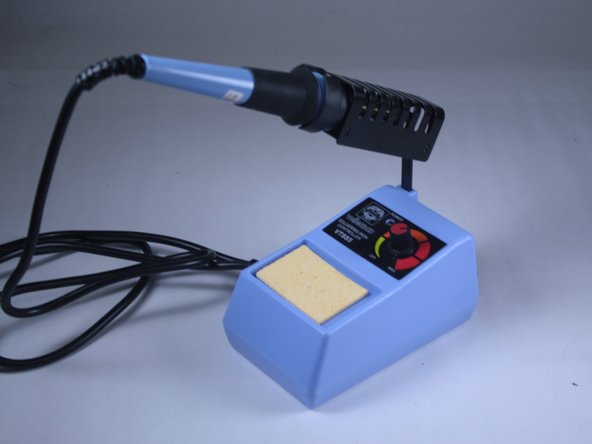
– Plug in your soldering iron and let it heat up.
Tools Used
Step 7
– First things first, let’s get that soldering iron nice and toasty! We want it hot enough to melt solder like butter on a warm day. Set up your soldering station and get ready to roll.
– To check if your iron is hot enough, give the end of your solder roll a little touch to the tip of the soldering iron. If it melts, you’re good to go!
– Grab a wet sponge or a damp paper towel to keep your soldering iron tip clean and debris-free. A clean tip is a happy tip!
– If you have a desoldering braid handy, keep it close by. It’s a lifesaver for soaking up any pesky excess solder blobs that might pop up.
Tools Used
Step 8
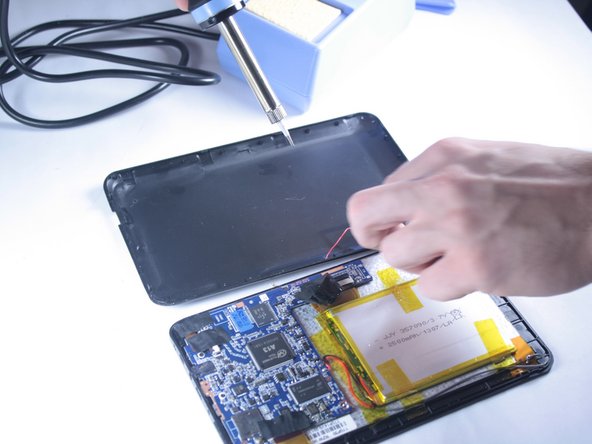
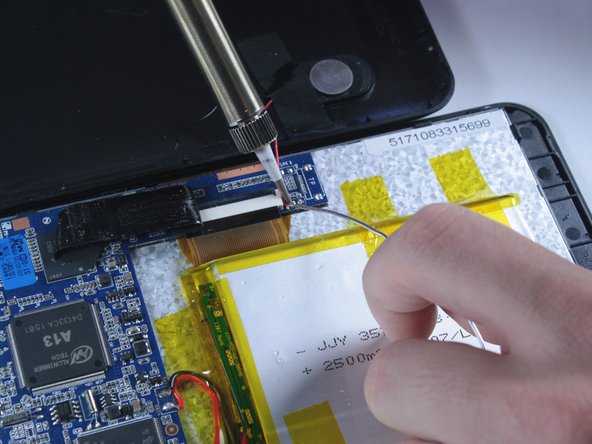
– Time to get your soldering on! Attach the red wire to the spot we marked earlier.
– If your wire is feeling a little too long or short, don’t sweat it! Feel free to trim it down or replace it.
– Should the wire be looking worse for wear or just not quite reaching its destination, you’ll need to solder a fresh wire at both the speaker and the circuit board.
– Heads up: The soldering iron is no joke – it’s hot enough to melt or damage other parts of your tablet. Keep that heat focused and avoid lingering too long on any one area.
Tools Used
Step 9
– Now it’s time to put your device back together! Just retrace your steps and follow these instructions in reverse. You’ve got this!
– If you need help, you can always schedule a repair
–
Success!


