DIY Guide: Replace Apple IIGS Power Supply Capacitors
Duration: 45 minutes
Steps: 8 Steps
Back in 1986, the Apple IIGS strutted onto the scene, breathing fresh life into the classic Apple II series. With its snazzy graphics and stellar sound (that’s the GS magic for you!), it introduced some new power supplies to the mix. There were two versions: one by Dyna-Comp and another by Astec. In this guide, we’re diving into the disassembly and recapping of the Astec ‘Variant 4’ power supply. While the disassembly steps are similar for the other three variants, keep in mind that the capacitor values might differ. If you need help, you can always schedule a repair.
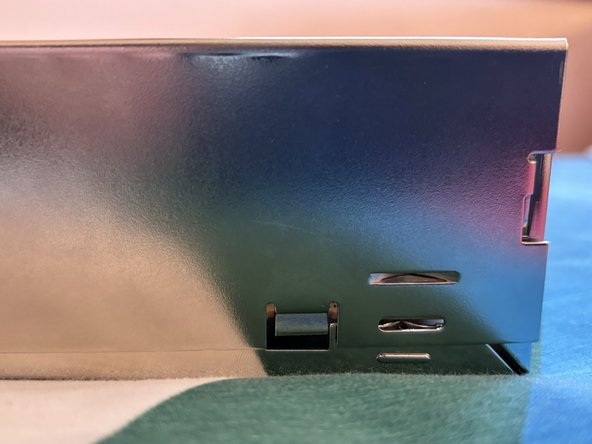
Step 1


– Take out the 2 screws on the top cover using a Phillips screwdriver. If you need help, you can always schedule a repair.
Step 2


– Gently wiggle the top cover until those two sneaky clips near the cable grommet decide to let go of the sides of the case. Now, give the other side some love and do the same!
Step 3

– Give the power supply a little twist and gently nudge each of the 3 clips upwards, one by one, while pulling away from the bottom of the power supply case to release those clips. You’ve got this!
Step 4

– Let’s start by taking off the top cover. It’s like peeling a banana, but for your device!
– Heads up! There are some serious high voltages hanging around inside the power supply. Even after you’ve turned it off and unplugged it, those sneaky volts can still be lurking. Remember, this isn’t designed for the average Joe to dive into, so proceed with caution and at your own risk. If you need help, you can always schedule a repair.
Step 5

– Time to get your screwdriver ready! First, unscrew those 2 little screws that are holding the board snugly to the case. And don’t forget about the 2 screws keeping the heatsink in place – give those a twist too!
Step 6

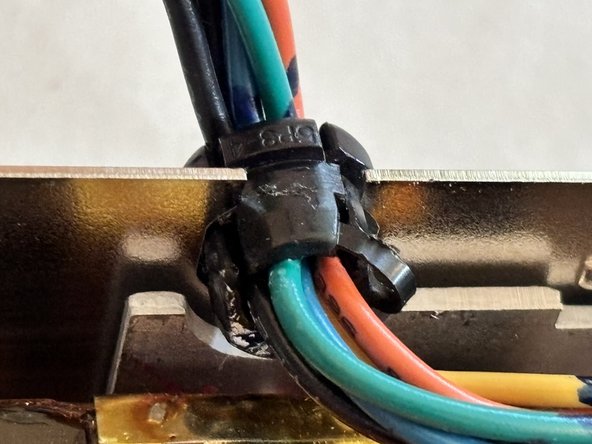
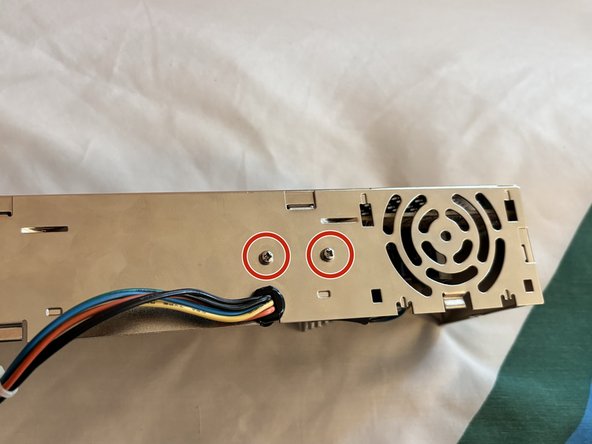
– Grab that cable grommet, give it a twist, and rotate it 90° away from the power inlet. Then, pull it straight out of the case through the cable cutout. If you need help, you can always schedule a repair.
Step 7

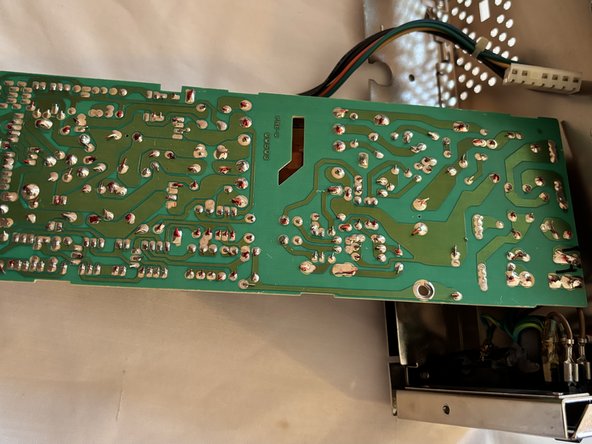
– Take hold of the large heatsink and gently hinge the board out of the shell along the mains power cables.
– The large heatsink is electrically isolated, so there’s no risk of getting shocked.
– Ready to swap those capacitors? Just be cautious with the board—any sudden tug could pull out the two mains input wires. If you need help, you can always schedule a repair
Step 8

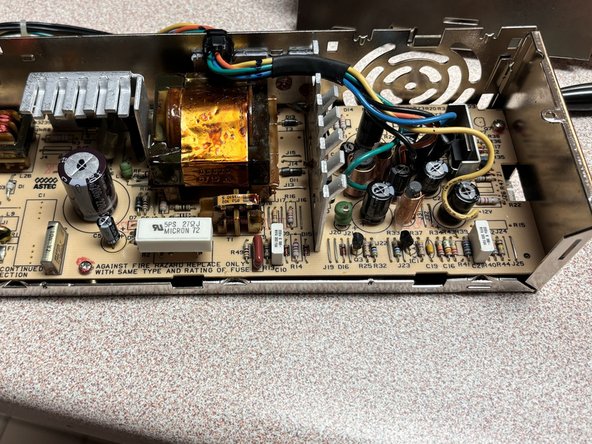
– Swapping out capacitors on your power supplies is a smart move, especially since they’re close to 40 years old, and those capacitors might be toast or leaking by now.
– Some capacitors might be hot glued to a wire or other parts, so you’ll need a precision blade to cut them free without wrecking anything else. Plus, a lot of capacitors have their leads bent flat against the board, so you’ll have to straighten those out before you can remove them.
– There are 11 capacitors in total, and the Astec power supply comes in 4 versions, each with different capacitor values. Check this list to see which variant you have and order the right capacitors. And while you’re at it, don’t forget the thermal compound on the big heatsink that touches the metal case—it needs replacing too.