DIY Guide: Replace ASUS PadFone X Front Camera Step-by-Step
Duration: 45 minutes
Steps: 13 Steps
Want to snap the perfect selfie? Follow this guide to swap out your front camera and get back to capturing those awesome moments!
Step 1
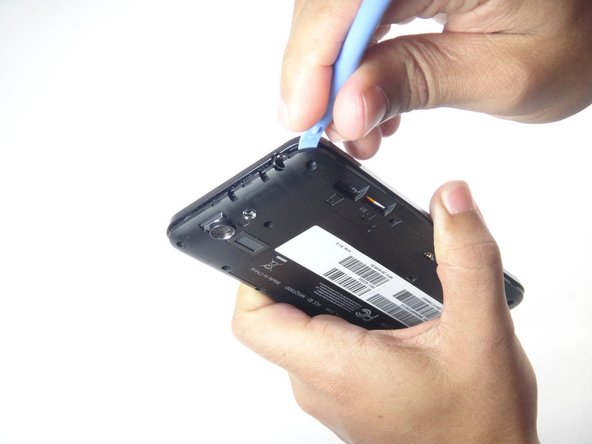
– Grab that nifty blue plastic opening tool and gently slide the tip into the gap between the back cover and the phone. Give it a little lift upwards!
– Keep working your way around the phone until the entire back cover is feeling loose and ready to come off.
Step 2
– Get ready to tackle those thirteen 3.6 mm screws! Grab your trusty Torx T5 bit and screwdriver, and let’s get those screws out!
Step 3
– Grab your trusty blue plastic opening tool and gently slide the tip into the tiny gap between the mid-frame and your phone. Give it a little upward nudge!
– Keep moving around the phone, coaxing the back cover loose, until it’s ready to be removed along with the mid-frame.
Step 4
Be gentle with the connector – too much muscle can lead to damage. Treat it like a delicate flower!
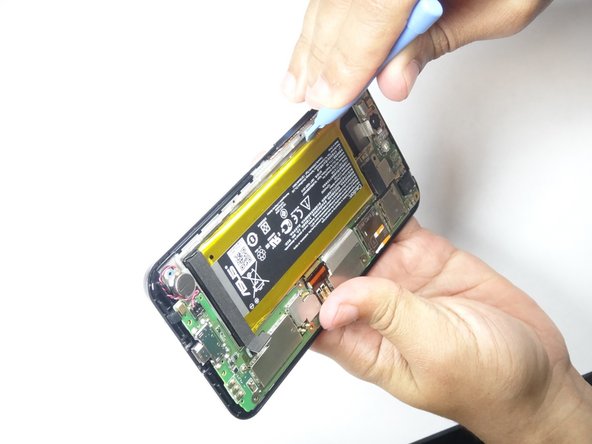
– Grab that trusty blue plastic opening tool and gently ease the battery cable away from the motherboard. You’ve got this!
Step 5
Alright, let’s get this battery out! It’s held in place with some sticky tape, so you might need to give it a little nudge. Just be careful not to bend anything. If you need help, you can always schedule a repair.
– Grab that trusty blue plastic opening tool and gently pry the battery pack away from the phone. Be sure to work along the edge opposite the motherboard—let’s keep that delicate part safe and sound! If you need help, you can always schedule a repair.
Step 6
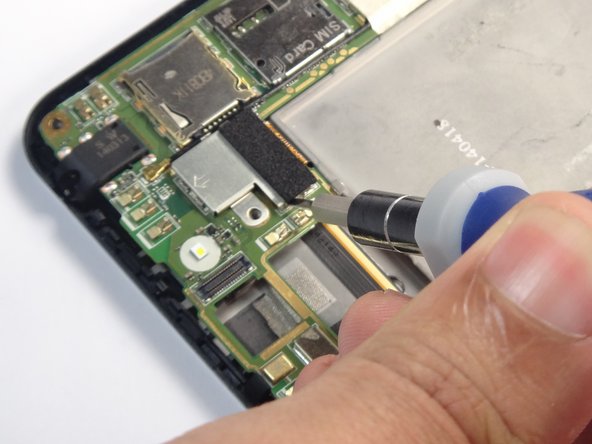
– Grab your trusty spudger and gently wiggle the vibration motor connector away from the motherboard. You’ve got this!
Step 7
Be gentle! Too much force might break the connector.
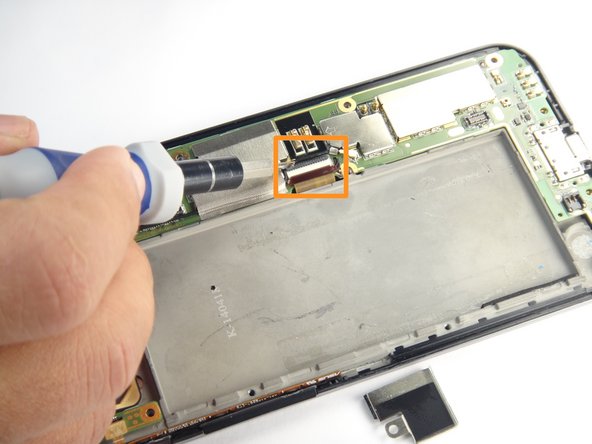
– Grab that trusty blue plastic opening tool and gently lift the camera connector from its cozy socket on the motherboard. Easy does it!
Step 8
The camera’s hanging on tight with some adhesive. Don’t worry, it’s not a super tough job! You can use a plastic opening tool to gently persuade it to loosen up. It’s like giving the camera a little nudge to say, ‘Hey, it’s time for a change!’.
– Grab your trusty tweezers and give that rear camera a gentle nudge – time to say goodbye!
Tools Used
Step 9
– Slide the flat head screwdriver’s tip between the panel and the metal clip, and with a gentle nudge, push down until the clip gives a little bend away from the panel.
– Repeat this for every clip that’s keeping the panel snug.
– Once all the clips are bent out of the way, go ahead and lift off the panel.
Step 10
– Let’s start by giving that first connector a gentle nudge upwards with your trusty blue plastic opening tool. It’s like a little lift to get things moving!
– Next up, for the second connector, first do a little dance by lifting the lock. Once it’s feeling free, pull the connector outward, and voilà!
Step 11
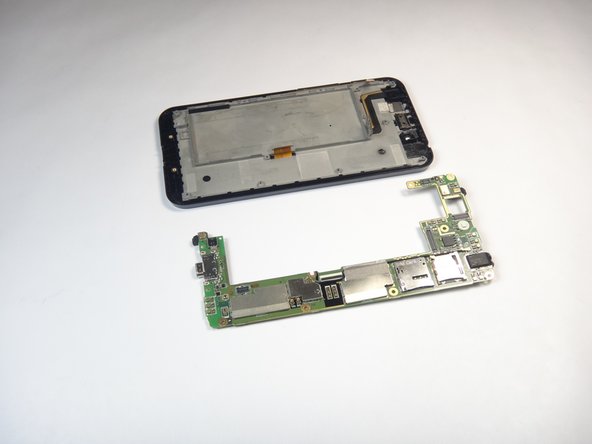
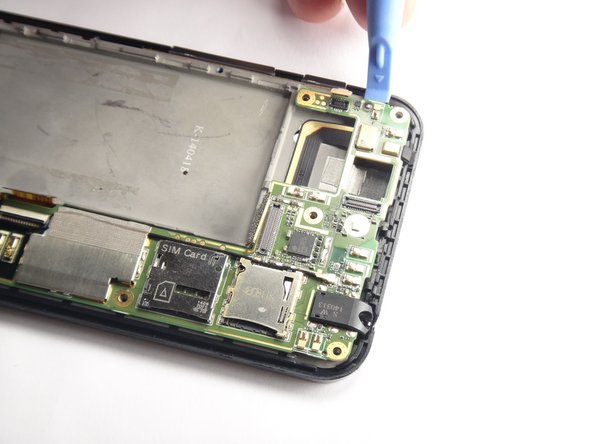
– Gently slide the tip of the blue plastic opening tool beneath the motherboard and lift it up with care.
– Keep going around the edges until the motherboard is fully released.
Step 12
Heads up! This little black lock is a bit delicate, so be extra careful when taking it off. You’ve got this!
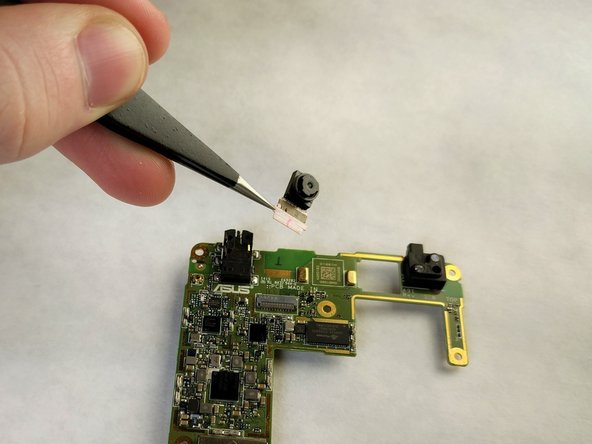
– Time to flip that motherboard over and give that front-facing camera a good look!
– Grab those tweezers and gently remove the black locking mechanism – it’s like a little puzzle piece holding everything together!
Tools Used
Success!


