DIY Guide: Replace ASUS PadFone X Motherboard – Step-by-Step
Duration: 45 minutes
Steps: 13 Steps
Get ready to dive in! This guide will walk you through the essential steps to swap out your Motherboard like a pro. Let’s make your device come to life again!
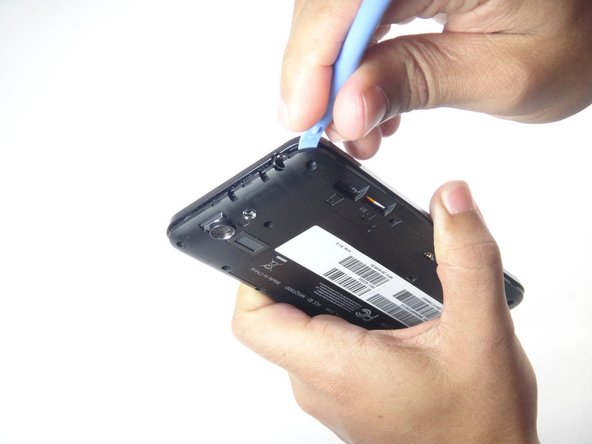
Step 1


– Grab your blue plastic opening tool and slide the tip into the gap between the back cover and your phone. Gently pry it up.
– Move around the phone, popping the cover off as you go.
Step 2


– Time to unscrew! Grab your trusty Torx T5 bit and carefully remove the thirteen 3.6 mm screws. You’ve got this!
Step 3

– Grab your trusty blue plastic opening tool and wedge it into the groove between the mid-frame and the phone. Give it a gentle pry upwards.
– Work your magic around the phone until the back cover is totally loose, then lift off the mid-frame.
Step 4

Be gentle, my friend! Too much muscle here can hurt that connector.
– Grab that trusty blue plastic opening tool and carefully unplug the battery cable from the motherboard. Easy does it!
Step 5
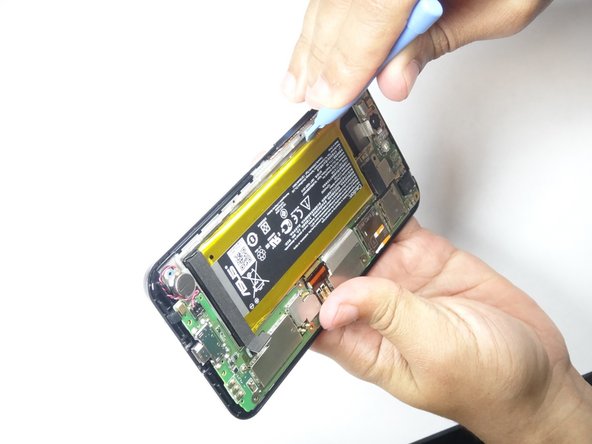

The battery pack is stuck on there with some sneaky double-sided tape, so you’ll need to give it a little elbow grease when you’re prying it out.
– Grab that trusty blue plastic opening tool and gently pry the battery pack away from the phone. Be sure to work along the edge opposite the motherboard—let’s keep that delicate part safe and sound! If you need help, you can always schedule a repair.
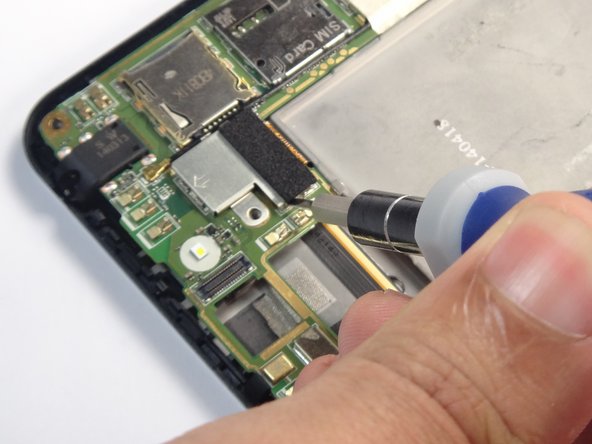
Step 6

– Now, it’s time to gently coax the vibration motor connector off the motherboard. Use your trusty spudger to give it a little nudge, but don’t be too rough – we want to keep things friendly here. Just a little wiggle and it should pop right off!
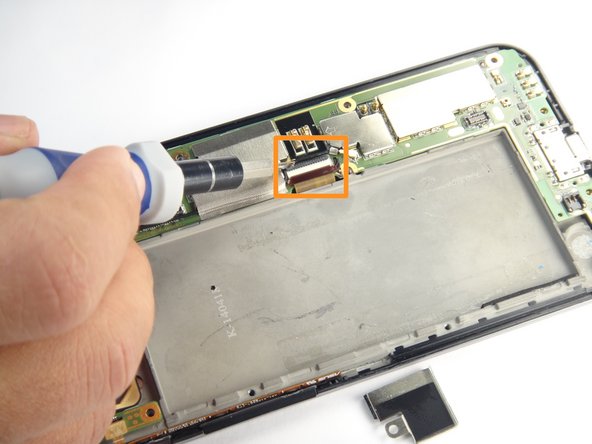
Step 7

Be gentle while handling the connector, or you might end up with a banged-up buddy!
– Grab that trusty blue plastic opening tool and carefully lift the camera connector from its cozy spot on the motherboard. Easy does it!
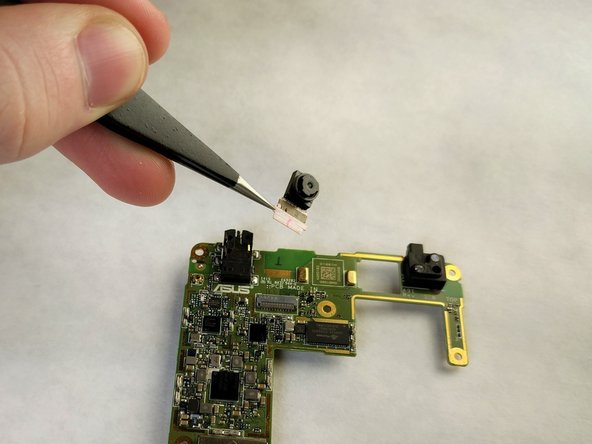
Step 8

The camera is lightly attached to the motherboard with a bit of adhesive. A plastic opening tool can help gently loosen it up—just take it slow and steady! If you need help, you can always schedule a repair.
– Grab those tweezers and gently lift out the rear camera from your Padfone X. You’ve got this!
Tools Used

Step 9

– Slide the tip of your flathead screwdriver between the panel and that pesky metal clip, then give it a gentle nudge downwards until the clip is just a little bit bent away from the panel.
– Repeat this for each of the clips securing the panel in place.
– Once all the clips are nicely bent away, go ahead and lift off the panel.
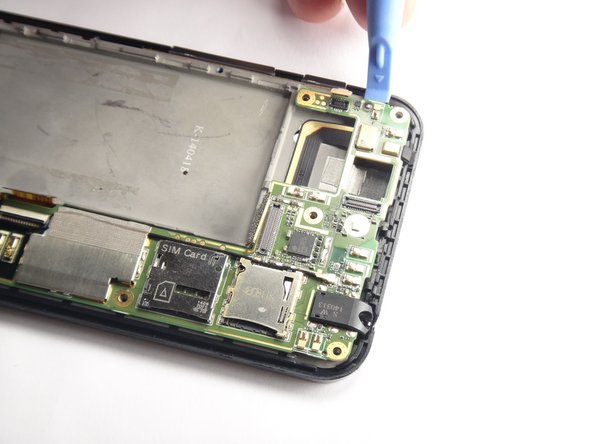
Step 10

– Use that trusty blue plastic opening tool to gently pry the first connector upward and disconnect it with ease!
– For the second connector, start by lifting the lock—like a secret door—and then pull the connector outward to set it free!
Step 11

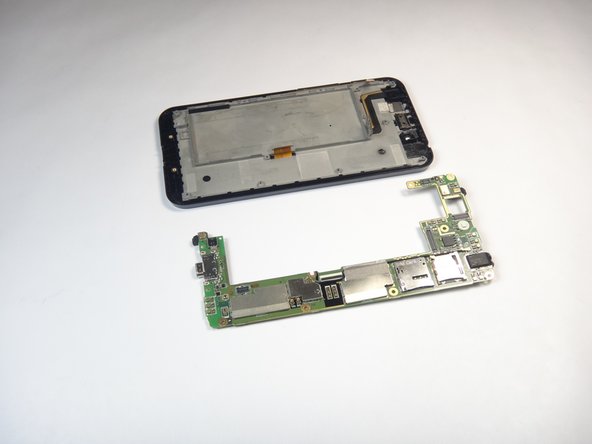
– Slide the blue plastic tool under the motherboard and give it a gentle lift—think of it as a little nudge to freedom.
– Keep moving around the edges until the motherboard pops loose like a champ!
Step 12

The black locking mechanism is pretty delicate, so be super gentle while taking it off!
– Give the motherboard a little flip and keep your eyes peeled for the front-facing camera.
– With your trusty tweezers, carefully coax out the black locking mechanism—it’s time for it to take a little break!
Tools Used
Step 13

– To put your device back together, just follow these steps in reverse. You’ve got this!
– If you need a breather, that’s totally cool! No pressure to finish right away.
– Remember, if you hit a snag, you can always schedule a repair for assistance.
Tools Used
Success!


