DIY Guide: Replace FaceTime Camera on Apple iPhone 7
Duration: 60 min.
Steps: 18 Steps
Welcome to the world of DIY repairs! In this guide, we’re going to walk you through the steps to swap out that pesky FaceTime camera or the whole FaceTime cable set on your iPhone all by yourself. Since the FaceTime camera is buddies with the environmental microphone and proximity sensor on the same cable, fixing this will also solve issues like no sound during video recordings or that annoying display not dimming during calls. Don’t forget to check out our online store for the perfect tool kit and a top-notch FaceTime cable set for your iPhone 7. Good luck with your repair adventure!
Step 1

– To keep your device safe from any sneaky short circuits during your repair journey, make sure to power it down completely first!
– Give that sleep/wake button a good press until the “Switch off” slider makes its grand appearance on the screen.
– Slide the slider from left to right like you mean it!
– In about ten seconds, your iPhone will be fully powered down and ready for the repair magic to begin.
Step 2
2 × 3,3 mm Pentalobe
To keep track of those tiny screws and parts during your repair escapade, we suggest using a nifty screw storage solution. An old sewing box can work wonders! Here at Salvation Repair, we love our high-quality magnetic mat, which lets us organize all the removed bits just like they were originally in your phone. Happy repairing!
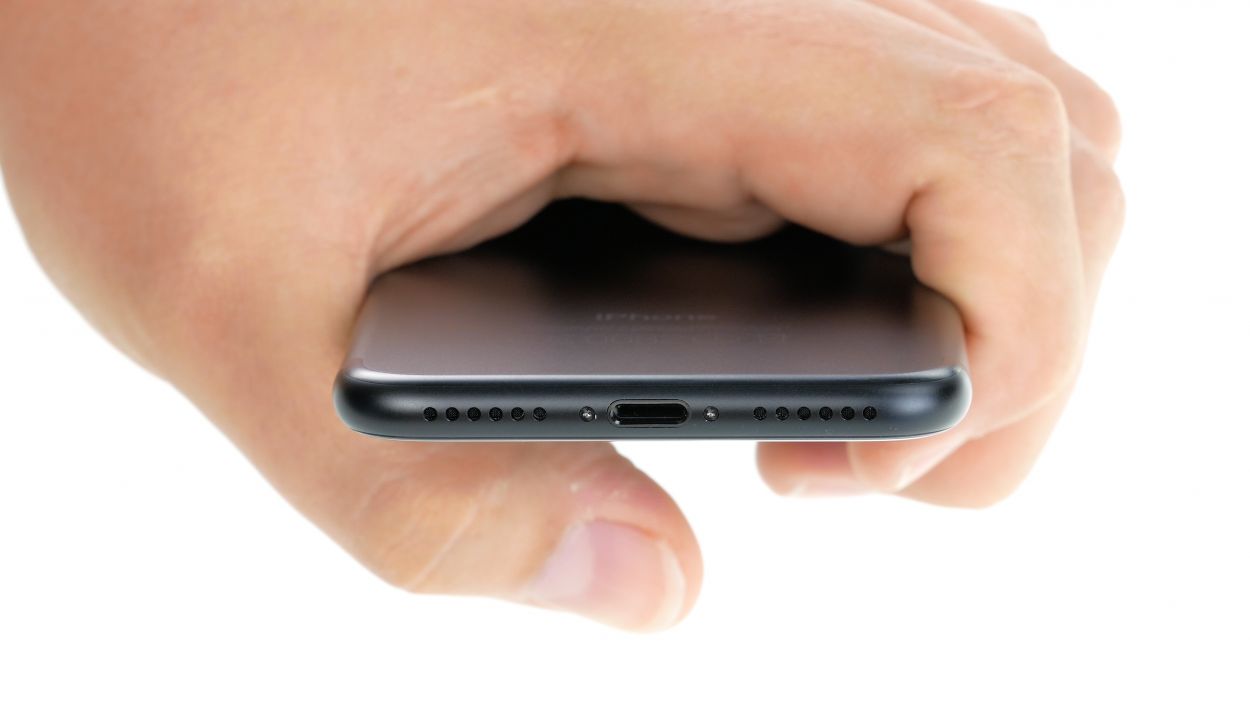
– Grab your trusty Pentalobe screwdriver and let’s tackle those two Pentalobe screws hanging out to the left and right of the Lightning connector!
– Once you’ve got those little guys out, make sure to stash them in a screw storage solution so they don’t go on an adventure of their own!
Step 3
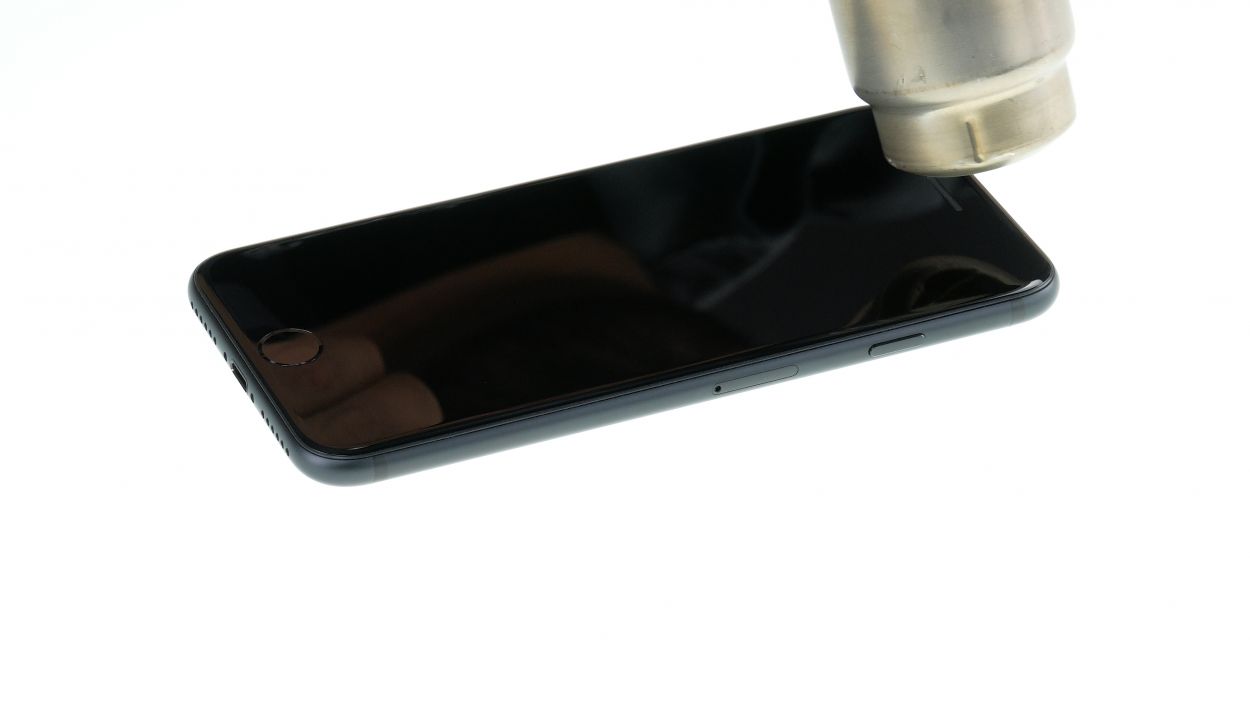
When it comes to heating up your device, think of it like warming up a cozy cup of coffee—just enough to make it feel nice and toasty, but not so hot that you can’t handle it! Keep it comfortable to touch, and you’re good to go!
– To keep your iPhone 7’s back cover looking pristine, start by placing it on a soft, clean surface—like a cozy blanket for your phone!
– Grab your trusty hot air tool, whether it’s a heat gun or a good old hairdryer, and gently wave it around the edge of the screen. This will warm up the adhesive like a warm hug, making it easier to remove.
Tools Used
- heat gun to heat parts that are glued on so they’re easier to remove.
In most cases, you can also use a hairdryer.” rel=”noopener”>Heat gun
Step 4
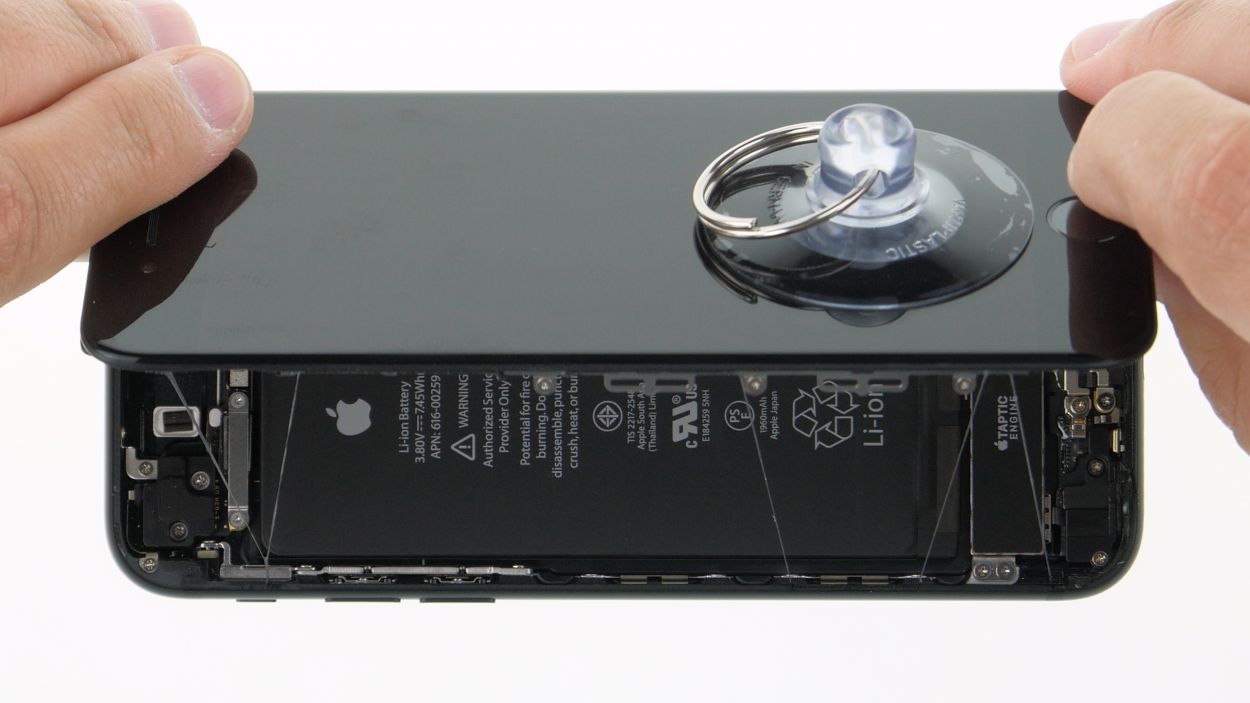
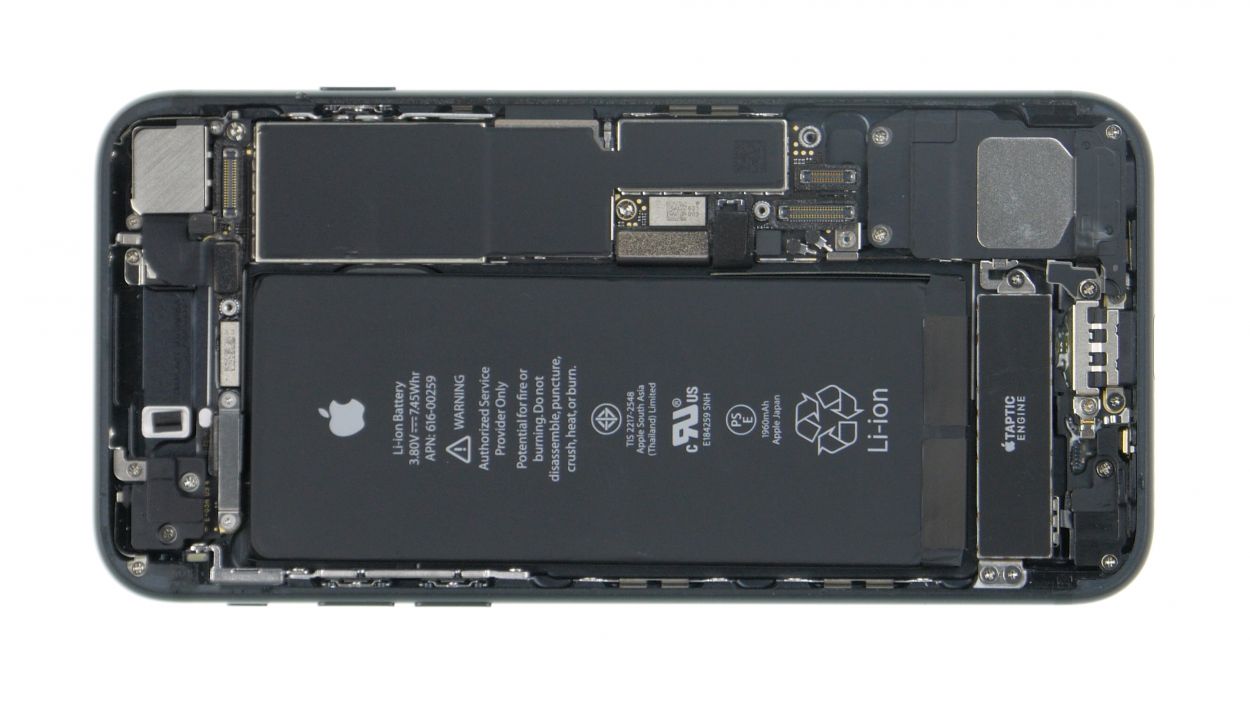
Opening your iPhone 7 means saying goodbye to its dust and splash protection, as well as its waterproof charm. But hey, you’re about to become a repair pro!
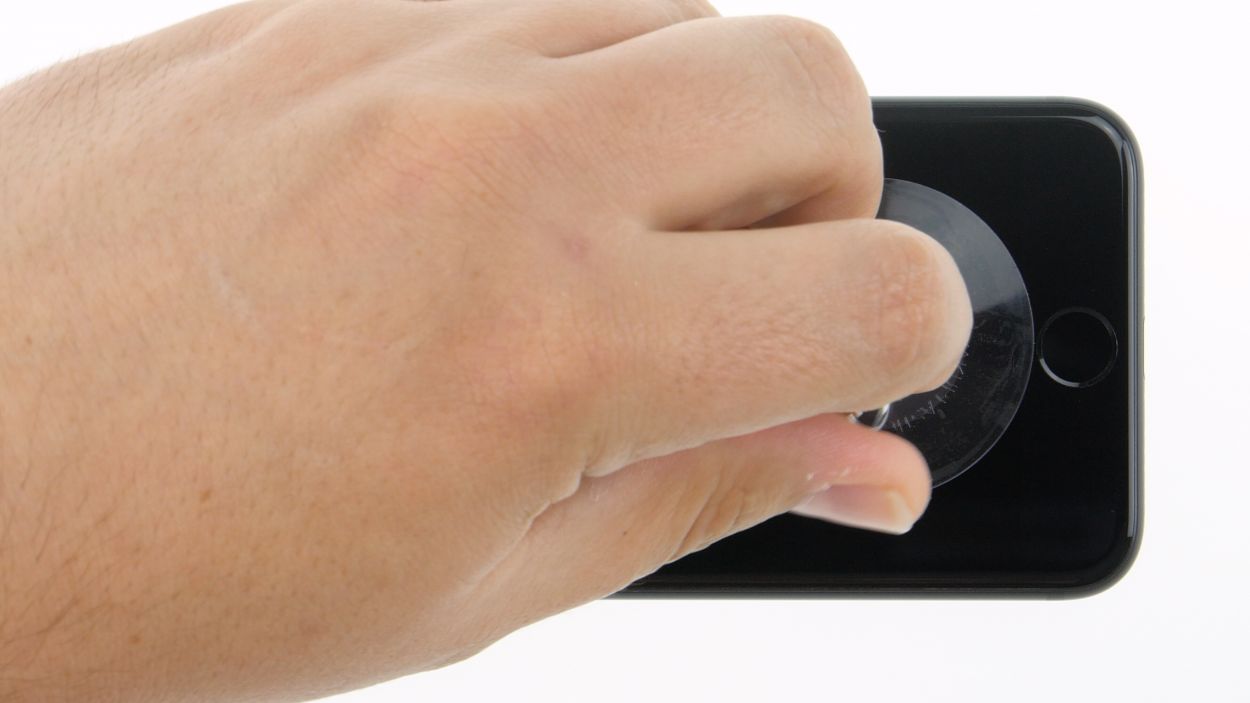
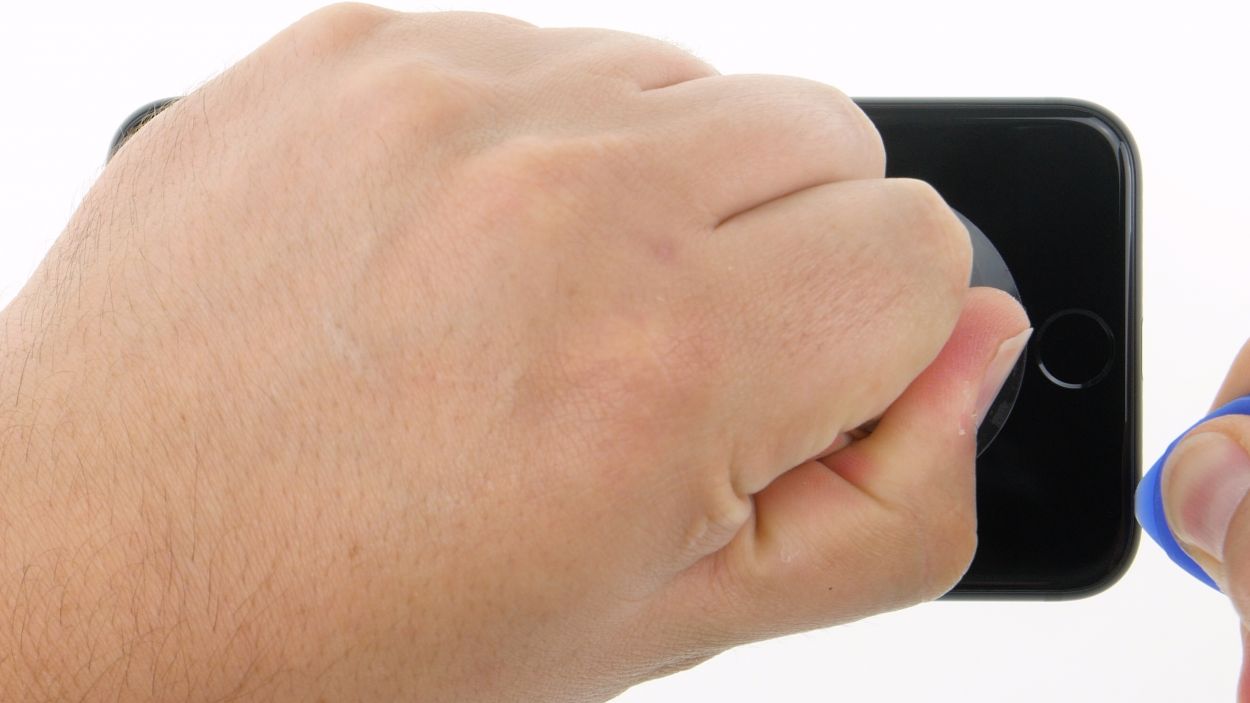
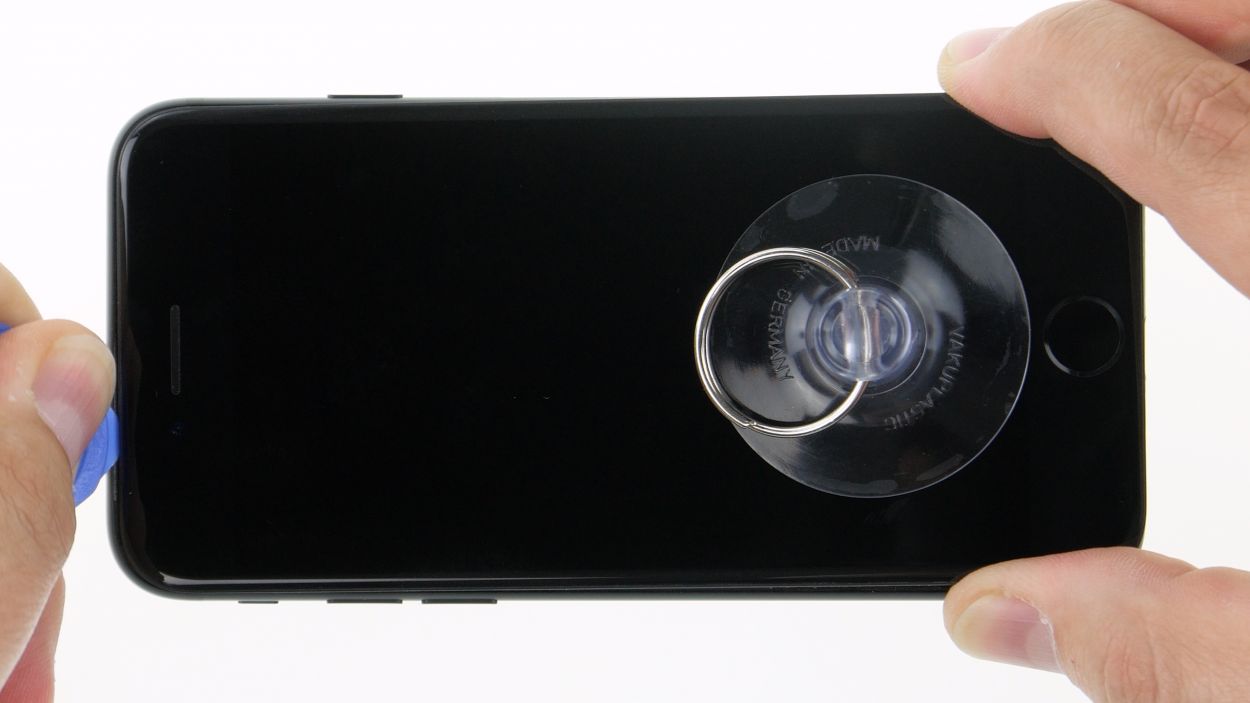
– After giving the display edge a nice warm hug, place a suction cup right at the height of the home button.
– Gently pull the suction cup upwards to create a tiny gap between the aluminum frame and the display.
– While you’re at it, slide a flat, stable tool into that gap. A hard plastic plectrum works wonders here!
– Now, go ahead and nudge the aluminum frame down with your tool to widen that gap a bit more.
Tools Used
Step 5
Hey there! Just a quick reminder: when you’re using those picks, keep them away from the sleep/wake button area. We want to avoid any accidental flex cable mishaps for the display. You’ve got this!
Tools Used
- heat gun to heat parts that are glued on so they’re easier to remove.
In most cases, you can also use a hairdryer.” rel=”noopener”>Heat gun - Pick Set
- Flat Picks
Step 6

1 × 2,4 mm Y-Type
3 × 1,0 mm Y-Type
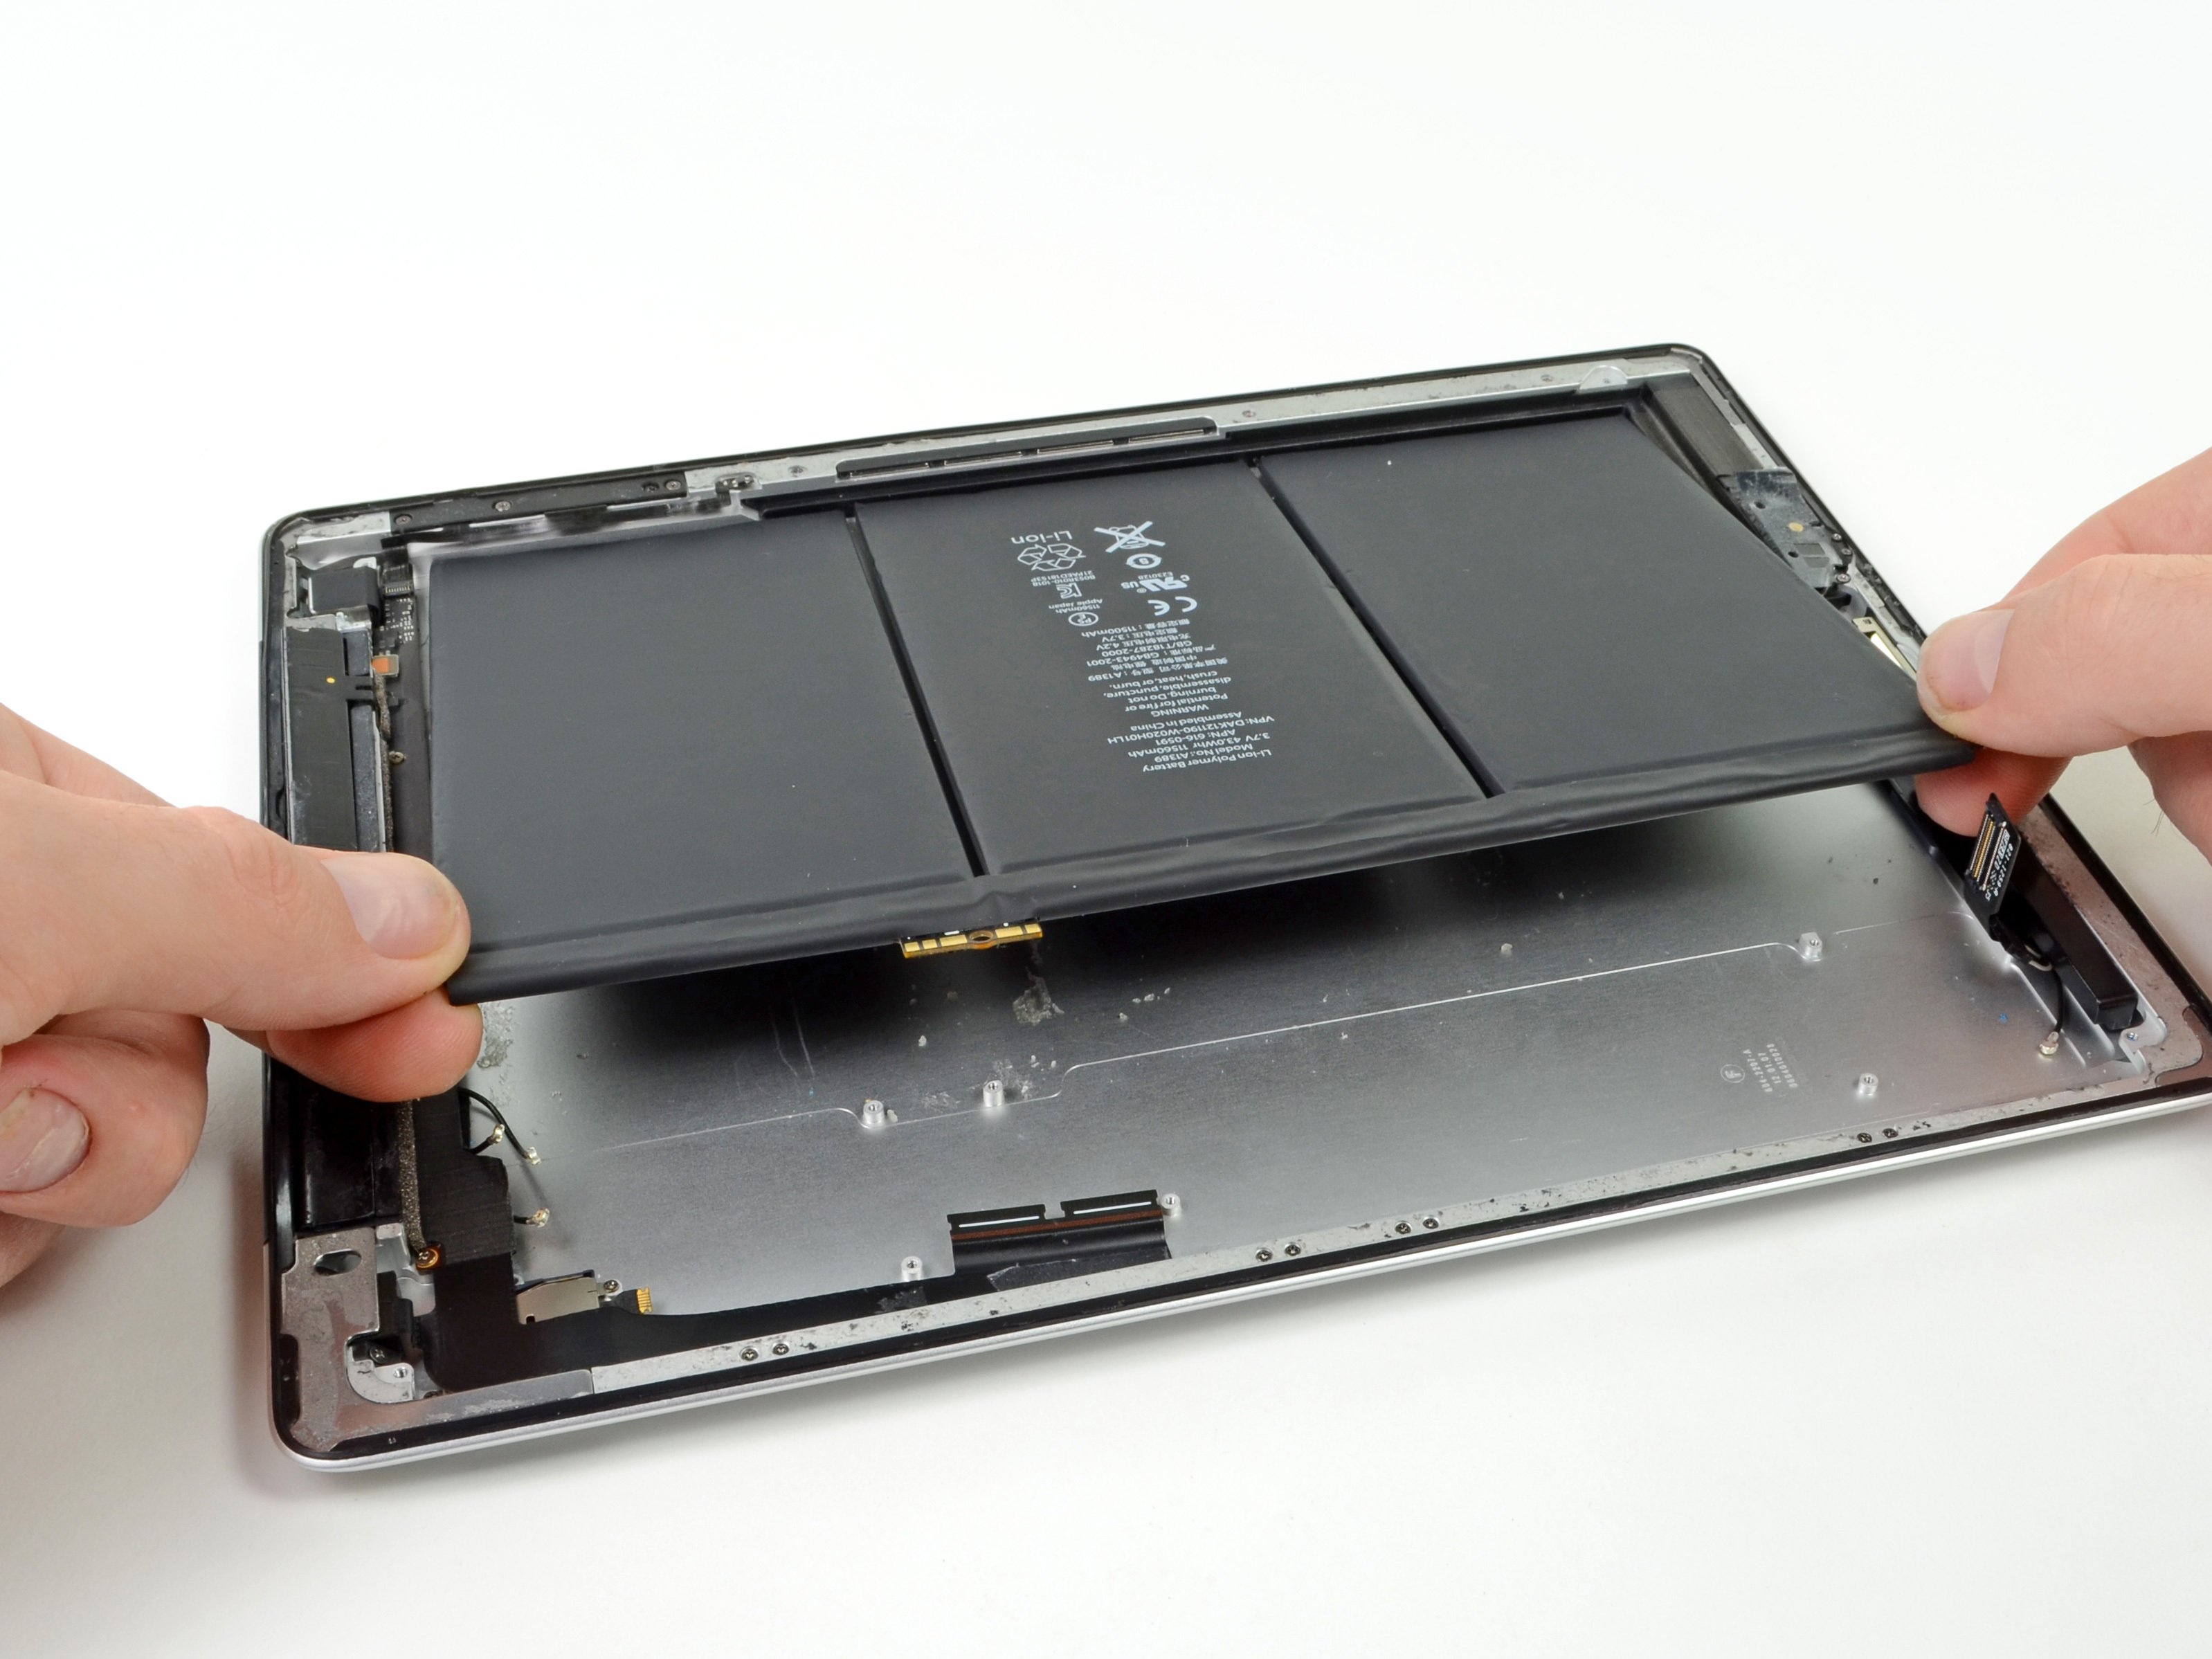
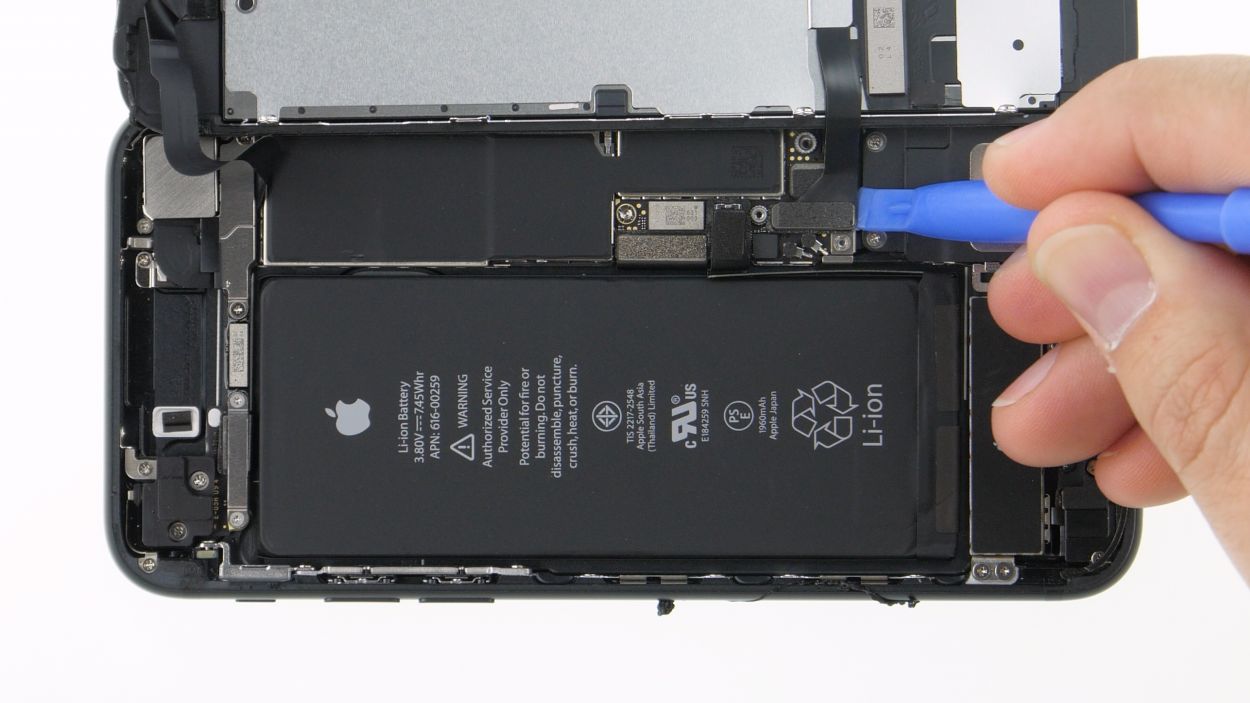
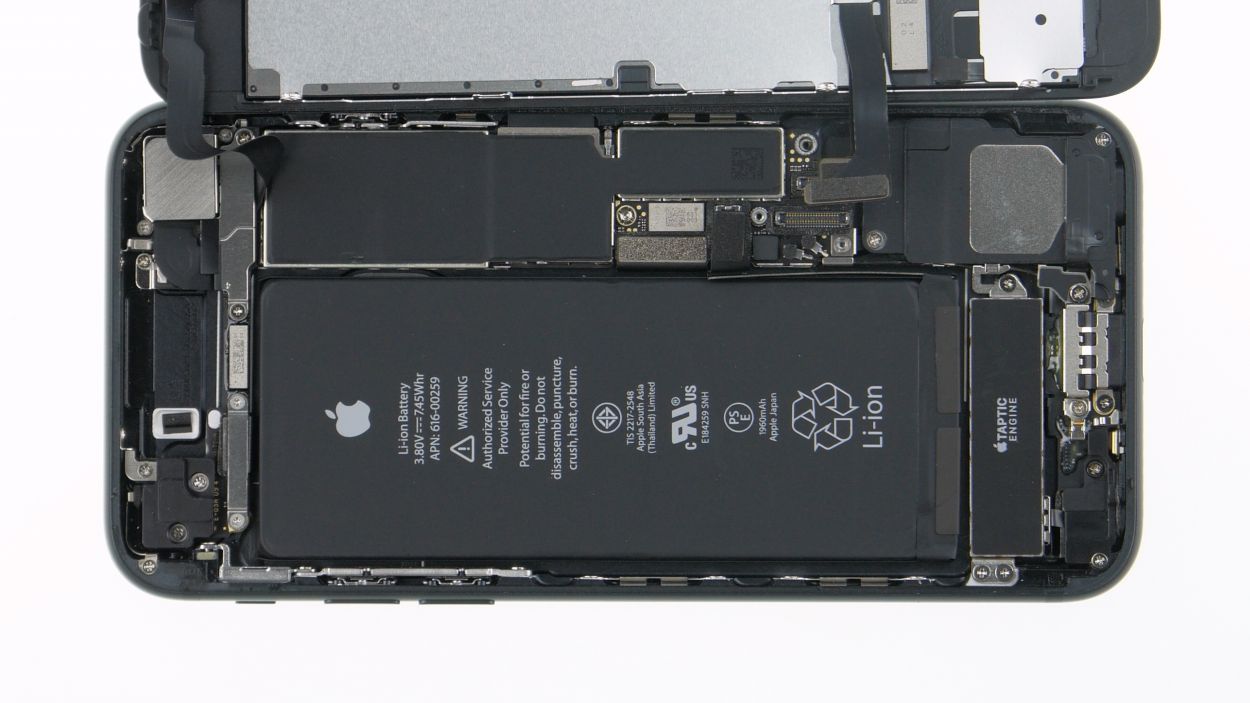
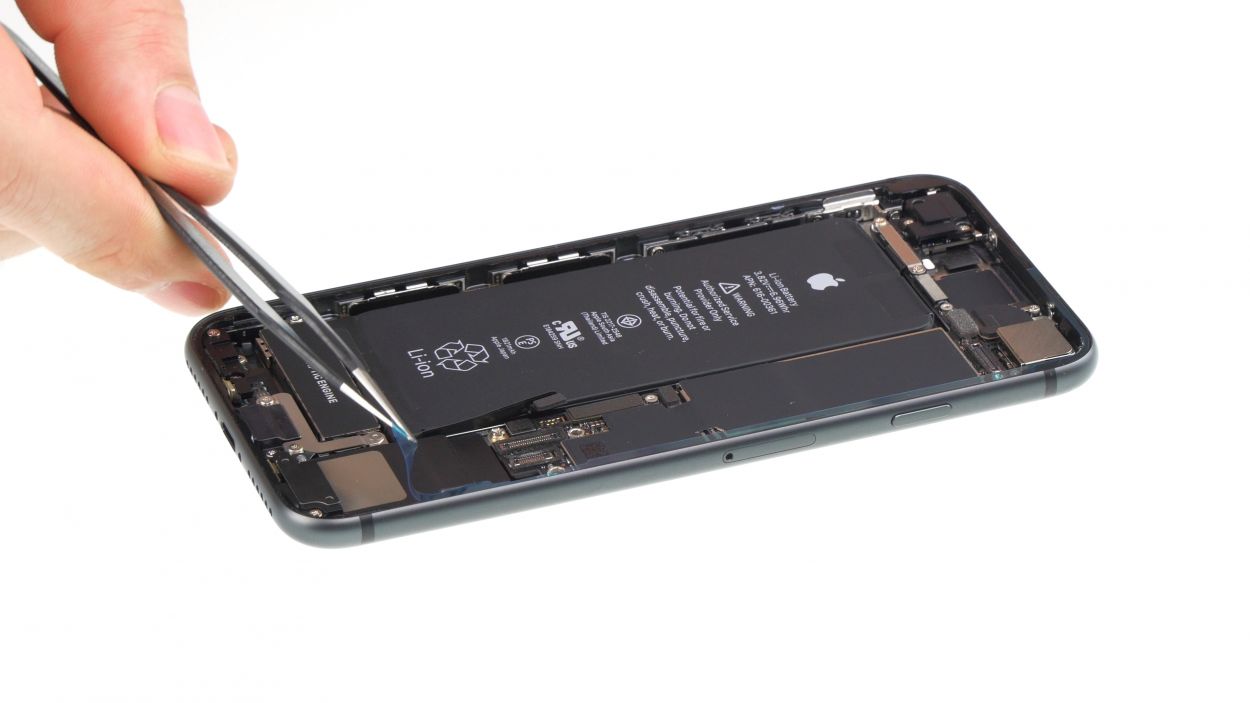
Battery connector
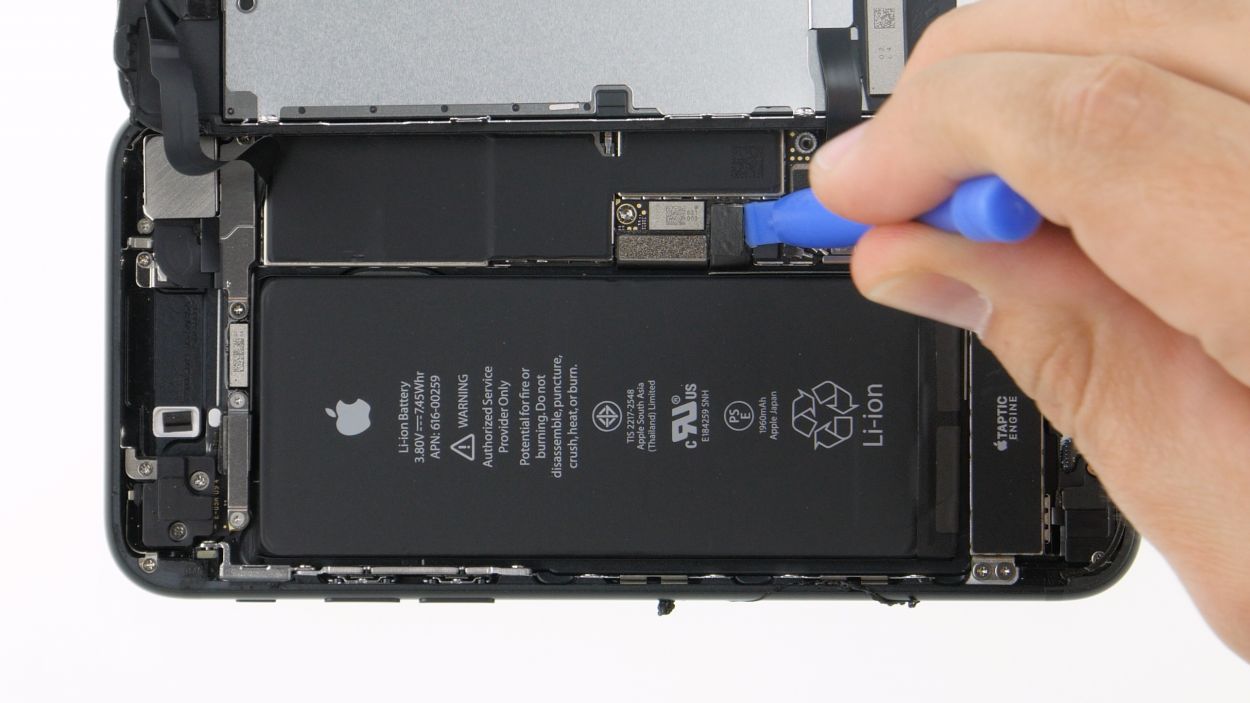
Start your repair journey by loosening the battery connector. This little step is key to avoiding any surprise short circuits and will keep your iPhone 7 from turning on unexpectedly while you’re in the zone!
– Grab your Y-type screwdriver and let’s loosen those four Y-type screws like a pro! Once they’re all loose, go ahead and lift off the bracket plate that’s cozying up over the battery connector.
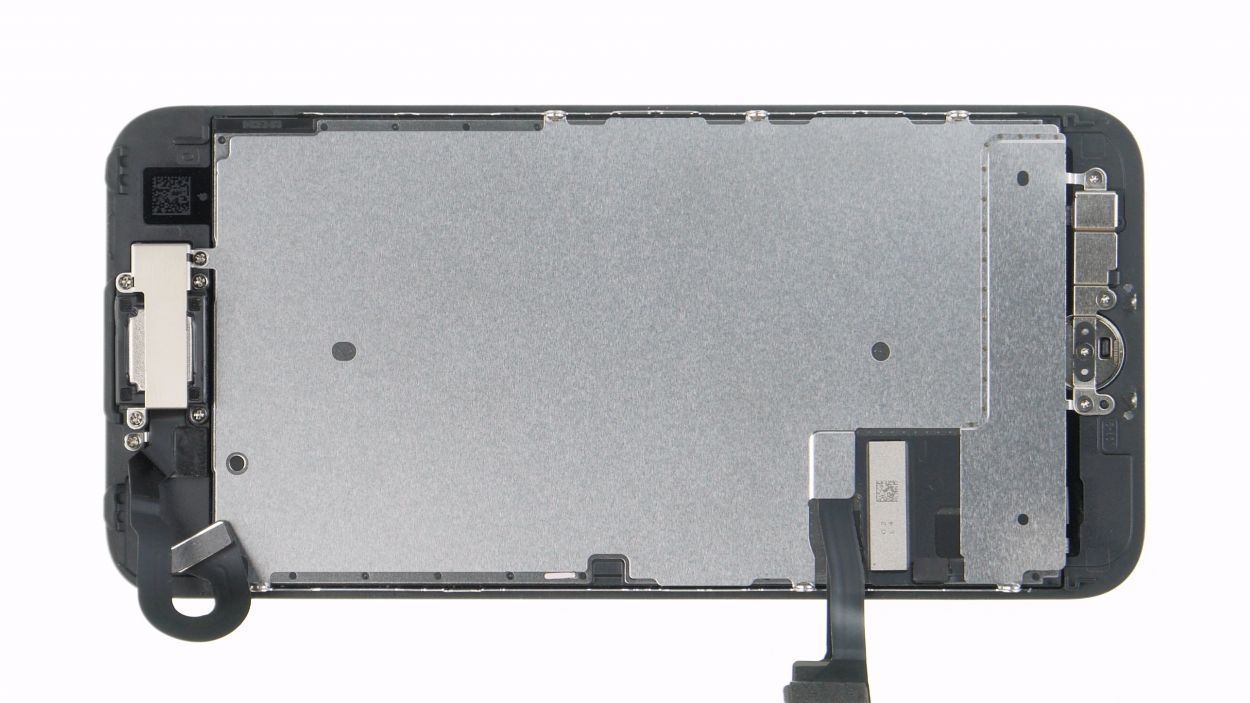
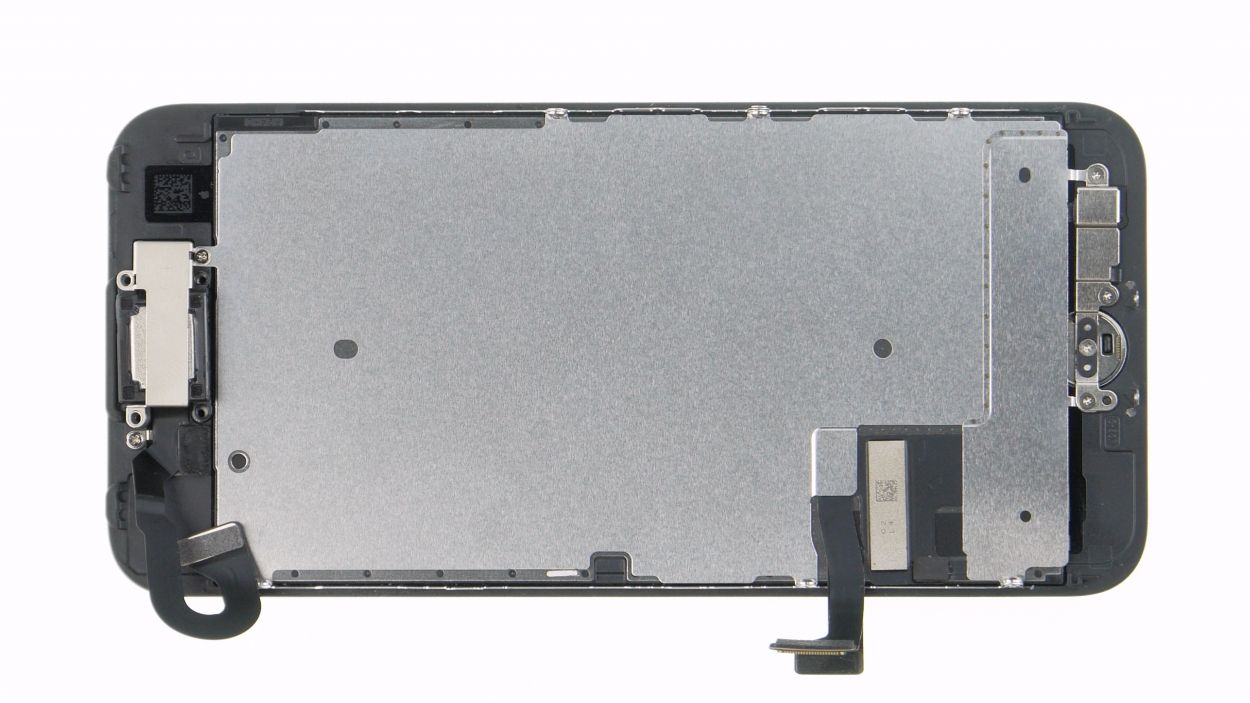
Step 7
Display connector
Home button connector
When you’re unhooking those display connectors, aim for the side that’s free of tiny components on the board. It’s like dodging a pothole while driving—stay clear and you’ll keep everything safe and sound!
– Now, let’s give those two display connectors (the display and home button) a little separation dance, just like before—using that trusty plastic spudger of yours!
Tools Used
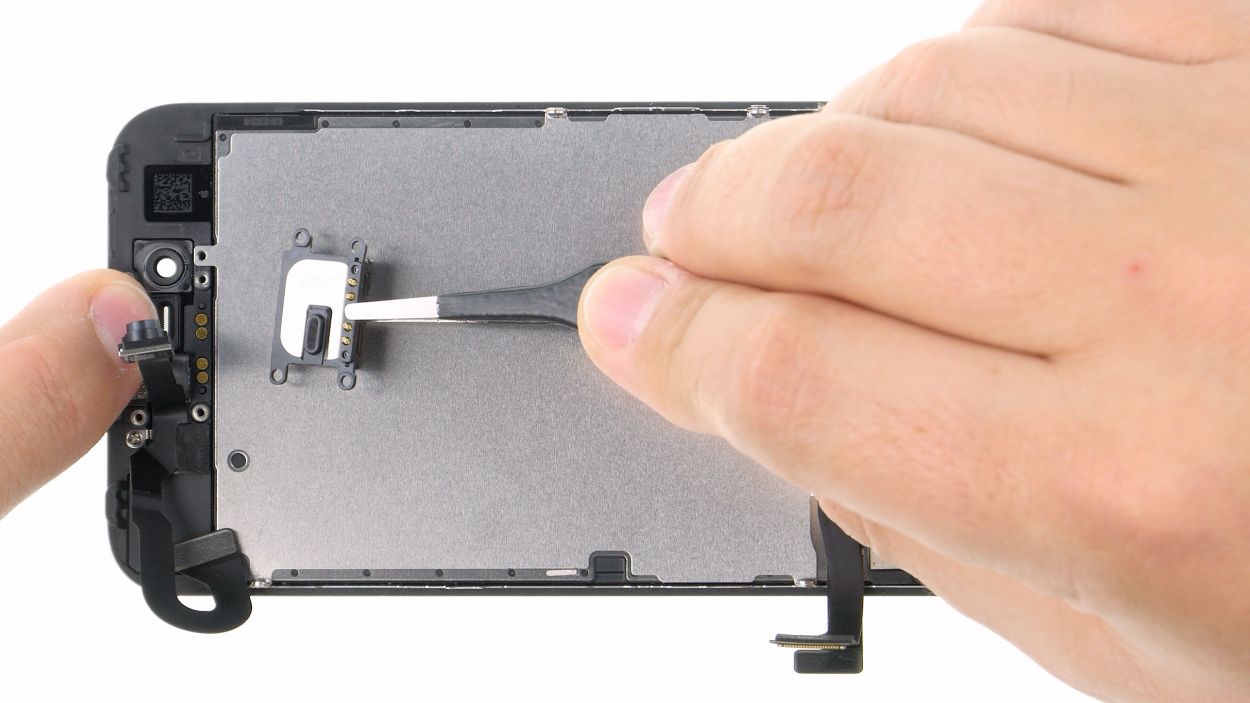
Step 8

2 × 1,2 mm Phillips
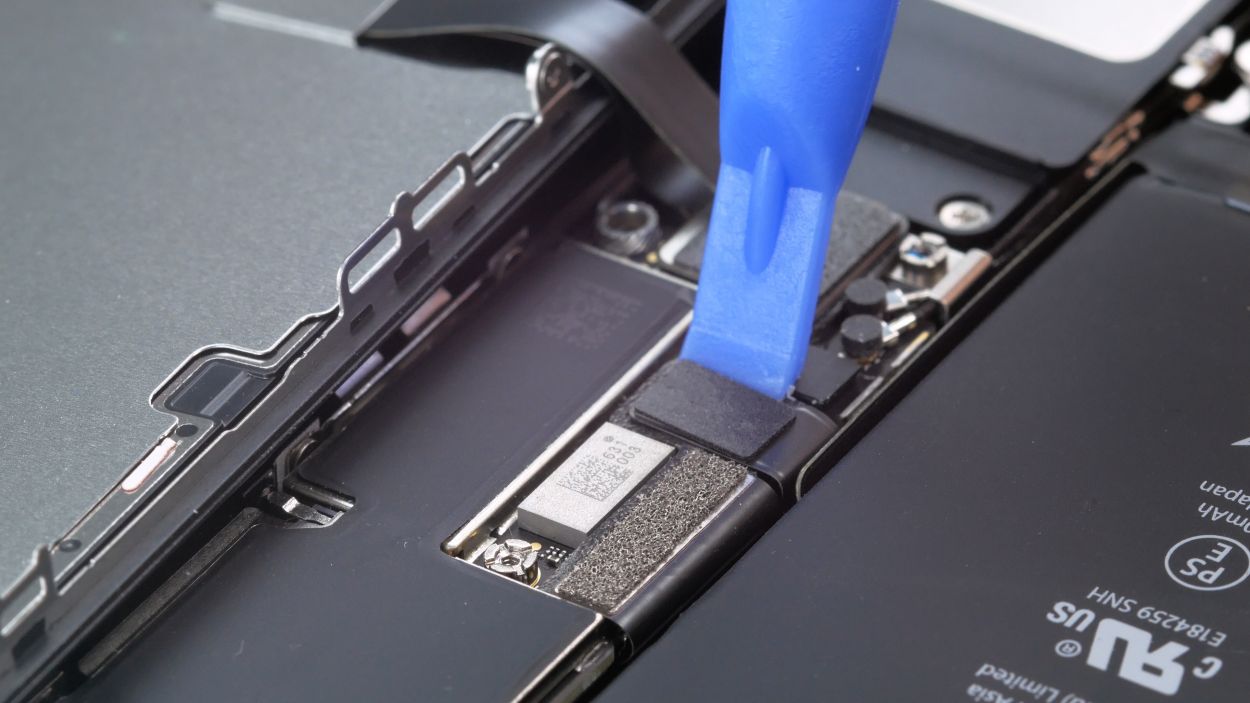
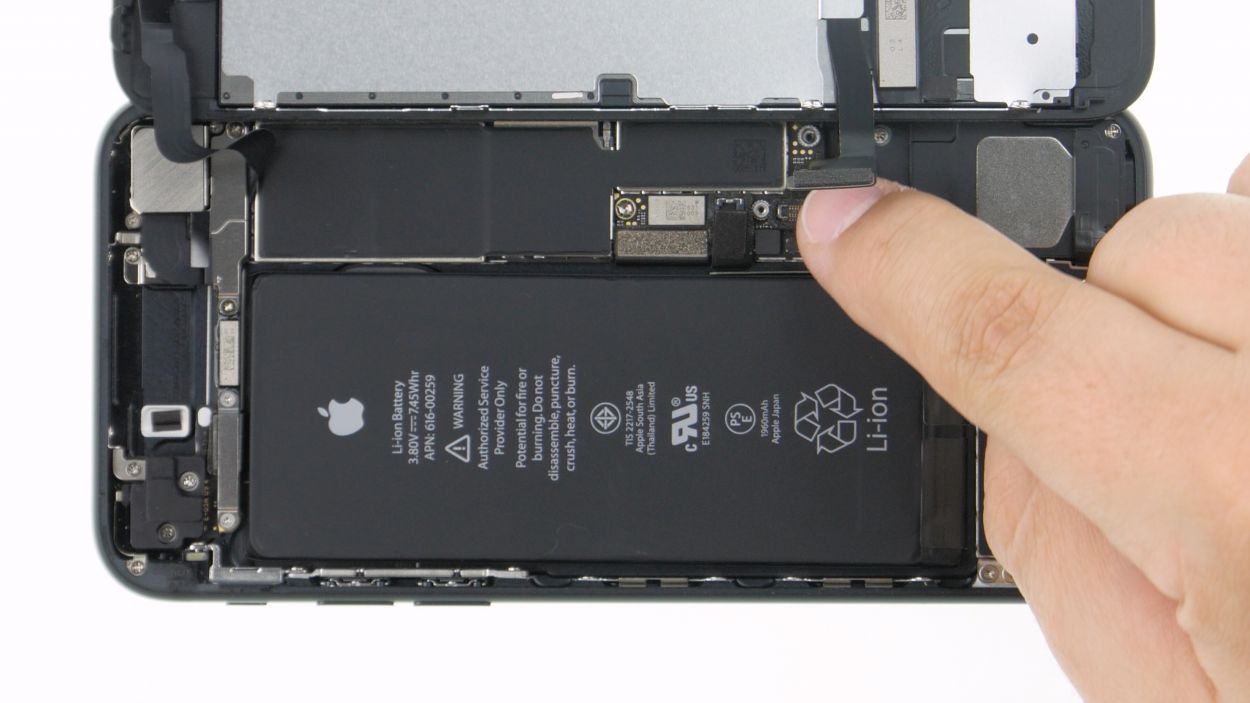
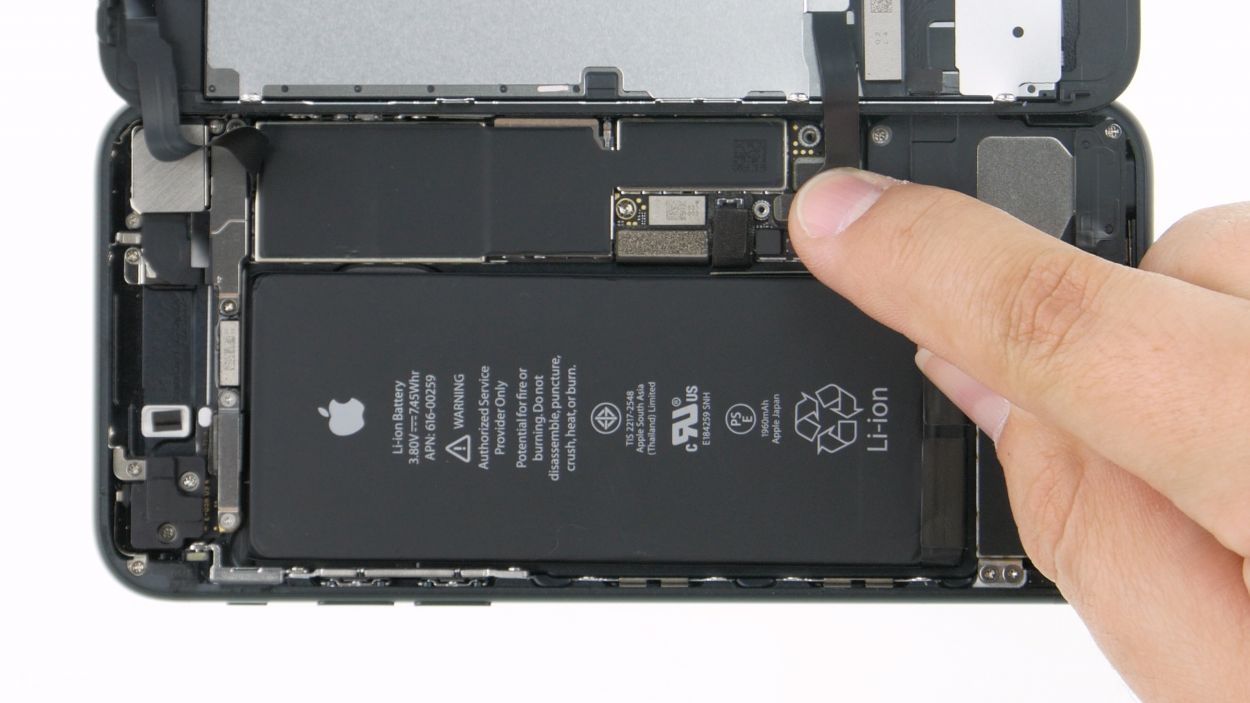
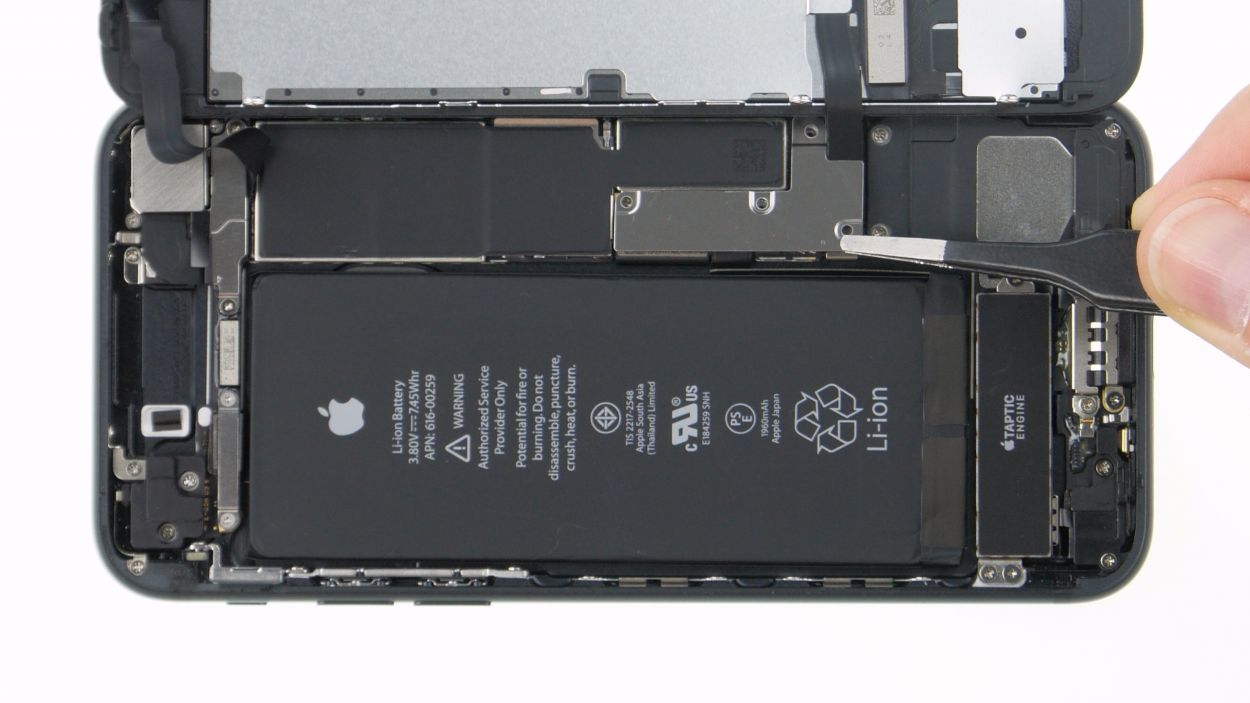
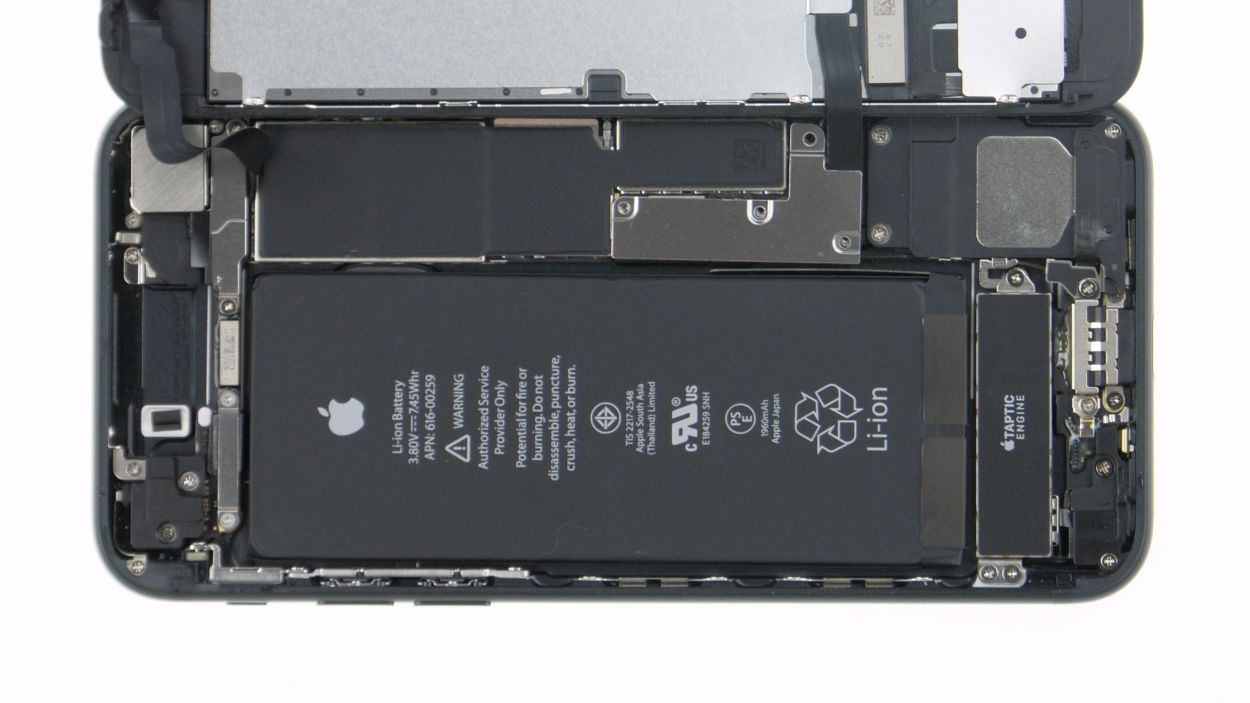
FaceTime connector
When you’re about to detach the FaceTime connector, kick things off from the side that’s free of those tiny components on the board. It’s like taking the scenic route—way less chance of bumping into trouble!
– To kick things off, let’s take out those two Phillips screws that are holding the bracket plate snugly over the FaceTime connector. Once they’re gone, you can lift that plate right out!
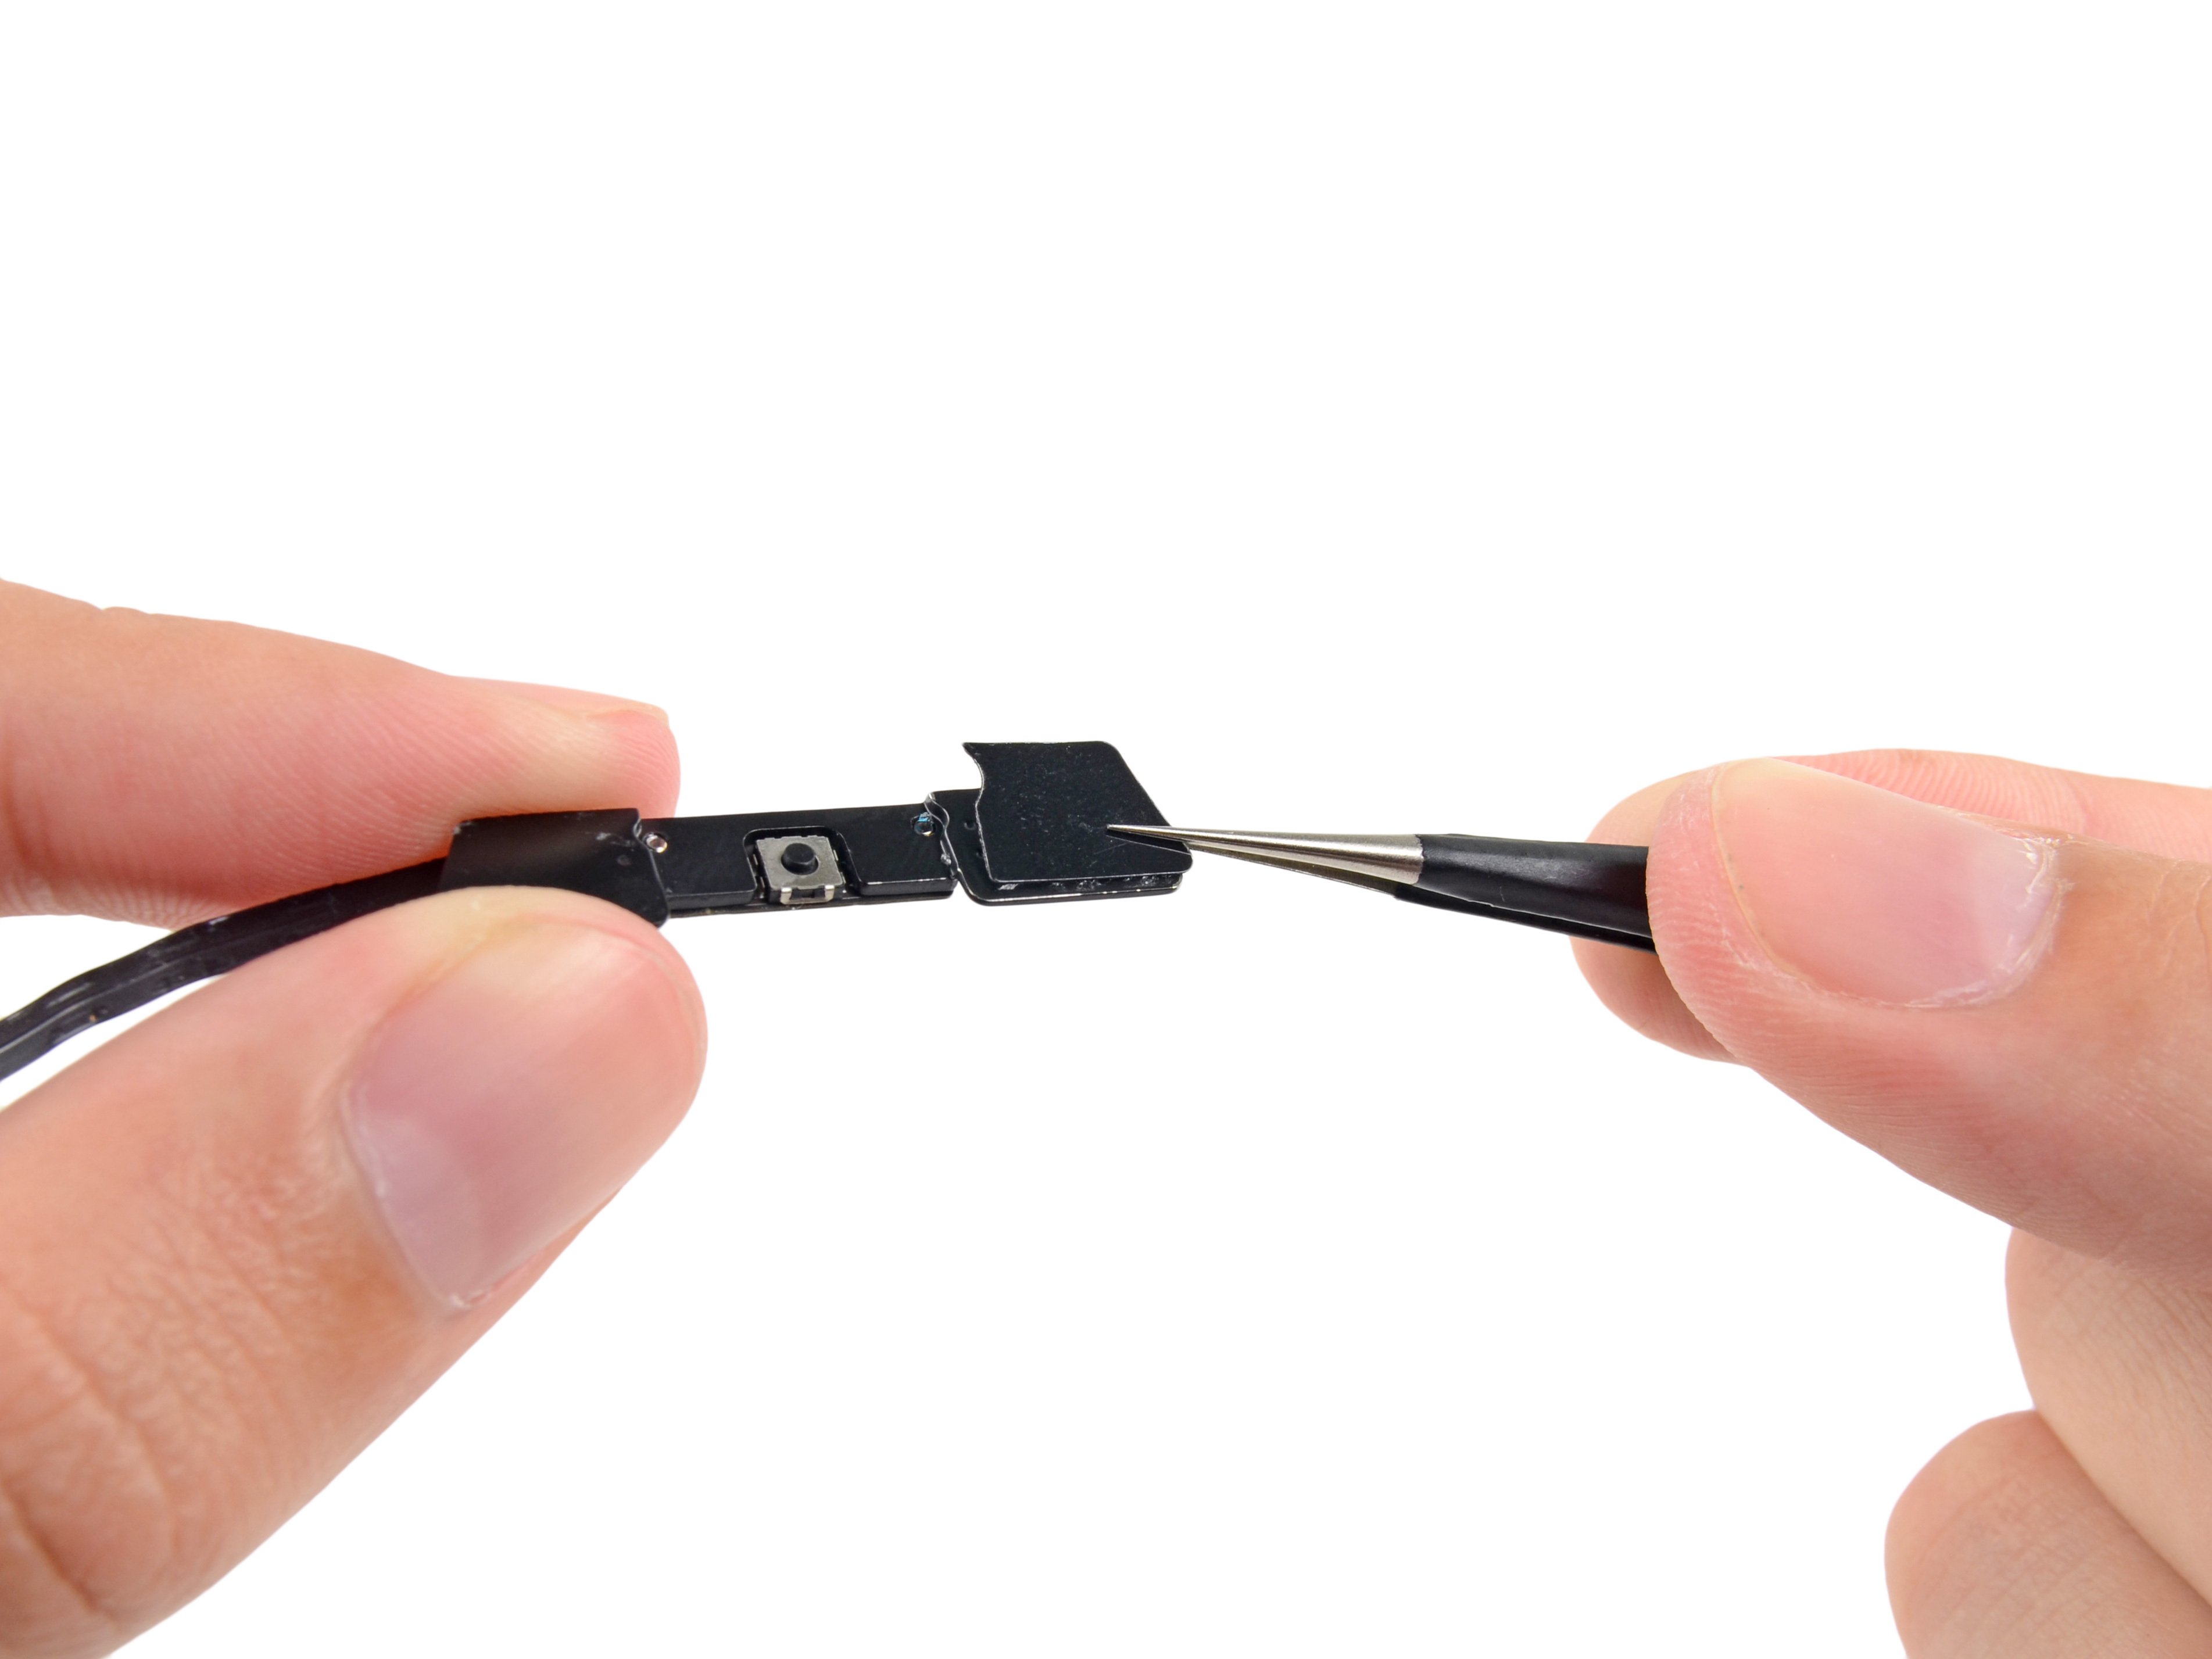
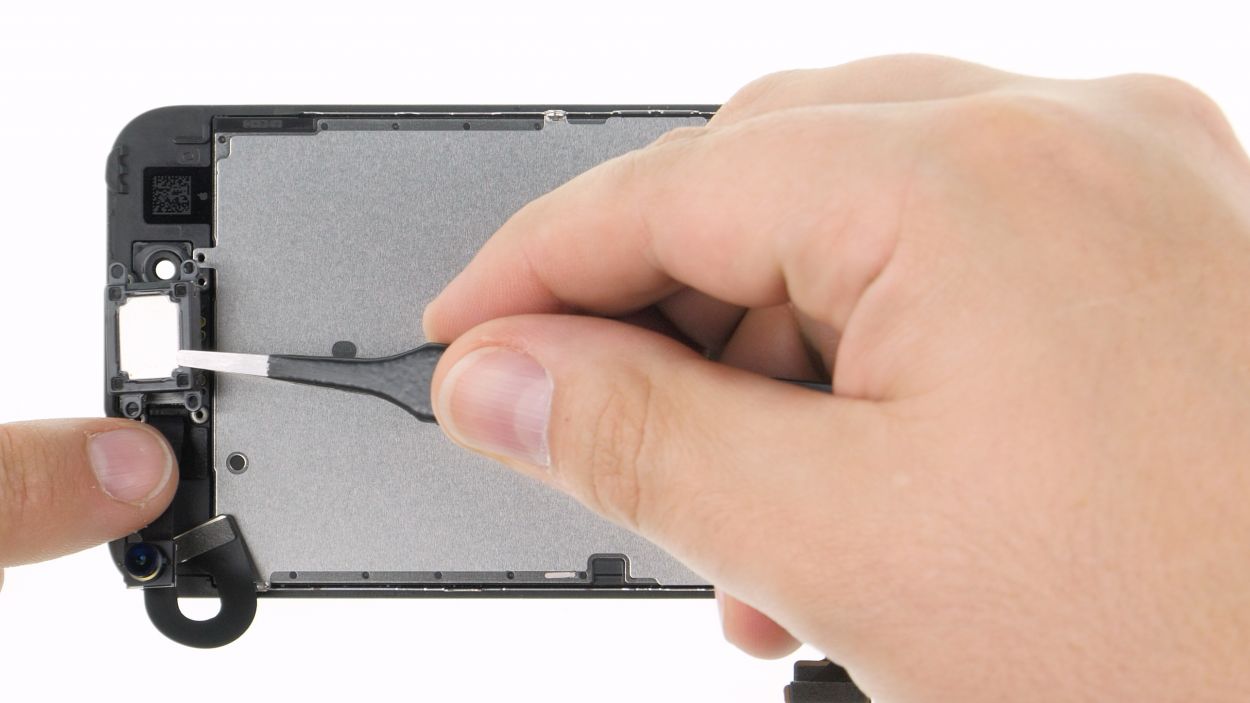
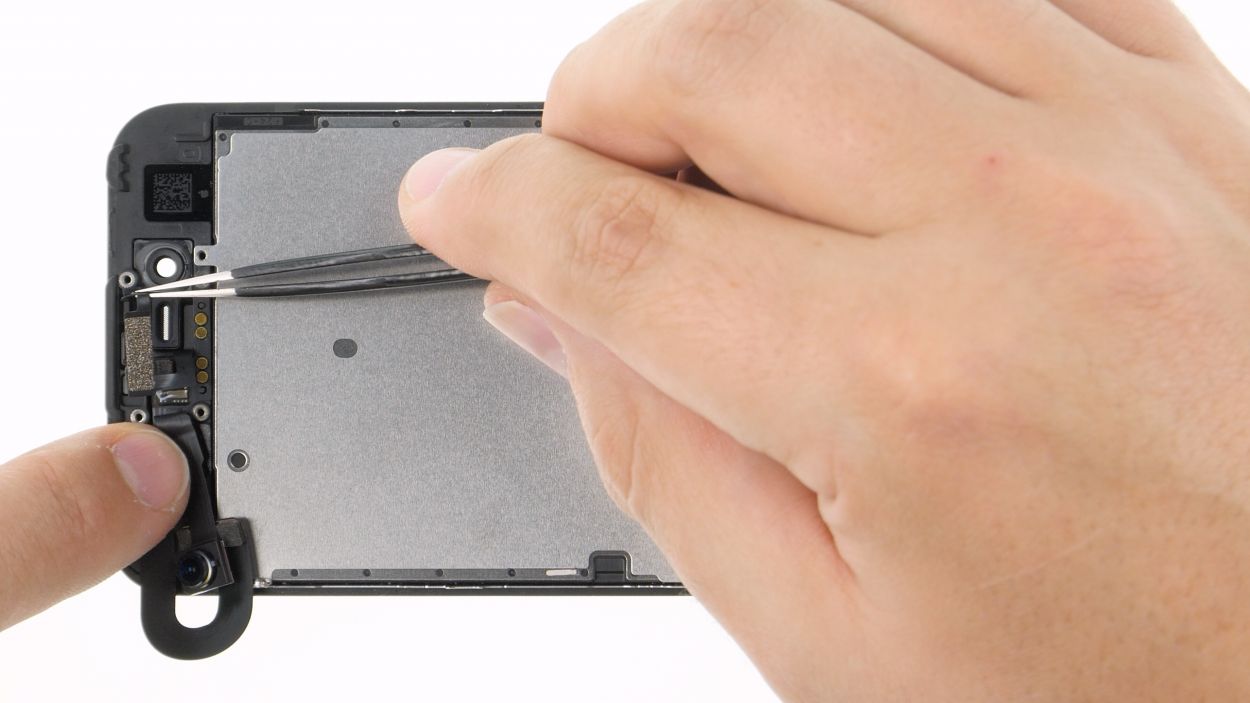
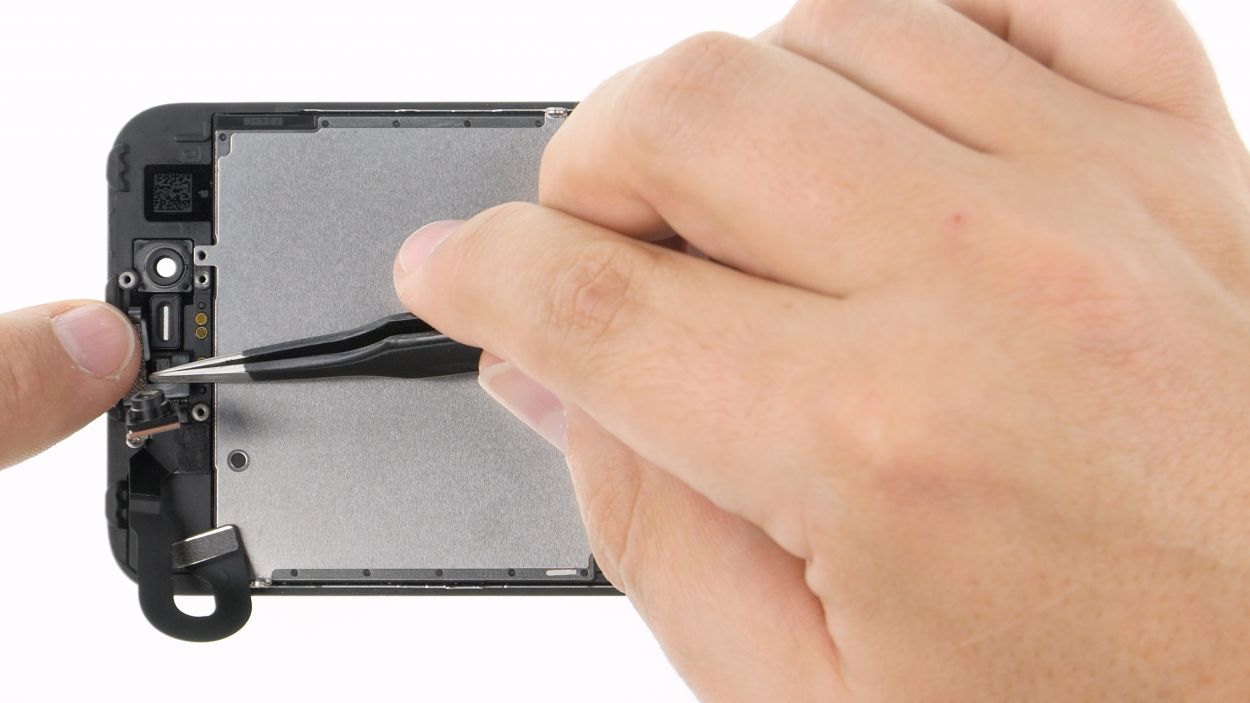
Step 9


1 × 1,7 mm Phillips-Schraube
2 × 2,6 mm Phillips-Schraube
1 × 1,9 mm Phillips-Schraube
1 × 2,3 mm Phillips-Schraube
Hey there, quick heads up! Those screws are like a mixed bag of candy—each one is a different length. To keep your display safe and sound during reassembly, make sure you don’t let them mingle! Keep them sorted and you’re golden.
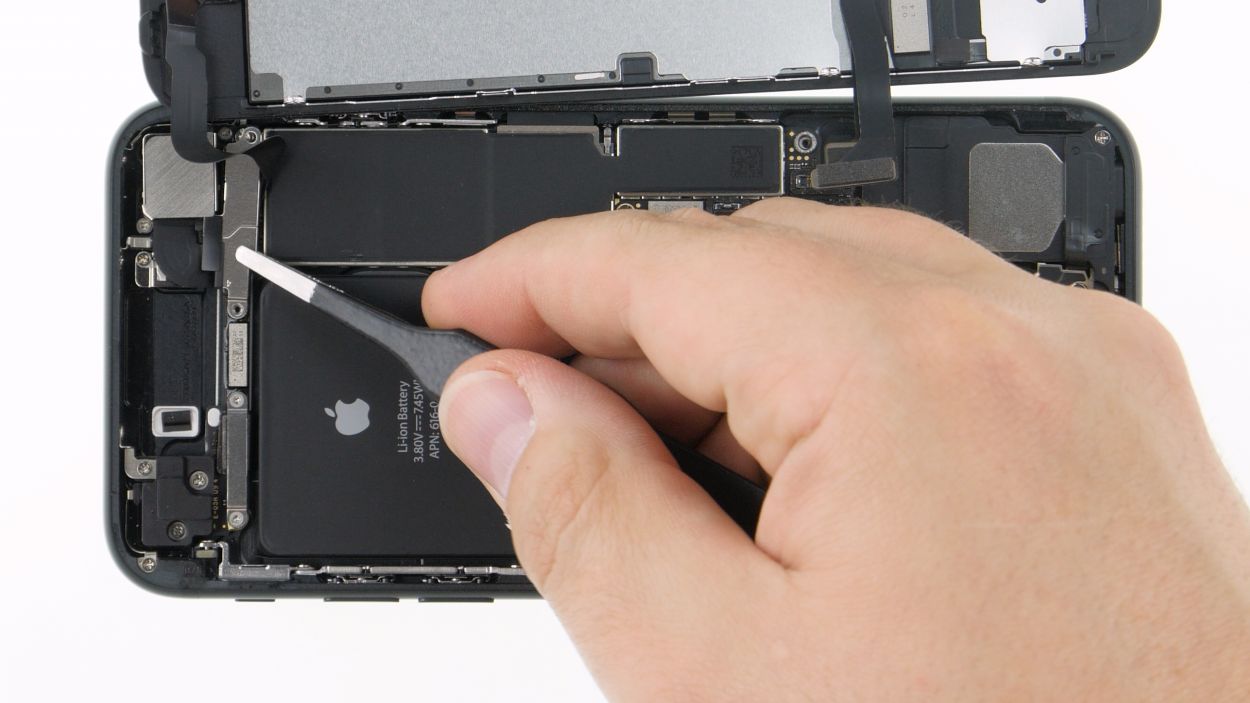
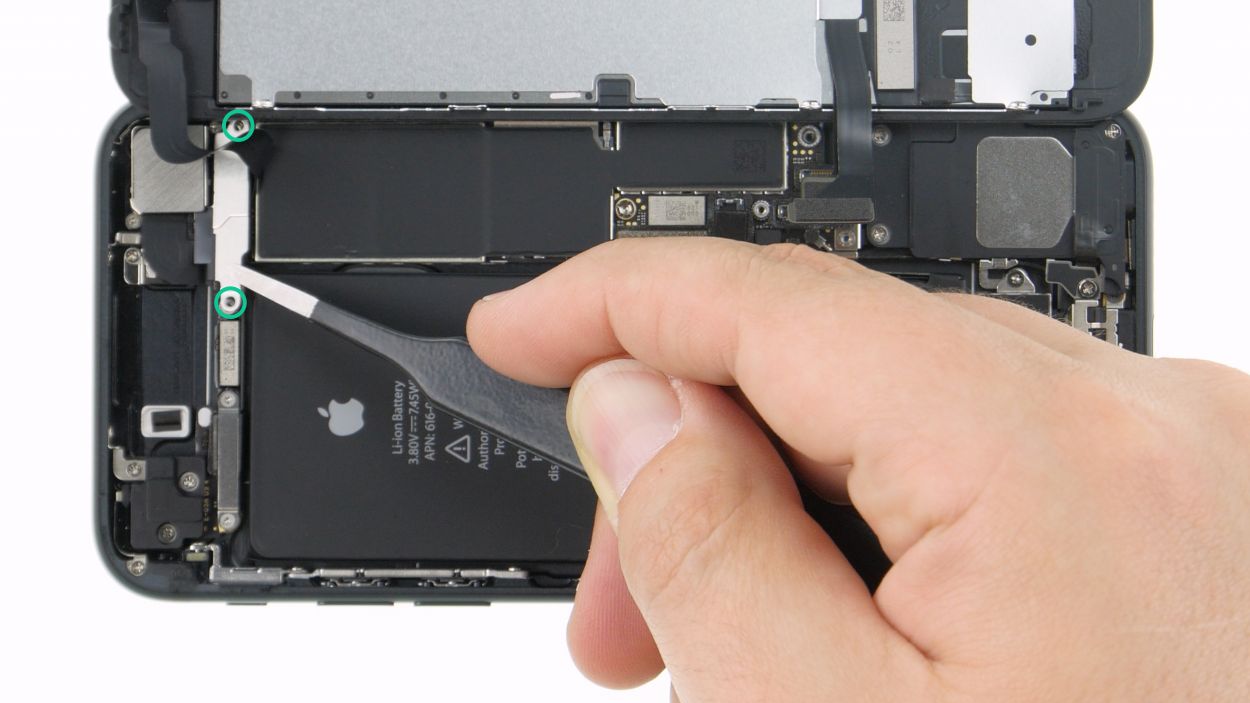
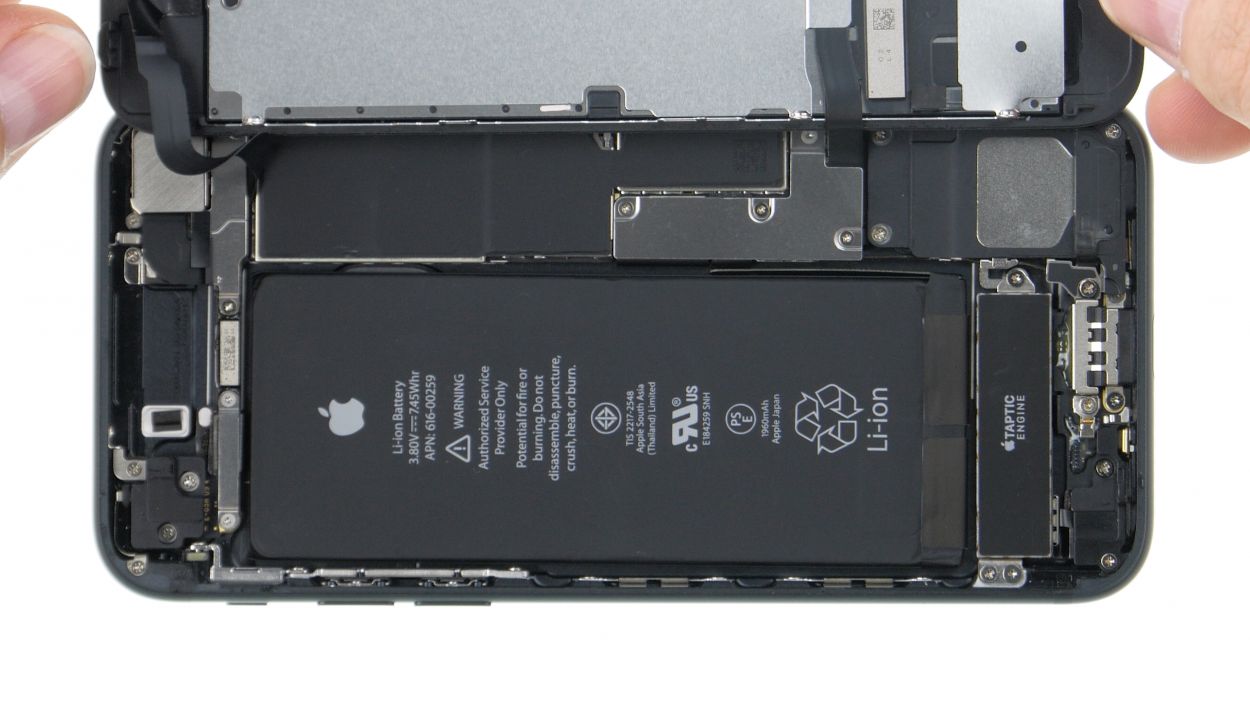
– Start by loosening those five Phillips screws that are keeping the bracket plate snugly over the earpiece. They’ve had their fun, now it’s time for them to go!
– Once the screws are out, gently set the bracket plate aside and give the flex cable a little nudge to the side along with the FaceTime camera. They deserve a little space!
– And just like that, the earpiece is ready to come out! Easy peasy!
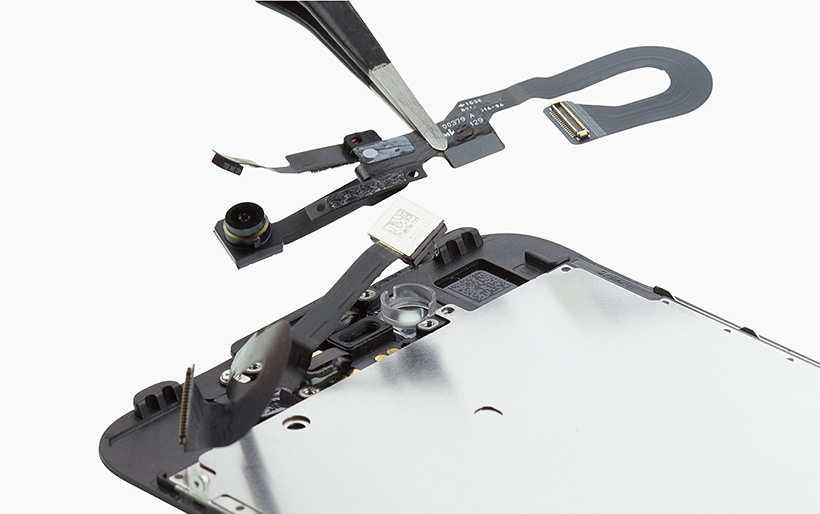
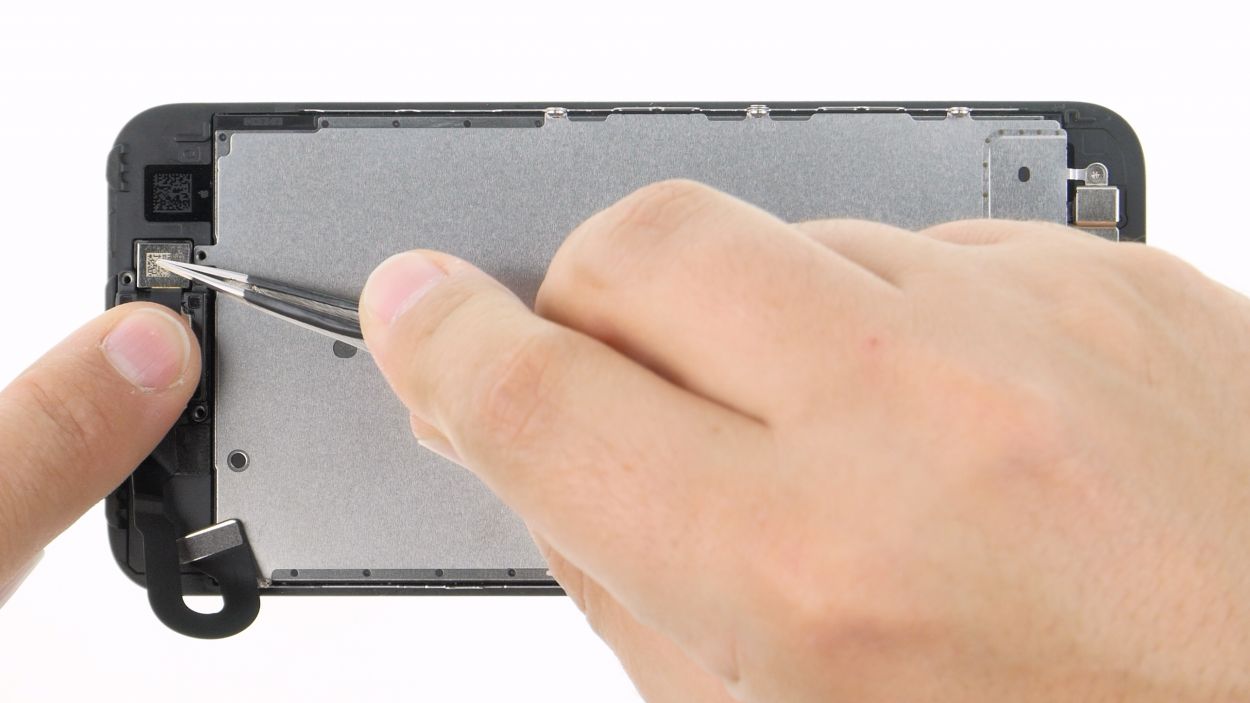
Step 10


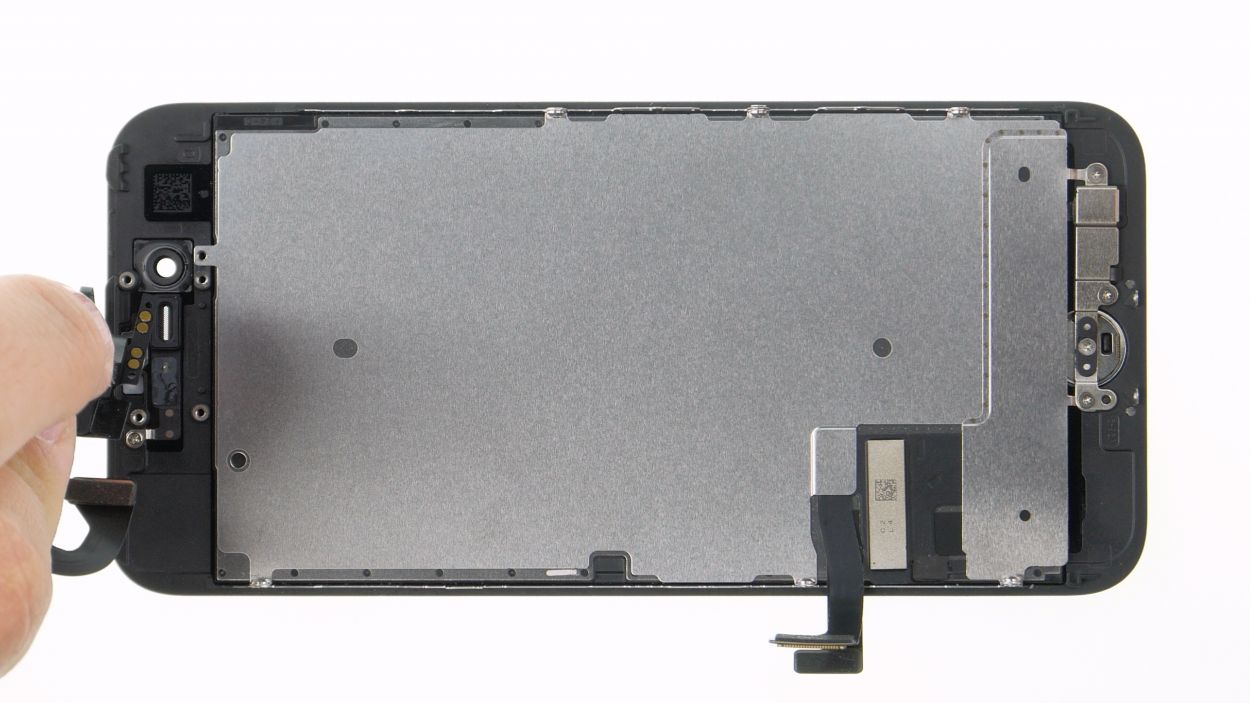
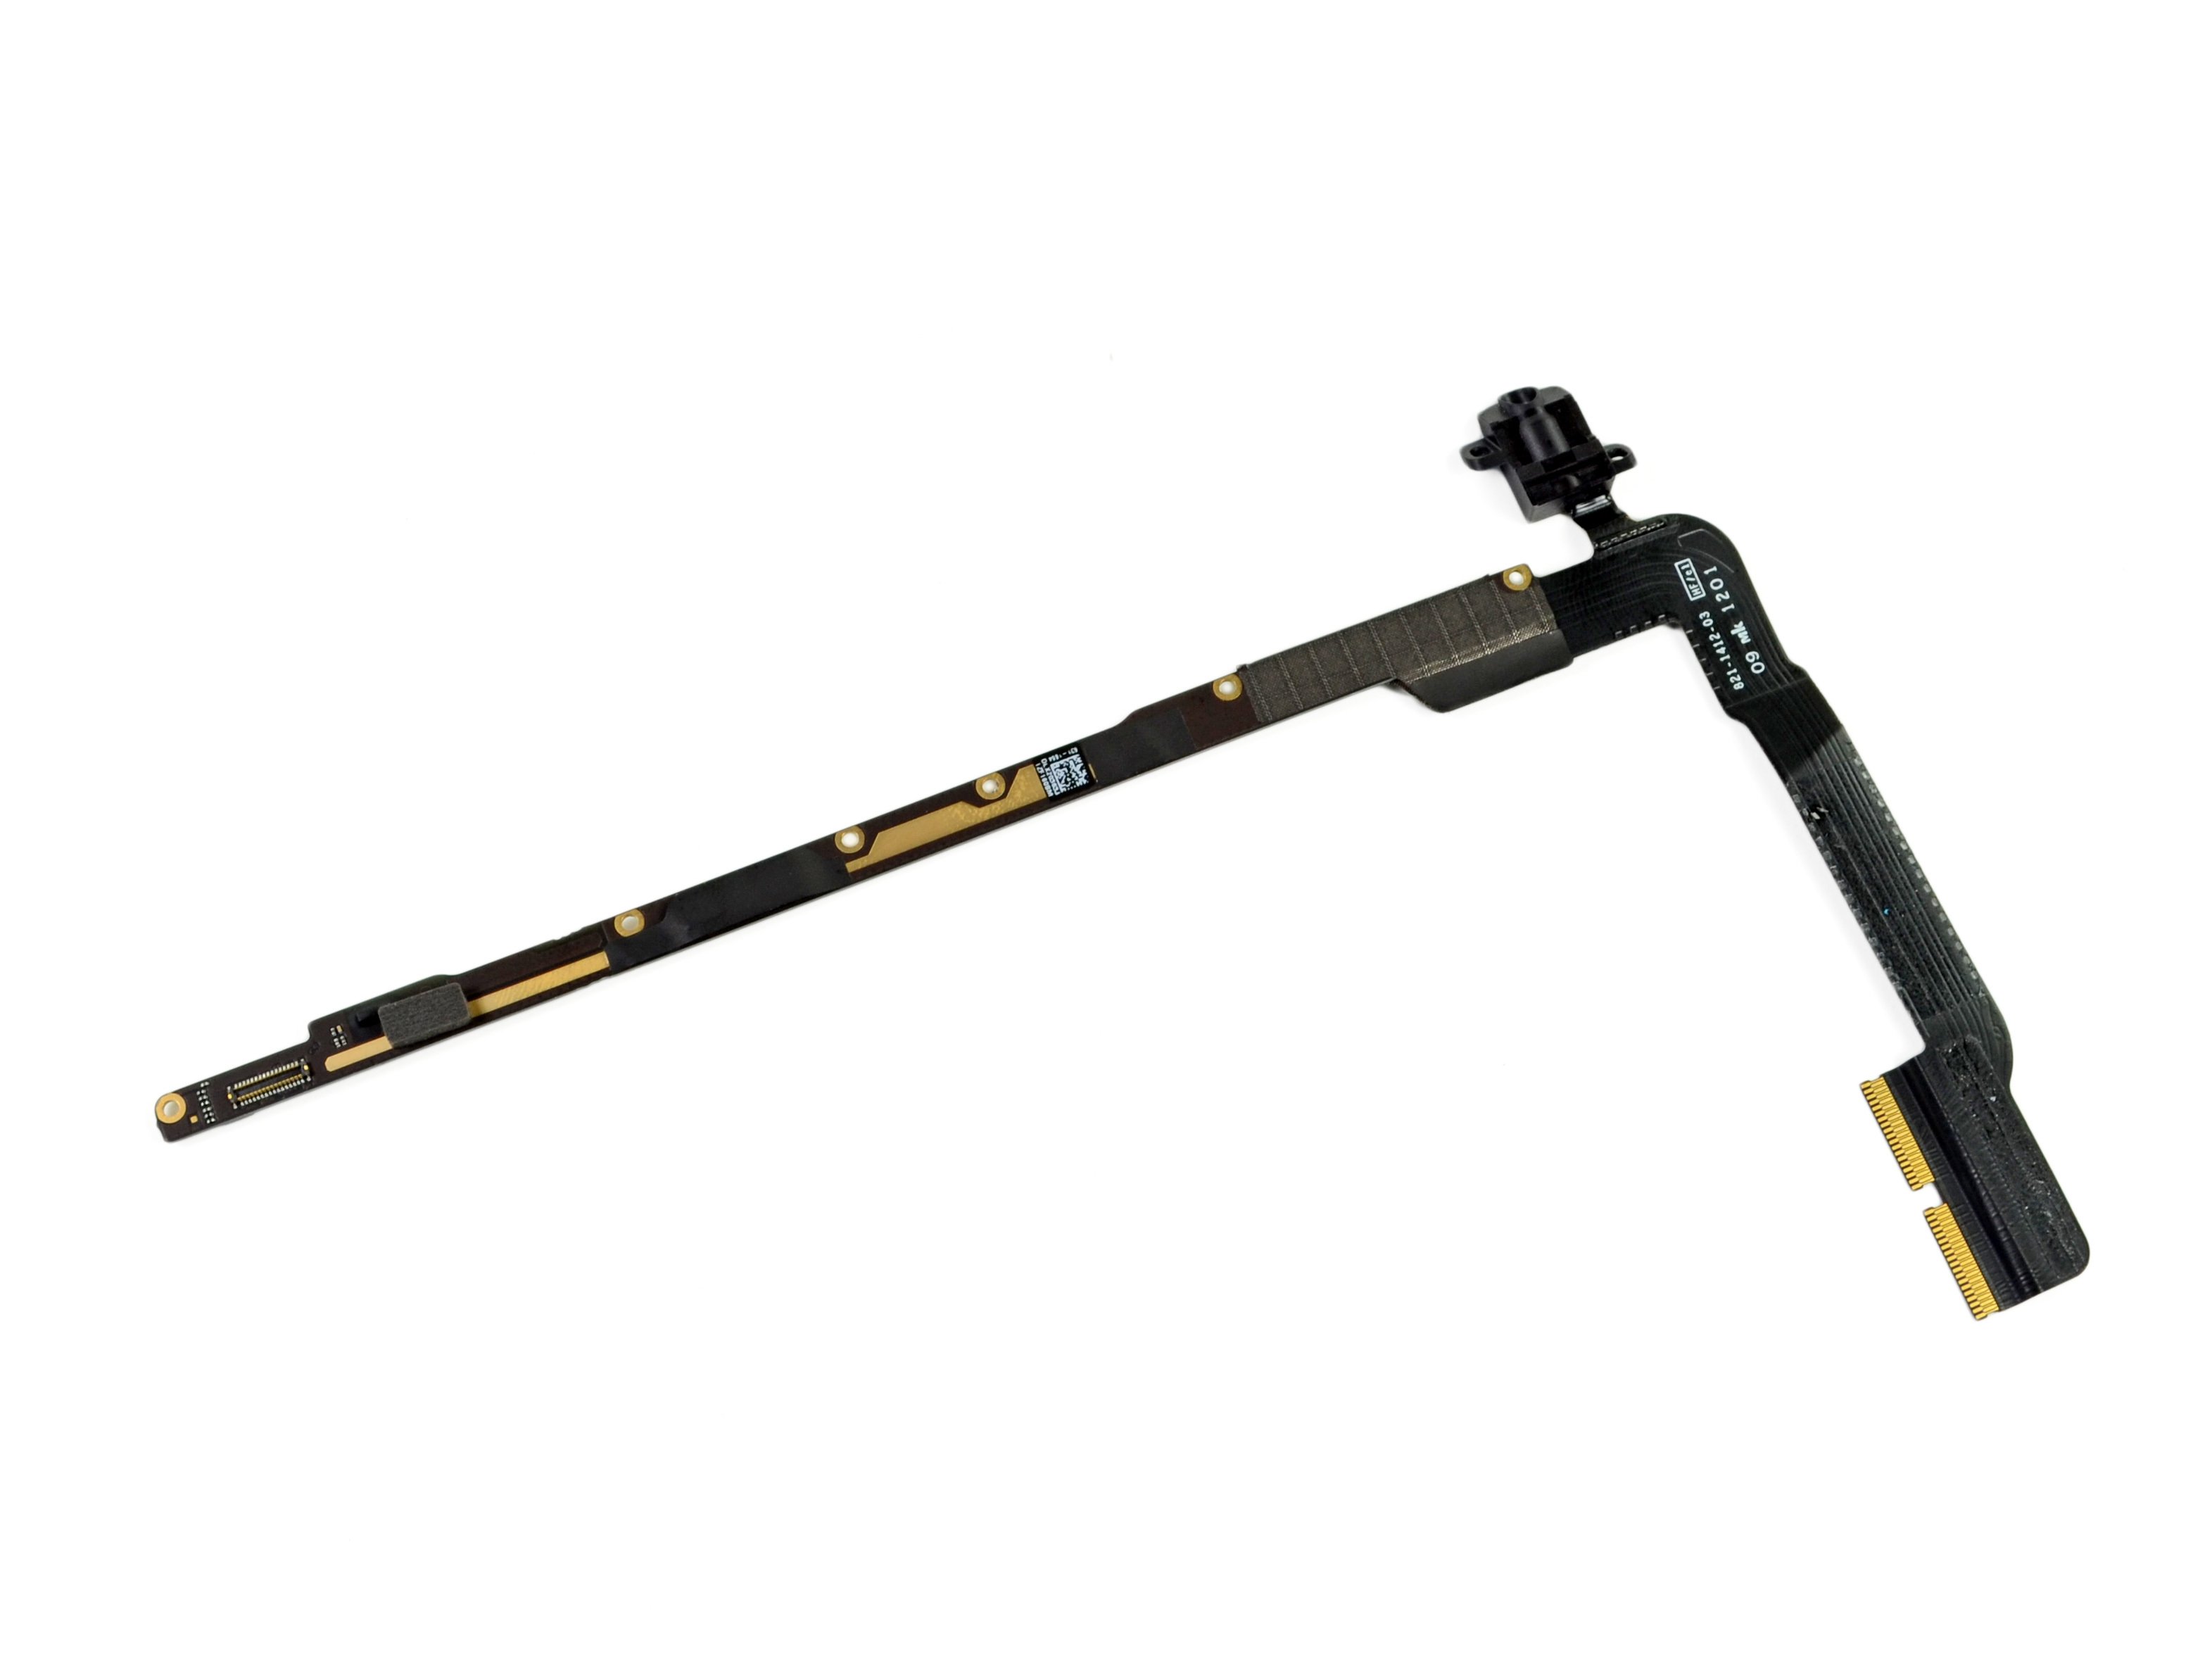
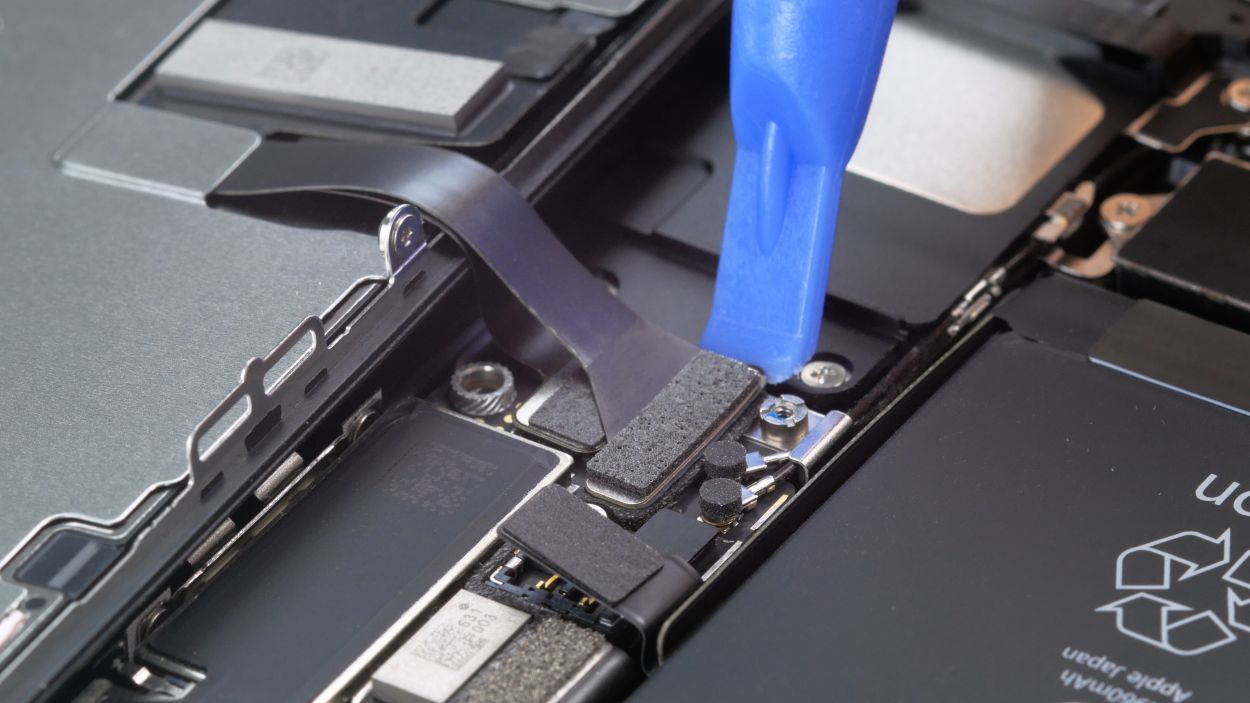
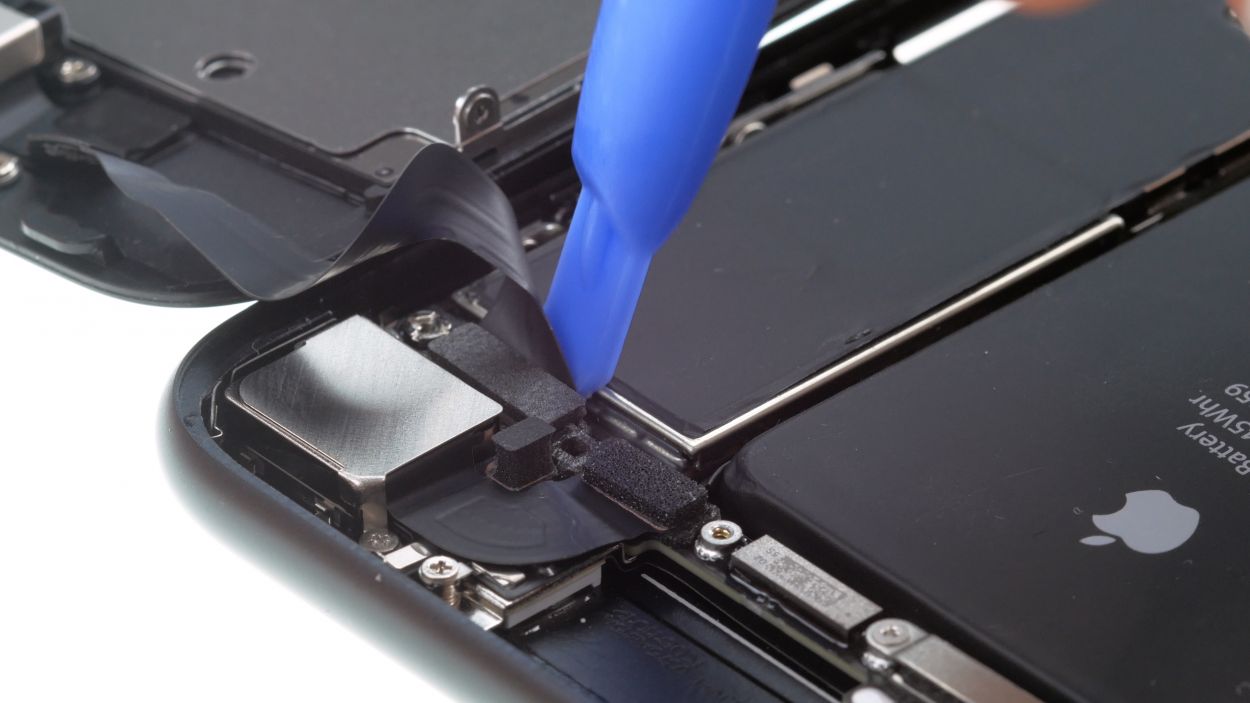
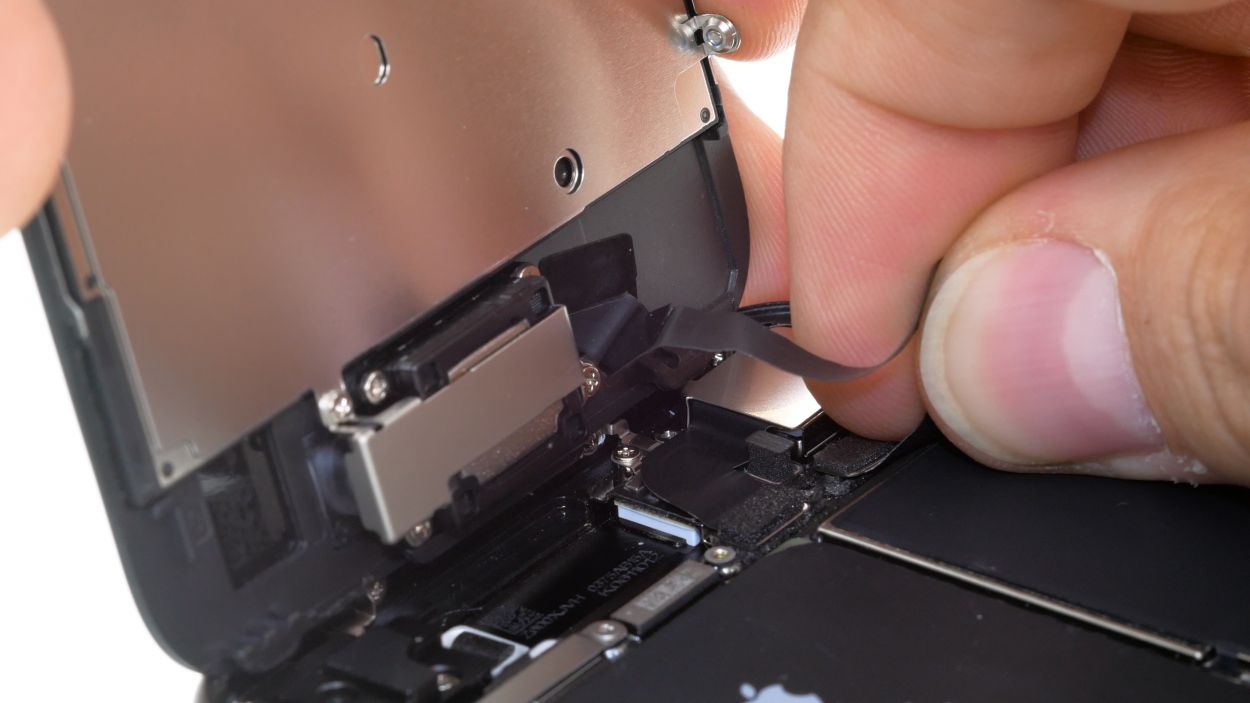
Give that cable set a little hot air treatment to help it come off like a charm! Just think of it as giving your device a warm hug before the big reveal. You’ve got this!
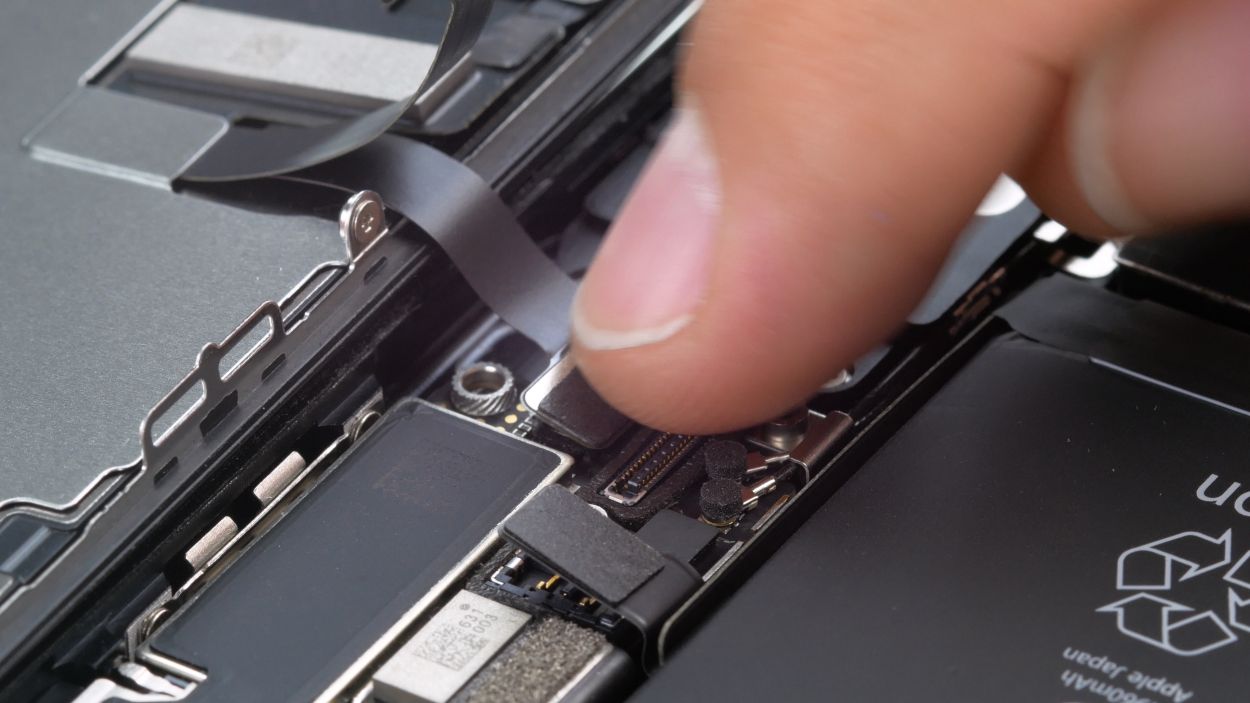
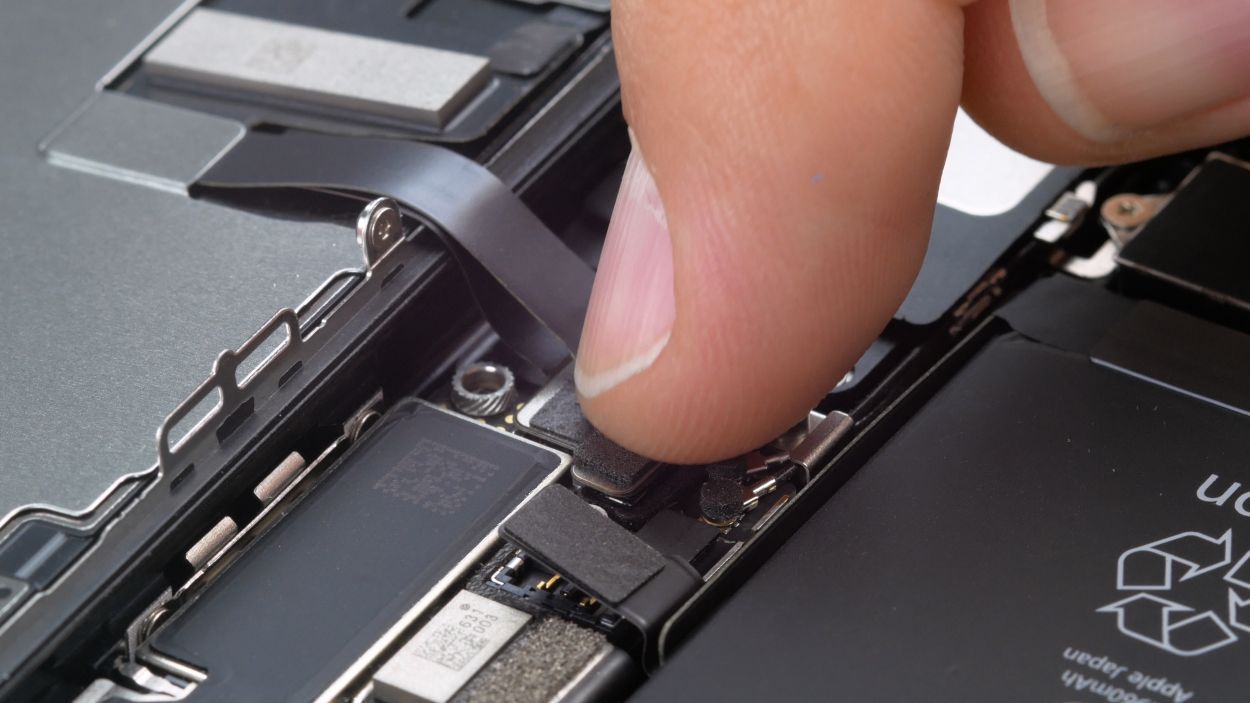
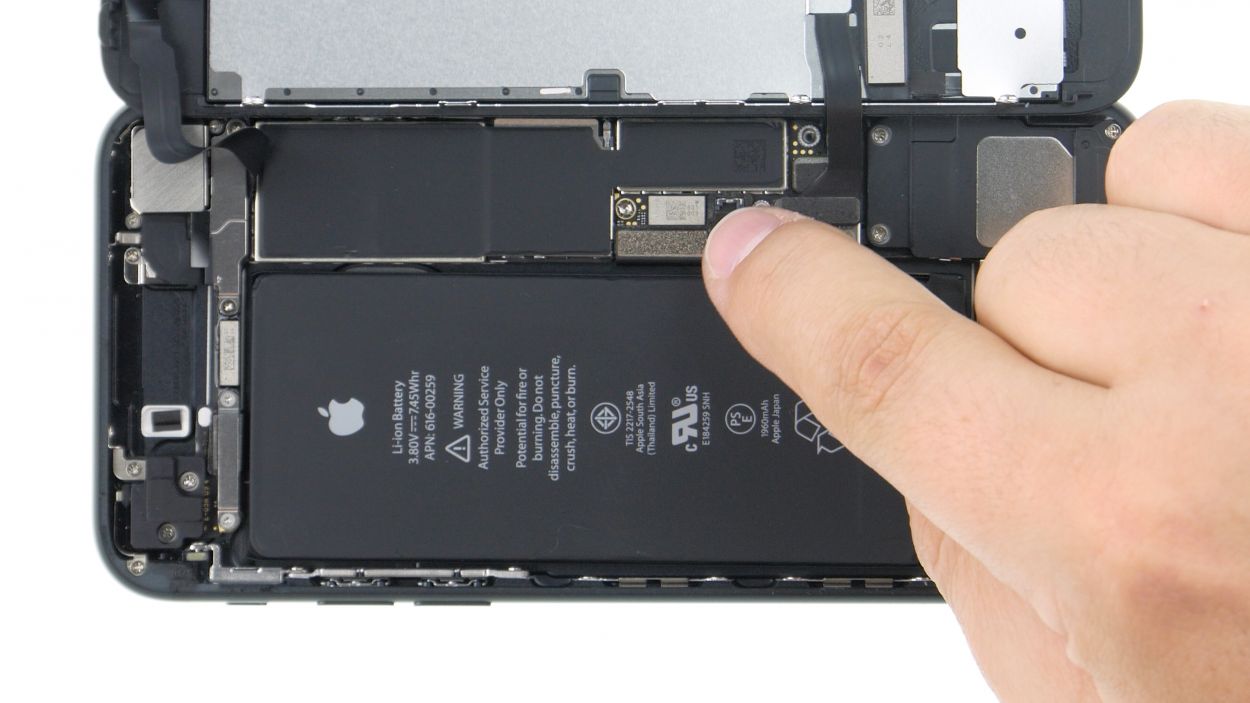
– To kick things off, gently lift those sensors from their cozy spot at the top edge of the display using your trusty tweezers.
Tools Used
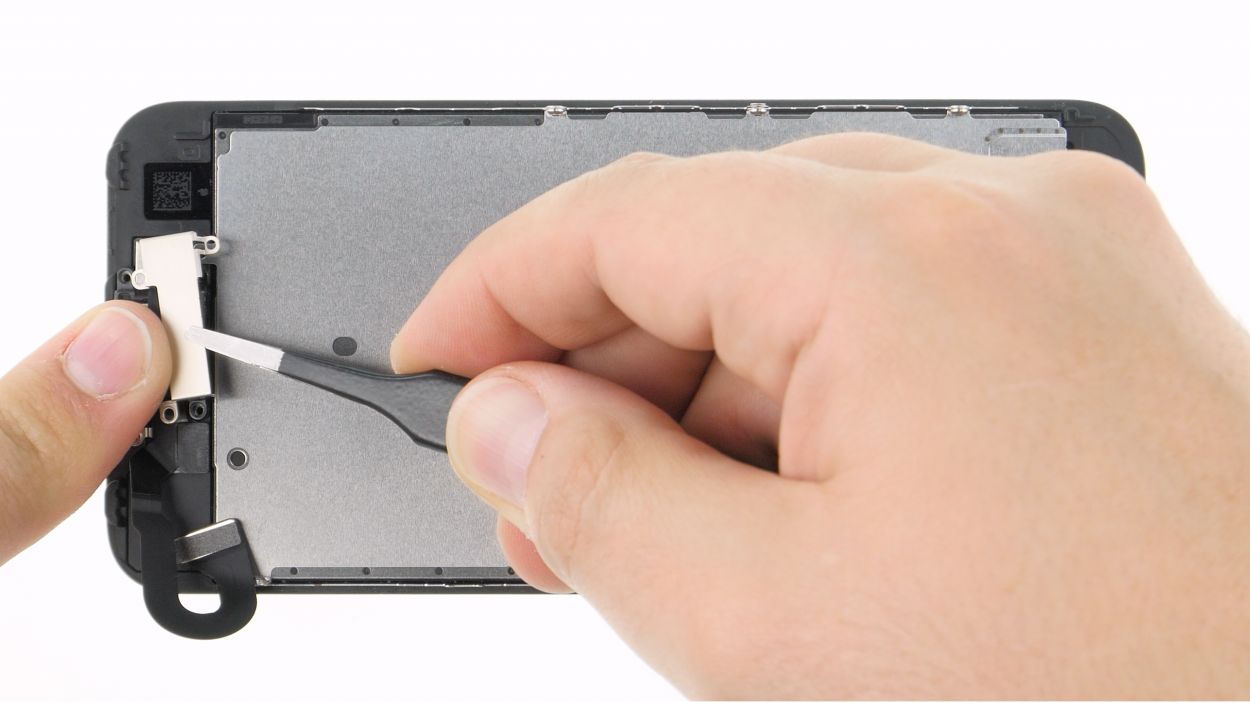
Step 11

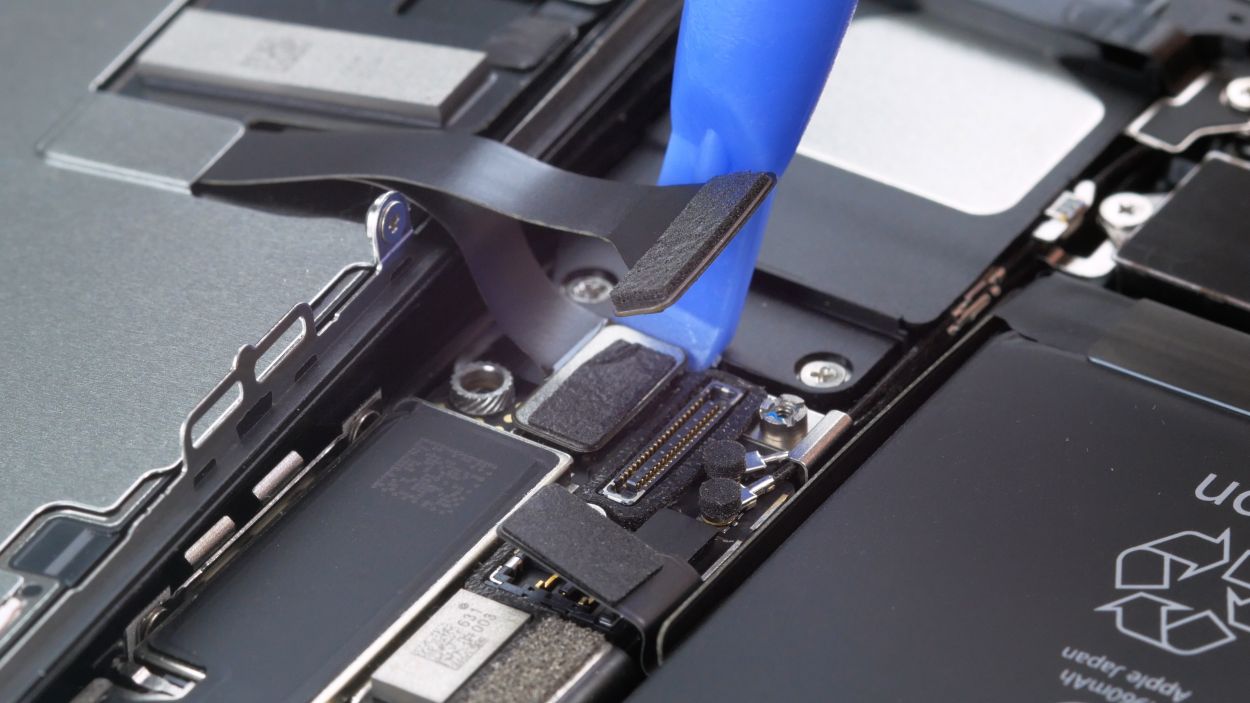
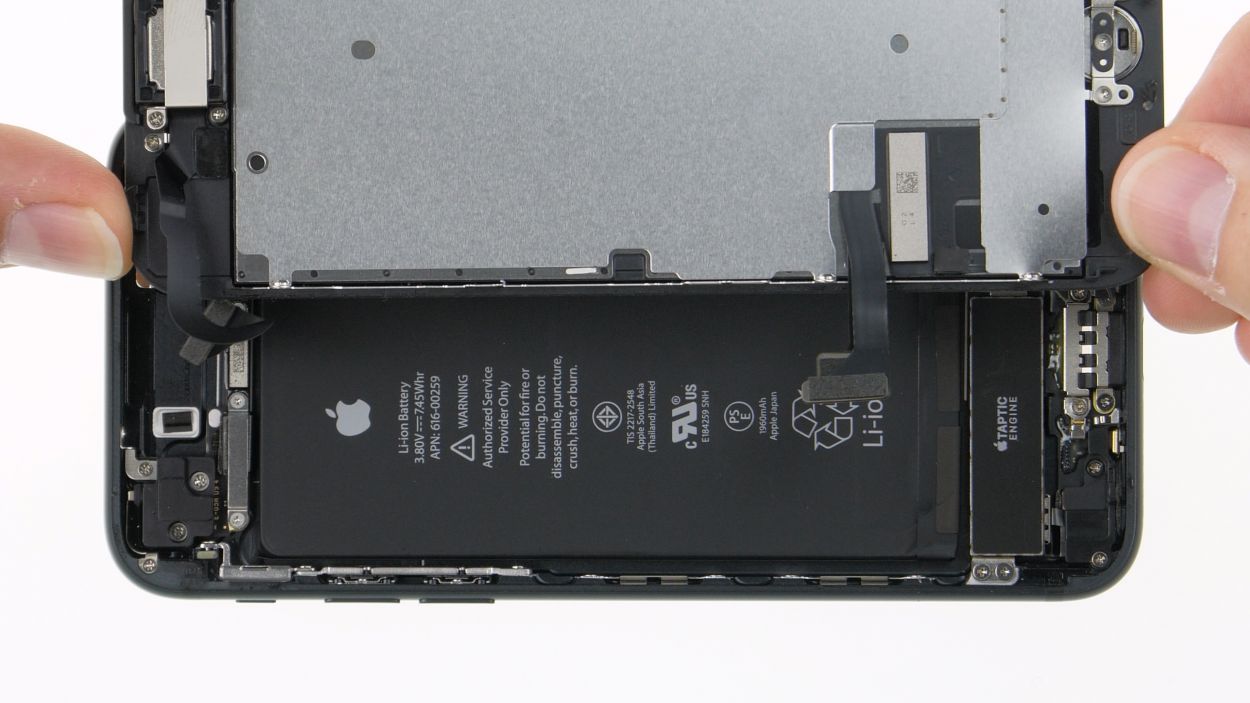
Just a friendly reminder: ensure that the microphone and sensors are snugly seated in their leads. If they’re not, they might throw a little tantrum and refuse to work properly!
– Pop that FaceTime camera cable set back into its cozy spot at the top edge of the display and give it a gentle press down. It’s like tucking in a blanket—nice and snug!
Tools Used
Step 12
1 × 1,7 mm Phillips-Schraube
2 × 2,6 mm Phillips-Schraube
1 × 2,3 mm Phillips-Schraube
1 × 1,9 mm Phillips-Schraube
The tiny golden contacts on the earpiece are your best friends for getting everything lined up just right! Make sure they’re perfectly aligned above the golden contacts of the FaceTime cable set, and you’re on your way to a successful repair!
– Carefully place the earpiece back in its cozy spot at the top edge of the display, just like it was before.
Step 13

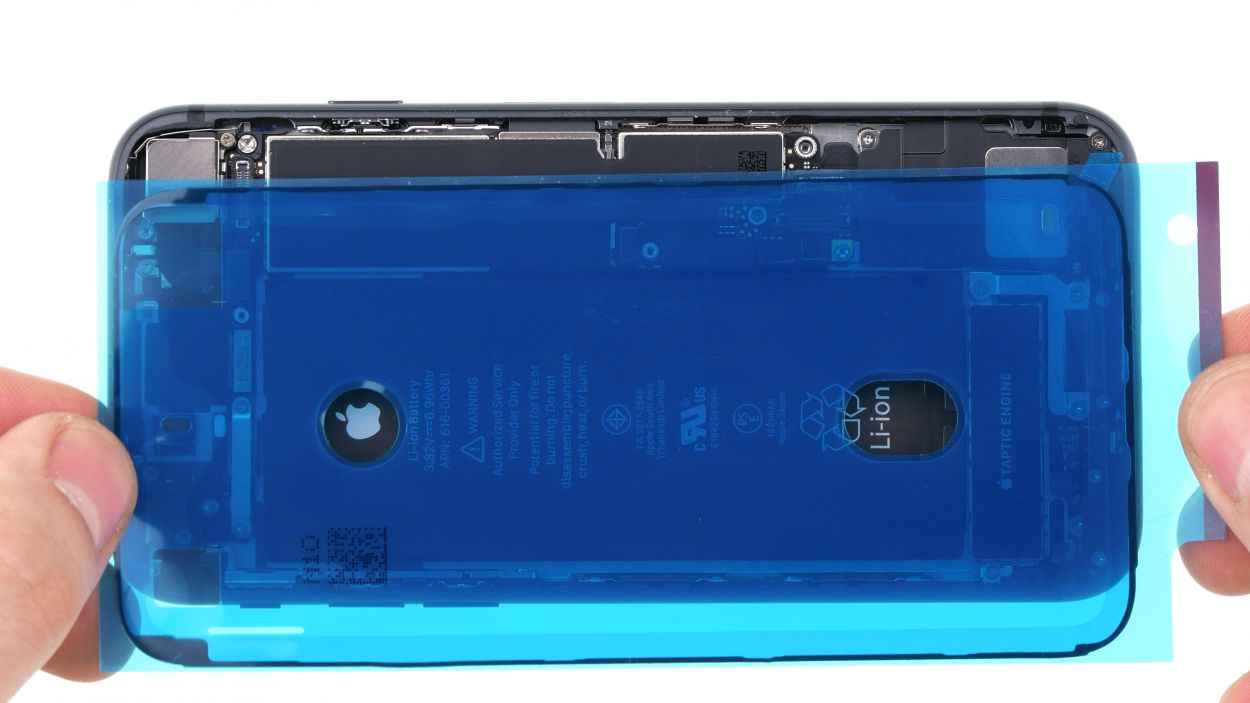
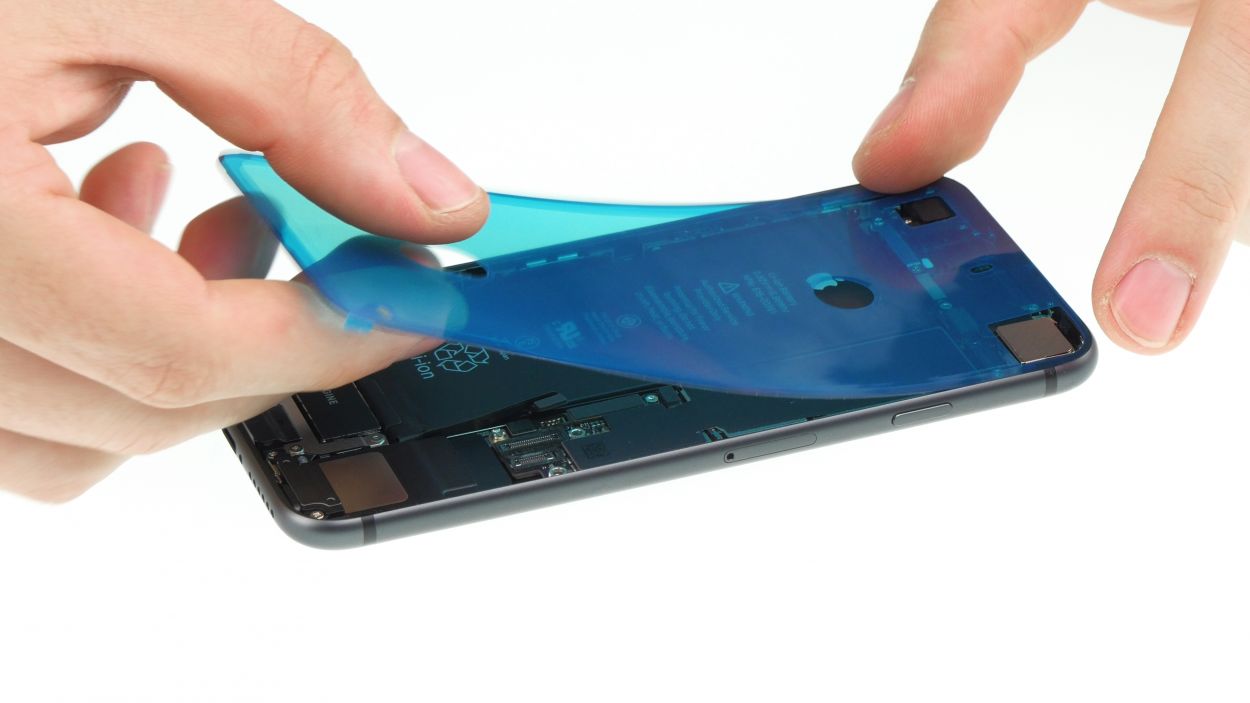
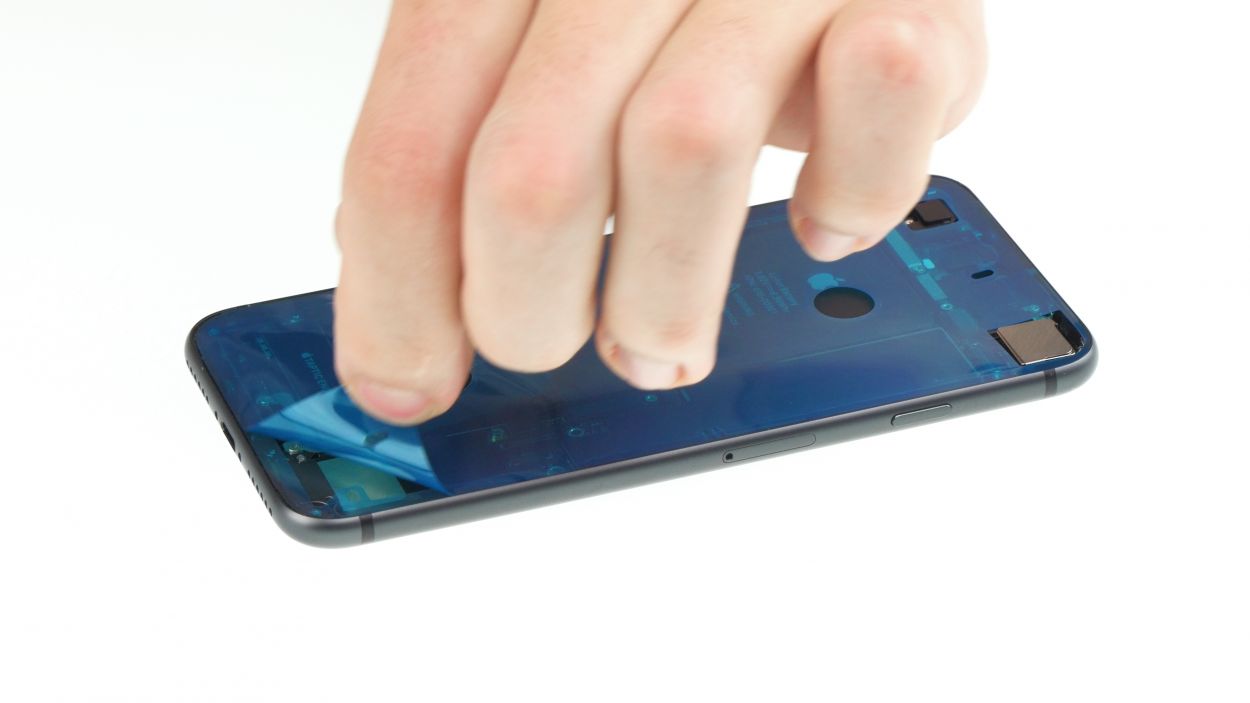
– Before you get that shiny new adhesive frame snugly in place, let’s clear the stage! Make sure to wipe away any old adhesive remnants from the back cover and display frame.
– Now, give the adhesive frame a little test run by placing it on the back cover. Adjust it until it feels just right!
Tools Used
Step 14

FaceTime connector
2 × 1,2 mm Phillips
Just like when you were detaching the FaceTime connector, it’s a good idea to prop that display up against something sturdy. This little trick helps keep those flex cables from getting too stretched out. You’ve got this!
– To get your display unit cozy with the logic board again, start by propping it up at the top of the back cover, just like a little soldier standing tall.
– Next, give the FaceTime camera connector a gentle nudge with your finger until you hear that satisfying click—it’s like a high-five for your phone!
– Once you’ve secured that connector, you can gently lay the display down next to the back cover, just waiting to be reunited.
Step 15
Display connector
Home button connector
– Time to bring those buddies back together! Reconnect the home button and display connector to the logic board, and let’s get this show on the road!
Step 17
– Alright, let’s get that display cozy with the back cover frame! Gently place it on the side and fold it over like you’re tucking in a blanket.
– Now, slide the display toward the sleep/wake button, making sure those little lugs catch onto the back cover just right.
– Finally, give the display a good press down all over its surface to secure it in place. You’re doing fantastic!
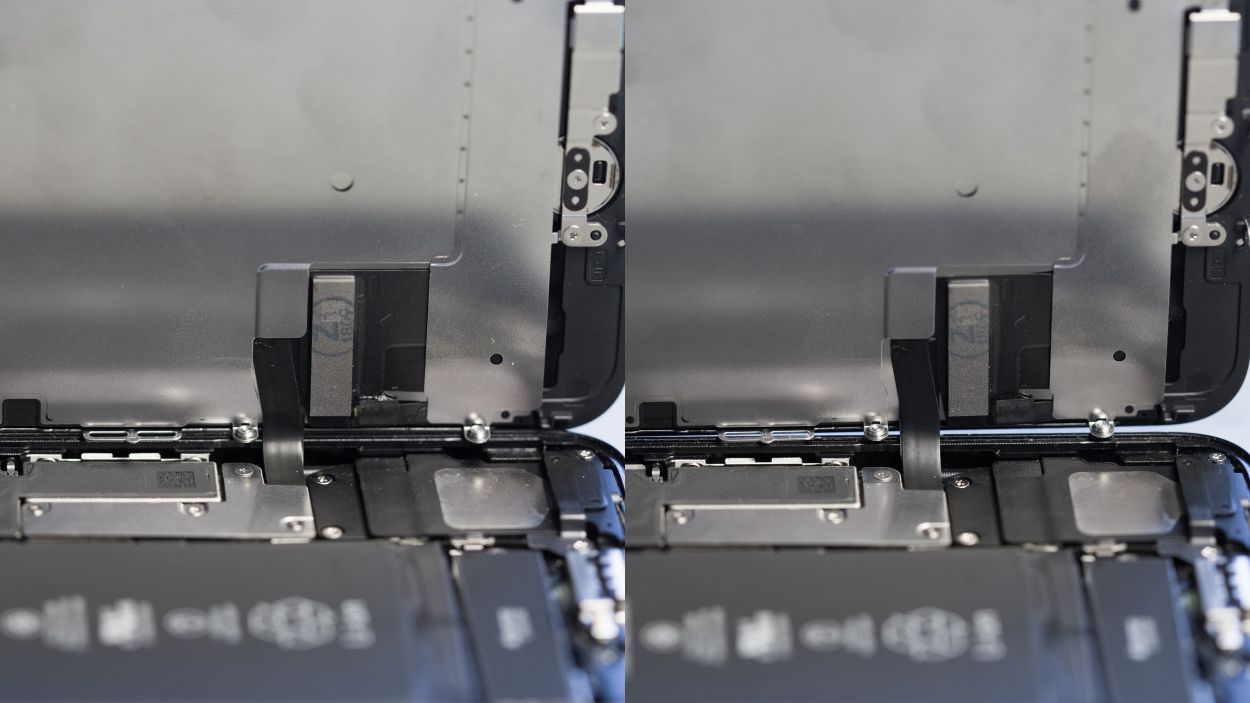
Wrong position
Right position
Hey there, just a quick note: make sure the silver chip on the cable is sitting exactly where it was before (check out the photo for reference!). If it’s not in the right spot, you might see some funky discolorations and spots on your screen after everything’s put back together. No worries though, just adjust that cable position again and you’re back in business!
Step 18

2 × 3,3 mm Pentalobe
– Alright, let’s get those two Pentalobe screws back in their happy places, one on the left and one on the right of the Lightning connector. Tighten them up and you’re almost there!
Tools Used