DIY Guide: Replace Google Pixel 2 Lens – Step-by-Step Tutorial
Duration: 45 minutes
Steps: 6 Steps
This repair guide comes from one of our awesome community members at iFixit and hasn’t received a thumbs up from Google. Want to dive deeper into our repair guides? Check them out here.
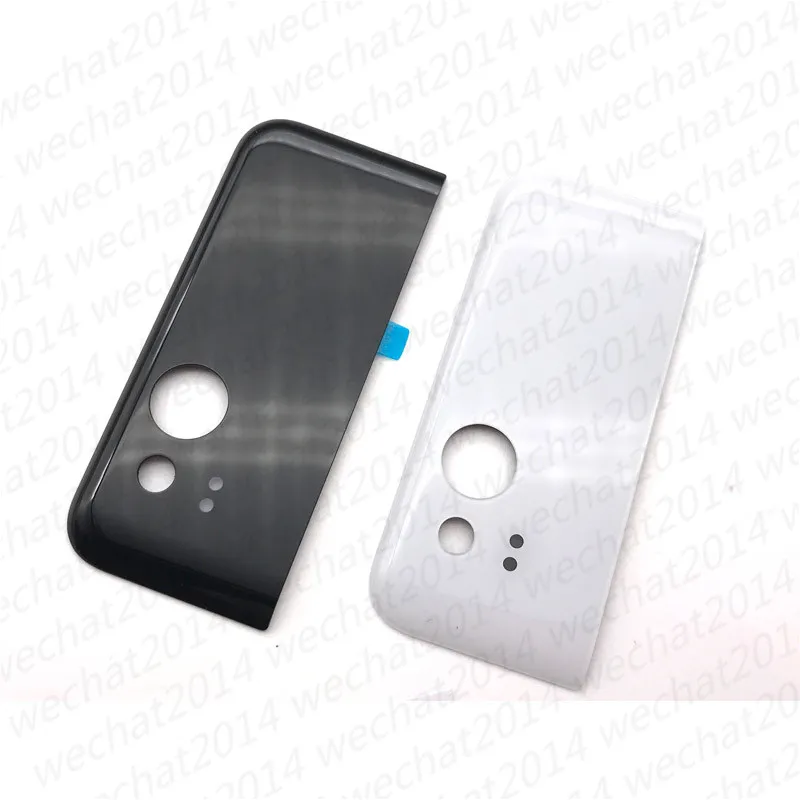
Hey there! We’re about to replace the rear camera lens glass on your Google Pixel 2. Just so we’re clear, this is only the glass, not the lens itself. When you’re removing the glass in steps 2 and 3, be super careful not to scratch the lens. If you need help, you can always schedule a repair.

Step 2

Be careful with those sharp tools around the lens, okay? If you nick it, your camera might have trouble focusing. If you need help, you can always schedule a repair
– Gently pry away the shattered or scratched glass with a trusty pair of tweezers.
– Give your device a quick blast with a blow dryer to whisk away dust and those pesky shards of broken glass.
Tools Used

Step 3

Hey, be careful with those sharp tools around the lens! If you nick it, your camera might have a hard time focusing. Don’t worry, it’s all fixable! If you need help, you can always schedule a repair.
We’re gonna need to remove the adhesive, because the clear silicone waterproof sealant needs to stick to the edges, see? Get as much of the adhesive off as you can, but be careful not to scratch the lens. If you need help, you can always schedule a repair.
– Grab your trusty tweezers and gently peel that adhesive off the ledge of the lens frame. It’s like giving your phone a little spa treatment, but with tools! 😉
Tools Used
Step 4

Take your time with the sealant; it likes to take things slow! Apply that silicone evenly around the edges for a smooth finish.
– Alright, let’s make this lens frame watertight! Make sure the lens frame is spotless, then get that silicone sealant ready to go.
– Use a wooden toothpick to carefully apply the sealant to the edges of the inside shelf of the lens frame. It’s like giving it a little hug of protection.
Tools Used

Step 5

Ensure the shiny side is facing outwards. Place it down with a gentle yet firm touch.
Give the silicone about five minutes to bond, and let it cure for a full 24 hours to reach its maximum strength.
– Carefully grab the new rear lens glass with a pair of tweezers and place it onto the lens frame. You’ve got this!
Tools Used
Step 6

Take it easy on the pressure, okay?
Hey there! Take a little break from your device, and let it chill for a while. For the ultimate reset, let it rest for around a day. Need a hand? We’ve got your back! Schedule a repair if you need assistance!
– Wipe away any extra silicone around the edges with an alcohol wipe. Make sure the lens is nice and flat. You got this!

