DIY Guide: Replace iPhone 5s Battery – Step-by-Step Tutorial
Duration: 45 minutes
Steps: 28 Steps
To keep your device running smoothly, don’t forget to give your freshly installed battery a little TLC by calibrating it after you finish this guide!
Follow this awesome guide to revive your iPhone 5s with a brand new battery. If your battery seems a bit too puffy, make sure to take the necessary steps. This guide will walk you through removing the front panel assembly to safeguard those precious display cables. If you’re feeling confident holding up the display while prying out the battery, feel free to skip removing the display and jump straight to extracting the battery. For top-notch performance, once you’ve completed this guide, make sure to calibrate your fresh battery: Charge it up to 100% and continue charging for at least an extra two hours. Then, enjoy using your iPhone until it gives out from low battery. Lastly, charge it up all the way to 100% without any interruptions. Happy repairing!
Step 1

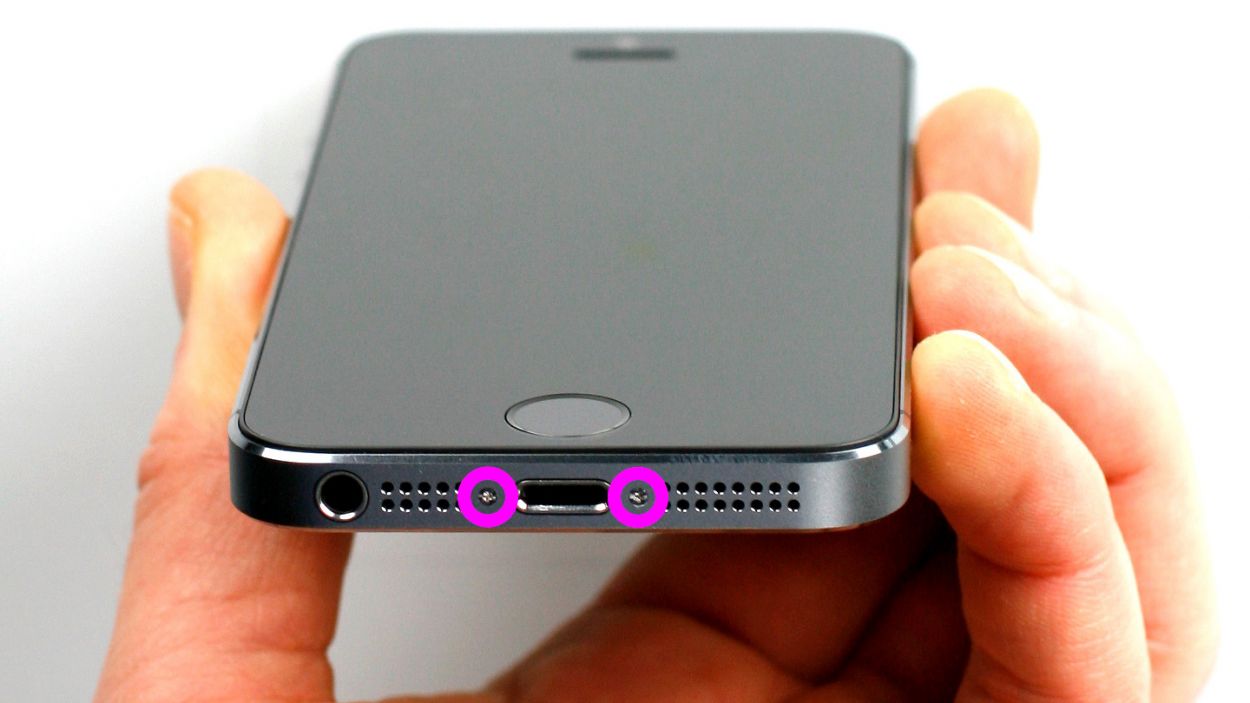
– It’s time to power down your iPhone so we can get this party started!
– Let’s break out the dance moves and unscrew those two 3.9 mm Pentalobe screws on each side of the Lightning connector.
Step 2


Don’t forget to put on those stylish safety glasses to shield your eyes from any rogue glass bits while you work your magic on the repair.
Step 3


– Don’t stress about the tool you use, just make sure to fully lift up the entire display.
– If the glass starts to separate from the plastic, like in the first image, smoothly slip a plastic opening tool between the plastic frame and the metal phone body to release those metal clips from the case.
– For those putting back together a phone with a separated display bezel, consider adding a thin strip of adhesive between the plastic bezel and the glass to ensure the phone stays snug.
Step 4


In the next couple of steps, we’re rolling out the Anti-Clamp, a nifty tool we’ve whipped up to make opening your device a breeze. If you’re not rocking the Anti-Clamp, no worries! Just skip two steps down for another way to tackle this.
– Give that blue handle a gentle tug back to unlock the Anti-Clamp’s arms.
– Ease those arms over the left or right side of your iPhone—your call!
– Place the suction cups snugly near the bottom edge of your iPhone, just above the home button—one on the front and one on the back.
– Press the cups together to create a solid grip on the area you want to work on.
Step 5


– Time to get funky with your phone! Pull that blue handle forward to lock those arms in place.
– Now, turn the handle clockwise 360 degrees or until the cups make like the Sundance Kid and stretch out.
– Peel back the screen like a banana when the Anti-Clamp creates a big enough gap. Skip the next two steps and keep going!
– If you need help, you can always schedule a repair.
Step 6

– If you don’t have an Anti-Clamp handy, no worries! Just grab a single suction cup and gently lift the front panel up.
Step 7

Let’s tackle this front panel! It’s held on with some tricky clips and a few ribbon cables. The goal? Pop those clips and pry it open a bit to unplug the cables. Remember, slow and steady wins the race – we’re aiming for a cable-free zone here. Be gentle but firm, just like giving a friend a reassuring high five. This panel’s snug as a bug, so take your time and give it a little extra oomph. You’ve got this!
Ensure that the suction cup is securely fastened to the front panel assembly close to the home button.
– While keeping your iPhone steady with one hand, give a gentle tug on the suction cup to create a little space at the home button end, separating the front panel from the rear case just enough.
– Now, take your plastic opening tool and carefully work around the edges of the rear case, gently prying it away from the front panel assembly while you keep lifting with the suction cup. Easy peasy!
Step 8


Keep the front panel assembly connected to the rear case; those delicate ribbon cables won’t like being separated!
– Give that little plastic nub a gentle tug to set the vacuum seal free on the suction cup.
– Lift the suction cup off the screen with care.
Step 9


Avoid opening your phone too wide, or you might end up in a tug-of-war with the home button cable and its cozy socket. Keep that cable relaxed—if it’s pulled too tight, you’re venturing into dangerous territory.
The next couple of steps are all about getting everything back together. If you’re not ready for that yet, feel free to skip ahead to Step 12 and pick up the reassembly when you’re ready!
– Get ready to unveil the metal bracket that’s shielding the precious home button cable inside the phone. It’s like revealing a hidden treasure!
– Gently nudge the bracket with a spudger to set it free, then make it disappear with tweezers like a magician performing a trick.


Step 10


– As you put things back together, get ready to reintroduce the Touch ID cable bracket. Now, the upper part of this bracket should smoothly glide between the battery and the Touch ID cable connector, making sure to position itself just in front of the metal tab. Next up, nudge the lower end to securely clasp over that connector.
– Gently slide the upper segment of the bracket along the Touch ID cable connector, moving from the left side towards the right.
Step 11


If the bracket isn’t snapping down flush, no worries! Just give it a little wiggle, remove and slide it over the cable connector again for that perfect fit.
– As you put things back together, grab a spudger with a flat end and gently secure the front part of the Touch ID cable bracket over the cable connector.
Tools Used
Step 12


Remember, when working with the cable connector, gently separate it from its socket. Avoid trying to lift the whole socket! Treat it like a precious delicate flower – easy does it, and you’ll be just fine.
– Gently take your trusty spudger and slide its tip under the home button cable connector. Give it a little lift to pop it out of its socket, and you’re on your way!
Tools Used
Step 13


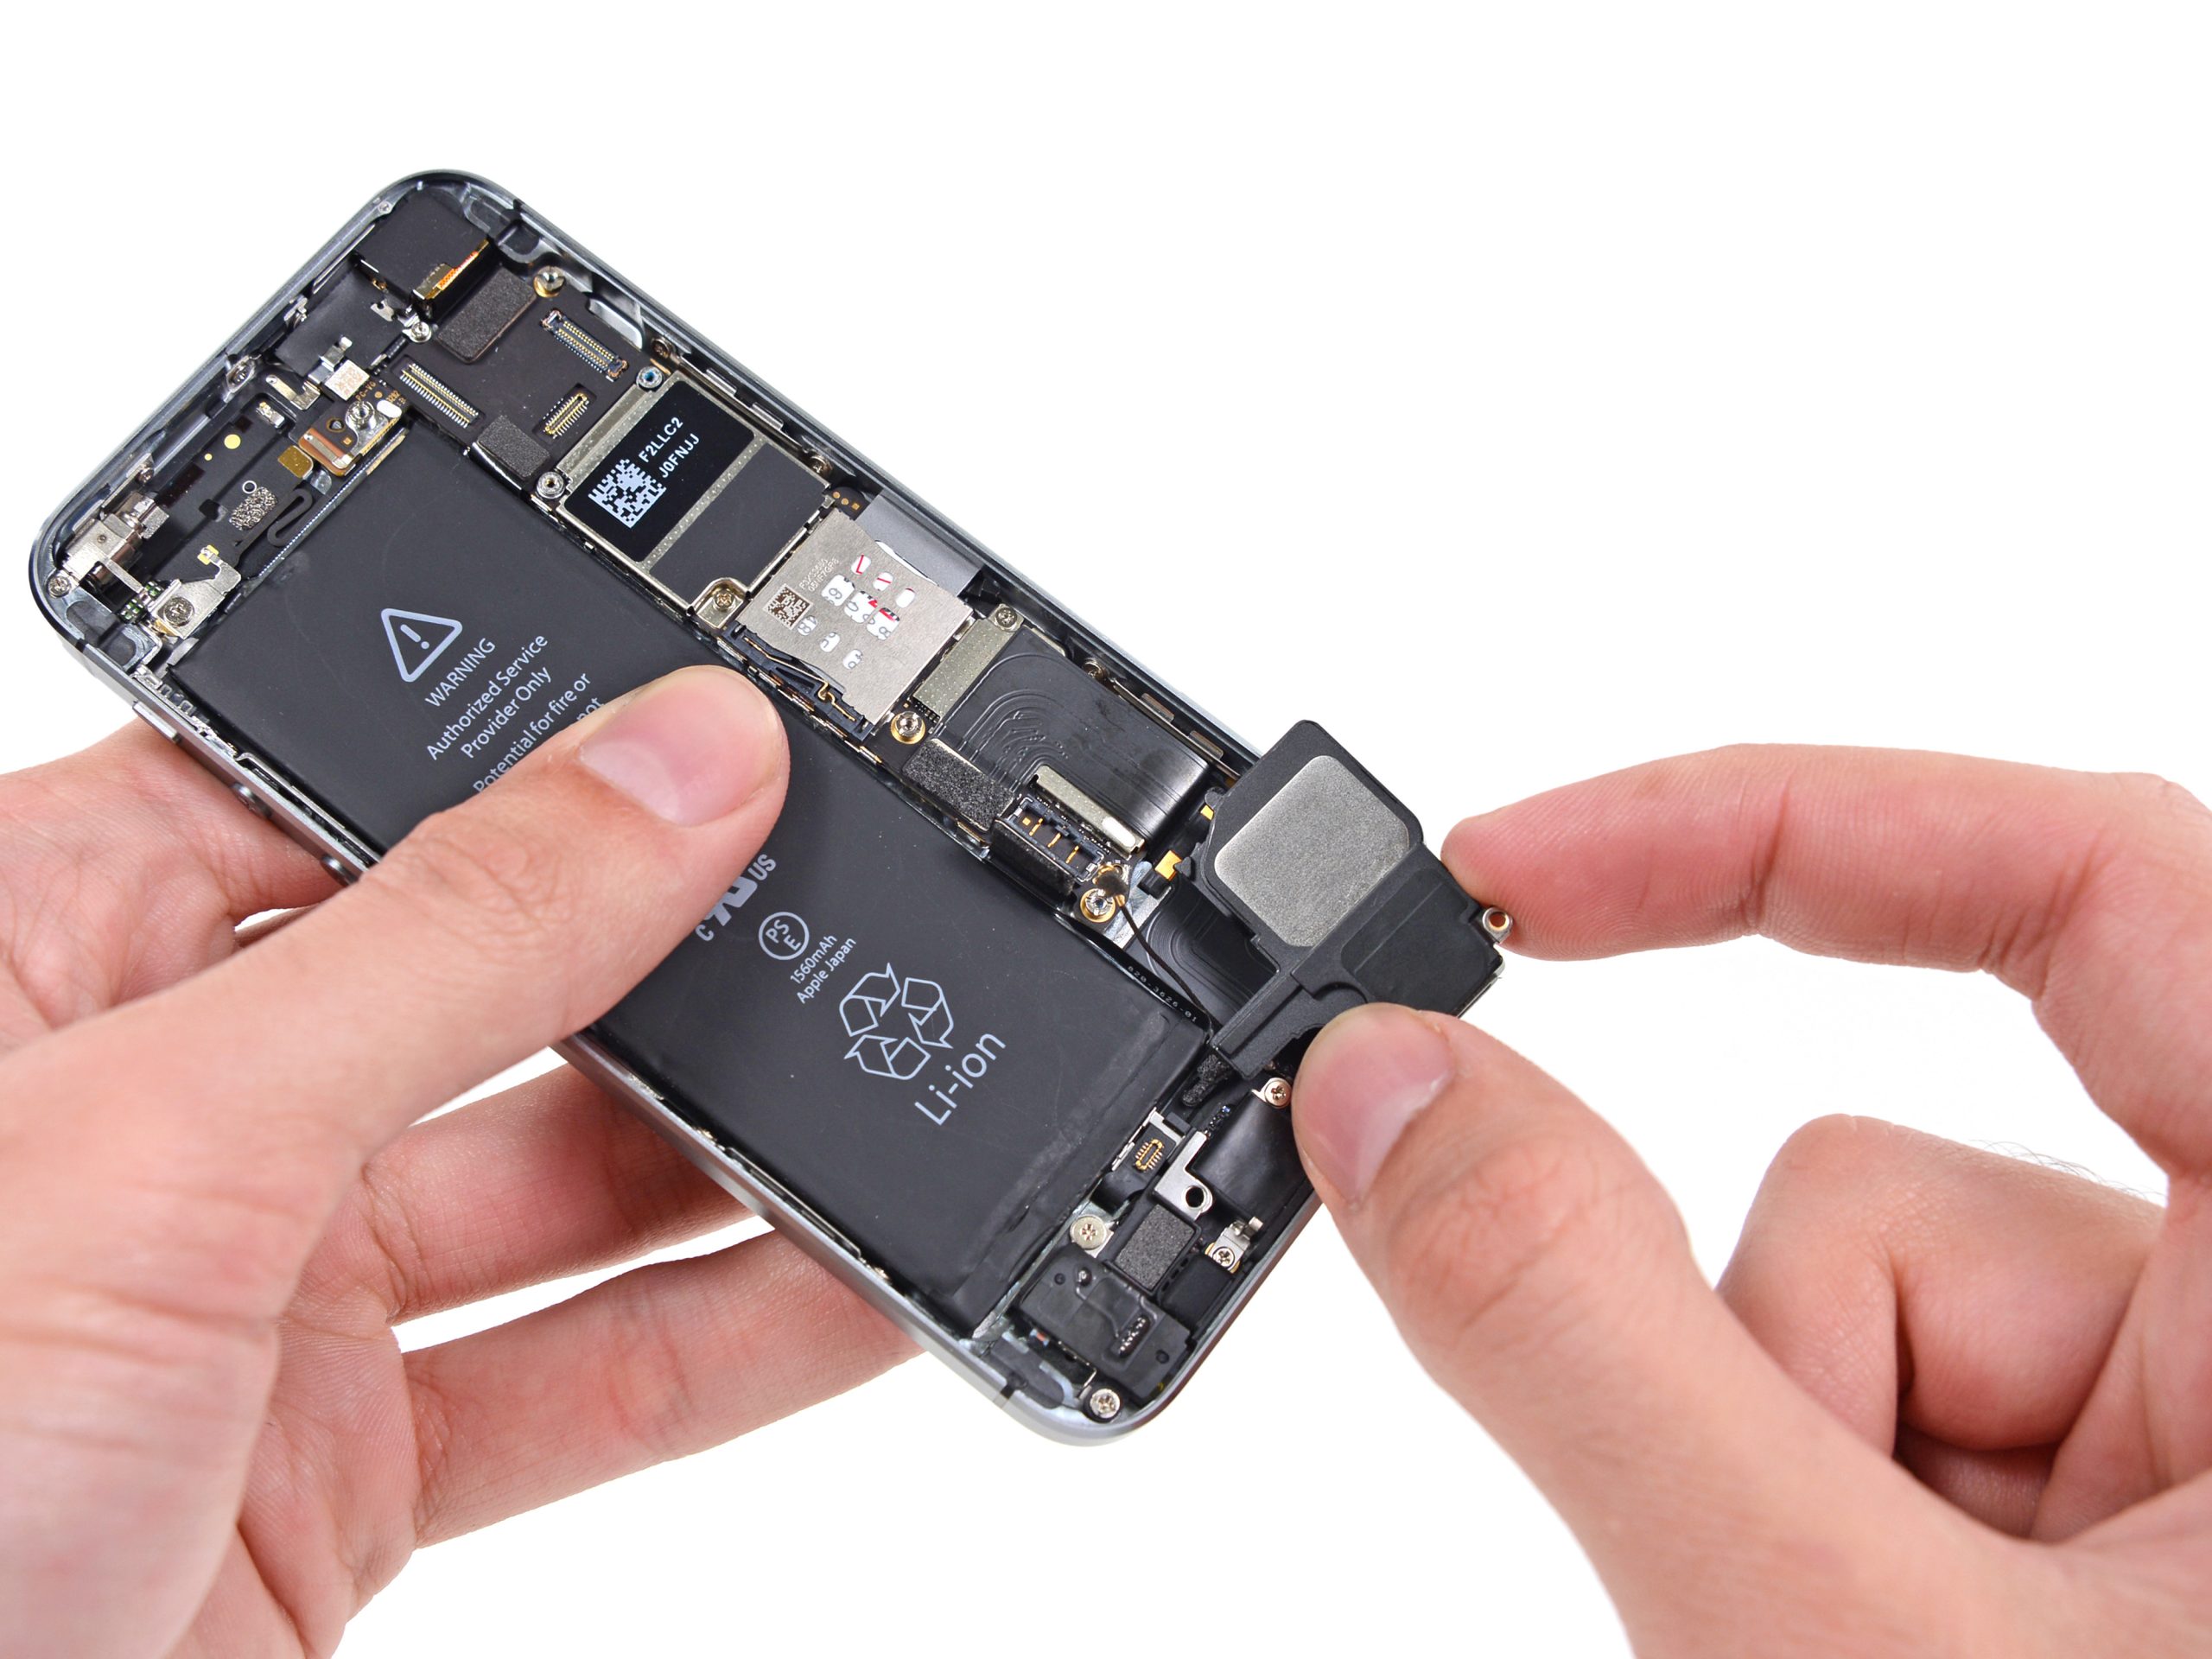
– After successfully releasing the connector, gently and strategically pull the home button end of the assembly away from the rear case, using the top of the phone as a pivot point.
– Get the display to a cool 90º angle, and casually prop it up against something to make your work easier.
Step 14

– Let’s get started by removing the two 1.6 mm Phillips #000 screws that hold the metal battery connector bracket in place on the logic board. If you need help, you can always schedule a repair

Step 16


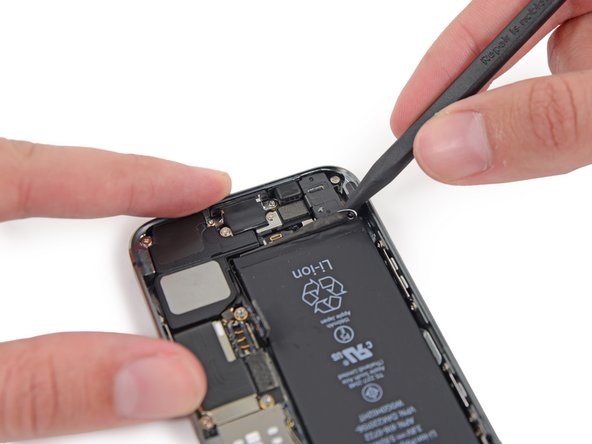
Be super cautious and only lift the battery connector itself—leave the logic board socket alone! If you accidentally pry up on the socket or the board, you might end up damaging the socket or messing with nearby components. Let’s keep everything intact, shall we?
– Gently use the flat end of a spudger to lift the battery connector out of its cozy spot on the logic board. You’ve got this!
Tools Used
Step 17

– Unscrew those pesky screws holding the front panel assembly cable bracket to the logic board! You’ve got this!


Step 20


Before you dive into this step, give your battery a little time out by disconnecting it. Trust us, your cables will appreciate it!
– Hey there! Don’t worry if the LCD cable pops off when reassembling your phone. It might cause a white screen or a blank display when you power it back up. Just give that cable a quick reconnect, and then do a power cycle – you know, that’s just a fancy way of saying ‘take out and put back in the battery!’ And if you’re feeling stuck, remember we’re always here to help! Just head over to schedule a repair and we’ll get you back in action in no time!


Step 22

– Gently detach the front panel assembly from the rear case.


Step 24