DIY Guide: Replace PlayStation 2 Slimline SCPH-700xx Step-by-Step
Duration: 45 minutes
Steps: 4 Steps
Step 1
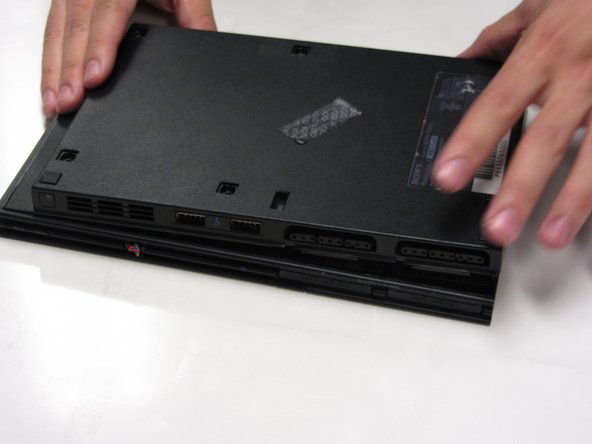
– Unplug all the cables from the console and gently flip it over to uncover its base. Let’s get started on this journey together!
Step 2
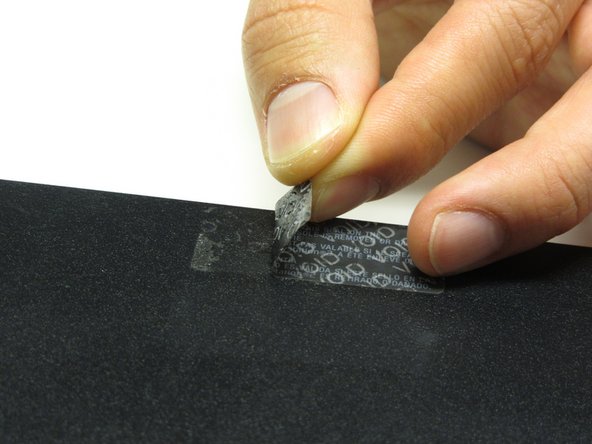
Heads up: One of the feet is hiding under the sticker shown in the photo. Peeling off this sticker will void any warranty with Sony, so proceed with care!
– Let’s get started! First, find the six feet at the base of your unit. Use a spudger to carefully pry them off, and voilà! You’ll reveal the screws underneath.
Tools Used
Step 3
– Using a #1 Phillips screwdriver, carefully take out all six 4.0 mm screws from the bottom of the device. You’ve got this!
Step 4
Pro tip: A little extra muscle from your hands can help pop these two outer shell pieces apart. You’ve got this!
– Begin at the corner where the power and Ethernet ports hang out. Grab your trusty spudger and gently pry open the outer shell, working your way around the whole device. You’ve got this!
Tools Used
Success!


