DIY Guide: Replace Samsung Galaxy Core Prime G360G Glass
Duration: 45 minutes
Steps: 10 Steps
Get ready to breathe new life into your Samsung Galaxy Core Prime G360G model with a fresh glass screen. As long as your LCD display is still intact, you’re good to go. You’ll need a few trusty tools to carefully remove the broken glass, and the best part? No extra glue required to secure the new screen. Just remember to keep everything clean and tidy during the process, and you’ll be surprised at how smoothly it can go. If you need help, you can always schedule a repair.
Step 1

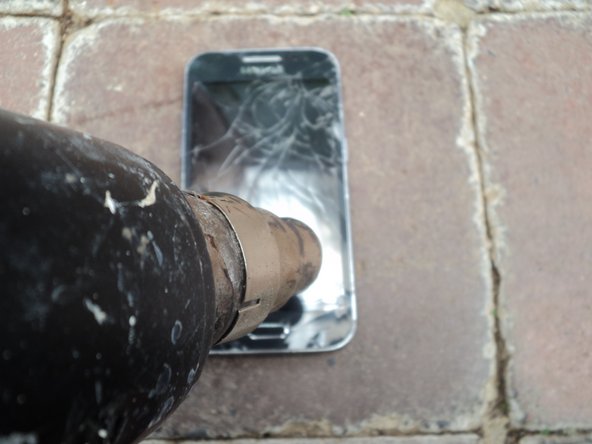
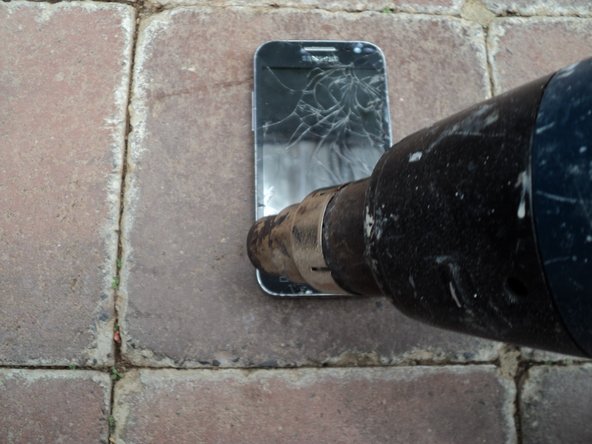
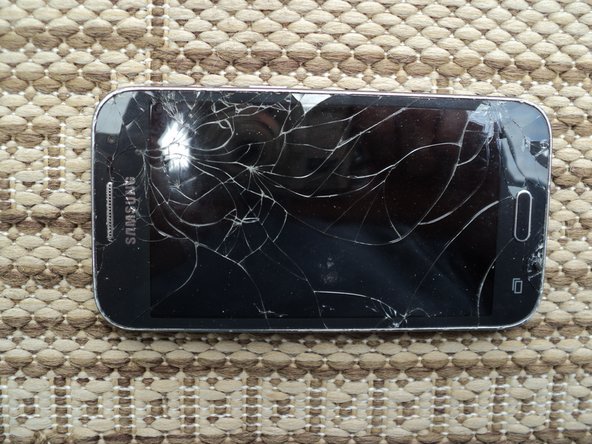
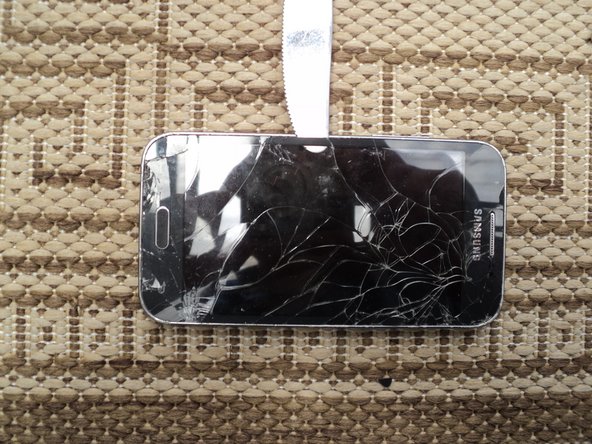
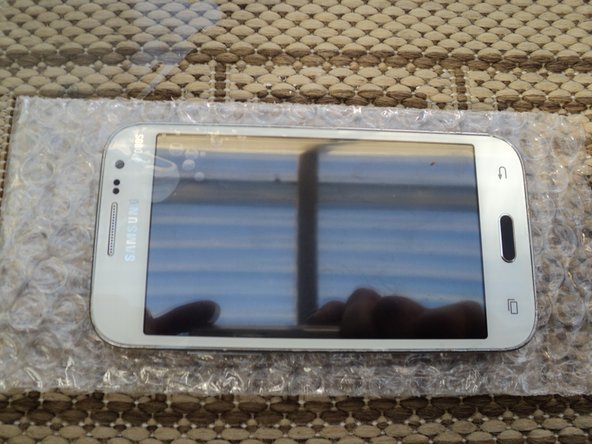
– Let’s get started with your phone repair. We’ve got a broken screen to fix, and we’re excited to help you get your device back in working order. No need to worry if your phone met its match with the pavement – we’ve all been there.
– Your phone should look similar to this one, but don’t worry if it’s not identical. And just to clarify, we don’t recommend dropping your phone to get to this point. A broken screen is a bummer, but it’s an easy fix with the right guidance.
– Now, let’s begin with the basics. Power down your phone, unplug it from any chargers, and disconnect it from any other devices. If you need help along the way, you can always schedule a repair with Salvation Repair.
Step 2


– Alright, let’s get started! First things first, pop off that back cover. Take out the battery, any SD card you might have, and don’t forget the SIM card! Good news: you can skip removing those pesky screws on the back this time.
– Now, check out the bottom—there’s a little cover next to the flashlight that’s just begging to be removed. Grab a tiny flat blade screwdriver and gently lift it up. Easy peasy!
– Next up, I managed to lift the connector hidden under that cover—take a look! Use your nail or a soft tool for this part. Just a friendly reminder: this connector is for your LCD, so be gentle!
Step 3
– Alrighty! Time to soften up that pesky glue holding down your screen. Blast it with some airflow from a heat gun – just make sure to focus on the sides, and low and slow with the top and bottom areas. Be super careful, or you might end up with a broken screen again. If that happens, you know who to call!
Step 4

– Alright, let’s get that screen off! I improvised with some handy tools I found around the house, starting with a butter knife. I’ll gently work my way around the edges, lifting and sliding it under the screen’s glass edge.
– There’s a tiny gap between the glass and the silver edge, perfect for wedging your tool in. Just hold it straight up, and once it’s in there, give it a little leverage to pop it up under the glass.
– Just a quick heads-up: be super careful not to slip and hit the screen, especially in those snug spots. My phone was still a bit warm, but if you encounter any resistance, feel free to apply a little more heat.
Step 5
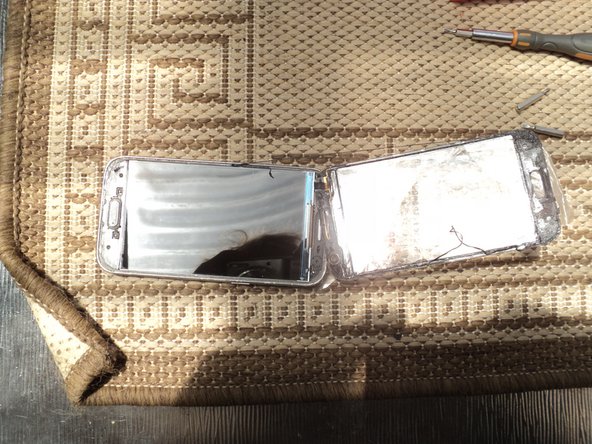
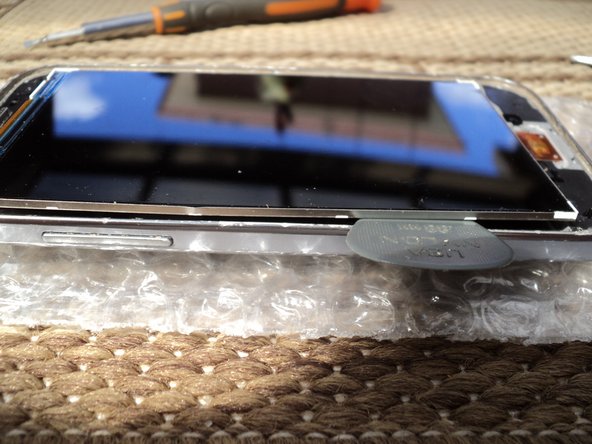
– Alright, I’ve managed to pry it up just enough to get a good grip. With one hand on the base, I gently lift the glass. Just a heads up, be cautious since there’s some broken glass involved. I also put some sticky tape on the glass to lend a hand. Let’s keep those fingerprints off the LCD! And just like that, it’s off!
– Next up, I’ve disconnected the flat ribbon cable that links the screen to the internal board. It popped out smoothly—no tugging on my part! Just a little tape was holding it in place.
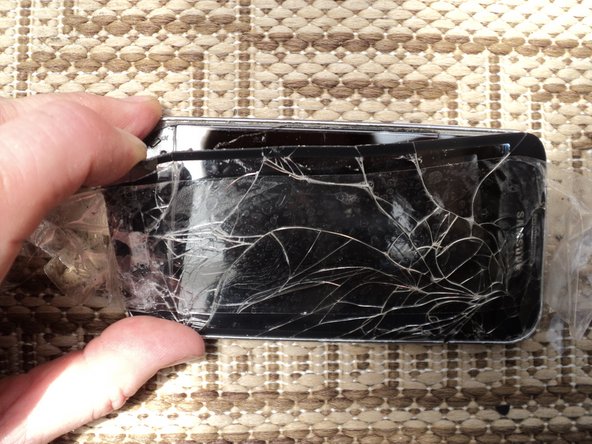
– If you can, carefully take out the cable and set the old screen aside. It’s already broken, so no stress about damaging it further, but do be gentle since it’s still connected to a socket on the back of the LCD.
– Oh, and don’t forget to remove the button at this stage!
Step 6

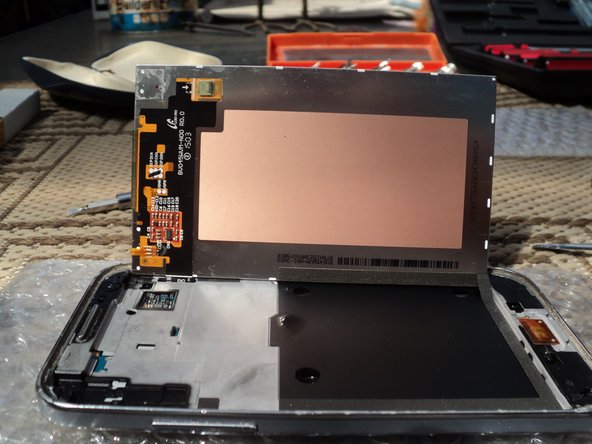
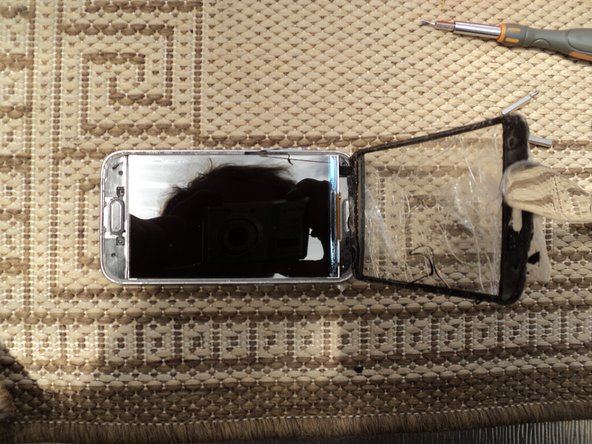
– Alright, let’s gently pry that LCD screen up using a plastic wedge. I’m going with a guitar pick this time—it’s soft and slim enough to slide right into the groove. Just a friendly reminder to be super careful here; we don’t want to end up needing another screen replacement too soon!
– Next, I’m lifting it from the side where the volume controls are. Think of it as pivoting from the opposite side of the plug underneath, right by the cable. Just a heads up, the top of the phone is on the left side.
– And voilà! It’s up and ready to flip over. It’s held in place by a sticky tape strip on the inside, which we’ll need to reattach later. If you need help, you can always schedule a repair.
Step 7

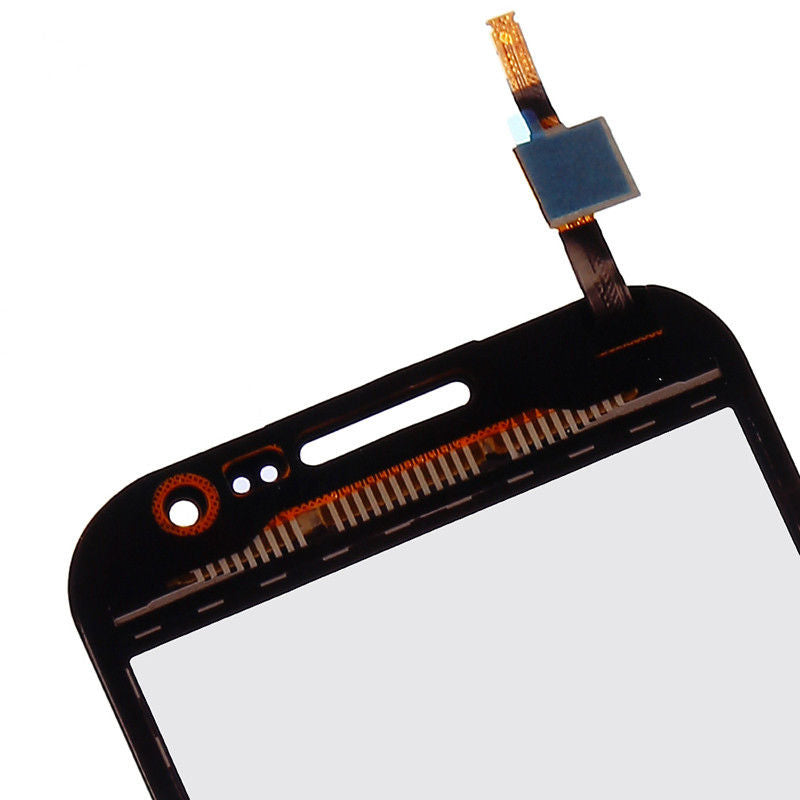
– Now it’s time to attach your shiny new screen. Locate the top left area – that’s where the cable needs to go in. You’ll see a little tape covering the socket, so gently lift it up.
– Position the cable as shown, then slide it into the socket. There’s a handy white line on top to guide you. Once it’s in place, secure it with some tape over the join, just like this. If you need help, you can always schedule a repair
Step 8
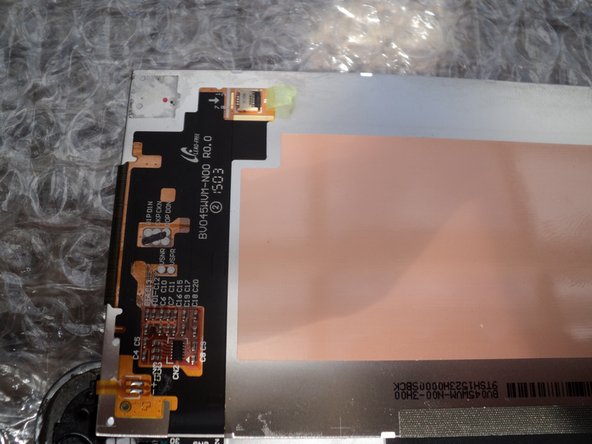
– Check out this snapshot of the screen! Now, gently flip the LCD back into position, ensuring that the glue strip underneath stays put. Be mindful of the glass screen cable as you flip it too, so it ends up on the left and upside down. And hey, give that LCD screen a good clean to keep it looking shiny and dust-free. A microfiber cloth works wonders for this!
– Don’t forget to pop the button back in place as well.
Step 9
– Now that your LCD is clean, it’s time to attach the new screen. Start by peeling off any protective tape from the new glass, then carefully flip it over and align it with the LCD. Gently press down to secure it in place. If you need help, you can always schedule a repair
Step 10

– Okay, time to flip it back over! Gently press the LCD plug into the socket, then place the plastic panel back on. Don’t forget to put your battery and cards back in their places too!
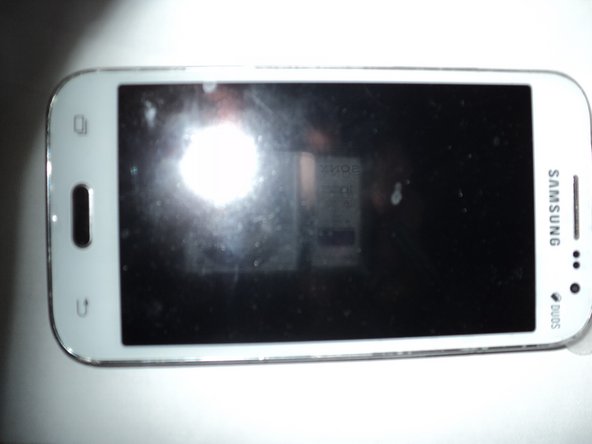
– Check out this picture of my finished project! I decided to switch up the color a bit. If you’re dealing with a break, why not add a little flair? I kept my black button, though I did think about giving it a fresh coat.
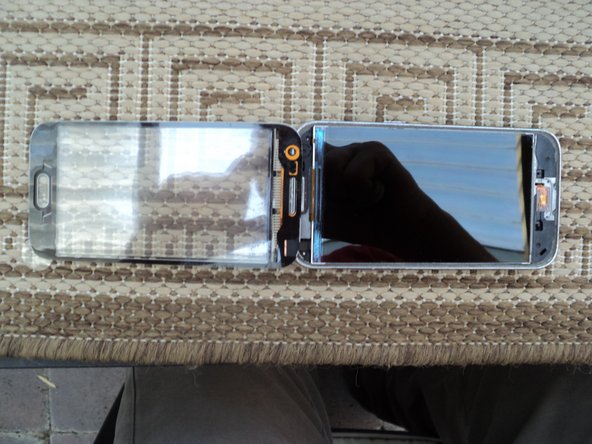
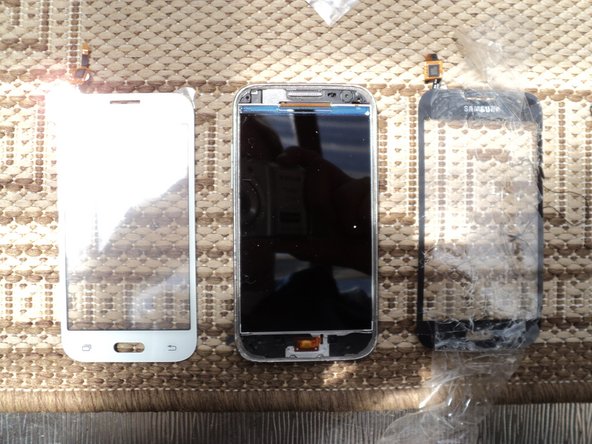
– And just for fun, here’s a snapshot of the three amigos! 😀
– One last tip: be cautious with that tiny magnetic sensor! Mine popped out when I removed the screen, and I had a bit of a treasure hunt to figure out where it belonged. So if yours decides to escape, make sure you know where it connects back!