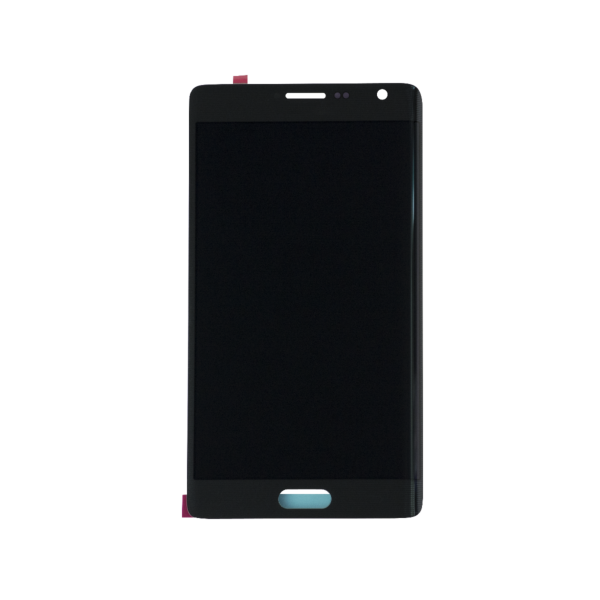
DIY Guide: Replace Samsung Galaxy Note Edge Screen Step-by-Step
Duration: 45 minutes
Steps: 9 Steps
Check out this awesome video, it’ll walk you through everything step by step!
Get ready to breathe new life into your Samsung Galaxy Note Edge / N915 with our easy-to-follow screen assembly replacement guide. We’ll walk you through each step, and before you know it, you’ll be enjoying a brand new display. If you need help, you can always schedule a repair – Video manual included.
Step 1


– Alright, let’s power down that device. Time for a little tech surgery!
– Next, we’re gonna gently remove the back cover and the battery. We’re almost ready to get down to business!
Step 2


– First things first, let’s pop out the Memory card, SIM card, and S Pen. They deserve a little break too!
– Next up, grab your trusty Phillips #00 screwdriver and let’s unscrew those screws. They’re just itching to be released!
– Now, with a gentle touch, use a plastic opening tool to carefully pry off the Back Frame. It’s time to reveal what’s inside!
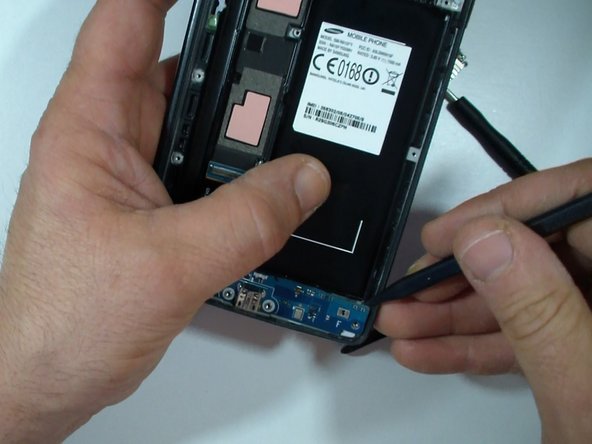
Step 3

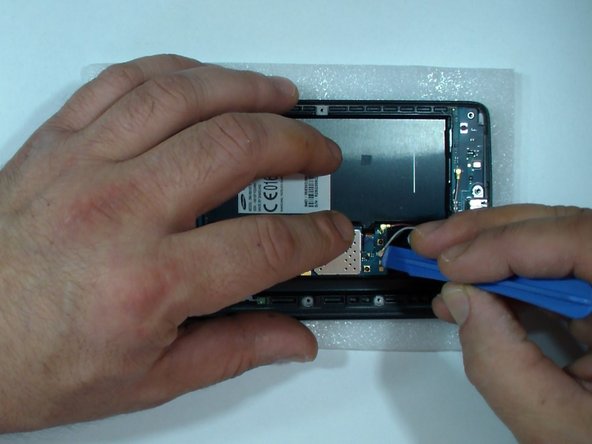
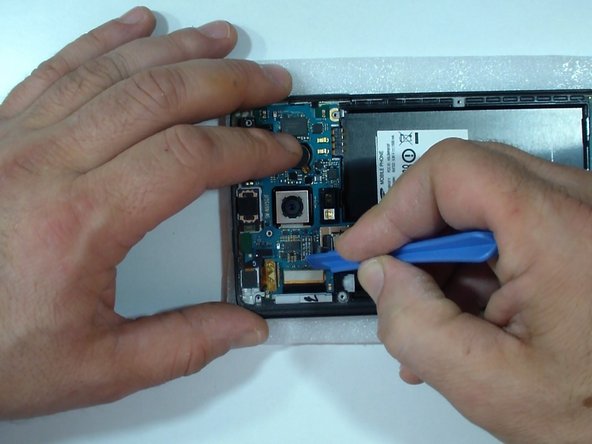
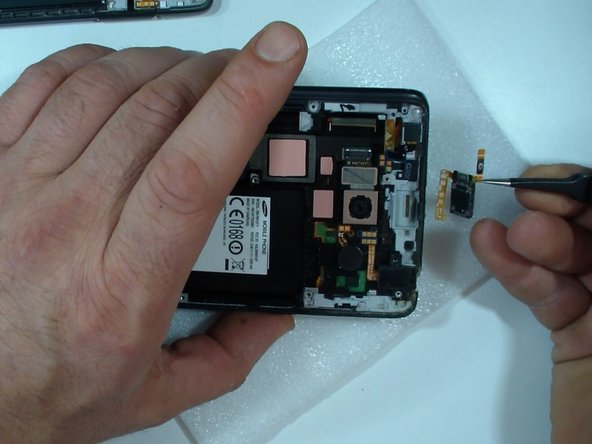
– Disconnect one at a time:
– Coaxial antenna cables (x2)
– Home Button flex cable
– Display Flex cable
– Stylus Sensor flex cable
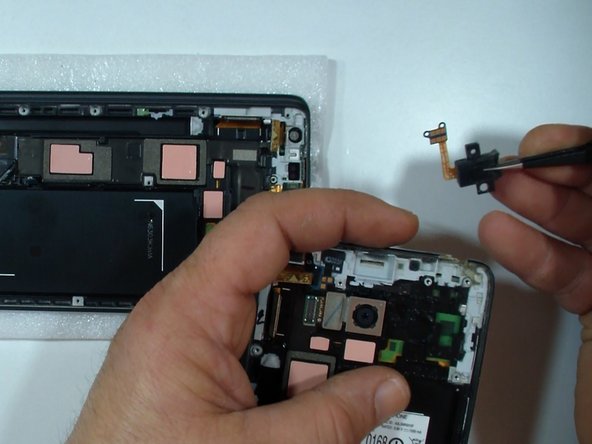
– Front Camera flex cable
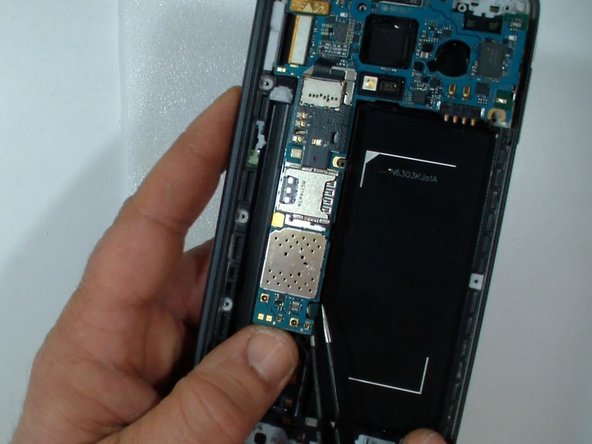
Step 4
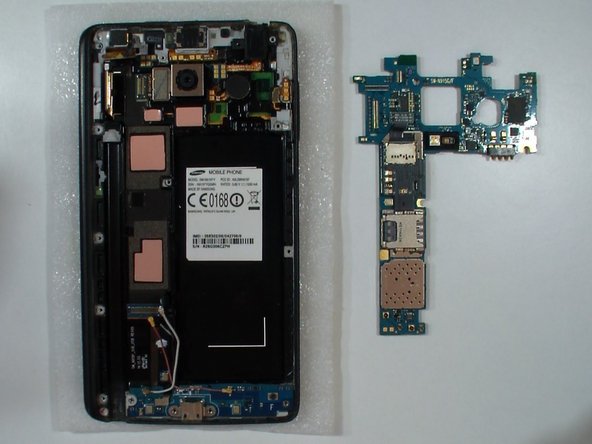

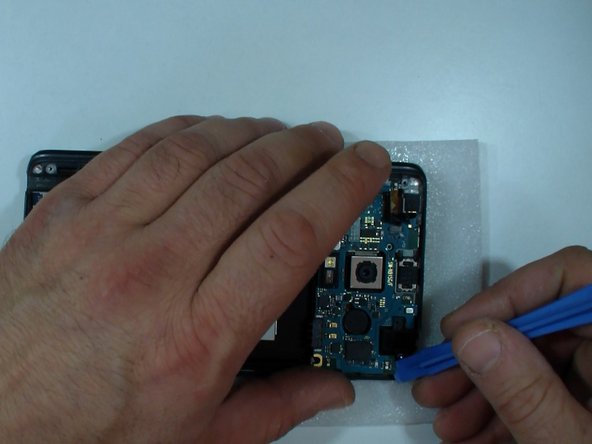
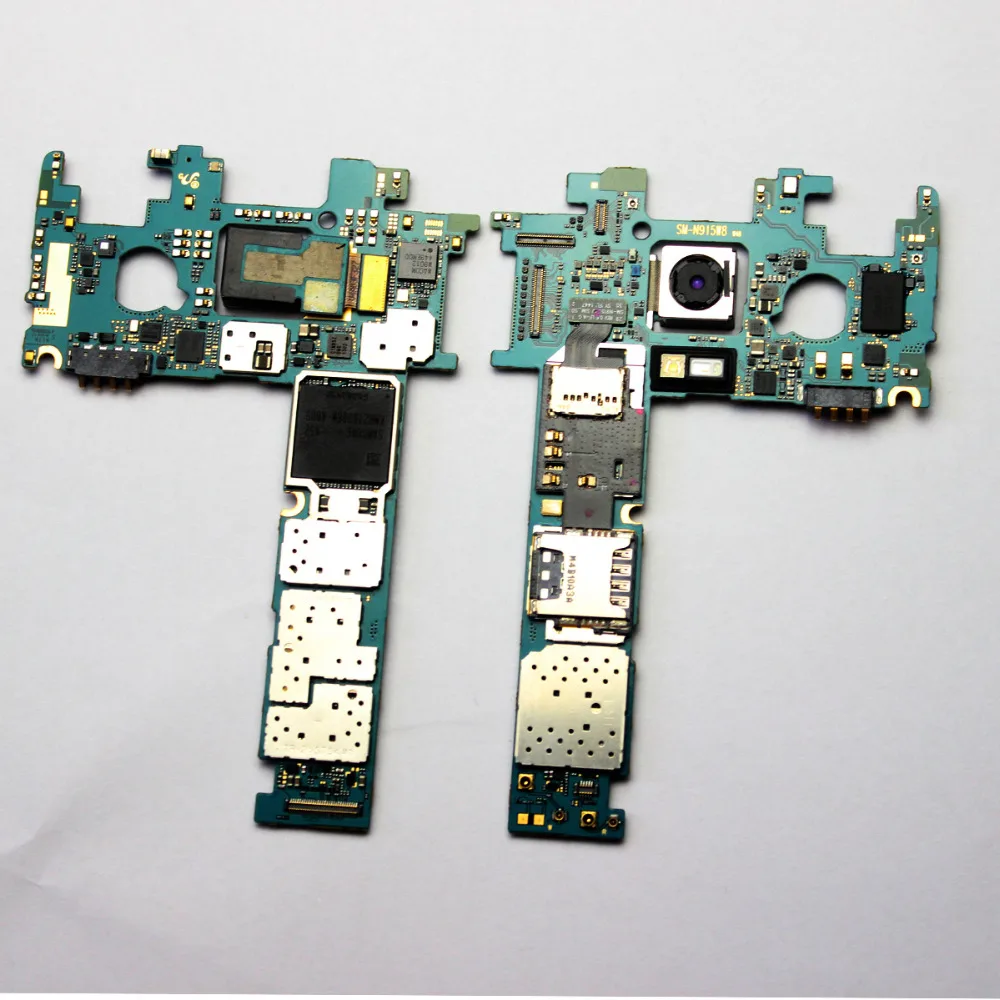
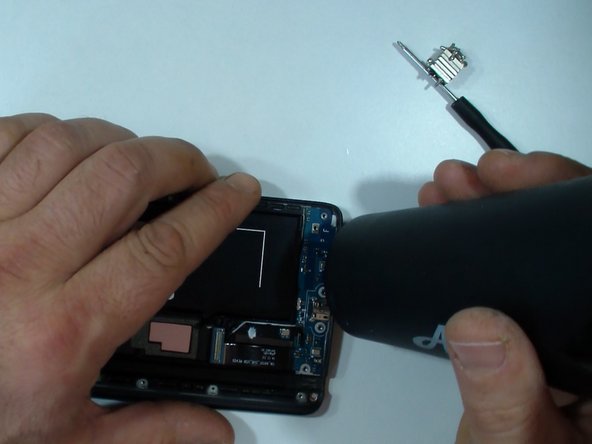
– Gently lift the connector on the back of the board to free up the lower section of the motherboard. You’ve got this!
– Carefully take out the logic board and set it aside. You’re one step closer to success!
Step 5
To keep everything safe and sound, make sure to pop the back frame on before diving into the testing phase.
– Let’s put that new part to the test before we get all fancy and install it!
– Slide that Power button / Loud speaker flex cable right into place.
– Time to install the motherboard – give it a high five!
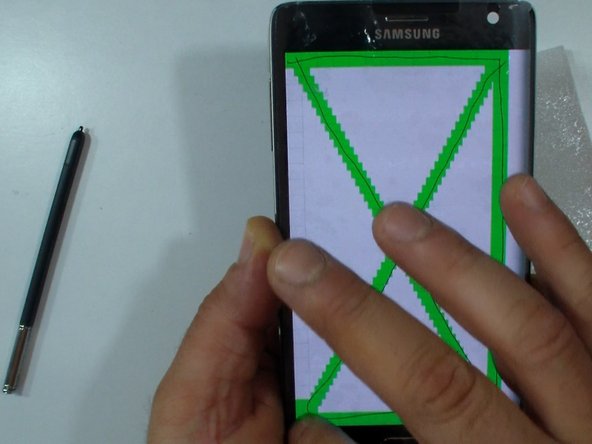
– Okay, test out the display! Is it looking good?
Step 6

– Take a moment to assess the condition of those thermal pads (especially if they’re not the original ones).
– If they’re looking a little worse for wear, feel free to grab the thermal pads from your old assembly.
Step 7

– Let’s get started with this repair. Begin by carefully following each step, and don’t hesitate to reach out if you need assistance. If you need help, you can always schedule a repair.
Step 8

– First, let’s get started by removing the black Phillips screw,
– then take out the charging port plate – it’s time to get inside!
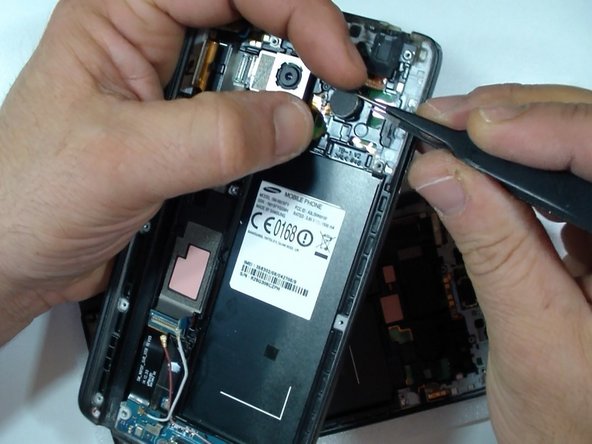
– Next, carefully disconnect the Home button’s flex cable and the coaxial antenna cable (you’ll see two of them).
– Now, use some hot air and a plastic opening tool to gently remove the Charging Port flex assembly – you’re making great progress!
– If you need help, you can always schedule a repair with Salvation Repair.
Step 9

– Time to put your device back together! Follow these steps in reverse. If you need help, you can always schedule a repair.