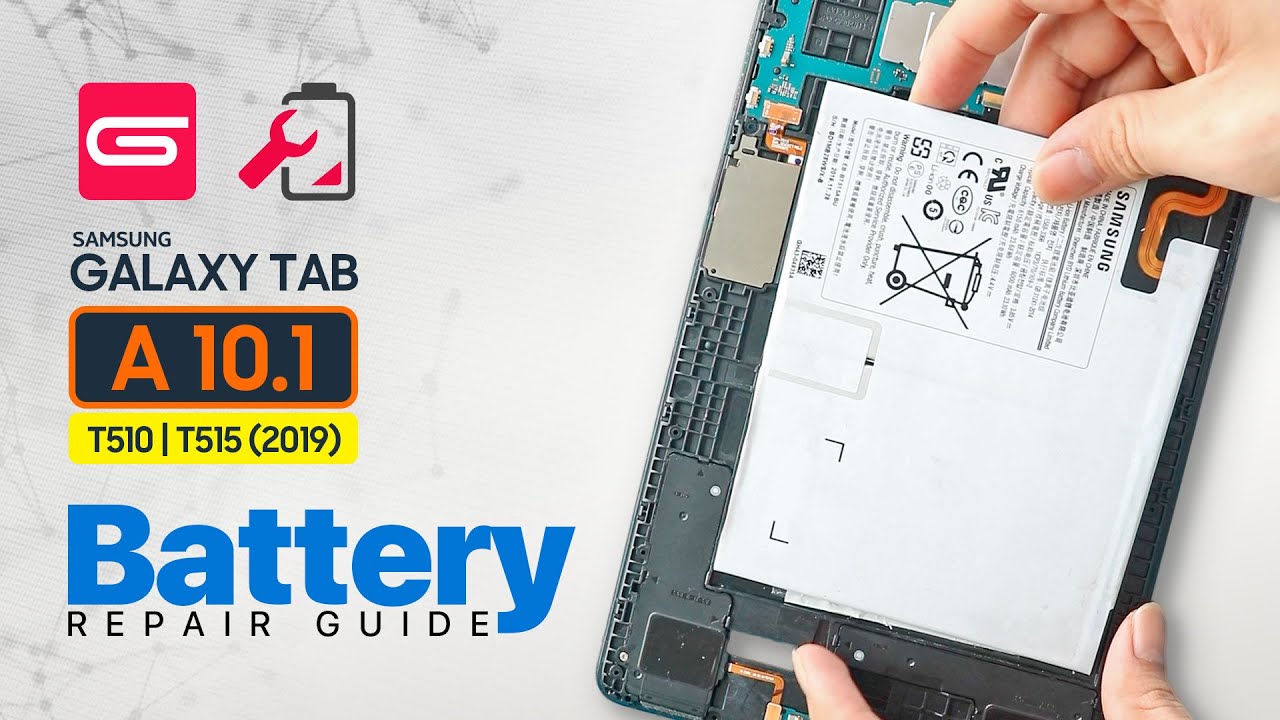
DIY Guide: Replace Samsung Galaxy Tab A 10.1 Motherboard
Duration: 45 minutes
Steps: 9 Steps
Got a motherboard that’s seen better days? No worries! This guide is here to walk you through the process of swapping it out like a pro. Let’s get that device back in action!
Step 1
If that trusty plastic opening tool isn’t cutting it, you can give a metal spudger a shot—it might do the trick, though it could leave a few scuffs on the device’s plastic shell.
Oh, and don’t forget to pop out the micro SD card (if you’ve got one) before diving in!
– Start by facing the front of the device towards you.
– Pick a spot near one of the curved edges (check out photo two for a helpful visual guide).
– Gently slide a plastic opening tool between the front and back panels, like you’re just lifting the lid of a treasure chest.
Step 2
You’ll hear a satisfying click as the back panel pops off the device. Keep it steady, and you’re doing great!
– When the plastic opening tool is snugly in place, glide it around the edges of your device to pop the panels apart.
– Now, gently lift off the back panel from your device.
Step 3
– Peel off the adhesive film and gently lift the flap on the ZIF battery connector.
– Carefully slide the orange battery ribbon cable out of the ZIF connector.
Step 4
– Peel back the adhesive film, lift the retaining tab, and carefully slide the white speaker ribbon out.
Step 5
– Pop open that little retaining tab and gently slide out the black LCD ribbon like a pro!
Step 6
The big, rectangular white and black component is your battery. Handle it with care and avoid any punctures, alright?
– Grab a Phillips #000 screwdriver and take out those ten 4 mm screws around the battery.
– Use a plastic opening tool to gently pry under the bottom of the battery near the speakers and lift it up.
Tools Used
Step 7
– Pop up those two ZIF connectors on the motherboard using your trusty plastic opening tool.
– Gently slide the orange ribbon cables out of the ZIF connectors.
– Take out the front-facing camera.
Step 8
– Gently unplug the headphone jack from the motherboard, like you’re giving it a little hug goodbye.
– Grab your trusty Phillips #000 screwdriver and get ready to unscrew six 4mm screws. You’ve got this!
Step 9
Watch out for those connectors! They can be a bit clingy, so give them some space.
– Slide the plastic opening tool under and gently lift the motherboard out of the tablet. Easy peasy!
– Take out the metal bracket that was underneath the charging port and set it aside. You’re doing great!
Success!


